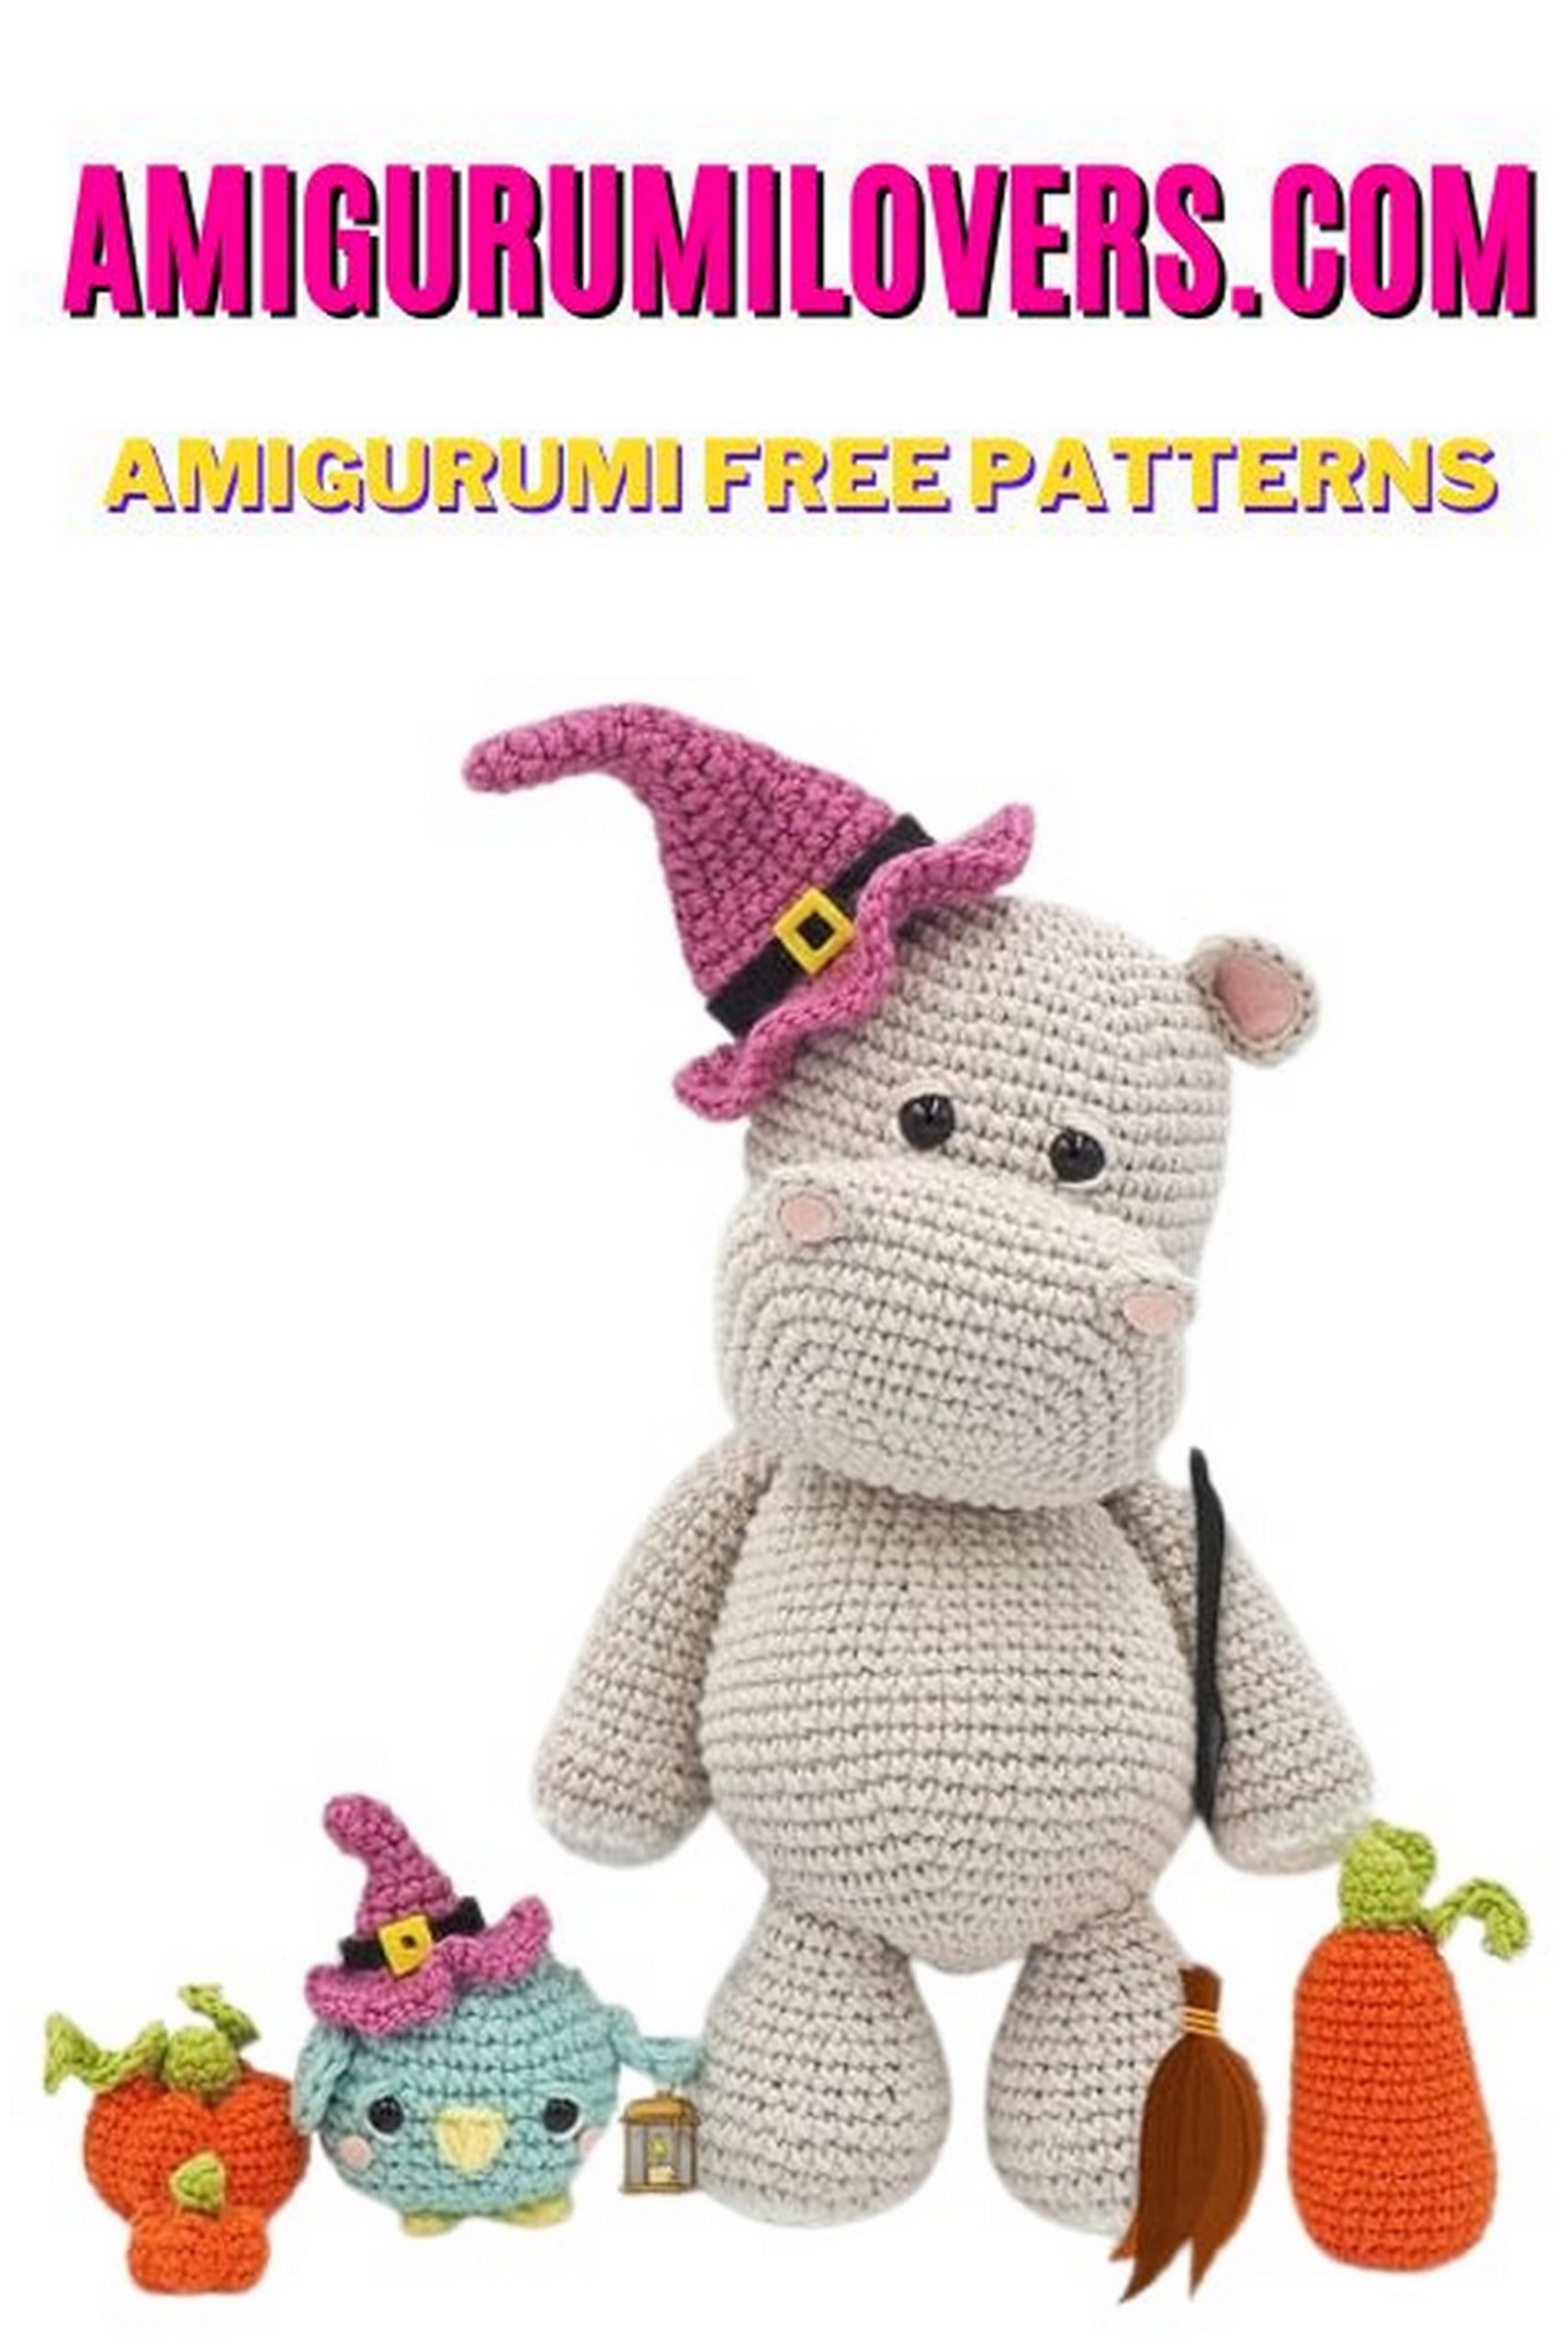
Amigurumi Hipopotam Free Pattern
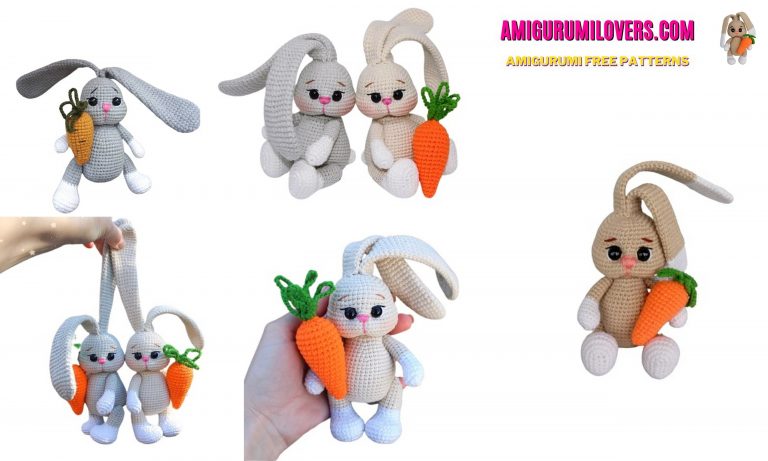
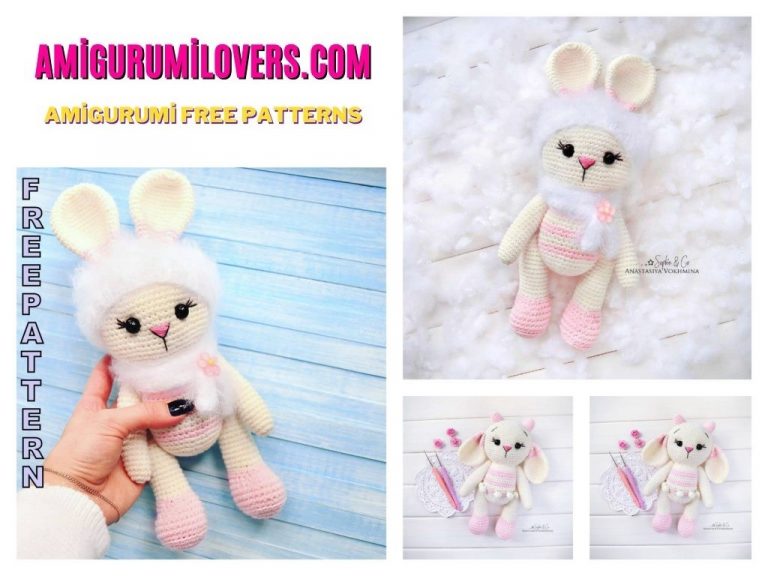
You may also enjoy exploring our free amigurumi patterns and other popular amigurumi animal patterns available on our website.
Welcome to our cozy corner of the crochet community, where creativity meets comfort! If you’ve ever wanted to dive into the delightful world of amigurumi, you’re in for a treat. Today, we’re excited to share a free pattern for a charming amigurumi hippo that’s perfect for both beginners and seasoned crocheters alike. Amigurumi, the Japanese art of creating stuffed yarn animals, is not only fun but also a fantastic way to develop your crochet skills while crafting adorable, handmade treasures.
This amigurumi hippo is an ideal project for those who are just starting out. With its simple shapes and easy-to-follow instructions, you’ll be able to create a cuddly companion in no time. Whether you’re looking to make a unique gift for a loved one or simply want to brighten your own space with a handmade decor piece, this hippo will surely bring joy and warmth to any setting. Plus, the satisfaction of completing a project and seeing your finished creation come to life is truly rewarding.
As you embark on this crochet journey, you’ll find that the techniques involved are straightforward and accessible. With each stitch, you’ll gain confidence and foster your crochet talents. We believe that everyone should have the opportunity to explore their creativity, and providing free patterns is our way of making crochet more approachable for everyone. This hippo pattern not only serves as a fun project but also encourages you to experiment with different yarn colors, textures, and even embellishments to personalize your creation.
In this blog post, we will guide you through each step needed to bring your very own amigurumi hippo to life. You’ll find detailed instructions and helpful tips to ensure that your project is enjoyable from start to finish. If you encounter any challenges along the way, don’t hesitate to reach out—we’re here to support you! Whether you’re crafting alone or sharing this experience with friends, crocheting can be a wonderful way to connect, relax, and unleash your creativity.
So grab your crochet hook, select your favorite yarn, and let’s begin this exciting adventure together. The amigurumi hippo is not just a pattern; it’s a ticket to hours of enjoyment, a wonderful way to practice your skills, and the perfect addition to your crochet repertoire. Join us as we explore the whimsical world of amigurumi and start crafting your very own hippo companion today!
In this article, we shared the cute hippopotamus amigurumi for you. Amigurumi patterns can be easily accessed from our site.
If you want your children to stay away from unhealthy plastic toys, you can learn for them one of the dozens of amigurumi recipes on our site. You can be the first to be informed of each new share by following us on our social media accounts.
Good luck with.
MATERIALS
2 ball of gray color rope
1 ball of white color rope pink color felt
2.5 mm crochet hook needle
2 pcs. Secure eye

Hippo Pattern
Head (Part 1)
1.Rnd: magic ring into 6 sc
2.Rnd: * 1 inc * x 6 (12)
3.Rnd: * 1 sc , 1 inc * x 6 (18)
4.Rnd: * 2 sc , 1 inc * x 6 (24)
5.Rnd: * 3 sc , 1 inc * x 6 (30)
6.Rnd: * 4 sc , 1 inc * x 6 (36)
7.Rnd: * 5 sc , 1 inc * x 6 (42)
8.Rnd: * 6 sc , 1 inc * x 6 (48)
9–20.Rnds: 48 sc (48)
21.Rnd: * 6 sc , 1 dec * x 6 (42)
22.Rnd: * 5 sc , 1 dec * x 6 (36)
23.Rnd: * 4 sc , 1 dec * x 6 (30)
24.Rnd: * 3 sc , 1 dec * x6 (24)
25.Rnd: * 2 sc , 1 dec * x 6 (18)
26.Rnd: * 1 sc , 1 dec * x 6 (12)
Insert the eyes with 5 chain spaces between them, counting 12 or 13 rows from the beginning of the head..
Head (Part 2):
7 chain + 1 chain turn chain (8)
1.Rnd: 6 sc, 3 sc on the same stitch (work on 7 chains without taking the turn chain into account) – sc on each stitch to the end of the row – 5 sc on the same stitch, 2 sc on the same stitch. (16)
2.Rnd: Continue by making a turn chain.1 inc , 5 sc , 1 inc , 1 sc , 1 inc , 5 sc , 1 inc , 1 sc (20)
3.Rnd: 1 inc , 7 sc , 1 inc , 1 sc , 1 inc , 7 sc , 1 inc , 1 sc (24)
4.Rnd: 1 sc , 1 inc , 1 inc , 6 sc , 1 inc , 1 inc , 2 sc , 1 inc , 1 inc , 6 sc , 1 inc , 1 inc , 1 sc (32)
5.Rnd: 2 sc , 1 inc , 1 inc , 9 sc , 1 inc , 1 inc , 3 sc , 1 inc , 1 inc , 9 sc , 1 inc , 1 inc , 1 sc (40)
6.Rnd: 3 sc , 1 inc , 1 inc , 12 sc , 1 inc , 1 inc , 4 sc , 1 inc , 1 inc , 12 sc , 1 inc , 1 inc , 1 sc (48)
7.Rnd: 4 sc , 1 inc , 1 inc , 15 sc , 1 inc , 1 inc , 5 sc , 1 inc , 1 inc , 15 sc , 1 inc , 1 inc , 1 sc (56)
8–9.Rnds: 56 sc (56)
10.Rnd: 4 sc , 1 dec , 1 dec , 15 sc , 1 dec , 1 dec , 5 sc , 1 dec , 1 dec , 15 sc , 1 dec , 1 dec , 1 sc (48)
11–12.Rnds: 48 sc (48)
Stitch it by filling it.
Nostril x 2:
Make round by working sc in the same order.
1.Rnd: magic ring into 8 sc (Do it like a normal ring, but don’t cover it.).
Finish by leaving the thread long.
Ears x2:
Make round by working sc in the same order
1.Rnd: magic ring into 6 sc
2.Rnd: 6 inc (12)
3.Rnd: (1 sc , 1 inc )* 6 (18)
Sew the ears to the head, leaving the thread long.

Body:
Make round by working sc in the same order.
1.Rnd: magic ring into 6 sc
2.Rnd: * 1 inc * x 6 (12)
3.Rnd: * 1 sc , 1 inc * x 6 (18)
4.Rnd: * 2 sc , 1 inc * x 6 (24)
5.Rnd: * 3 sc , 1 inc * x 6 (30)
6.Rnd: * 4 sc , 1 inc * x 6 (36)
7.Rnd: * 5 sc , 1 inc * x 6 (42)
8.Rnd: * 6 sc , 1 inc * x 6 (48)
9.Rnd: * 7 sc , 1 inc * x 6 (54)
10.Rnd: * 8 sc , 1 inc * x 6 (60)
11–14.Rnds: 60 sc (60)
15.Rnd: * 8 sc , 1 dec * x 6 (54)
16–17.Rnds: 54 sc (54)
18.Rnd: * 7 sc , 1 dec * x 6 (48)
19–20.Rnds: 48 sc (48)
21.Rnd: * 6 sc , 1 dec * x 6 (42)
22–23.Rnds: 42 sc (42)
24.Rnd: * 5 sc , 1 dec * x 6 (36)
25.Rnds: 36 sc (36)
26.Rnd: * 4 sc , 1 dec * x 6 (30)
27.Rnd: * 3 sc , 1 dec * x 6 (24)
28–30.Rnds: 24 sc (24)
Fill the body, sew it.
Arms x2:
Make round by working sc in the same order.
1.Rnd: Magic ring into 6 sc
2.Rnd: * 1 inc * x 6 (12)
3.Rnd: * 1 sc , 1 inc * x 6 (18)
4.Rnd: * 2 sc , 1 inc * x 6 (24)
5–7.Rnds: 24 sc (24)
8.Rnd: * 2 sc , 1 dec * x 6 (18)
9–11.Rnds: 18 sc (18)
12.Rnd: * 4 sc , 1 dec * x 3 (15)
13–15.Rnds: 15 sc (15)
16.Rnds: * 3 sc , 1 dec * x 3 (12)
17–21.Rnds: 12 sc (12)
Fill the arms and sew.
Legs x 2:
Make round by working sc in the same order.
1.Rnd: Magic ring into 6sc
2.Rnd: * 1 inc* x 6 (12)
3.Rnd: * 1 sc , 1 inc * x 6 (18)
4.Rnd: * 2 sc , 1 inc * x 6 (24)
5.Rnd: * 3 sc , 1 inc * x 6 (30)
6.Rnd: * 4 sc , 1 inc * x 6 (36)
7.Rnd: 36 sc (36)
8.Rnd: * 4 sc , 1 dec * x 6 (30)
9.Rnd: * 3 sc , 1 dec * x 6 (24)
10-11.Rnds: 24 sc (24)
12.Rnd: * 2 sc , 1 dec * x 6 (18)
13.Rnd: 18 sc (18)
14.Rnd: * 1 sc , 1 dec * x6 (12)
15–16.Rnds: 12 sc (12)
Fill the legs and sew.
Queue:
Make round by working sc in the same order.
1.Rnd: Magic ring into 3sc
2.Rnd: * 1 inc * x 3 (6)
3–5.Rnds: 6 sc (6)
Sew the tail by filling.


Descriptions
1.- Process the eyelids with a thread of the same color as the head. Turn the safety eye 2 turns. Then put a line under the safety eye with white thread.
Assemble the parts of the head.
Sew the nostrils to the appropriate places as shown in the picture.
Suture the ears to the appropriate places as shown.
Glue the felts into the ear and nose holes with glue or sew with thread.
6.- Stitch the legs as shown in the picture.
Sew the arms appropriately as shown in the picture.
Stitch the head as shown in the picture.
9.- Sew the tail to the body as shown in the picture.
Before you leave, make sure to check out more free amigurumi crochet patterns and discover new ideas for your next project.
You can also browse our full amigurumi pattern archive for hundreds of beginner-friendly designs.