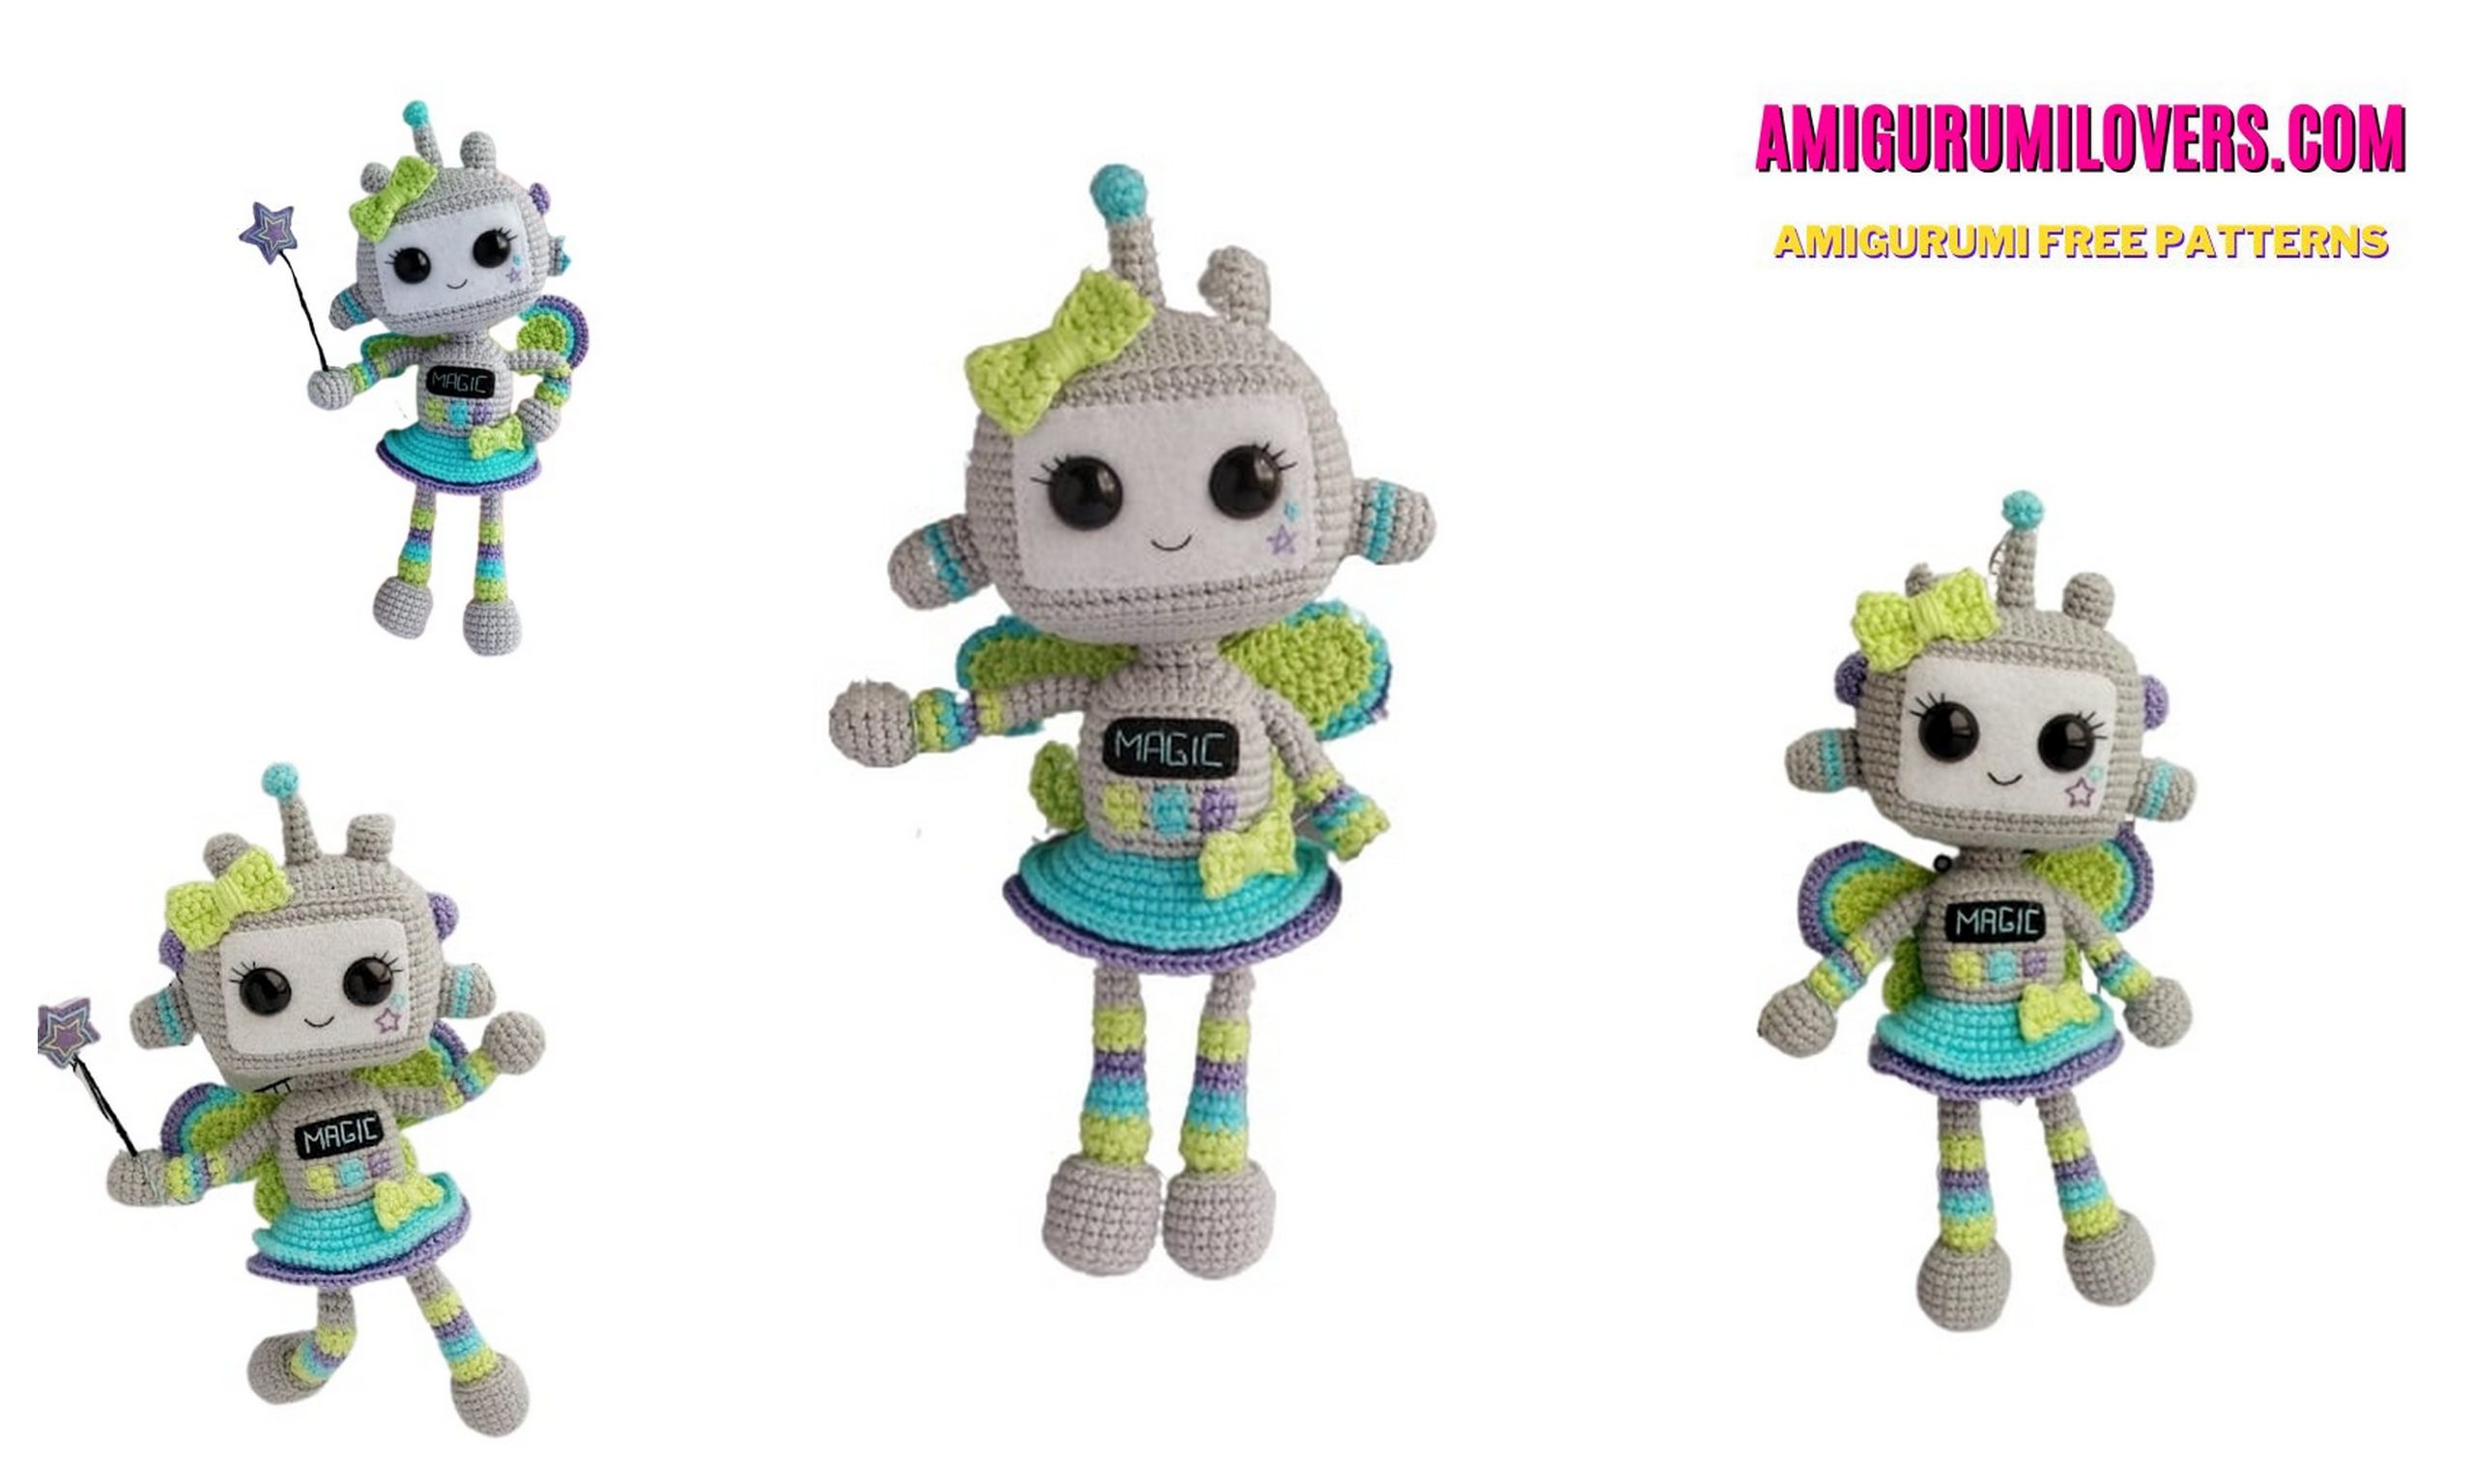
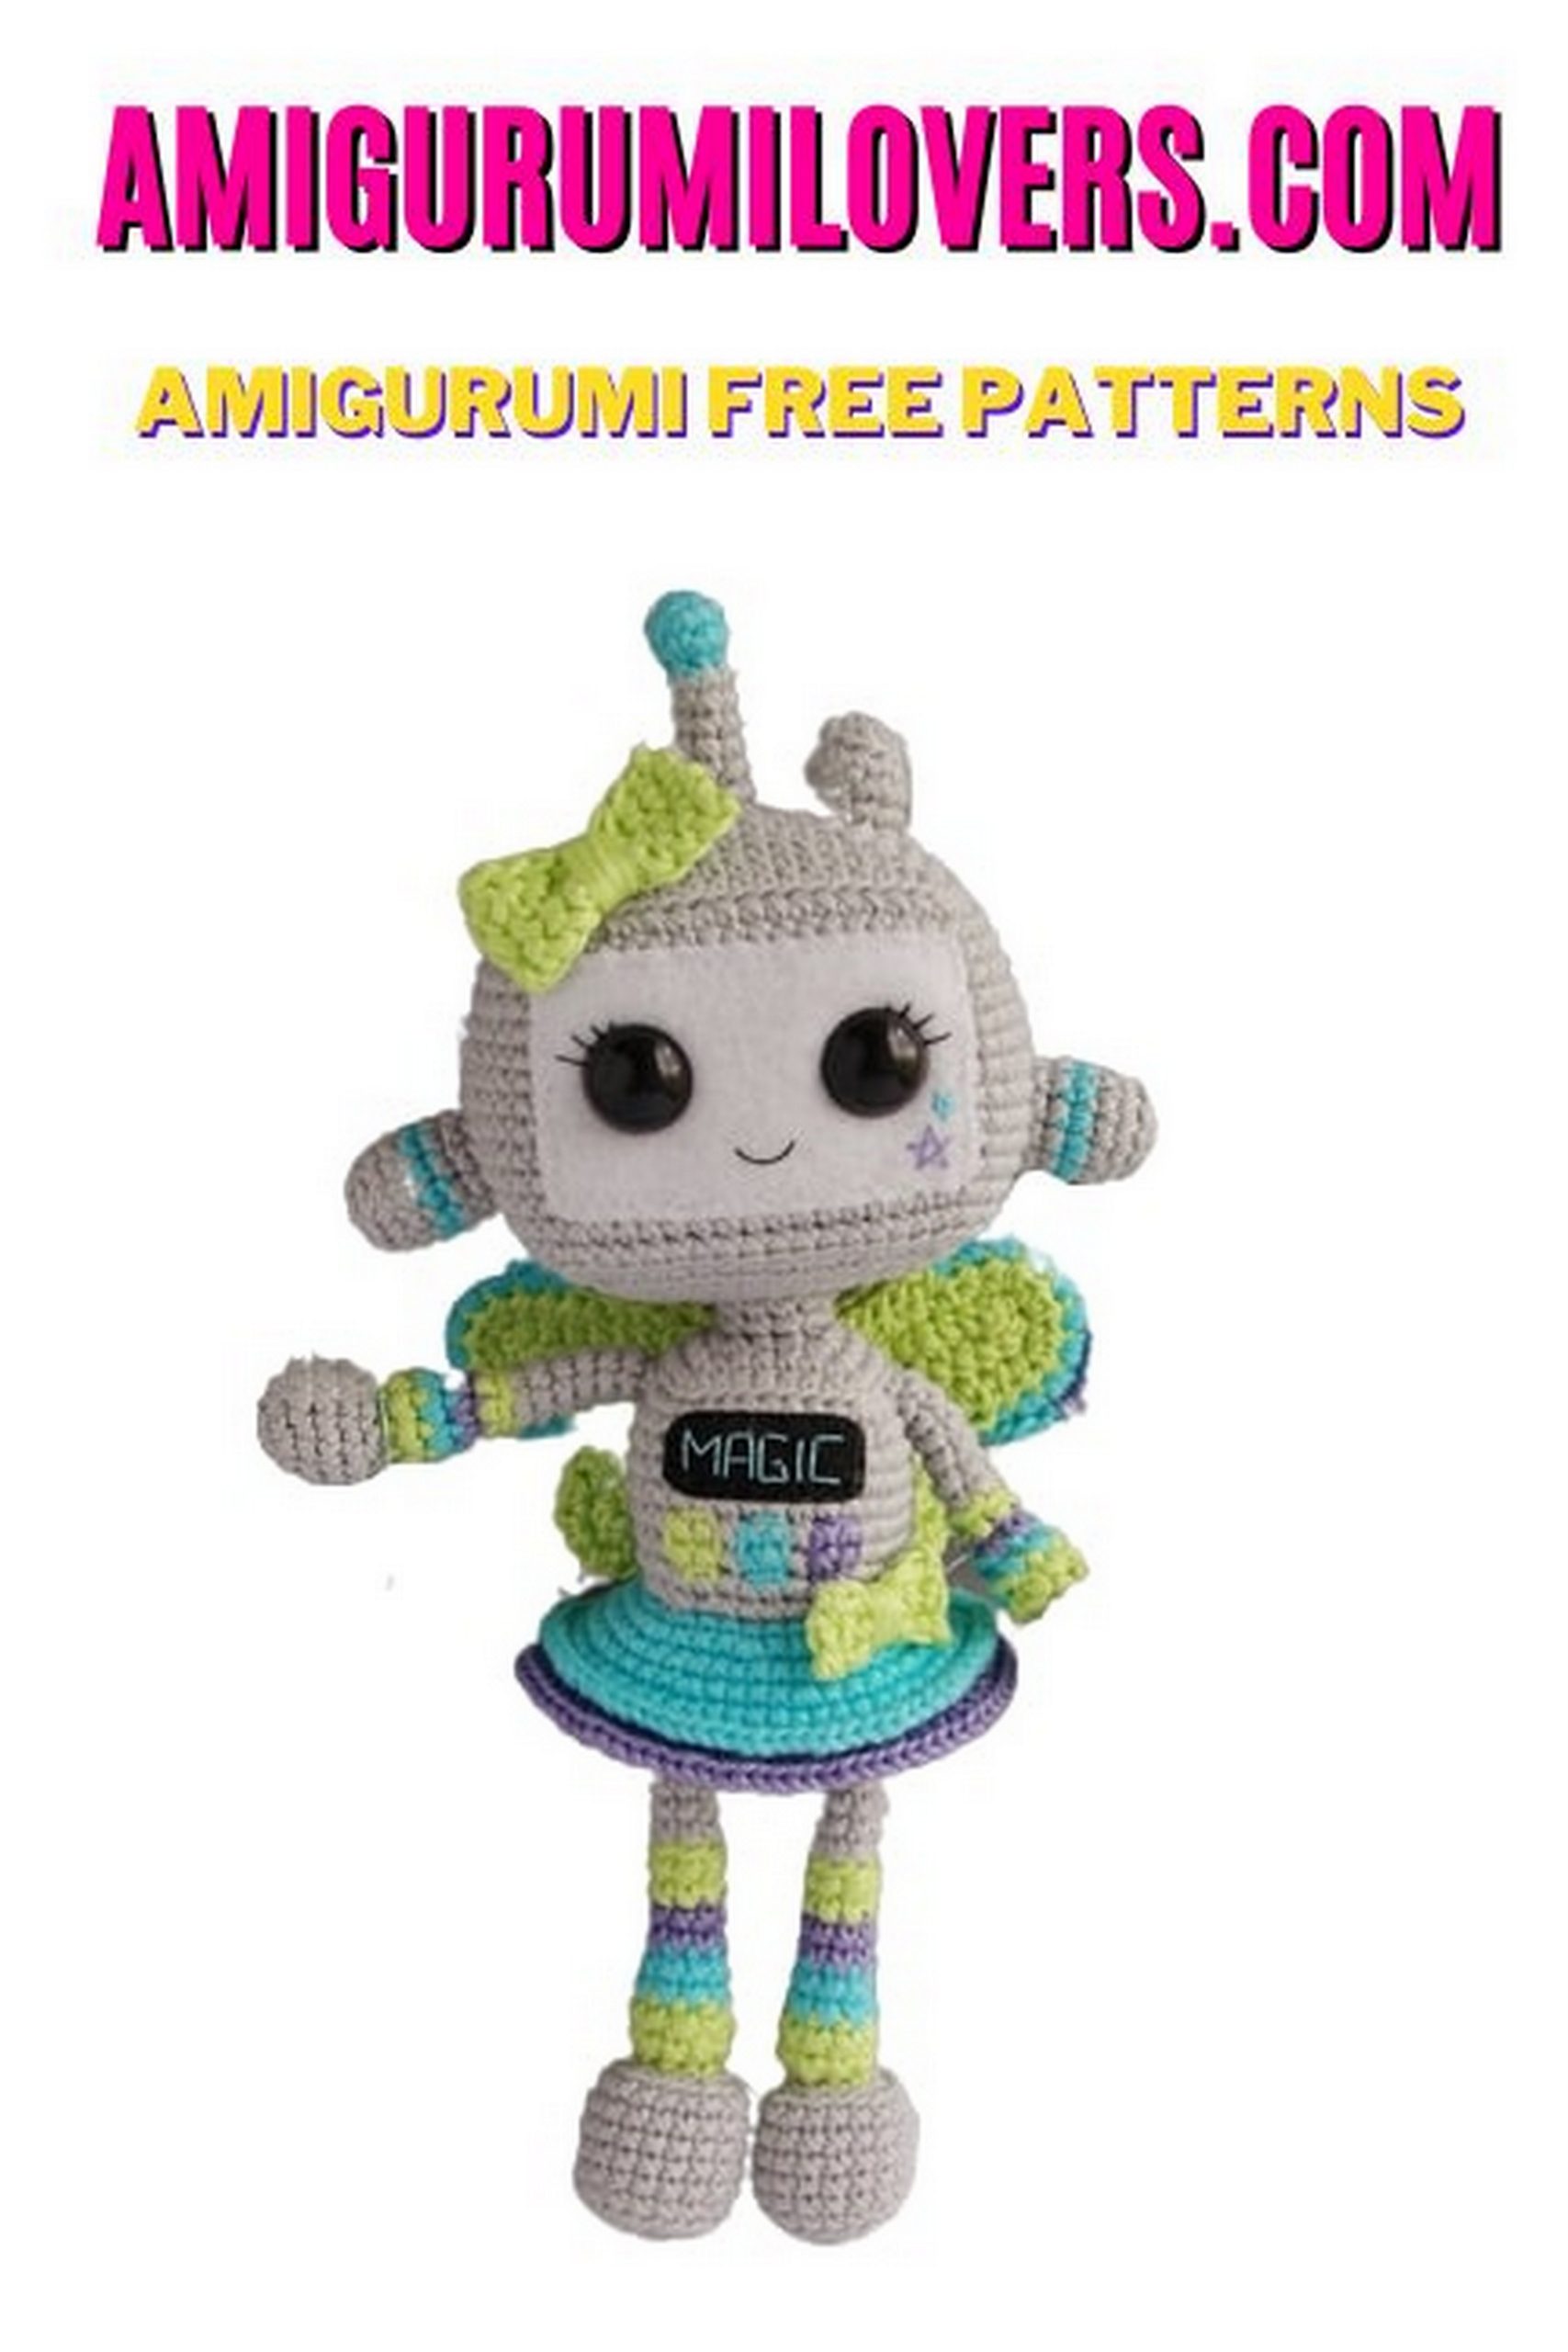
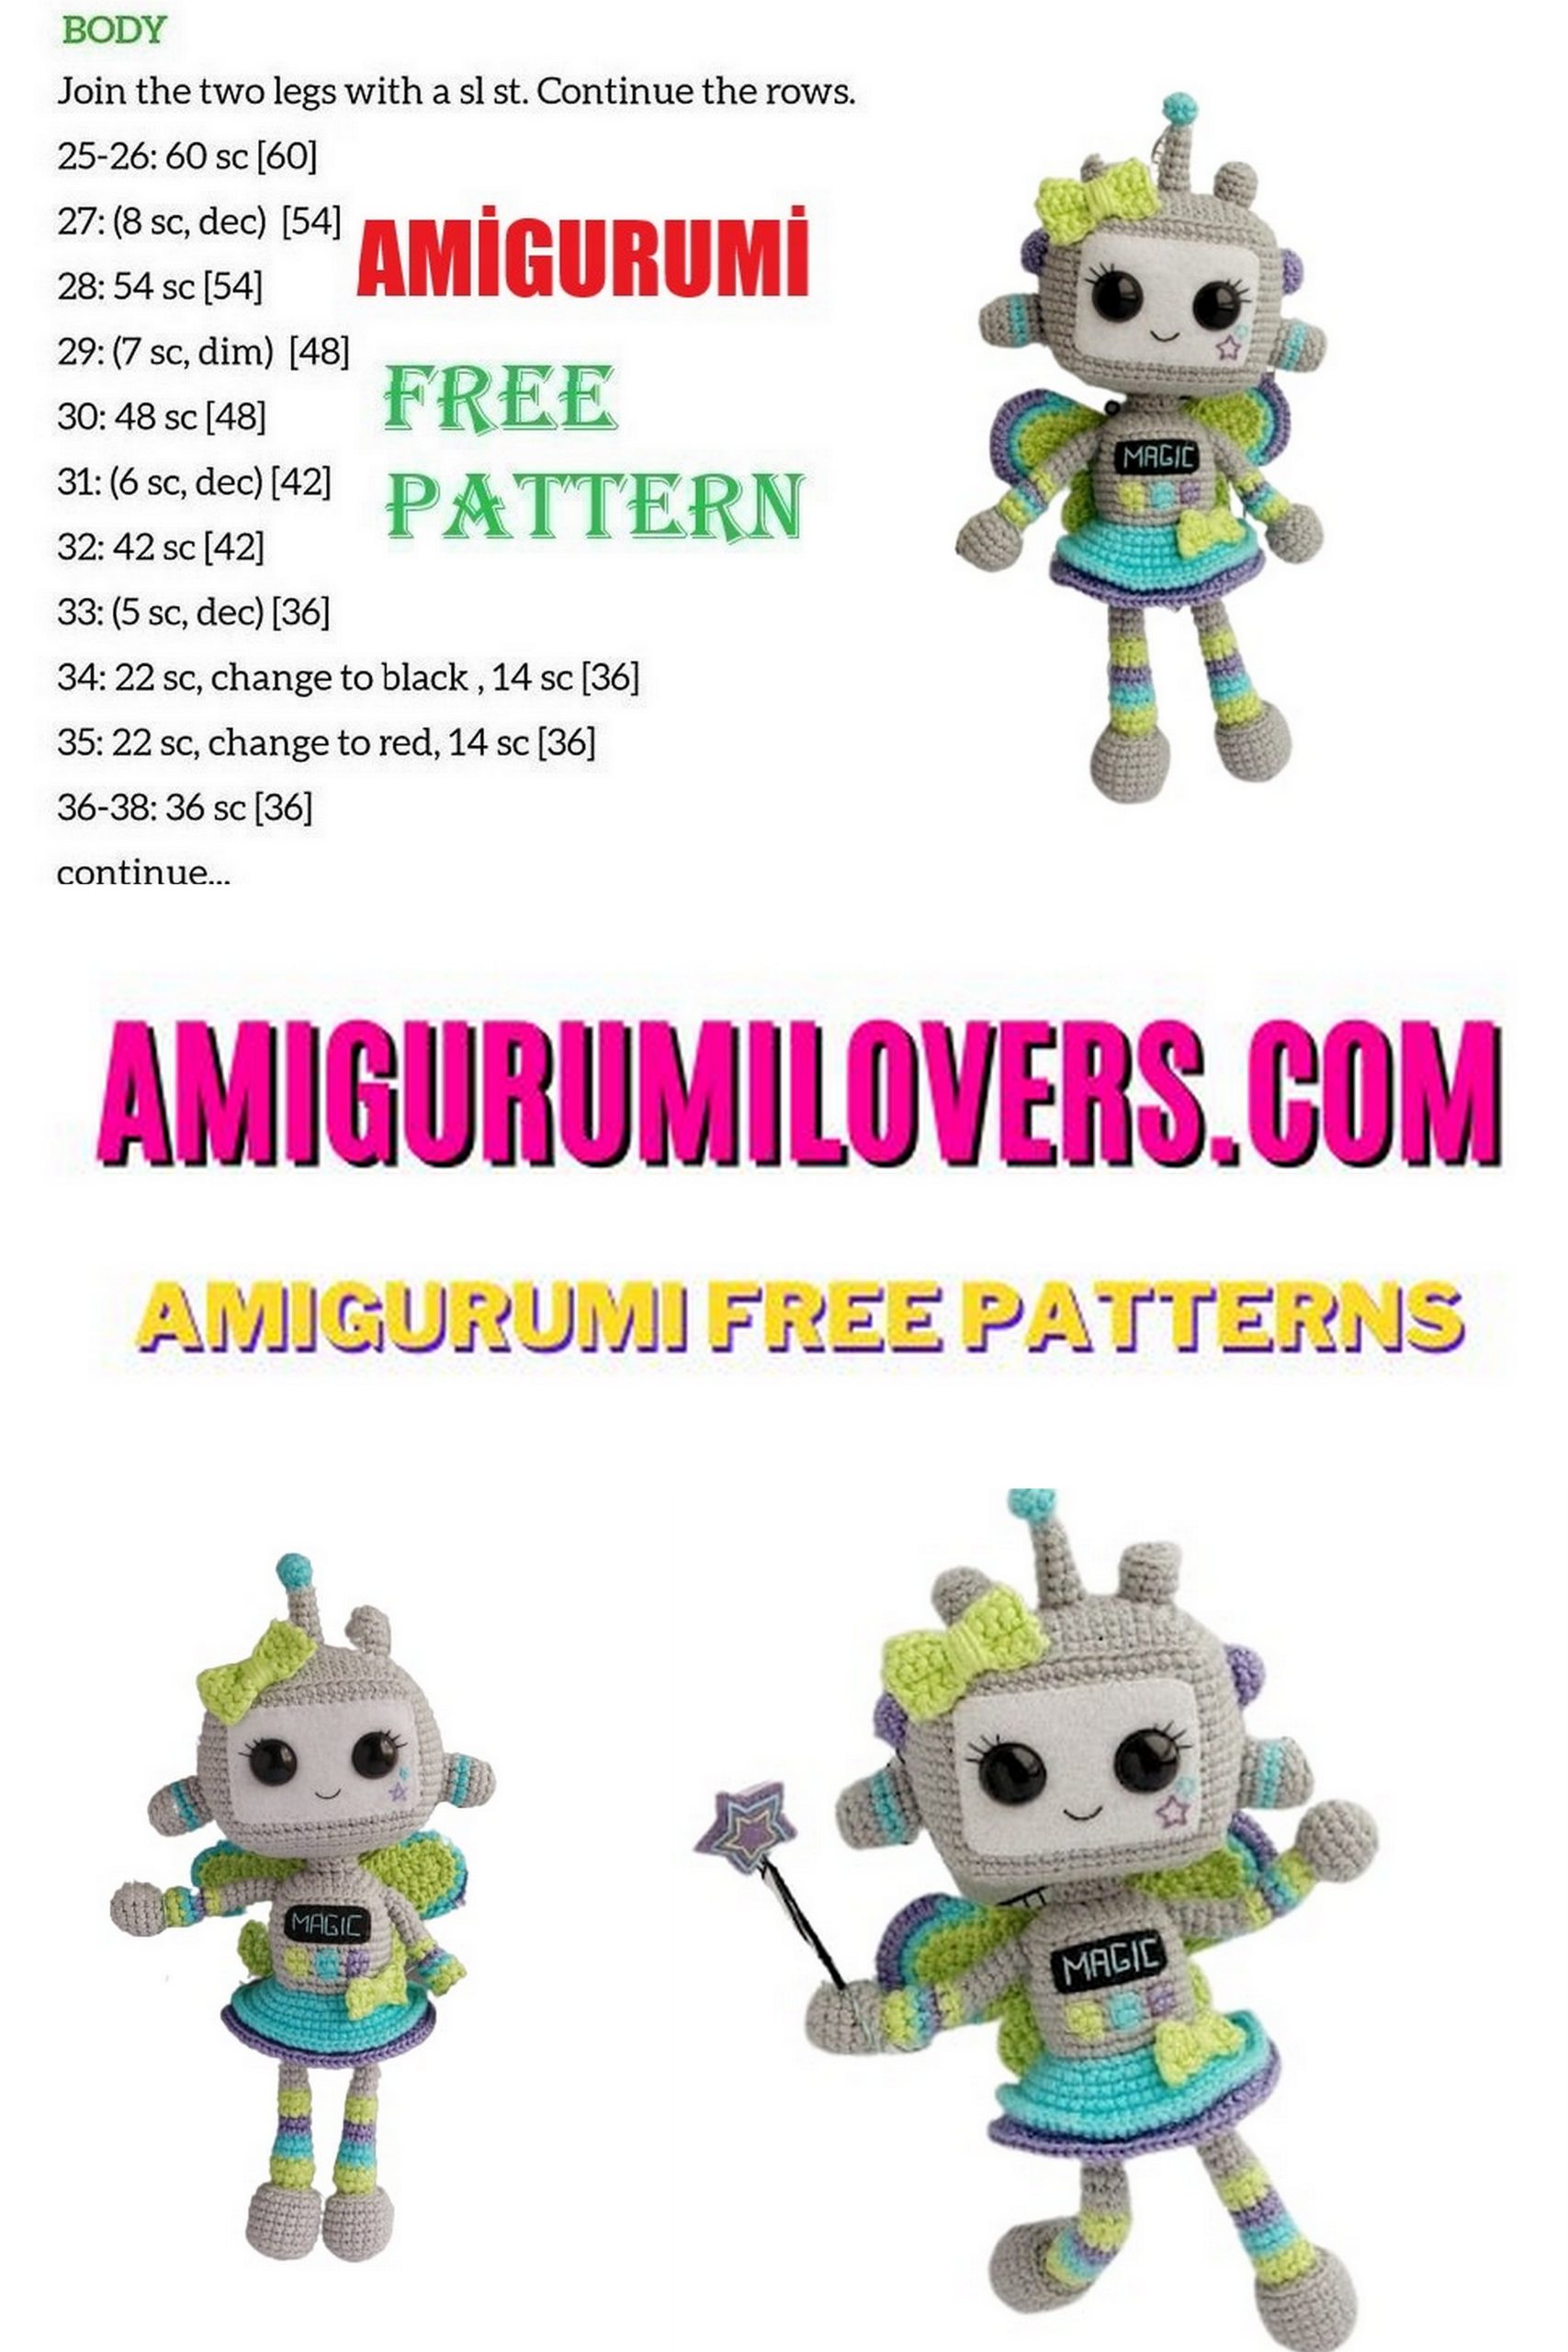
Amigurumi Ms. Robot Free Pattern
You may also enjoy exploring our free amigurumi patterns and other popular amigurumi animal patterns available on our website.
Are you ready to dive into the whimsical world of amigurumi? If you’ve ever wanted to create your own adorable stuffed toys, you’re in for a treat! In this blog post, we’re excited to share a free crochet pattern for Amigurumi Ms. Robot, a charming little character that will add a sprinkle of fun to your crochet collection. Whether you are a seasoned crocheter or just getting started, this pattern is designed to be approachable and enjoyable, making it perfect for beginners and experts alike.
Amigurumi, a traditional Japanese art of crocheting or knitting small stuffed animals and creatures, has gained immense popularity worldwide. Its playful yet intricate designs inspire creativity and provide endless opportunities for customization. With the simple techniques involved, you’ll soon find yourself absorbed in the art of stitching beautiful creations. The best part? You don’t need to break the bank to get your hands on unique crochet patterns. This free pattern for Amigurumi Ms. Robot offers a wonderful chance to enhance your skills without any cost.
As you embark on this crochet adventure, you’ll not only learn the basics of amigurumi but also explore the finer details that bring Ms. Robot to life. From her delightful antenna to her charming little smile, each element of this pattern has been crafted to ensure a satisfying and rewarding experience. The materials you’ll need are accessible and can be easily found at your local craft store or online. This makes it convenient for anyone to start their crocheting journey without overwhelming them with unusual supplies.
Throughout this post, we will guide you step-by-step, ensuring that even if you’re new to crochet, you’ll be able to follow along with ease. We’ll cover everything from the initial stitches to the final assembly, providing helpful tips along the way. Plus, working on an amigurumi project like Ms. Robot is a joyful way to practice your skills and gain confidence in your crocheting abilities. You’ll find that once you complete this adorable creation, you’ll want to tackle even more intricate patterns and expand your crochet repertoire.
So, grab your yarn, your crochet hook, and let’s get started on creating the one and only Amigurumi Ms. Robot! This project is not just a wonderful way to spend your free time but also a perfect gift idea for friends and family. Ready to let your creativity shine? Follow along for the free pattern and begin your crafting journey into the delightful realm of amigurumi. Happy crocheting!
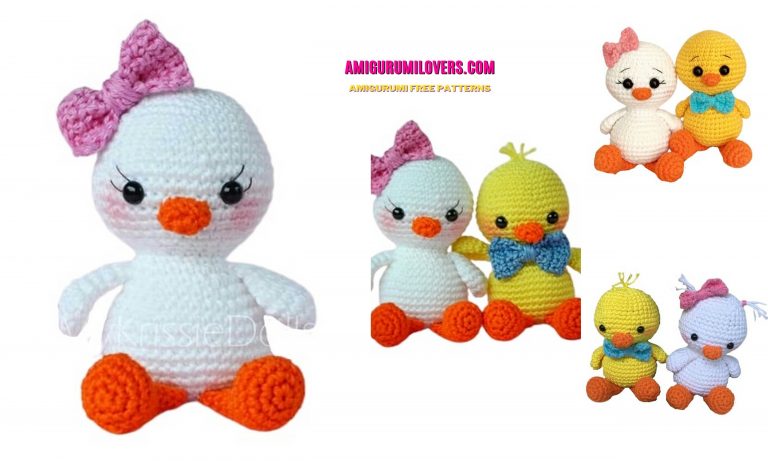
Many different amigurumi patterns are with you on this site for free. You will love this awesome amigurumi ms.robot pattern.
Materials and tools:
# yarn of four colors: gray, light green, turquoise, lilac;
# a suitable size hook;
# stuff for stuffing;
# scissors;
# needle for stitching;
# eyes: buttons, beads, special plastic eyes for toys;
# something to decorate: buttons, beads, beads, etc .;
# felt for face design and other details (according desire);
# wire for the frame (optional).
Abbreviations:
# ch. – chain;
# sc – single crochet;
# hsc – half single crochet;
# hdc – half double crochet;
# sl-st – slip stitch;
# BLO (back loops only) – knit for the back half loop;
# FLO (front loops only) – knit for the front half loop;
# inc – increase (2 columns in one loop);
# ‘‘ inc ’’ – double increase (3 columns in one loop);
# dec – decrease (2 columns knitted together);
# ‘‘ dec ’’ – double decrease (3 columns tied together);
PATTERN
Head
Knit with gray yarn.
7 + 1 ch., Start in the second loop from the hook.
1 row – 6 sc, 3 sc in one loop, turn and continue knitting on the other side of the chain: 5 sc, inc (16)
2nd row – * ’‘ inc ’’, 5 sc, ‘‘ inc ’’, 1 sc * rep. 2 times (24)
3 row – * 1 sc, ‘‘ inc ’’, 7 sc, ‘‘ inc ’’, 2 sc * rep. 2 times (32)
4th row – * 2 sc, ‘‘ inc ’’, 9 sc, ‘‘ inc ’’, 3 sc * rep. 2 times (40)
5 row – * 3 sc, ‘‘ inc ’’, 11 sc, ‘‘ inc ’’, 4 sc * rep. 2 times (48)
6th row – * 4 sc, ‘‘ inc ’’, 13 sc, ‘‘ inc ’’, 5 sc * rep. 2 times (56)
7 row – * 5 sc, ‘‘ inc ’’, 15 sc, ‘‘ inc ’’, 6 sc * rep. 2 times (64)
8 row – BLO: 64 sc
9-21 rows – 64 sc (13 rows)
22 row – BLO: * 5 sc, ‘‘ dec ’’, 15 sc, ‘‘ dec ’’, 6 sc * rep. 2 times (56)
23 row – * 4 sc, ‘‘ dec ’’, 13 sc, ‘‘ dec ’’, 5 sc * rep. 2 times (48)
24 row – * 3 sc, ‘‘ dec ’’, 11 sc, ‘‘ dec ’’, 4 sc * rep. 2 times (40)
25 row – * 2 sc, ‘‘ dec ’’, 9 sc, ‘‘ dec ’’, 3 sc * rep. 2 times (32)
Insert eyes (if necessary). Start typing.
26th row – * 1 sc, ‘‘ dec ’’, 7 sc, ‘‘ dec ’’, 2 sc * rep. 2 times (24)
27 row – * ’‘ dec ’’, 5 sc, ‘‘ dec ’’, 1 sc * rep. 2 times (16)
28 row – 1 hsc, * 5 sc, ‘‘ dec ’’ * rep. 2 times
Fasten and cut the thread, leaving a long end for stitching holes.
If you cannot get an even box, you can finish knitting on the 21st row, and knit the “bottom” separately (1-7 row) and then sew.
Gizmos on the head
Antenna (1 pc.)
Start knitting with turquoise yarn.
1 row – 6 sc into magic ring (6)
2 row – * inc, 1 sc * rep. 3 times (9)
Gently stuff.
3 row – * dec, 1 sc * rep. 3 times (6)
Next, knit with gray yarn.
4th row – FLO: 6 sc
5-6 row – 6 sc
7 row – inc, 5 sc (7)
8 row – 3 sc, inc, 3 sc (8)
9 row – 7 sc, inc (9)
Fasten and cut the thread, leaving a long end for sewing on.
Part 1 (2 pcs.)
Start knitting with gray yarn.
1 row – 6 sc into magic ring (6)
2 row – * inc * rep. 6 times (12)
3 row – BLO: 12 sc
4 row – 12 sc
Next, knit with turquoise yarn.
5 row – 12 sc
Next, knit with gray yarn.
6-7 row – 12 sc
Fasten and cut the thread, leaving a long end for sewing on.
Part 2 (2 pcs.)
Knit with lilac yarn.
1 row – 6 sc into magic ring (6)
2 row – * inc * rep. 6 times (12)
3 row – 12 sc
Fasten and cut the thread, leaving a long end for sewing on.
Part 3 (2 pcs.)
Knit with gray yarn.
1 row – 5 sc into magic ring (5)
2 row – * inc * rep. 5 times (10)
3 row – BLO: 10 sc
4-5 row – 10 sc
Fasten and cut the thread, leaving a long end for sewing on.
Torso
Start knitting with gray yarn.
Rows to close. We knit the first column in the same loop as the connecting column of the previous row!
1 row – 6 sc in amigurumi ring, sl-st (6)
2 row – 1 ch., 1 sc, * inc * rep. 5 times, sl-st (11)
3 row – 1 ch., BLO: 11 sc, sl-st
4 row – 1 ch., 11 sc, sl-st
5 row – 1 ch., FLO: 1 sc, ‘‘ inc ’’, * 2 sc, ‘‘ inc ’’ * rep. 3 times, sl-st (nineteen)
6 row – 1 ch., 2 sc, ‘‘ inc ’’, * 4sc, ‘‘ inc ’’ * rep. 3 times, 1 sc, sl-st (27)
7 row – 1 ch., 3 sc, ‘‘ inc ’’, * 6 sc, ‘‘ inc ’’ * rep. 3 times, 2 sc, sl-st (35)
8 row – 1 ch., BLO: 35 sc, sl-st
9-12 row – 1 ch., 35 sc, sl-st (4 rows)
13-14 row – 1 ch., 13 sc, 2 sc light green, 1 sc gray, 2 sc turquoise, 1 sc gray color, 2 sc purple, 14 sc gray, sl-st (35)
15-16 row – 1 ch., 35 sc, sl-st
17th row – 1 ch., BLO: 2 sc, ‘‘ dec ’’, * 6 sc, ‘‘ dec ’’ * rep. 3 times, 3 sc, sl-st (27)
18 row – 1 ch., 1 sc, ‘‘ dec ’’, * 4 sc, ‘‘ dec ’’ * rep. 3 times, 2 sc, sl-st (nineteen)
Start typing.
19 row – 1 ch., ‘‘ Dec ’’, * 2 sc, ‘‘ dec ’’ * rep. 3 times, 1 sc (11)
20 row – 1 ch., * Dec * rep. 6 times (6)
Fasten and cut the thread. Hide the tip.
If you can’t get a smooth kdec, you can finish knitting on the 16th row, and “bottom” knit separately (for below) and then sew.


Scheme for the bottom :
1 row – 6 sc in amigurumi ring, sl-st (6)
2 row – 1 ch., 1 sc, * inc * rep. 5 times, sl-st (11)
3 row – 1 ch., 1 sc, ‘‘ inc ’’, * 2 sc, ‘‘ inc ’’ * rep. 3 times, sl-st (19)
4th row – 1 ch., 2 sc, ‘‘ inc ’’, * 4sc, ‘‘ inc ’’ * rep. 3 times, 1 sc, sl-st (27)
5 row – 1 ch., 3 sc, ‘‘ inc ’’, * 6 sc, ‘‘ inc ’’ * rep. 3 times, 2 sc, sl-st (35)
Fasten and cut the thread, leaving a long end for sewing on.
Skirt
We work with the torso.
We start knitting with turquoise yarn.
Between rows 16 and 17 we still have a half-loop strip. TO this strip at the back (where the “seam” of the connecting posts) attach the thread and knit into these half-loops, no longer locking ranks.
1 row – 36 sc
2 row – * 3 sc, inc * repeat 9 times (45)
3 row – 45 sc
4th row – * 4 sc, inc * repeat 9 times (54)
5 row – 54 sc
6 row – FLO: * 2 sc, inc * repeat 18 times (72)
Fasten and cut the thread. Hide the tip.
We attach the thread of lilac color to the back half loops between rows 5 and 6.
6 ‘row – BLO: 54 sc
7 ‘row – * 1 hdc, 2 hdc in one loop * repeat 27 times (81)
Fasten and cut the thread. Hide the tip.
Hands
Part 1 (2 pcs.)
Start knitting with light green yarn.
8 ch. to close in a ring.
1 row – 8 sc
Next, knit with turquoise yarn.
2 row – 8 sc
Next, knit yarn of lilac color.
3 row – 8 sc
Next, knit with light green yarn.
4 row – dec, 6 sc (7)
Next, knit with gray yarn.
5 row – BLO: 7 sc
6-10 row – 7 sc (5 rows)
Fasten and cut the thread, leaving a long end for sewing on.
Part 2 (2 pcs.)
Knit with gray yarn.
1 row – 5 sc into magic ring (5)
2 row – * inc * rep. 5 times (10)
3 row – * 1 sc, inc * rep. 5 times (15)
4-6 row – 15 sc (3 rows)
7 row – * 1 sc, dec * rep. 5 times (10)
To fill.
8 row – * dec * rep. 5 times (5)
Fasten and cut the thread. Hide the tip.
Legs
Part 1 (2 pcs.)
Start knitting with light green yarn.
10 ch. to close in a ring.
1 row – 10 sc
2 row – dec, 8 sc (9)
Next, knit with turquoise yarn.
3-4 row – 9 sc
Next, knit yarn of lilac color.
5-6 row – 9 sc
Next, knit with light green yarn.
7 row – dec, 7 sc (8)
8 row – 8 sc
Next, knit with gray yarn.
9 row – BLO: 8 sc
10-18 row – 8 sc (9 rows)
Fasten and cut the thread, leaving a long end for sewing on.
Part 2 (2 pcs.)
Knit with gray yarn.
Rows to close. We knit the first column in the same loop as the connecting column of the previous row!
1 row – 6 sc in amigurumi ring, sl-st (6)
2 row – 1 ch., 1 sc, * inc * rep. 5 times, sl-st (11)
3 row – 1 ch., 1 sc, ‘‘ inc ’’, * 2 sc, ‘‘ inc ’’ * rep. 3 times, sl-st (19)
4 row – 1 ch., BLO: 19 sc, sl-st (19)
5-9 row – 1 ch., 19 sc, sl-st (5 rows)
10 row – 1 ch., BLO: 1 sc, ‘‘ dec ’’, * 2 sc, ‘‘ dec ’’ * rep. 3 times, sl-st (11)
To fill.
11 row – 1 ch., * ’‘ Dec ’’ * rep. 4 times, sl-st (4)
Fasten and cut the thread. Hide the tip.
Wings
Part 1 (2 pcs.)
Knit with light green yarn.
6 + 1 ch., Start in the second loop from the hook.
1 row – 4 sc, 1 hdc, 4 hdc in one loop; turn and continue knitting on the other side of the chain: 1 hdc, 4 sc (14)
Turn the part inside out to itself, as when knitting rotary rows.
2 row – 1 ch., 4 sc, 1 hdc, * 2 hdc in one loop * rep. 4 times, 1 hdc, 4 sc (18)
Fasten and cut the thread, leaving a long end for sewing on.
Part 2 (2 pcs.)
Start knitting with light green yarn.
10 + 1 ch., Start in the second loop from the hook.
1 row – 6 sc, 3 hdc, 4 hdc in one loop; turn and continue knitting on the other side of the chain: 3 hdc, 6 sc (22)
Turn the part inside out towards you and then knit rotary rows.
2 row – 1 ch., 4 hsc, 3 sc, 2 hdc, * 2 hdc in one loop * rep. 4 times, 2 hdc, 3 sc, 4 hsc, rotate (26)
3 row – 1 ch., 8 hsc; further in turquoise color: 1 sc, * inc * rep. 8 times, 1 sc; further light green: 8 hsc, rotate (34)
4 row – 1 ch., 8 hsc; further in turquoise color: 3 hsc; Further purple: * inc, 1 sc * repeat 6 times; Further turquoise color: 3 hsc (32 + 8 untied)
Fasten and cut the threads. Tips neatly hide inside the columns so that they are not visible with any side.

Bows (1 + 1 pcs.)
Knit with yarn of green color, in rotary rows.
Big:
8 + 1 ch., Start knitting in the second loop from the hook:
1 row – 8 sc, turn,
2-4 row – 1 ch., 8 sc, turn.
Fasten and cut the thread, leaving a long end
Small:
5 + 1 ch., Start knitting in the second loop from the hook:
1 row – 5 sc, turn;
2-3 row – 1 ch., 5 sc, turn.
Fasten and cut the thread, leaving a long end.
The ends of the threads to the center of the parts and tight wrap, forming a bow.
Assembly
1. The frame. Doing it is optional. Frameless toy it will turn out “squeezing” – with dangling limbs and moving head. It’s better to strengthen the neck. So that ideal skeleton – starting from the head (you can fix the wire inside with a button, until the hole is sewn up), then forming hands and legs.
2. Sew a hole on the bottom of the head. We fix the thread, but not cut off, with it we sew the head to the body. Face can draw with felt. We stuff the antenna and other things sew to the head in random order. If you It seems that something is superfluous, you can safely decirate. Everything in your hands.
3. The extremities are formed from “trdec points” and balls /. For a toy on a frame, it’s better first Sew “tricots” to the body, lightly fill them, and to them already sew balls and kdeciki.
4. Sew wings to the back of the body. Big on top small bottom.
5. Bows are used to decorate the head and skirt.
Buttons on the body can be additionally highlighted stitches, put a small screen on an empty place above them, or anything else. Decorate the wings with buttons, beads or beads. You can make a fairy wand for a fairy.
Before you leave, make sure to check out more free amigurumi crochet patterns and discover new ideas for your next project.
You can also browse our full amigurumi pattern archive for hundreds of beginner-friendly designs.