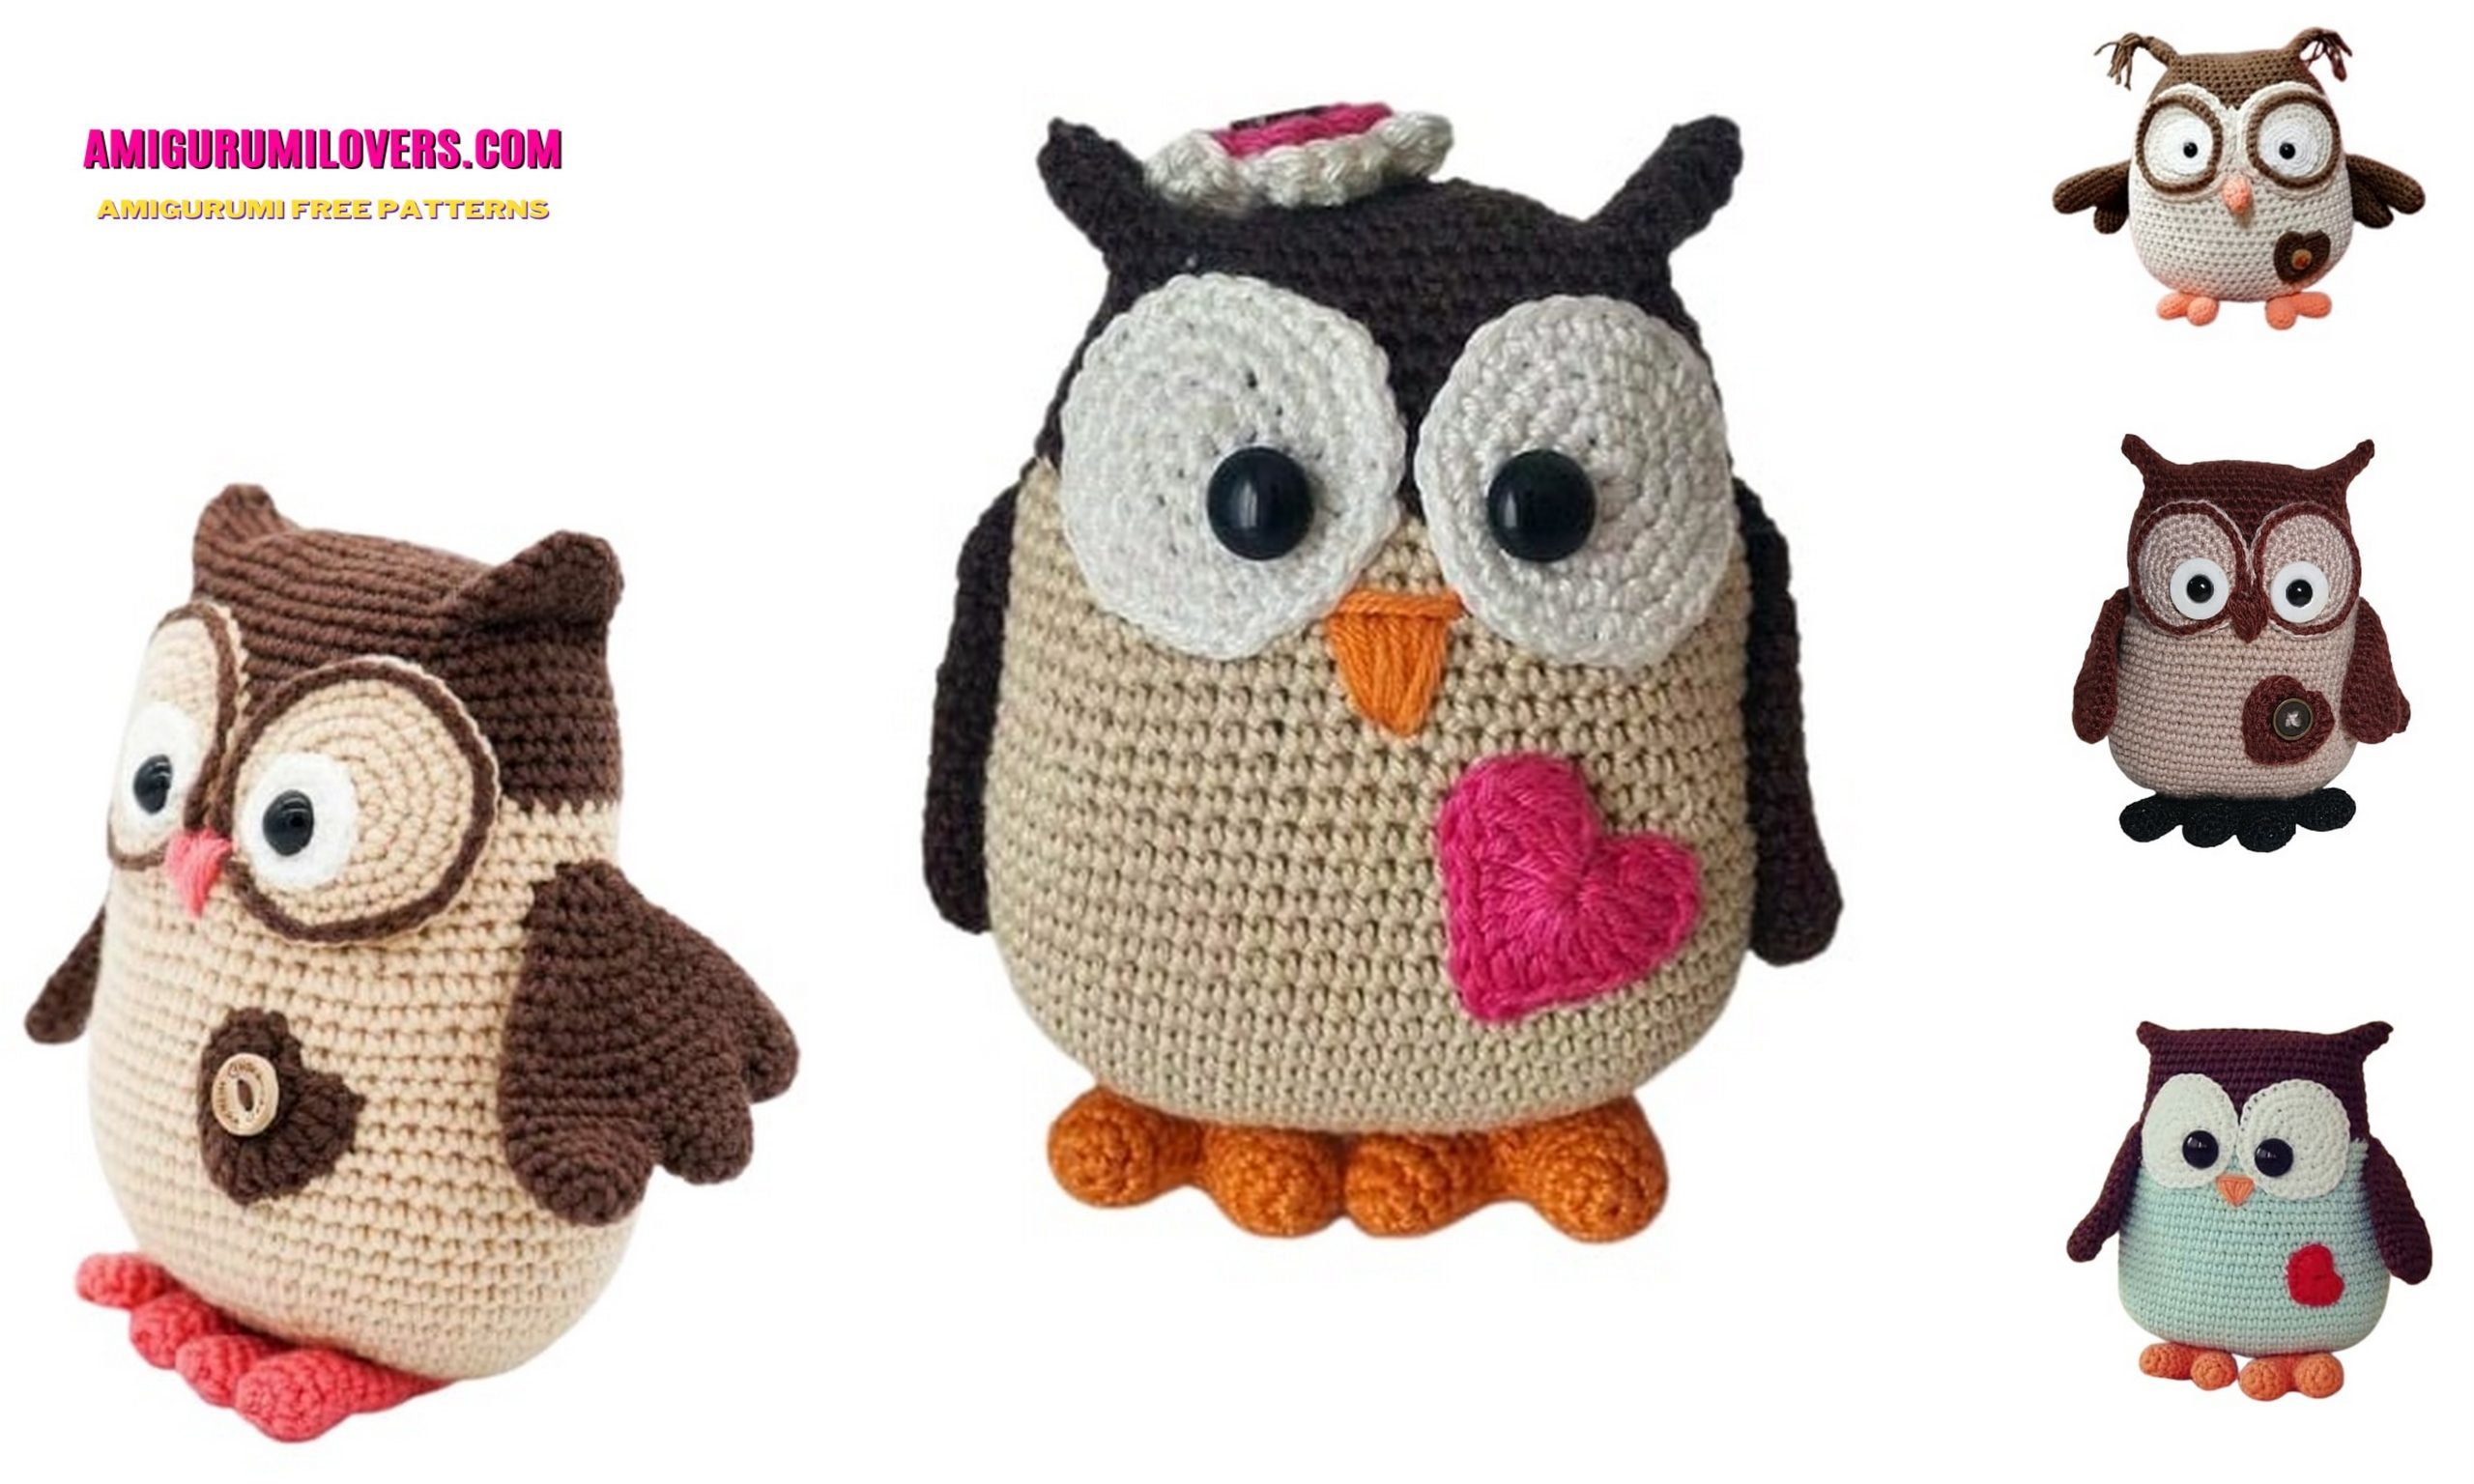
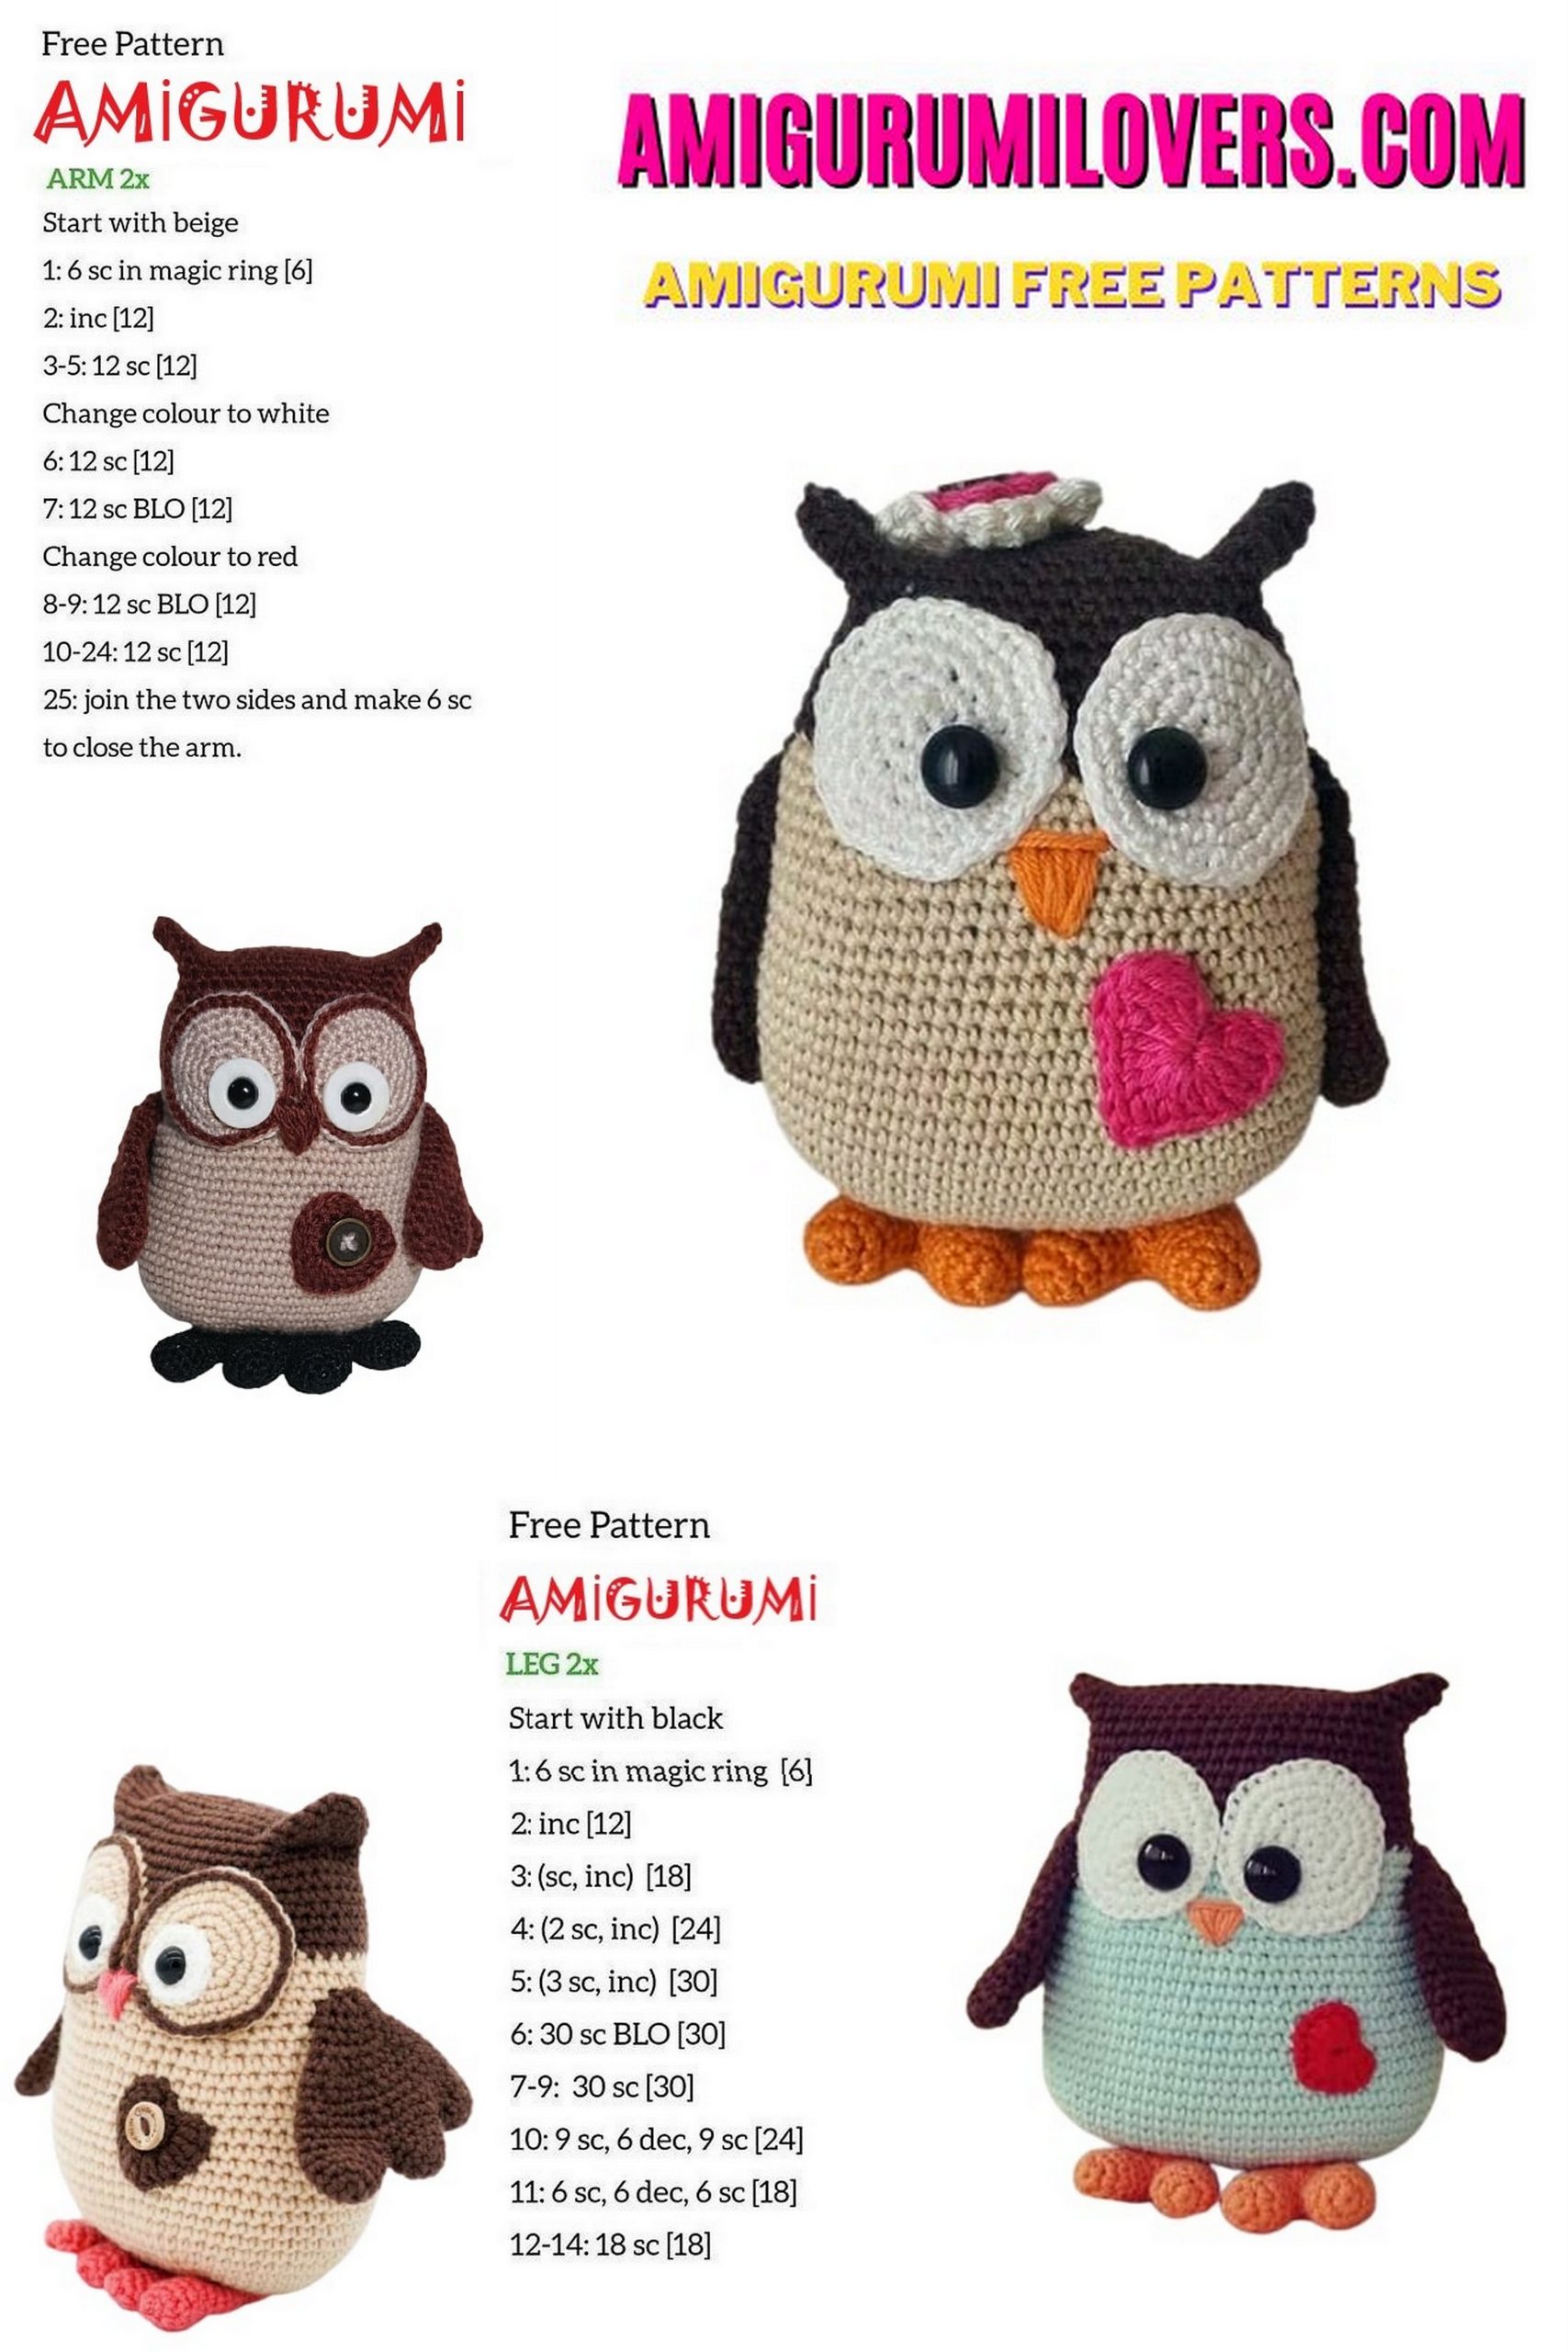
Amigurumi Owl Free Pattern
You may also enjoy exploring our free amigurumi patterns and other popular amigurumi animal patterns available on our website.
Welcome to our crochet corner, where creativity meets craft! If you’re looking to dive into the delightful world of amigurumi, you’ve landed in the right place. In this blog post, we’re excited to share a free pattern for a charming amigurumi owl that is perfect for both beginners and seasoned crafters alike. Amigurumi, with its playful designs and soft textures, adds a whimsical touch to your home or makes for thoughtful handmade gifts. Each stitch you create not only brings this adorable owl to life but also enhances your crochet skills in a fun and engaging way.
Crocheting amigurumi is a rewarding experience that allows you to explore your creativity while making something truly special. This owl pattern is straightforward and uses basic crochet techniques, making it accessible for those who are just starting out. With just a few materials at hand—some yarn, a crochet hook, and a little stuffing—you’ll be on your way to crafting an appealing piece that’s sure to become a favorite for children and adults alike. The process of bringing this cute creature to life is not only enjoyable but also a great opportunity to practice your stitches and develop your crochet technique.
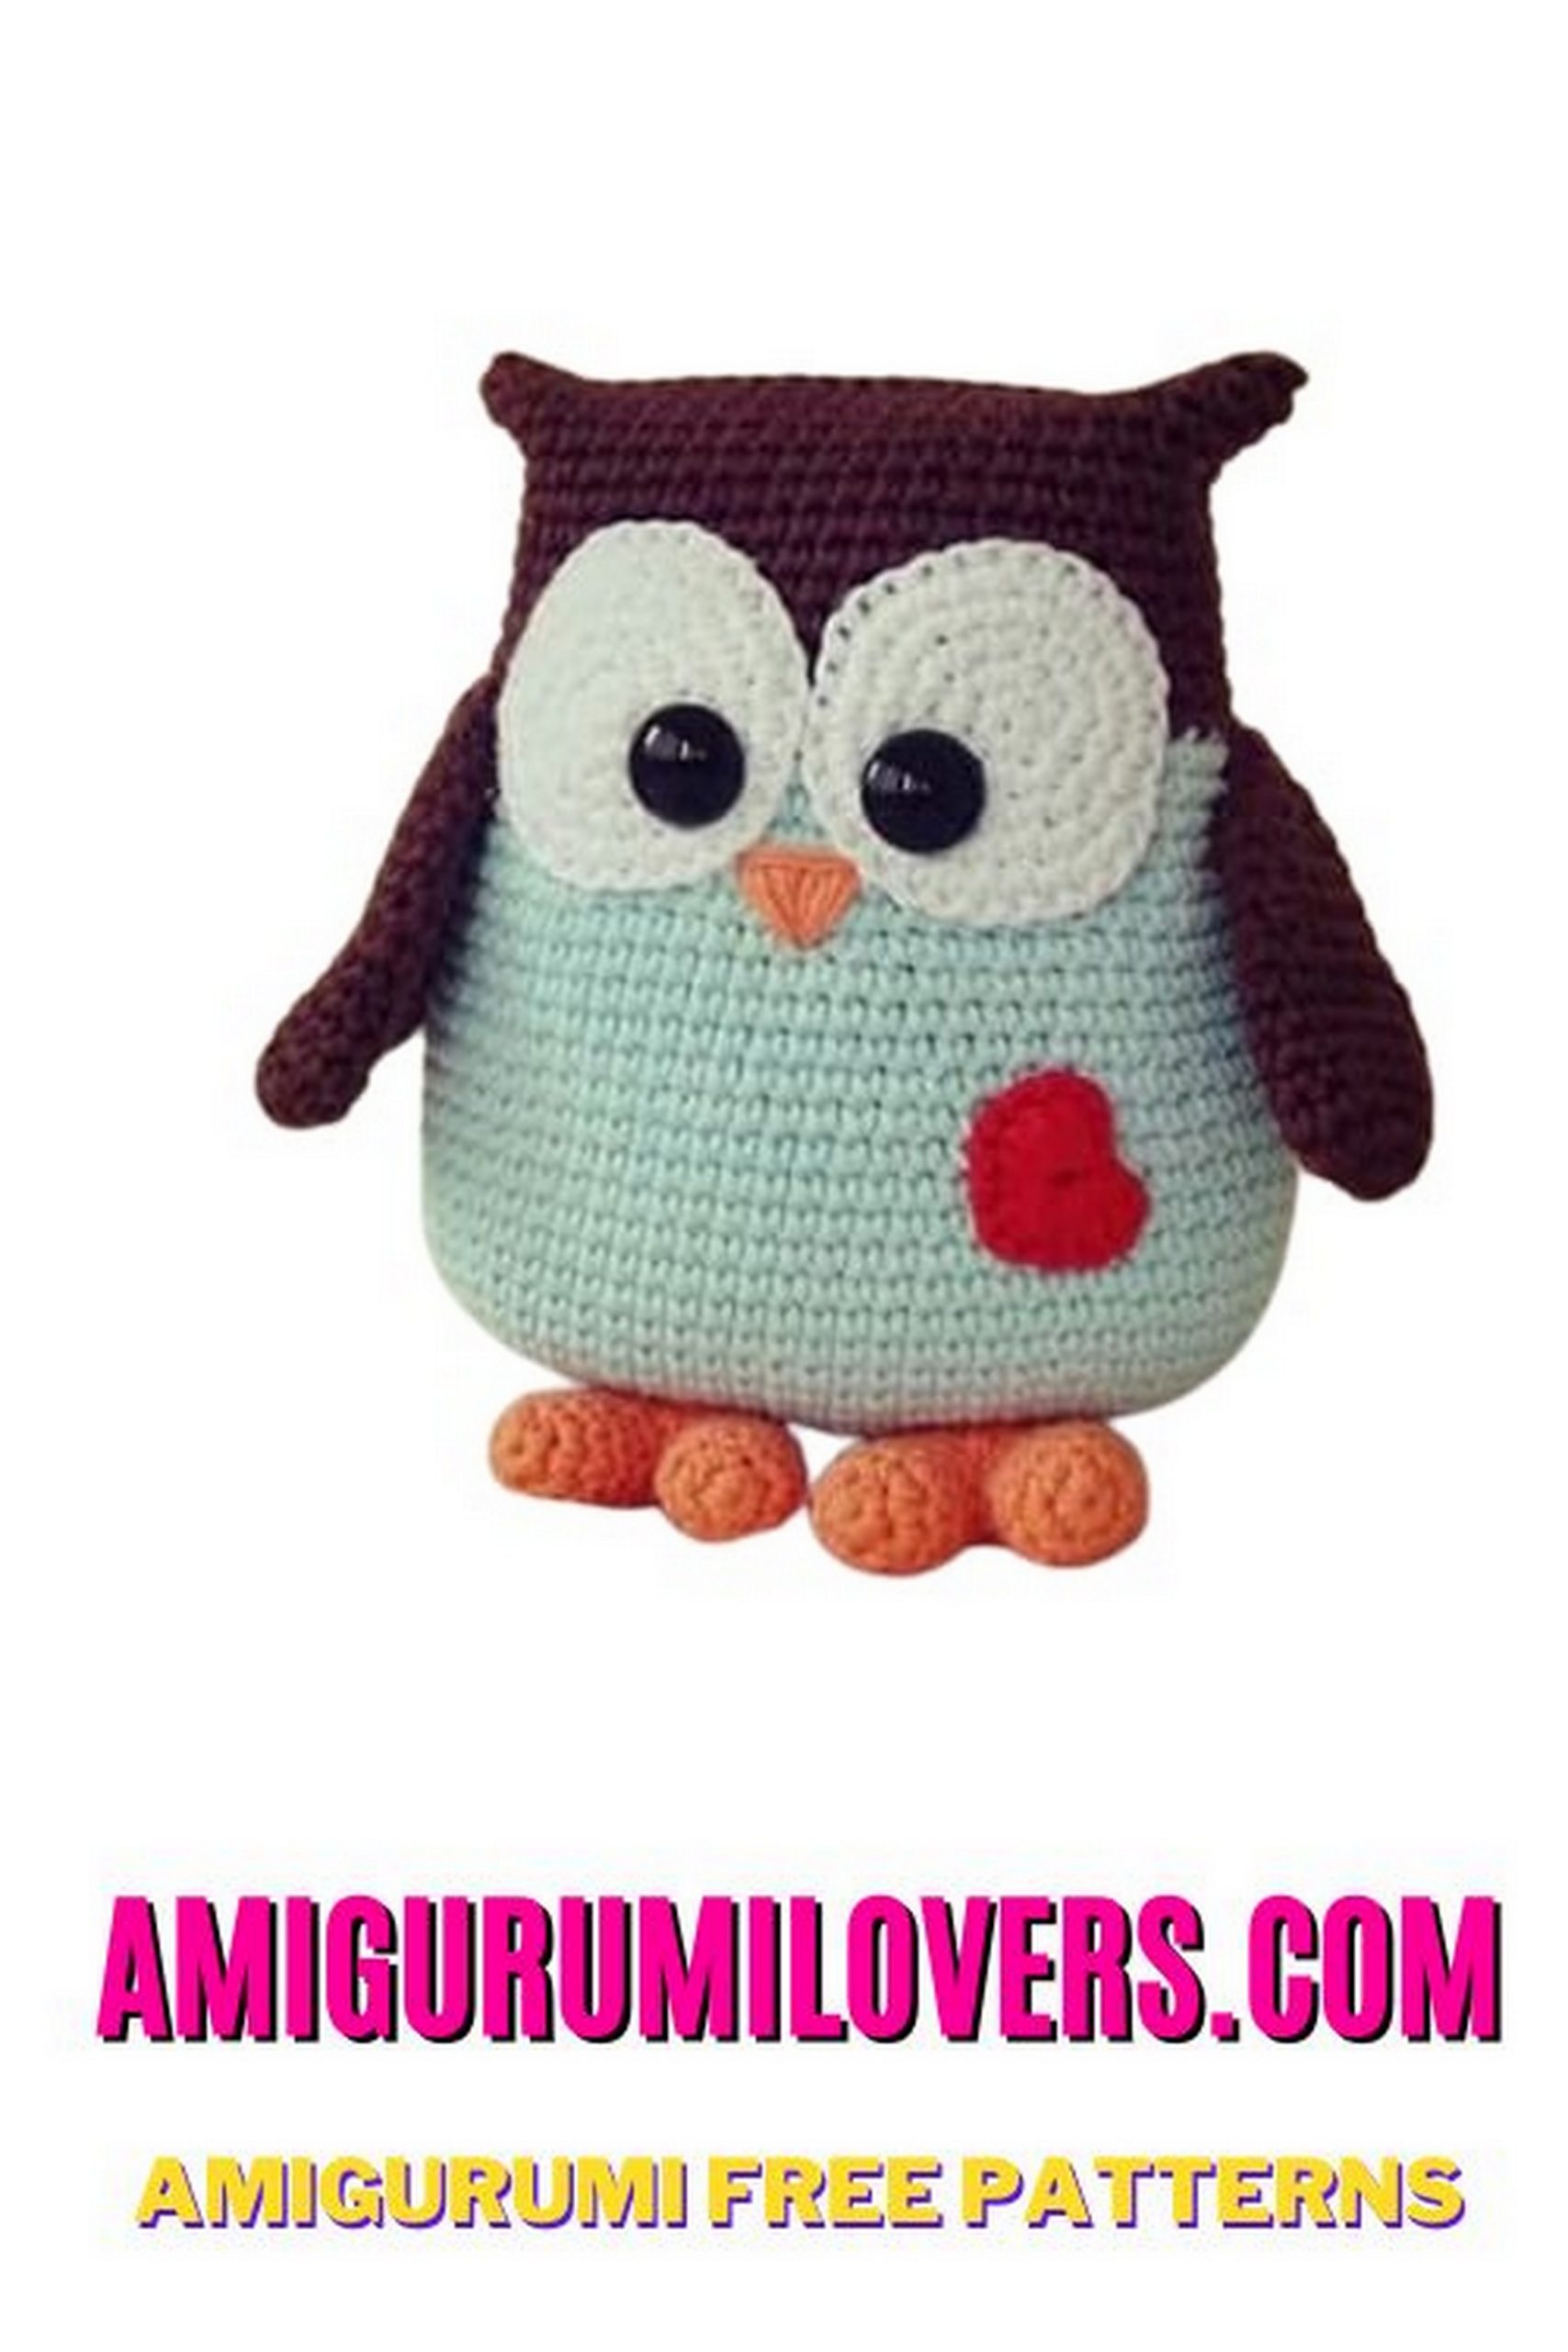
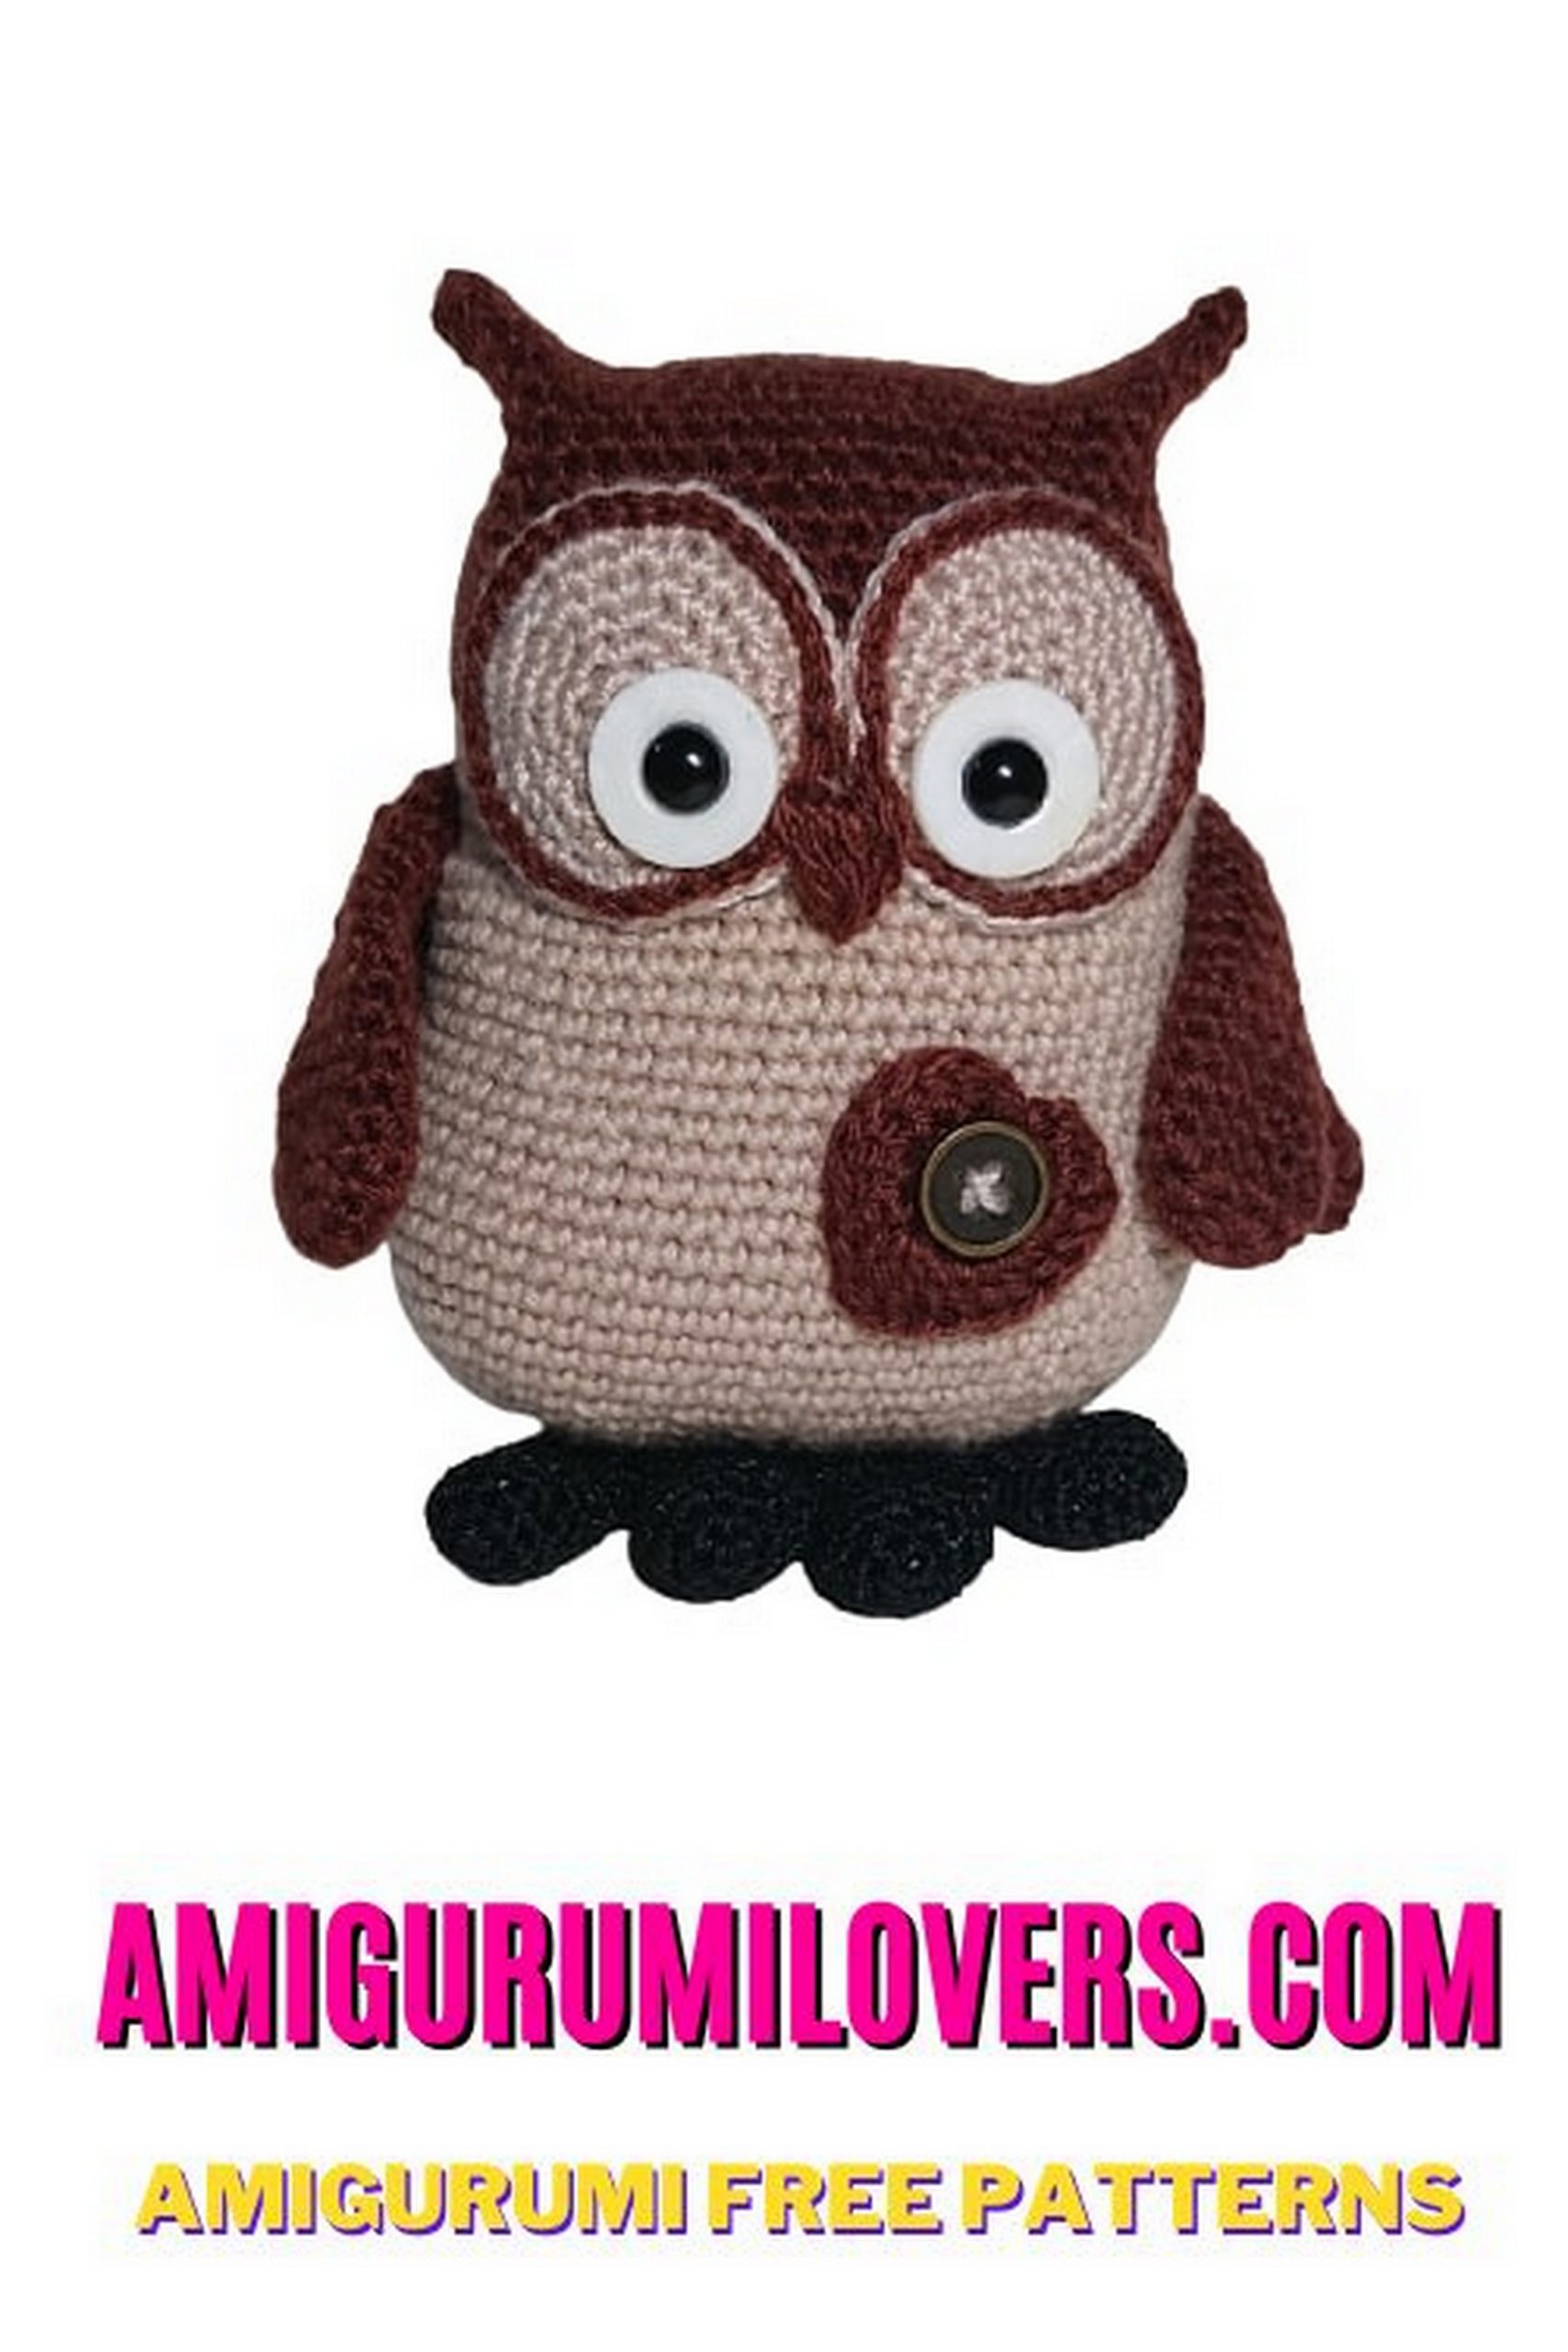
As you follow this free pattern, you’ll notice how satisfying it is to see your progress as the owl takes shape, stitch by stitch. The gentle curve of its body, the spread of its wings, and the careful placement of its eyes come together to create a charming character that is adorable and full of personality. Plus, this project is customizable! You can play around with different yarn colors and embellishments, allowing your unique style to shine through and make your owl stand out. Whether you want to create a collection of owls in various colors or give it a quirky accessory, the possibilities are as limitless as your imagination.
In addition to being a fun project, amigurumi also promotes mindfulness and relaxation. As you focus on each stitch, it’s a great way to unwind and escape from your daily routine. This pattern provides clear, step-by-step instructions to guide you along the way, ensuring that even if this is your first attempt at amigurumi, you’ll feel confident and empowered every step of the journey. So gather your materials, grab your crochet hook, and let’s embark on a creative adventure together. With this free amigurumi owl pattern, you’ll not only enhance your crocheting skills but also create a delightful keepsake that you’ll cherish for years to come.
Cute owl amigurumi free pattern is waiting for you in this article. We continue to share the latest amigurumi recipes.
Abbreviations
Mr = Magic ring
sc = single crochet
inc = Increase
dec = decrease
sl-st = slip-stitch
dc =double crochet
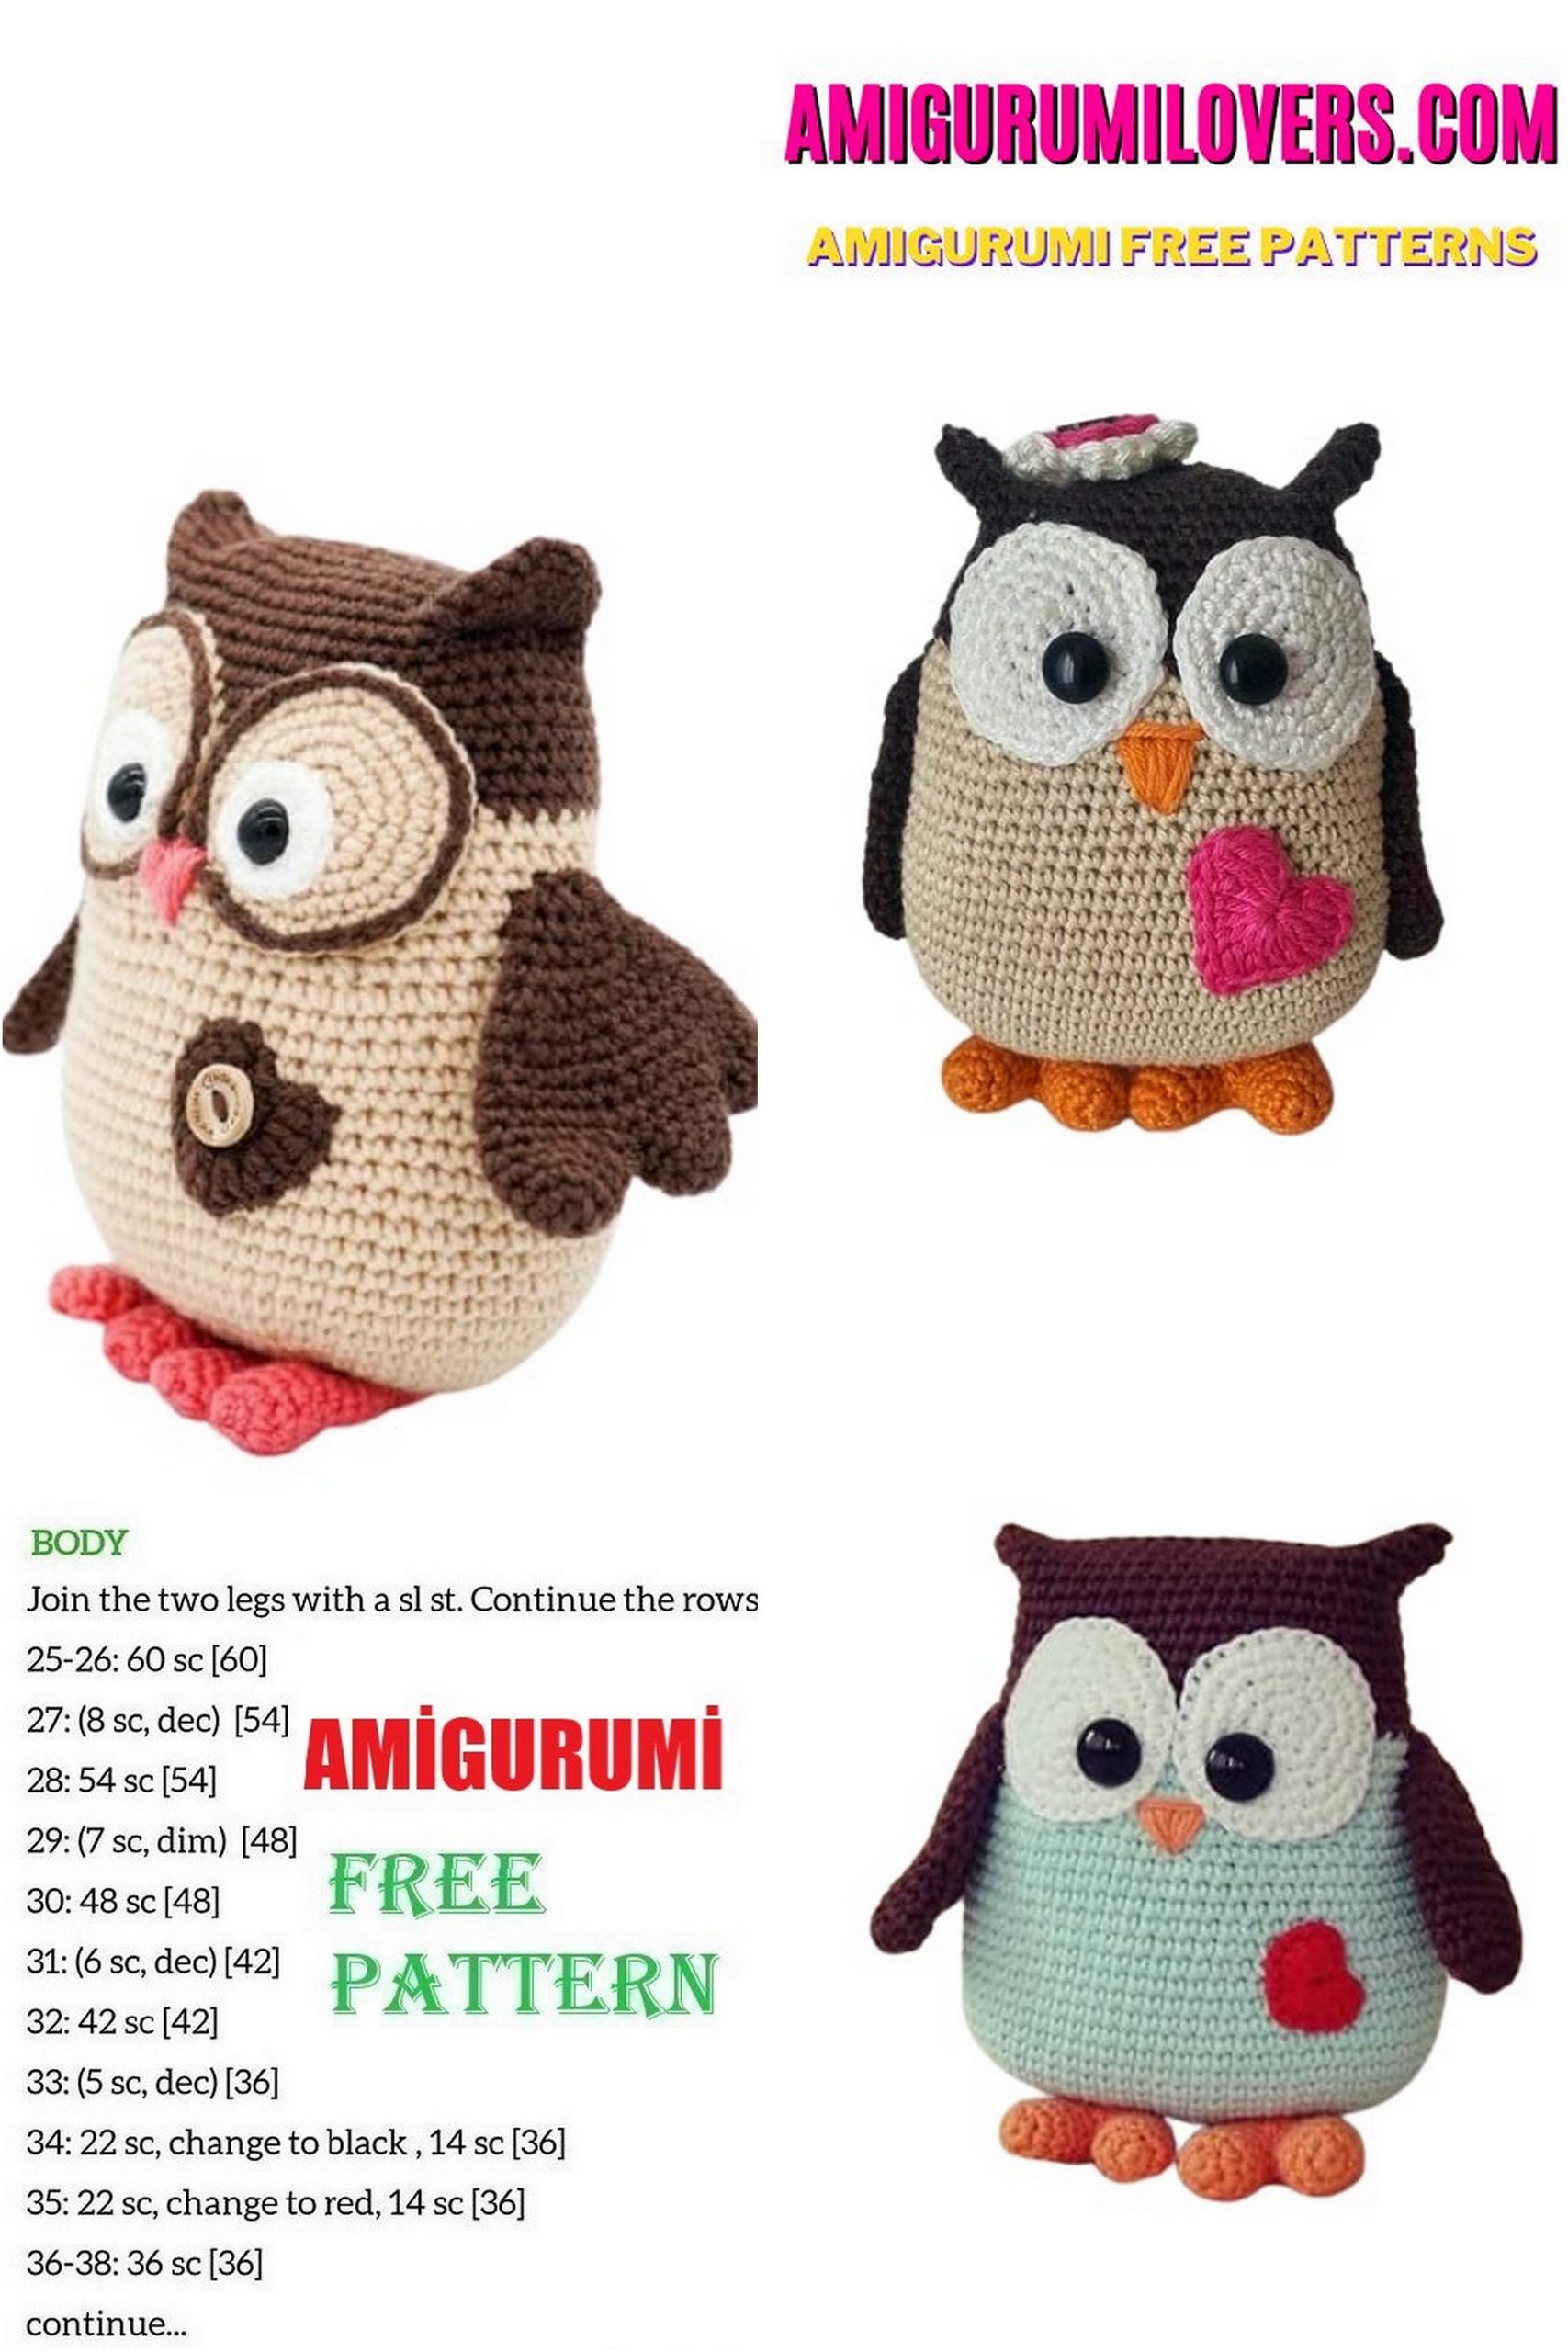
PATTERN
Body:
Beige thread.
1) Dial 15ch, sc into the second loop from the hook, 12sc, 3sc into the last loop, on the other side of the chain: 12sc, 2sc in the last a loop. (thirty)
2) inc, 12sc, (inc) x3, 12sc, (inc) x2 (36)
3) sc, inc, 12sc, (sc, inc) x3, 12sc, (sc, inc) x2 (42)
4) 2sc, inc, 12sc, (2sc, inc) x3, 12sc, (2sc, inc) x2 (48)
5) 3sc, inc, 12sc, (3sc, inc) x3, 12sc, (3sc, inc) x2 (54)
6) 4sc, inc, 12sc, (4sc, inc) x3, 12sc, (4sc, inc) x2 (60)
7) 60sc
8) 5sc, inc, 12sc, (5sc, inc) x3, 12sc, (5sc, inc) x2 (66)
9-17) 66sc (9 rows)
18) 5sc, dec, 12sc, (5sc, dec) x3, 12sc, (5sc, dec) x2 (60)
19-22) 60sc (4 rows)
23) 4sc, dec, 12sc, (4sc, dec) x3, 12sc, (4sc, dec) x2 (54)
24-27) 54sc (4 rows)
Change the color to brown.
28-29) 54sc (2 rows)
30) 3sc, dec, 17sc, dec, 6sc, dec, 17sc, dec, 3 sc (50)
31-39) 50 sc (9 rows)
Tightly stuff the part. Fold the edges together and sew them together.
We don’t stuff corners; they can be bent to form an eye and secured by stitching through.
Small eye circles (2pcs):
White thread.
1) 6sc into Magic ring (6)
2) (inc) x6 (12)
3) (sc, inc) x6 (18)
4) sc, inc, (2sc, inc) x5, sc (24)
Large circles of eyes (2 pcs):
Beige thread.
1) 6sc into Magic ring (6)
2) (inc) x6 (12)
3) (sc, inc) x6 (18)
4) sc, inc, (2sc, inc) x5, sc (24)
5) (3sc, inc) x6 (30)
6) 2sc, inc, (4sc, inc) x5, 2sc (36)
7) Behind the back wall (5sc, inc) x6 (42)
Change the color to brown and knit behind the front wall (5sc, inc) x6 (42).
İncishim to the body behind the back row.
We embroider a beak.

Feet (2pcs):
Pink thread.
The foot consists of 2 fingers.
1st finger:
1) 5sc into Magic ring (5)
2) (inc) x5 (10)
3-5) 10sc (3 rows) to finish knitting.
2nd finger is similar.
Putting it together
6) 5sc, inc connect 1 part cincava and knit 10sc on these hinges, 5sc remaining from the second part. (twenty)
7) 4sc, dec, 8sc, dec, 4sc. (eighteen)
8) 18sc
9) (4sc, dec) x3 (15)
10) (3sc, dec) x3 (12)
11) 12sc
12) (dec, 4sc) x2 (10)
13) 10sc
14) (dec) x5 (5)
We leave a long tail, tighten the loops and inc. The thread.
Wings (2 pcs):
We knit 3 feathers on one wing.
Short feather:
1) 6sc into Magic ring (6)
2) (inc) x6 (12)
3-4) 12sc (2 rows)
Fasten and cut the thread.
Middle feather:
1) 6sc into Magic ring (6)
2) (inc) x6 (12)
3-5) 12sc (3 rows)
Fasten and cut the thread.
Long feather:
1) 6sc into Magic ring (6)
2) (inc) x6 (12)
3-6) 12sc (4 rows)
We connect the preparations of the feathers together, inc
7) long – 6sc, medium – 6 sc, short – 12 sc, on average – 6 sc and 6 sc on long (36)
8) 36sc
9) (4sc, dec) x6 (30)
10) 30sc
11) (3sc, dec) x6 (24)
12) 24sc
13) (2sc, dec) x6 (18)
14) (sc, dec) x6 (12)
15) (dec) x6 (6)
We do not stuff the part.
Tail:
1) 6sc into Magic ring (6)
2) (inc) x6 (12)
3) (3sc, inc) x3 (15)
4) (4sc, inc) x3 (18)
5-7) 18 sc (3 rows)
8) (sc, dec) x6 (12)
9-10) 12sc (2 rows)
Before you leave, make sure to check out more free amigurumi crochet patterns and discover new ideas for your next project.
You can also browse our full amigurumi pattern archive for hundreds of beginner-friendly designs.