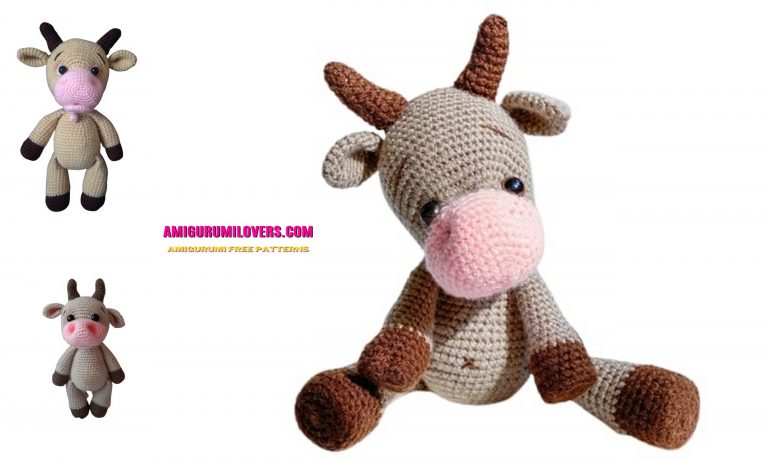
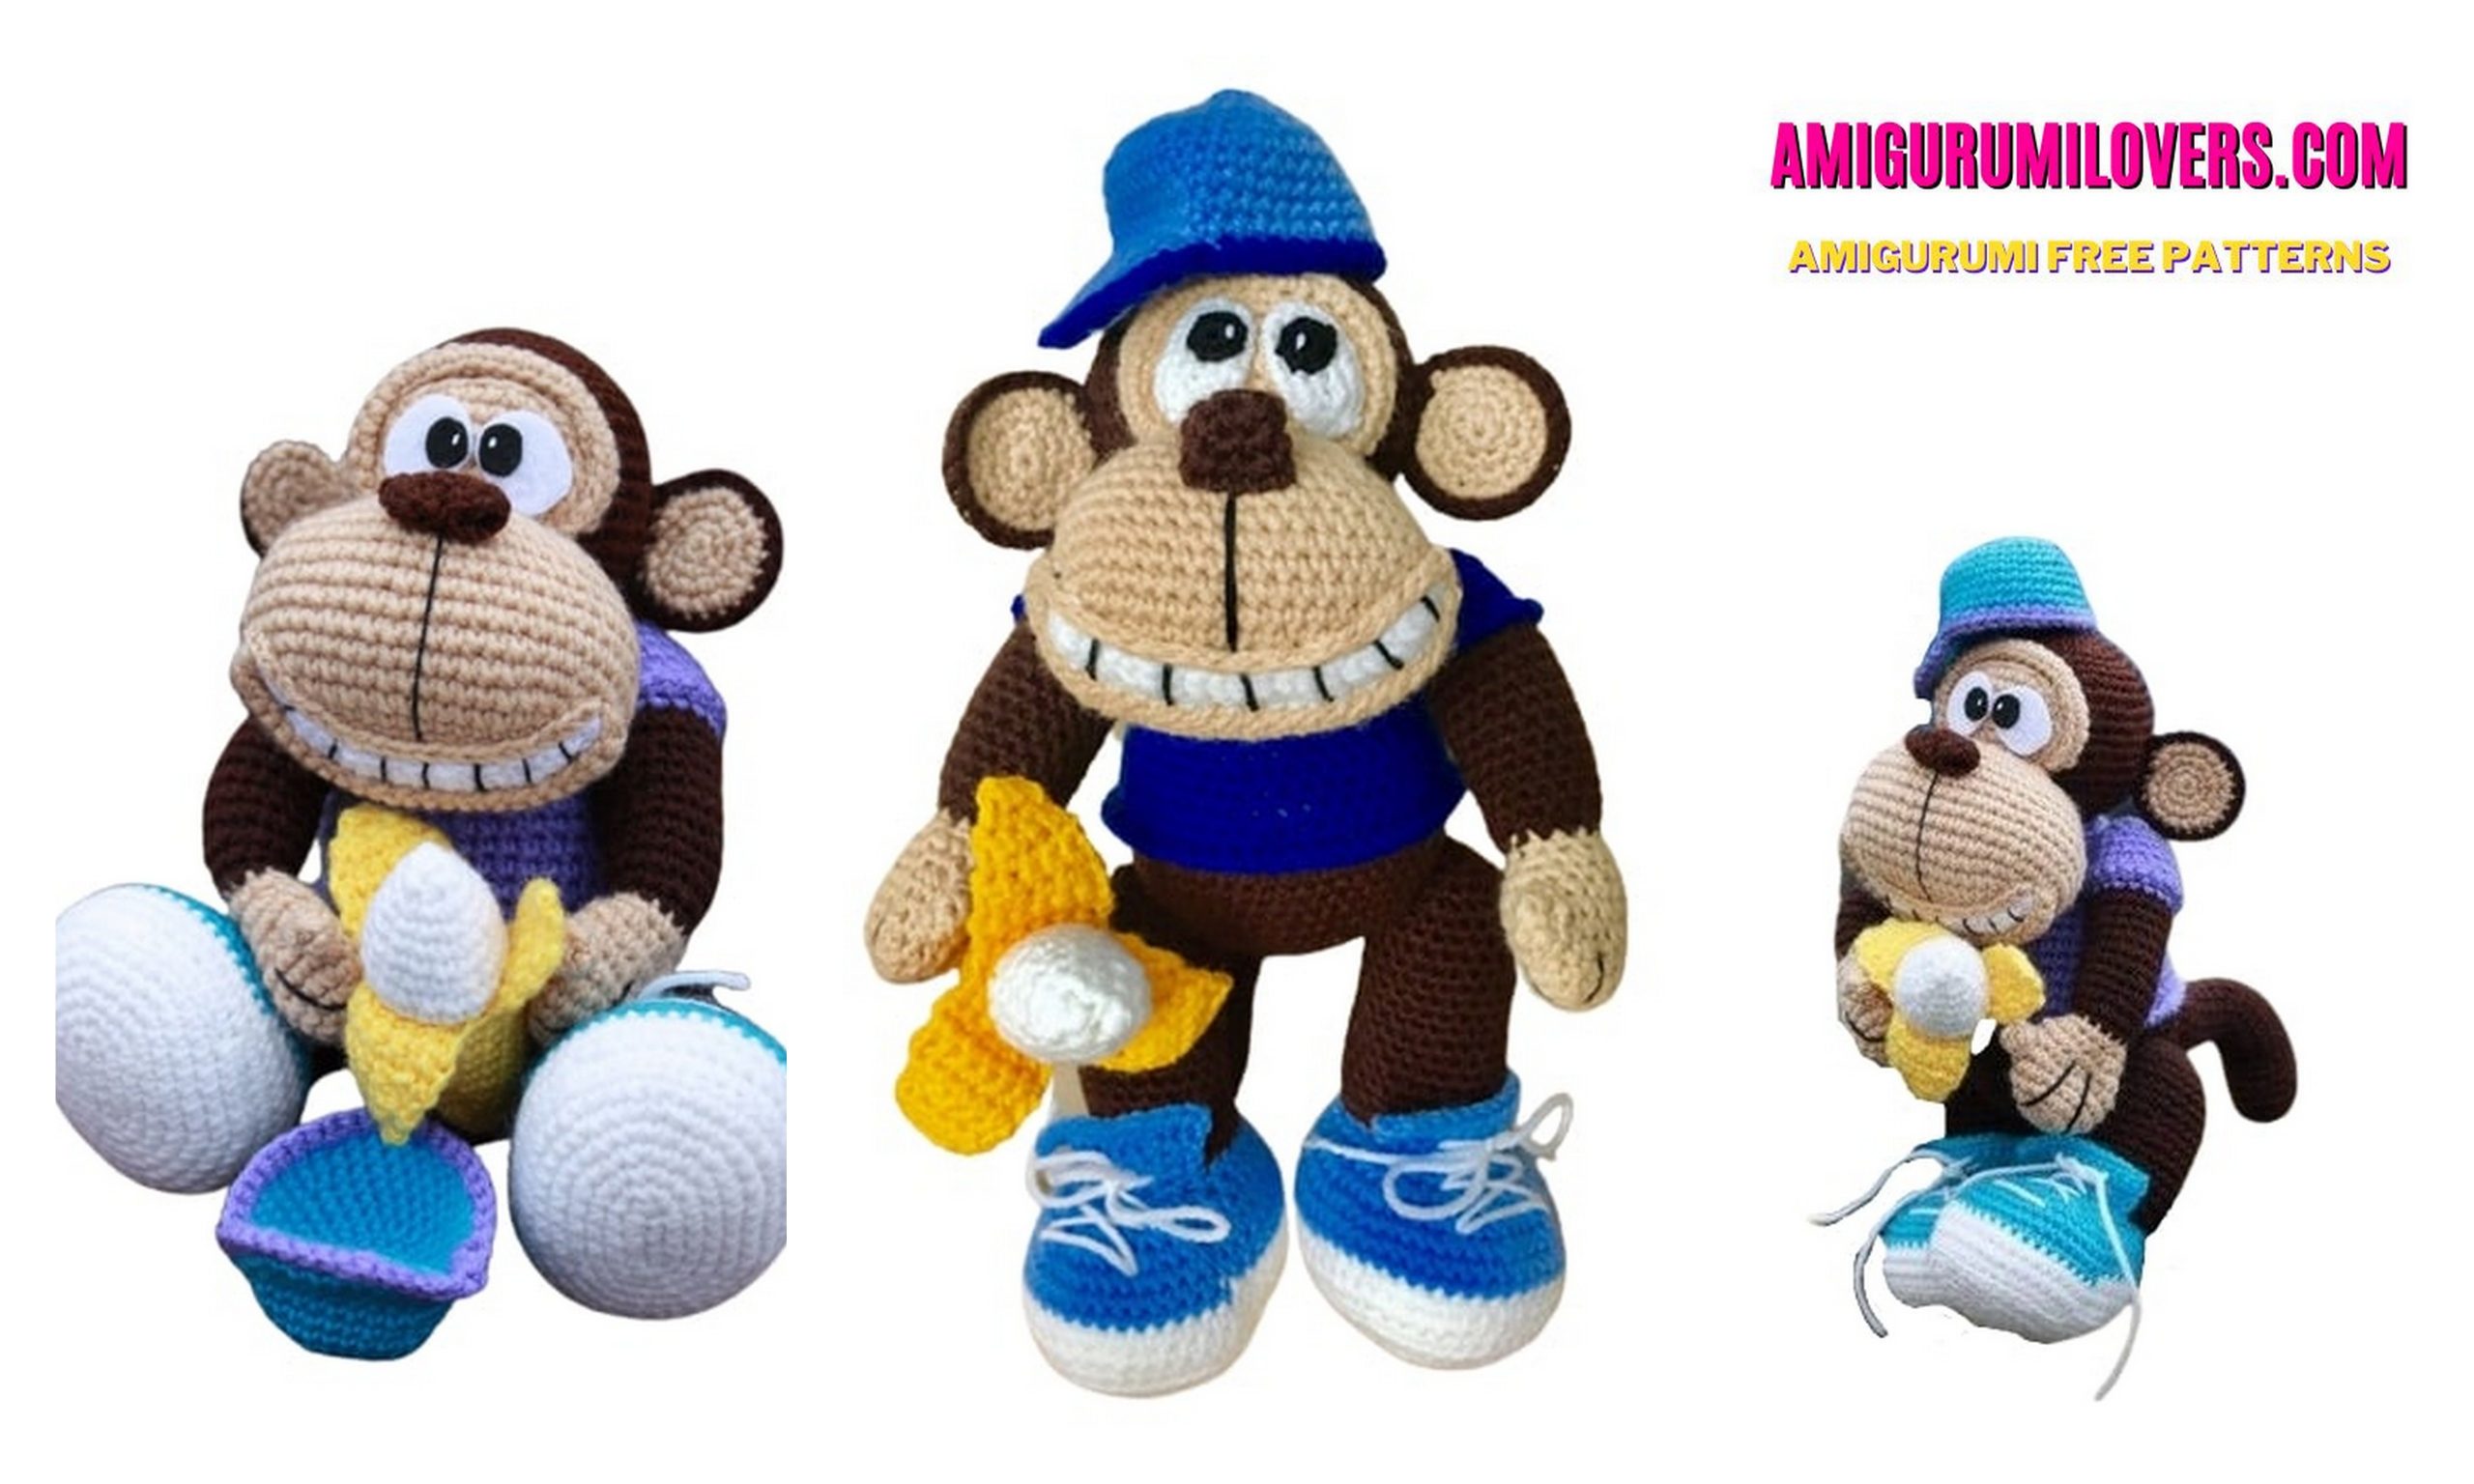
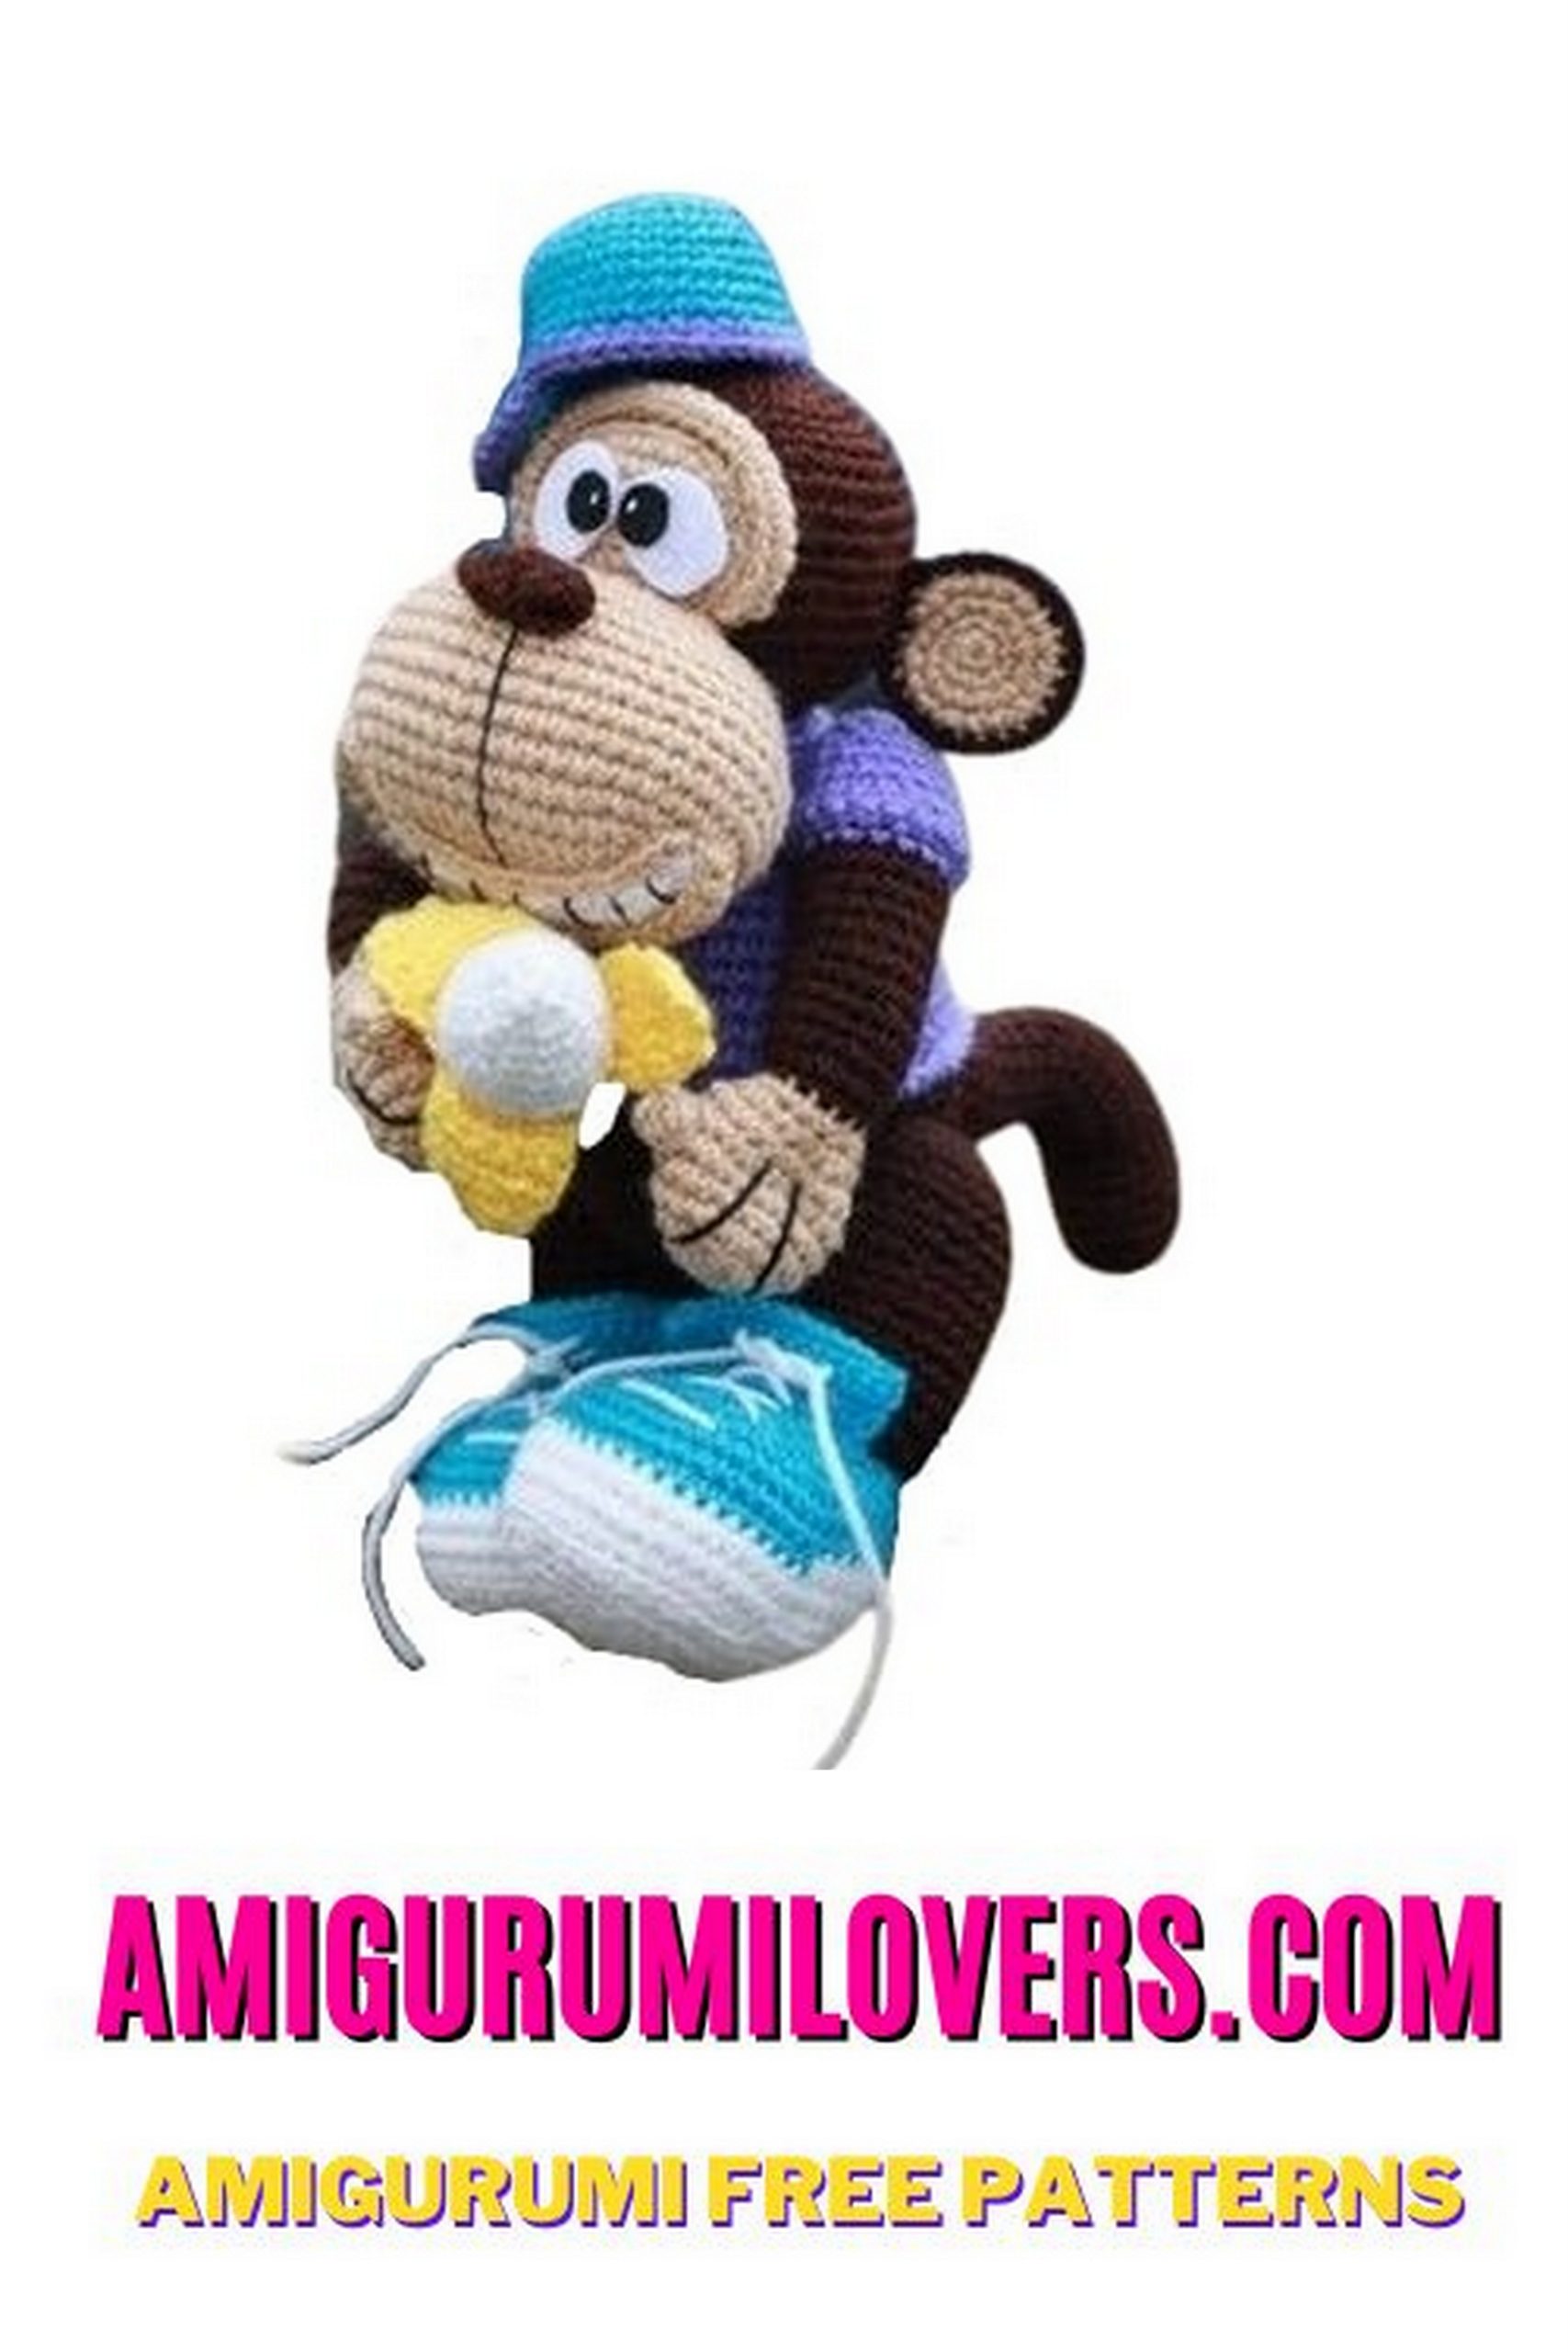
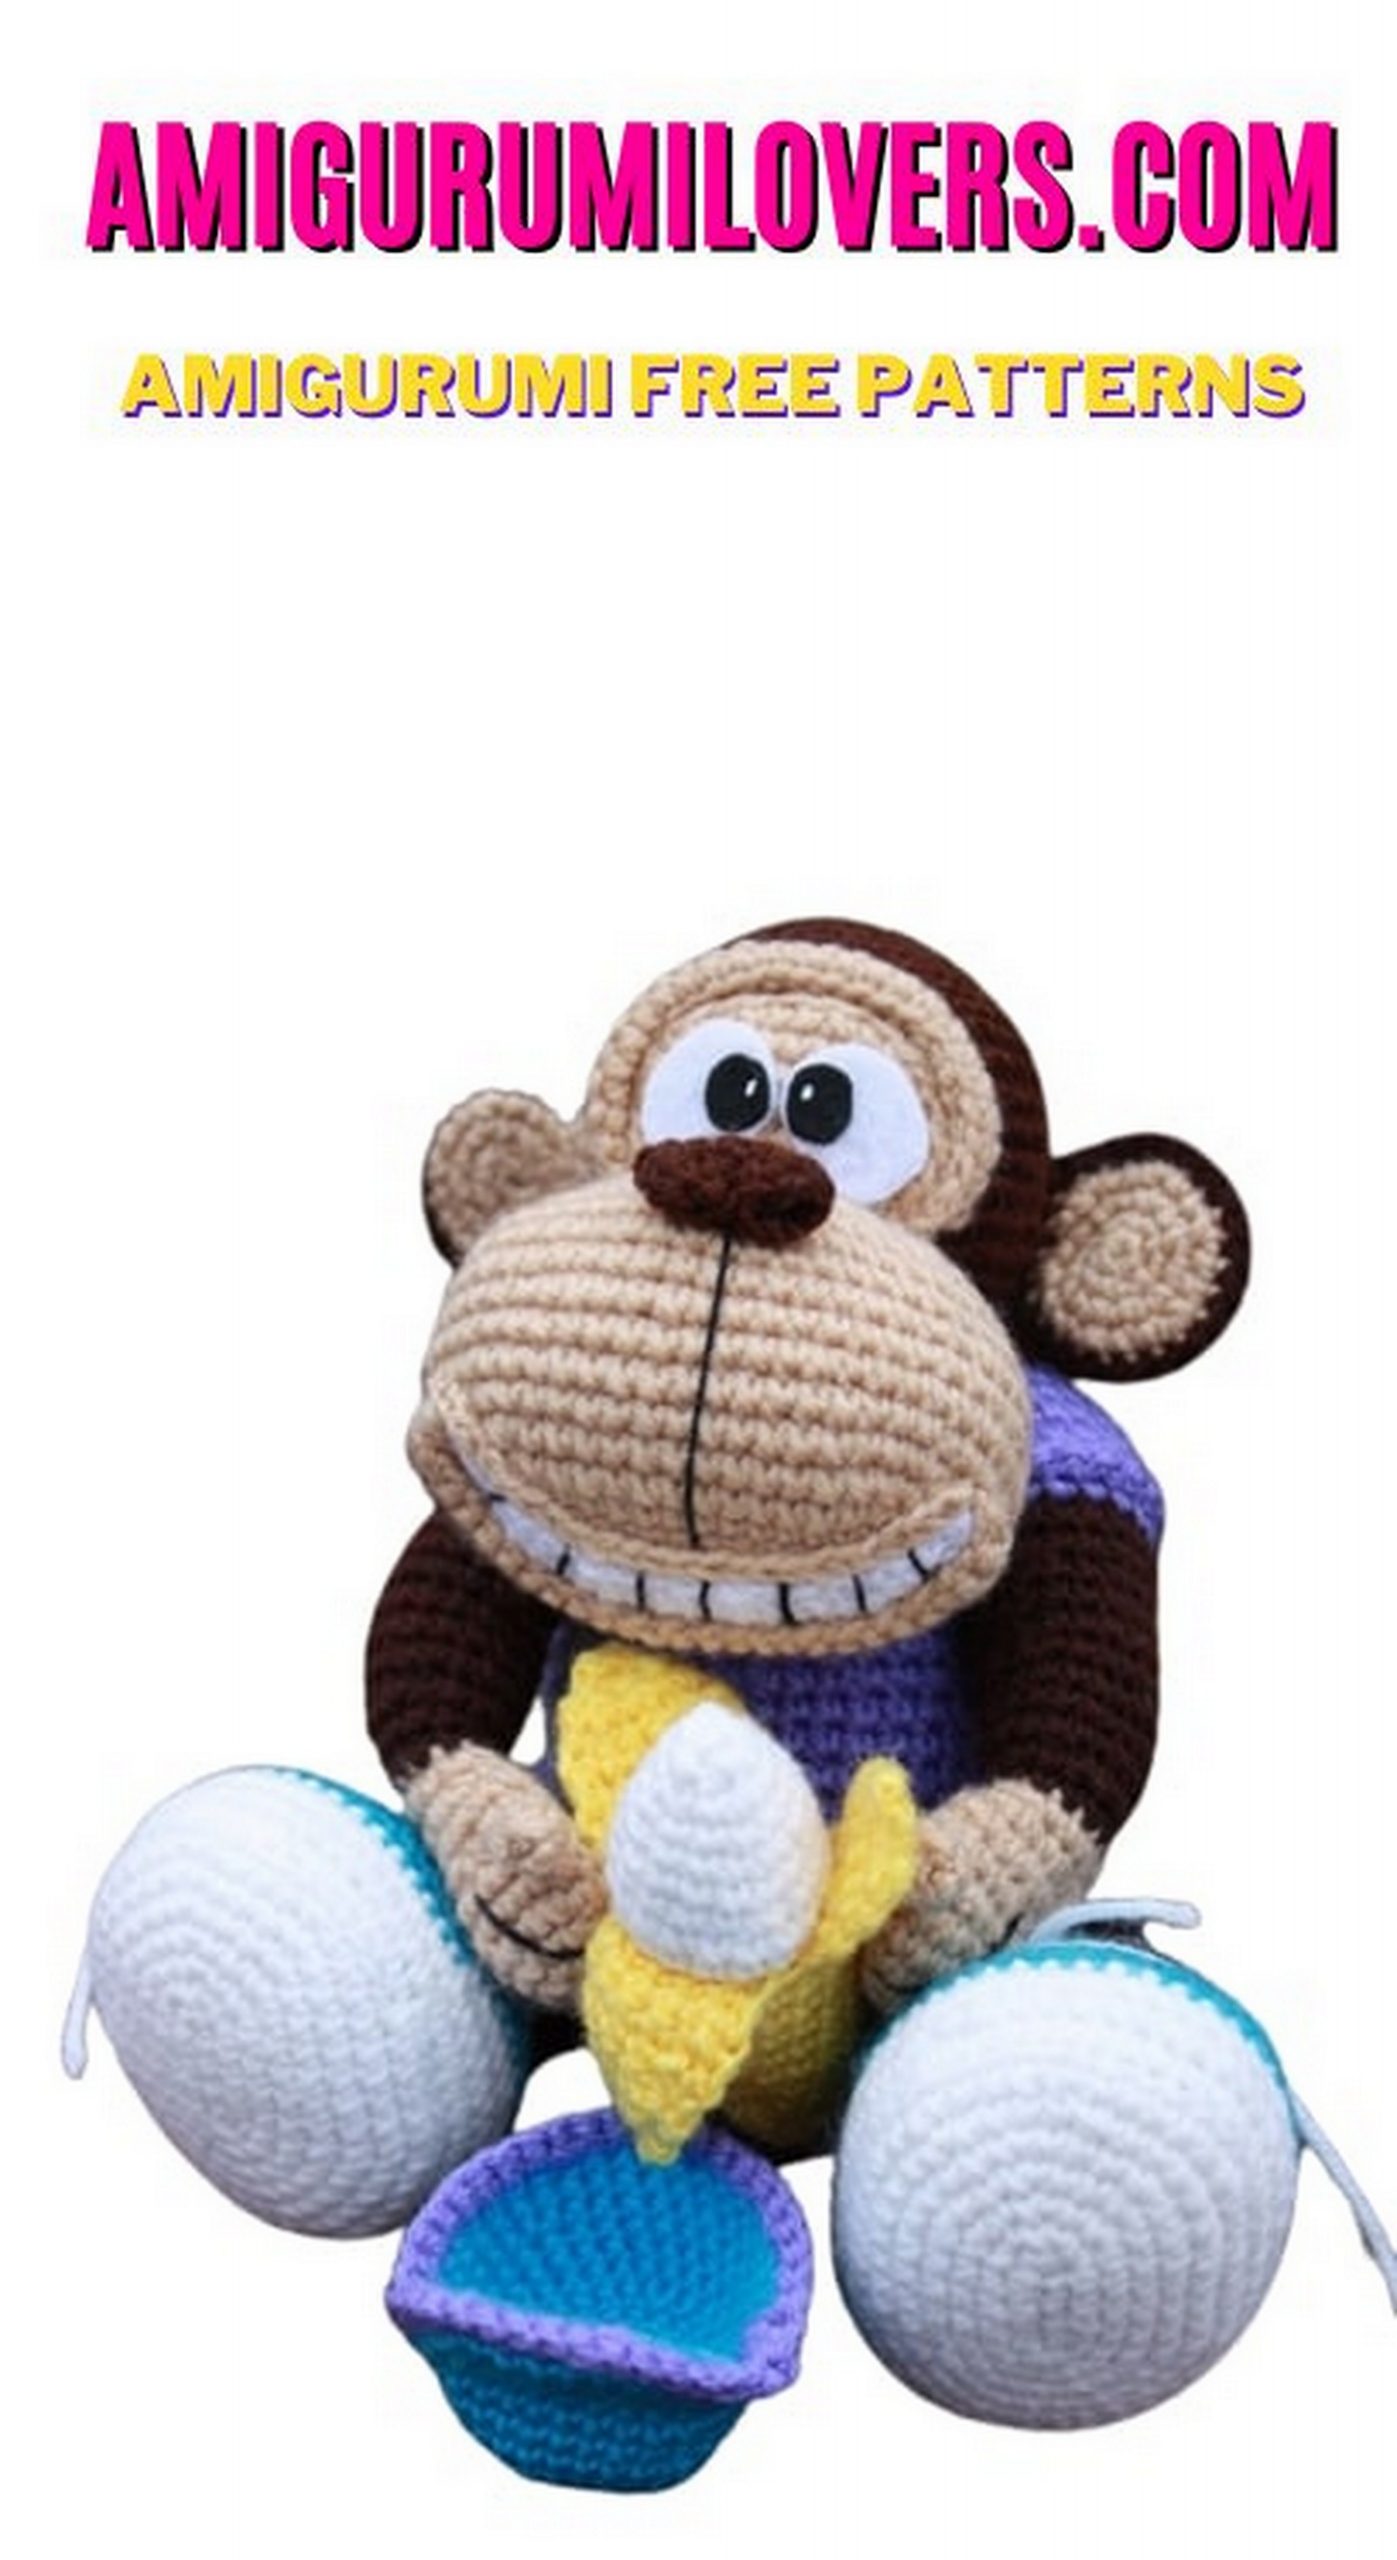
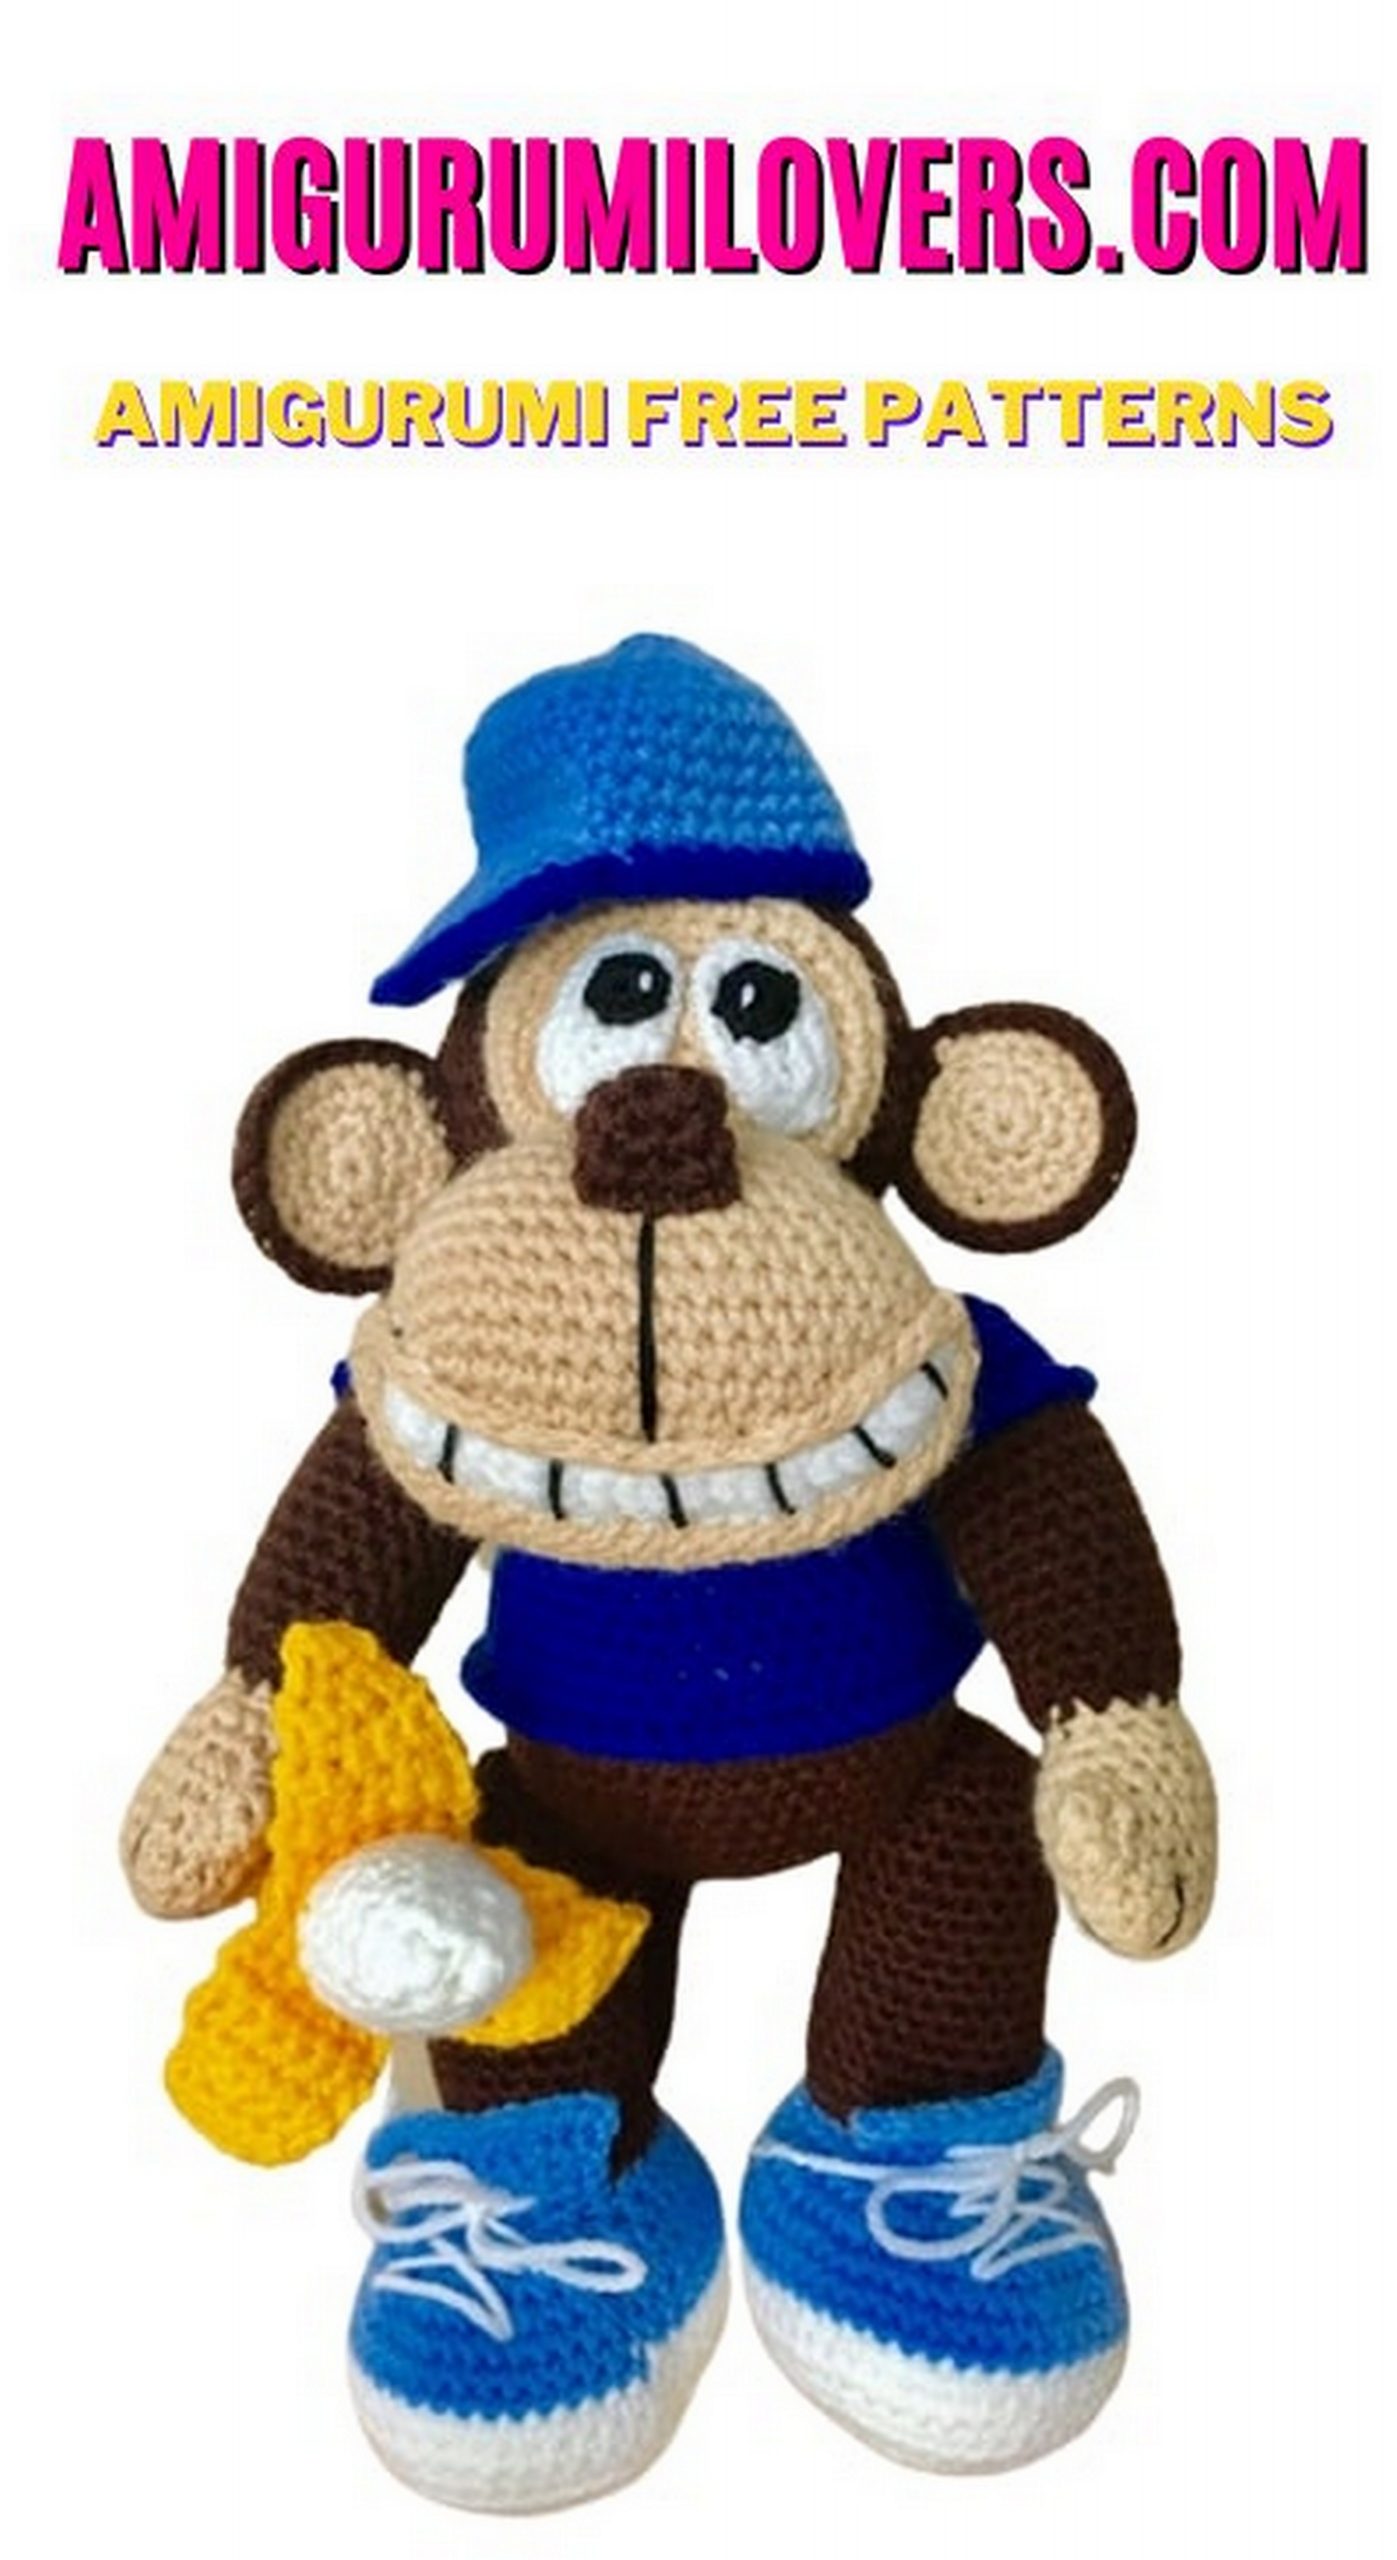
Cute Monkey Amigurumi – Free Crochet Pattern
You may also enjoy exploring our free amigurumi patterns and other popular amigurumi animal patterns available on our website.
Welcome to our latest crochet adventure, where we dive into the adorable world of amigurumi! If you’re looking to bring a touch of whimsy to your crochet projects, this “Cute Monkey Amigurumi” free crochet pattern is just what you need. Amigurumi, a craft that originated in Japan, involves creating charming stuffed toys that are perfect for gifts, decorations, or simply to showcase your crochet skills. Whether you are an experienced crocheter or just starting, you will find this pattern easy to follow and fun to create.
Crocheting amigurumi can be a rewarding experience, as you get to create your own cuddly companions, and the Cute Monkey will surely win hearts. With its round face, playful expression, and little hands and feet, this monkey is ideal for children and adults alike. Plus, it serves as a fantastic way to practice your crochet skills, from mastering the magic ring to working in rounds and creating increases and decreases. Each stitch brings you closer to completing your very own delightful monkey, making it an engaging and fulfilling project.
The beauty of amigurumi lies not only in its cuteness but also in its versatility. This pattern is designed with beginner-friendly techniques, ensuring that even those new to crocheting can successfully create this lovable monkey. You’ll be guided step by step, with easily understandable instructions and helpful tips along the way. Before you know it, you will have a charming crochet monkey that you can proudly display or gift to someone special.
Gather your yarn, crochet hook, and a bit of stuffing, and get ready for a fun and creative experience. Not only will you improve your crocheting skills, but you will also enjoy the satisfaction of completing this delightful project. What’s more, you can customize your monkey by choosing different colors, adding accessories, or even experimenting with different yarn textures. The possibilities are endless!
So, roll up your sleeves and prepare to embark on this crochet journey. We are here to guide you every step of the way, ensuring that your experience is as pleasurable as it is productive. By the end of this tutorial, you will not only have a precious amigurumi monkey to show off but also a deeper appreciation for the art of crochet. Get ready to unleash your creativity and let the cute monkey amigurumi bring joy into your crafting world!
Looking for your next adorable crochet project? This Cute Monkey Amigurumi Free Pattern is just what you need! With its sweet face, curly tail, and playful charm, this little monkey is guaranteed to steal your heart — and your yarn stash.
Designed to be both beginner-friendly and fun to make, this pattern comes with clear instructions, helpful photos, and a full list of materials. Whether you’re new to amigurumi or already a pro, you’ll enjoy every step of creating this lovable plush toy.
Perfect as a handmade gift for children, baby showers, or jungle-themed decorations, this crochet monkey is easy to personalize. Change up the colors, add a bow, or give it a tiny banana accessory — the creativity is all yours!
Ready to get started? Grab your yarn and crochet hook, and let’s make the cutest monkey in the amigurumi jungle!
1000+ free amigurumi patterns, you can download our application from this link!
Used abbreviations:
ch – chain
sc – single crochet
hdc – half double crochet
dc – double crochet
PATTERN – Amigurumi Monkey
Legs – Amigurumi Monkey
Sneakers
White thread (sole)
1 row 6 CH, 1 SC in the second loop from the hook, 3 SC, 3 SC in one loop, 3 SC, 3 SC in one loop (13)
2 row 4 SC, increase -3 times, 4 SC, increase -3 times (19)
3 row 4 SC, (increase, SC) – 3 times, 4 SC, (increase, SC) – 3 times (25)
4 row 4 SC, (increase, 2 SC) – 3 times, 4 SC (increase, 2 SC) – 3 times (31)
5 row 4 SC, (increase, 3 SC) – 3 times, 4 SC (increase, 3 SC) – 3 times (37)
6 row 4 SC, (increase, 4 SC) – 3 times, 4 SC (increase, 4 SC) – 3 times (43)
7 row 4 SC, (increase, 5 SC) – 3 times, 4 SC (increase, 5 SC) – 3 times (49)
8 row 49 SC in a circle behind the back wall (49)
9-10 row SC in each column (49)
Change color
11-12 row SC in each column (49)
13 row 19 SC, decrease, 14 SC, decrease, 12 SC (47)
14 row (2 SC, decrease) – 7 times, 6 SC, decrease, 9 SC, decrease (38)
15 row 10 decreases, 18 SC (28)
16 row (1 SC, 1 decrease) – 4 times, 16 SC (24)
17 row 7 SC, increase, CH, rotation (we knit the tongue in straight-back rows)
18 row 8 SC, increase, CH, turn
19 row 9 SC, increase, CH, turn
20 row 10 SC, increase, CH, turn
21 row 11 SC, increase, fasten, hide the thread
Make a white string lace
Leg – Amigurumi Monkey
Brown color
1 row 2 CH, 6 SC in 2 loop from the hook
2 row 6 increases (12)
3 row * 1 SC, 1 increase *, repeat 6 times (18)
4 row * 2 SC, 1 increase *, repeat 6 times (24)
5-19 row SC in each column (24)
Thread fasten. Sew foot in sneaker. To attach legs and handles to the body
Tail – Amigurumi Monkey
Brown color
1 row 2 CH, 6 SC in 2 loop from the hook
2 row 6 increases (12)
3 row * 1 SC, 1 increase *, repeat 6 times (18)
4 – 7 row SC in each column (18)
8 row * 4 SC, 1 decrease *, repeat 3 times (15)
9-11 row SC in each column (15)
12 row 1 decrease, SC to the end of row (14)
13-15 row SC in each column (14)
16 row 1 decrease, SC to the end of row (13)
17-19 row of SC in each column (13)
20 row 1 decrease, SC to the end of the row (12)
21 -23 row SC in each column (12)
24 row decrease, SC to the end of the row (11)
25-26 row SC in each column (11)
27 row decrease, SC to the end of the row (10)
28 row SC in each column (10) Insert wire, fill
29 row decrease, SC to the end of the row (9)
30 row SC in each column (9)
Fasten the thread, sew the tail Bend to your taste
Banana
Yellow thread
1 row 2 CH, 5 SC in 2 loop from the hook
2 row 5 increases (10)
3 row * 1SC, 1 increase * repeat 5 times (15)
4 – 5 row SC in each column (15)
6 row * 4 SC, 1 increase * repeat 3 times (18)
7 – 13 row SC in each column (18)
14 row SC in each column behind the rear wall (18)
Change color to white
15 – 17 row SC in each column (18)
18 row * 4 SC, 1 decrease * repeat 3 times (15)
19 – 20 row SC in each column (15)
21 row * 1SC, 1 decrease * repeat 5 times (10) Fill
22 row 5 decreases
Pull the hole, hide the thread
Attach the yellow thread to the 14th row and, for every 6 stitches, knit (in straight rows) 3 times
1 row – 4 row SC in each column (6)
5 row 1 decrease, SC to the end of the row (5)
6 row SC in each column (5)
7 row 1 decrease, SC to the end of the row (4)
8 row 1 decrease, SC to the end of the row (3)
9 row 1 decrease, SC to the end of the row (2)
Fasten, hide the thread
Cap – Amigurumi Monkey
Visor
Blue thread
1 row 2 CH, 6 SC in 2 loop from the hook
2 row 6 increases (12)
3 row * 1 SC, 1 increase *, repeat 6 times (18)
4 row * 2 SC, 1 increase *, repeat 6 times (24)
5 row * 3 SC, 1 increase *, repeat 6 times (30)
6 row * 4 SC, 1 increase *, repeat 6 times (36)
Fold in half
Main part
1 row 2 CH, 6 SC in 2 loop from the hook
2 row 6 increases (12)
3 row * 1 SC, 1 increase *, repeat 6 times (18)
4 row * 2 SC, 1 increase *, repeat 6 times (24)
5 row * 3 SC, 1 increase *, repeat 6 times (30)
6 row * 4 SC, 1 increase *, repeat 6 times (36)
7 row 1 increase, SC to the end of the row (37)
8 row SC in each column (37)
9 row 1 increase, SC to the end of the row (38)
10-11 row SC in each column (38)
Sew a visor to the cap and tie everything in a circle SC with colored thread
Head and its design
Muzzle (beige color) – Amigurumi Monkey
1 row dial a chain of 14 CH, knit 12 SC, in the next column 3 SC, 11 SC, 1 increase (28)
2 row 1 increase, 11 SC, 3 increase, 11 SC, 2 increase (34)
3 row 1 SC, increase, 11 SC, (1 SC, 1 increase) – 3 times, 11 SC (1 SC, 1 increase) -2 times (40)
4 row 2 SC, increase. 11 SC, (2 SC, 1 increase) – 3 times, 11 SC (2 SC, 1 increase) -2 times (46)
5 row 3 SC, increase, 11 SC, (3 SC, 1 increase) – 3 times, 11 SC (3 SC, 1 increase) -2 times (52)
6 row – 8 row SC in each column (52)
9 row 1 decrease, 22 SC, 1 decrease, 26 SC (50)
10 row SC in each column (50)
11 row 1 decrease, 22 SC, 1 decrease, 24 SC (48)
12 row * 6 SC, 1 decrease * repeat 6 times (42)
13 row * 5 SC, 1 decrease * repeat 6 times (36)
14 row * 4 SC, 1 decrease * repeat 6 times (30)
15 row * 3 SC, 1 decrease * repeat 6 times (24)
16 row * 2 SC, 1 decrease * repeat 6 times (18)
Fasten the thread, leave the end for sewing
Stuff
Head (brown color) – Amigurumi Monkey
1 row 2 CH, 6 SC in 2 loop from the hook
2 row 6 increases (12)
3 row * 1 SC, 1 increase *, repeat 6 times (18)
4 row * 2 SC, 1 increase *, repeat 6 times (24)
5 row * 3 SC, 1 increase *, repeat 6 times (30)
6 row * 4 SC, 1 increase *, repeat 6 times (36)
7 row * 5 SC, 1 increase *, repeat 6 times (42)
8 row * 6 SC, 1 increase *, repeat 6 times (48)
9 row – 15 row SC in each column (48)
16 row * 6 SC, 1 decrease *, repeat 6 times (42)
17 row * 5 SC, 1 decrease *, repeat 6 times (36)
18 row * 4 SC, 1 decrease *, repeat 6 times (30)
19 row * 3 SC, 1 decrease *, repeat 6 times (24) Fill)
20 row SC in each column (24)
21 rows * 2 SC, 1 decrease *, repeat 6 times (18)
22 row * 1 SC, 1 decrease *, repeat 6 times (12)
23 row 6 decreases, pull off the hole
Next, we knit the eyeball
Infraorbital
Beige color
1 row dial a chain of 6 CH, knit 4 SC, in the next column 3 SC, 3 SC, 1 increase (12)
2 row 1 increase, 3 SC, 3 increases, 3 SC, 2 increases (18)
3 row 1 SC, increase, 3 SC, (1 SC, 1 increase) – 3 times, 3 SC (1 SC, 1 increase) -2 times (24)
4 row 2 SC, increase, 3 SC, (2 SC, 1 increase) – 3 times, 3 SC (2 SC, 1 increase) -2 times (30)
We sew the infraorbital and along its lower row we begin to sew the beginning of the muzzle, which should turn out
Next we knit an eyelid
Eyelid – Amigurumi Monkey
Beige color
Dial 25 CH and knit 2 rows of SC to sew the edges and sew over the infraorbital
I draw your attention that the number of loops you may have is slightly different, attach a chain of CH to your head and try on, and there it’s either add or decrease
That’s what it turns out
Nose – Amigurumi Monkey
Brown color
1 row 2 CH, 6 SC in 2 loop from the hook
2 row 6 increases (12)
3 row * 1 SC, 1 increase *, repeat 6 times (18)
Fold in half and grab a couple of stitches
Fasten the thread, leave for sewing, sew to the muzzle
Teeth
White color
Draw a chain of 25 CH, starting from the second loop, knit sl-st, SC, hdc, 19dc, hdc, SC, sl-st fasten the thread, leave it for sewing
To sew
Take a nickname floss or any other thinner, embroider teeth and muzzle
Knitted hamster (Knitting hook and knitting needles, patterns)
Underlip
Beige color
Dial a chain of 27 CH and knit 2 rows of SC to sew the edges and sew under the teeth
I draw your attention that the number of loops you may have is slightly different, attach a chain of CH to your teeth and try on, and there, either add or decrease
Upper lip
Beige color
Dial 24 CH and sew over the upper lip
I also draw attention to the fact that the number of loops you may have is slightly different, attach a chain of CH to your teeth and try on, and there, either add or decrease
The ears
Beige color (2 pcs)
1 row 2 CH, 6 SC in 2 loop from the hook
2 row 6 increases (12)
3 row * 1 SC, 1 increase *, repeat 6 times (18)
4 row * 2 SC, 1 increase *, repeat 6 times (24)
Brown color (2 pcs)
1 row 2 CH, 6 SC in 2 loop from the hook
2 row 6 increases (12)
3 row * 1 SC, 1 increase *, repeat 6 times (18)
4 row * 2 SC, 1 increase *, repeat 6 times (24)
Fold together and tie in a circle brown nit Iew for both arcs of each color
Fasten the thread, leave for sewing
Sew to the head
I draw your attention, I crocheted the head and the whole face with a number 2, and the body and paws took a hook number 2.5 so if you have a little more hooks, it is better to change it, if not, then knit is not quite tight and tight to get the right one proportion)))
Brown color
1 row 2 CH, 6 SC in 2 loop from the hook
2 row 6 increases (12)
3 row * 1 SC, 1 increase *, repeat 6 times (18)
4 row * 2 SC, 1 increase *, repeat 6 times (24)
5 row * 3 SC, 1 increase *, repeat 6 times (30)
6 row * 4 SC, 1 increase *, repeat 6 times (36)
7 row * 5 SC, 1 increase *, repeat 6 times (42)
8 row * 6 SC, 1 increase *, repeat 6 times (48)
9 row * 7 SC, 1 increase *, repeat 6 times (54)
10 -13 row SC in each column (54)
Change color
14 row SC in each column (54)
15 row SC in each column behind the back wall (54)
16 row * 7 SC, 1 decrease *, repeat 6 times (48)
17 row -18 row SC in each column (48)
19 row * 6 SC, 1 decrease *, repeat 6 times (42)
20 row SC in each column (42)
21 row * 5 SC, 1 decrease *, repeat 6 times (36)
22 – 25 row SC in each column (36)
26 row * 4 SC, 1 decrease *, repeat 6 times (30)
27 row SC in each column (30)
28 row * 3 SC, 1 decrease *, repeat 6 times (24)
29 row * 2 SC, 1 decrease *, repeat 6 times (18)
30-31 row SC in each column (18)
32 row * 1 SC, 1 decrease *, repeat 6 times (12)
33 row b decreases, pull the hole to hide the thread
Attach the thread to the 15th row and knit the SC row for the front wall of the loop
that’s what happens
Hands
Beige color
1 row 2 CH, 6 SC in 2 loop from the hook
2 row 6 increases (12)
3 row * 1 SC, 1 increase *, repeat 6 times (18)
4 row * 2 SC, 1 increase *, repeat 6 times (24)
5-6 row SC in each column (24)
7 row * 2 SC, 1 decrease *, repeat 6 times (18)
8 row SC in each column (18)
9 row * 1 SC, 1 decrease *, repeat 6 times (12)
10 row SC in each column (12)
Fill a little palm
Optionally, you can insert the wire into the handle
Grab the palm of your hand through a couple of stitches so that the filler no longer falls into the palm of your hand
Change to brown thread
11 row SC in each column (12)
12 row * 1 SC, 1 increase *, repeat 6 times (18)
13–22 row SC in each column (18)
Change thread to color
23 row SC in each column (18)
24 row SC behind the rear wall (18)
25-27 row of SC in each column (18) Fill
28 row * 1 SC, 1 decrease *, repeat 6 times (12)
29 row 6 decreases, tighten the hole, thread the thread
Attach a thread to the 26th row and knit SC capturing the front wall

Little finger
1 row 2CH, 5 SC in 2 loop from the hook (5)
2 row 5 SC, fasten the thread, leave for sewing
Sew a finger to the palm.
Before you leave, make sure to check out more free amigurumi crochet patterns and discover new ideas for your next project.
You can also browse our full amigurumi pattern archive for hundreds of beginner-friendly designs.