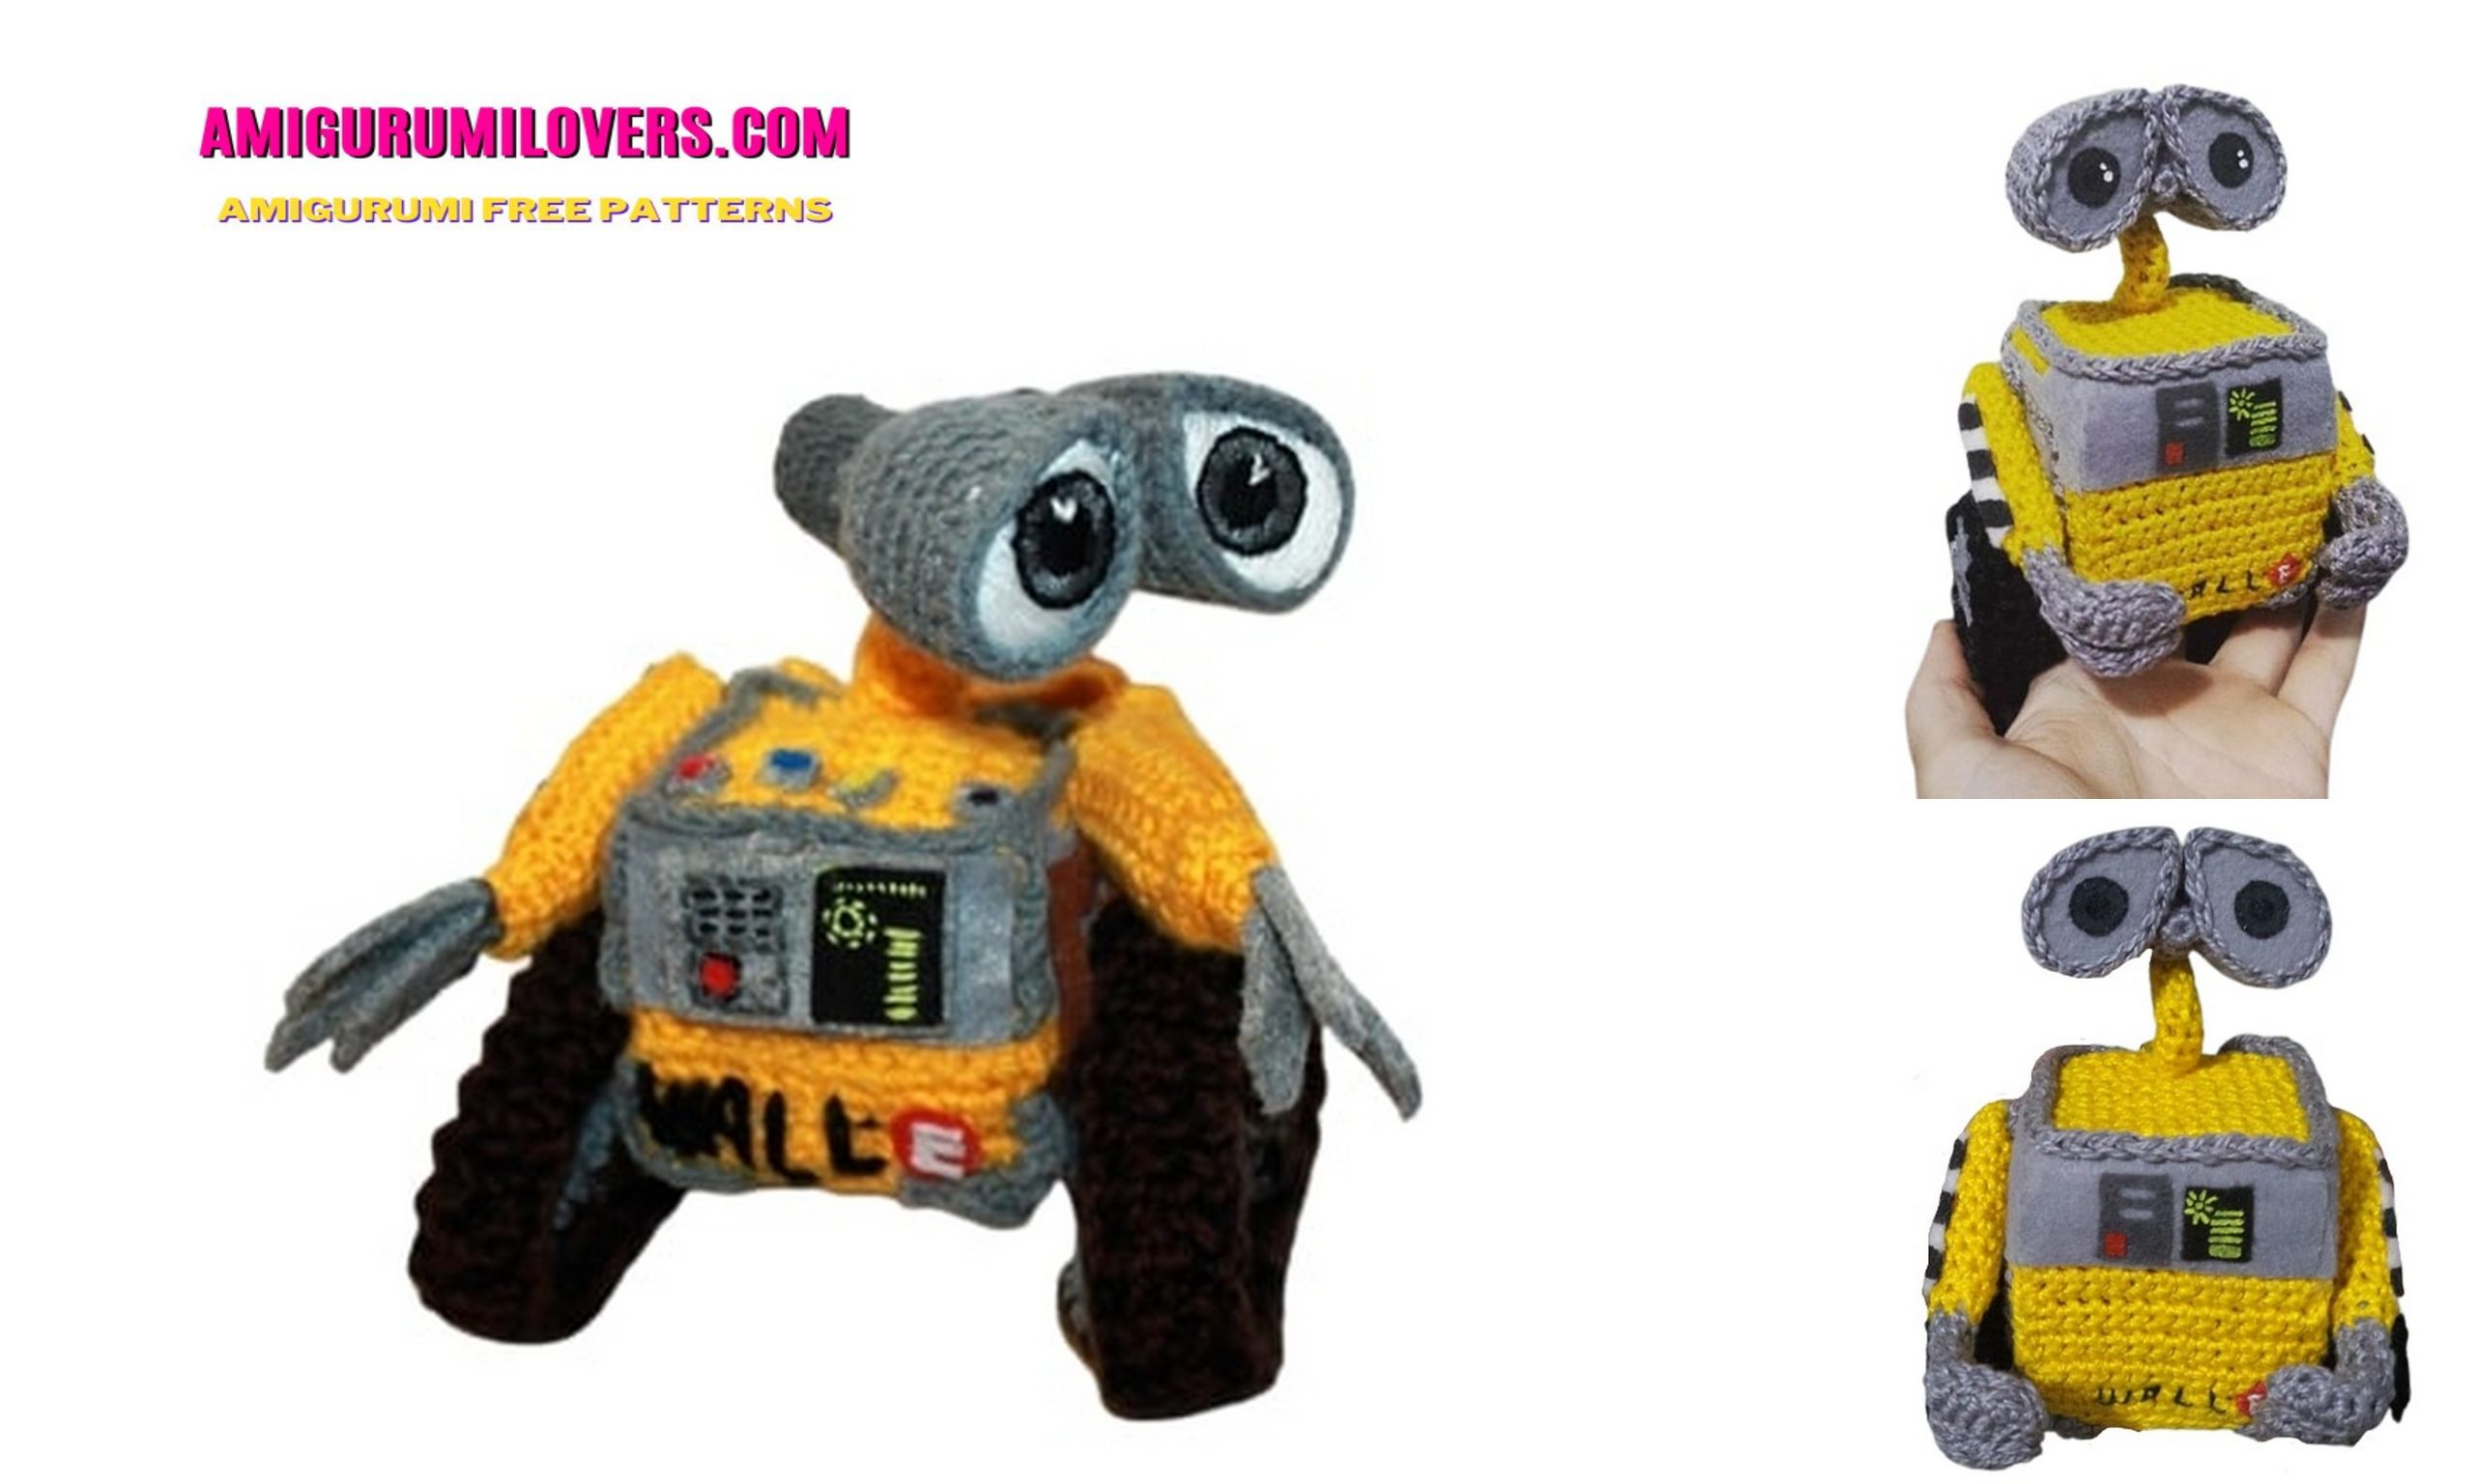
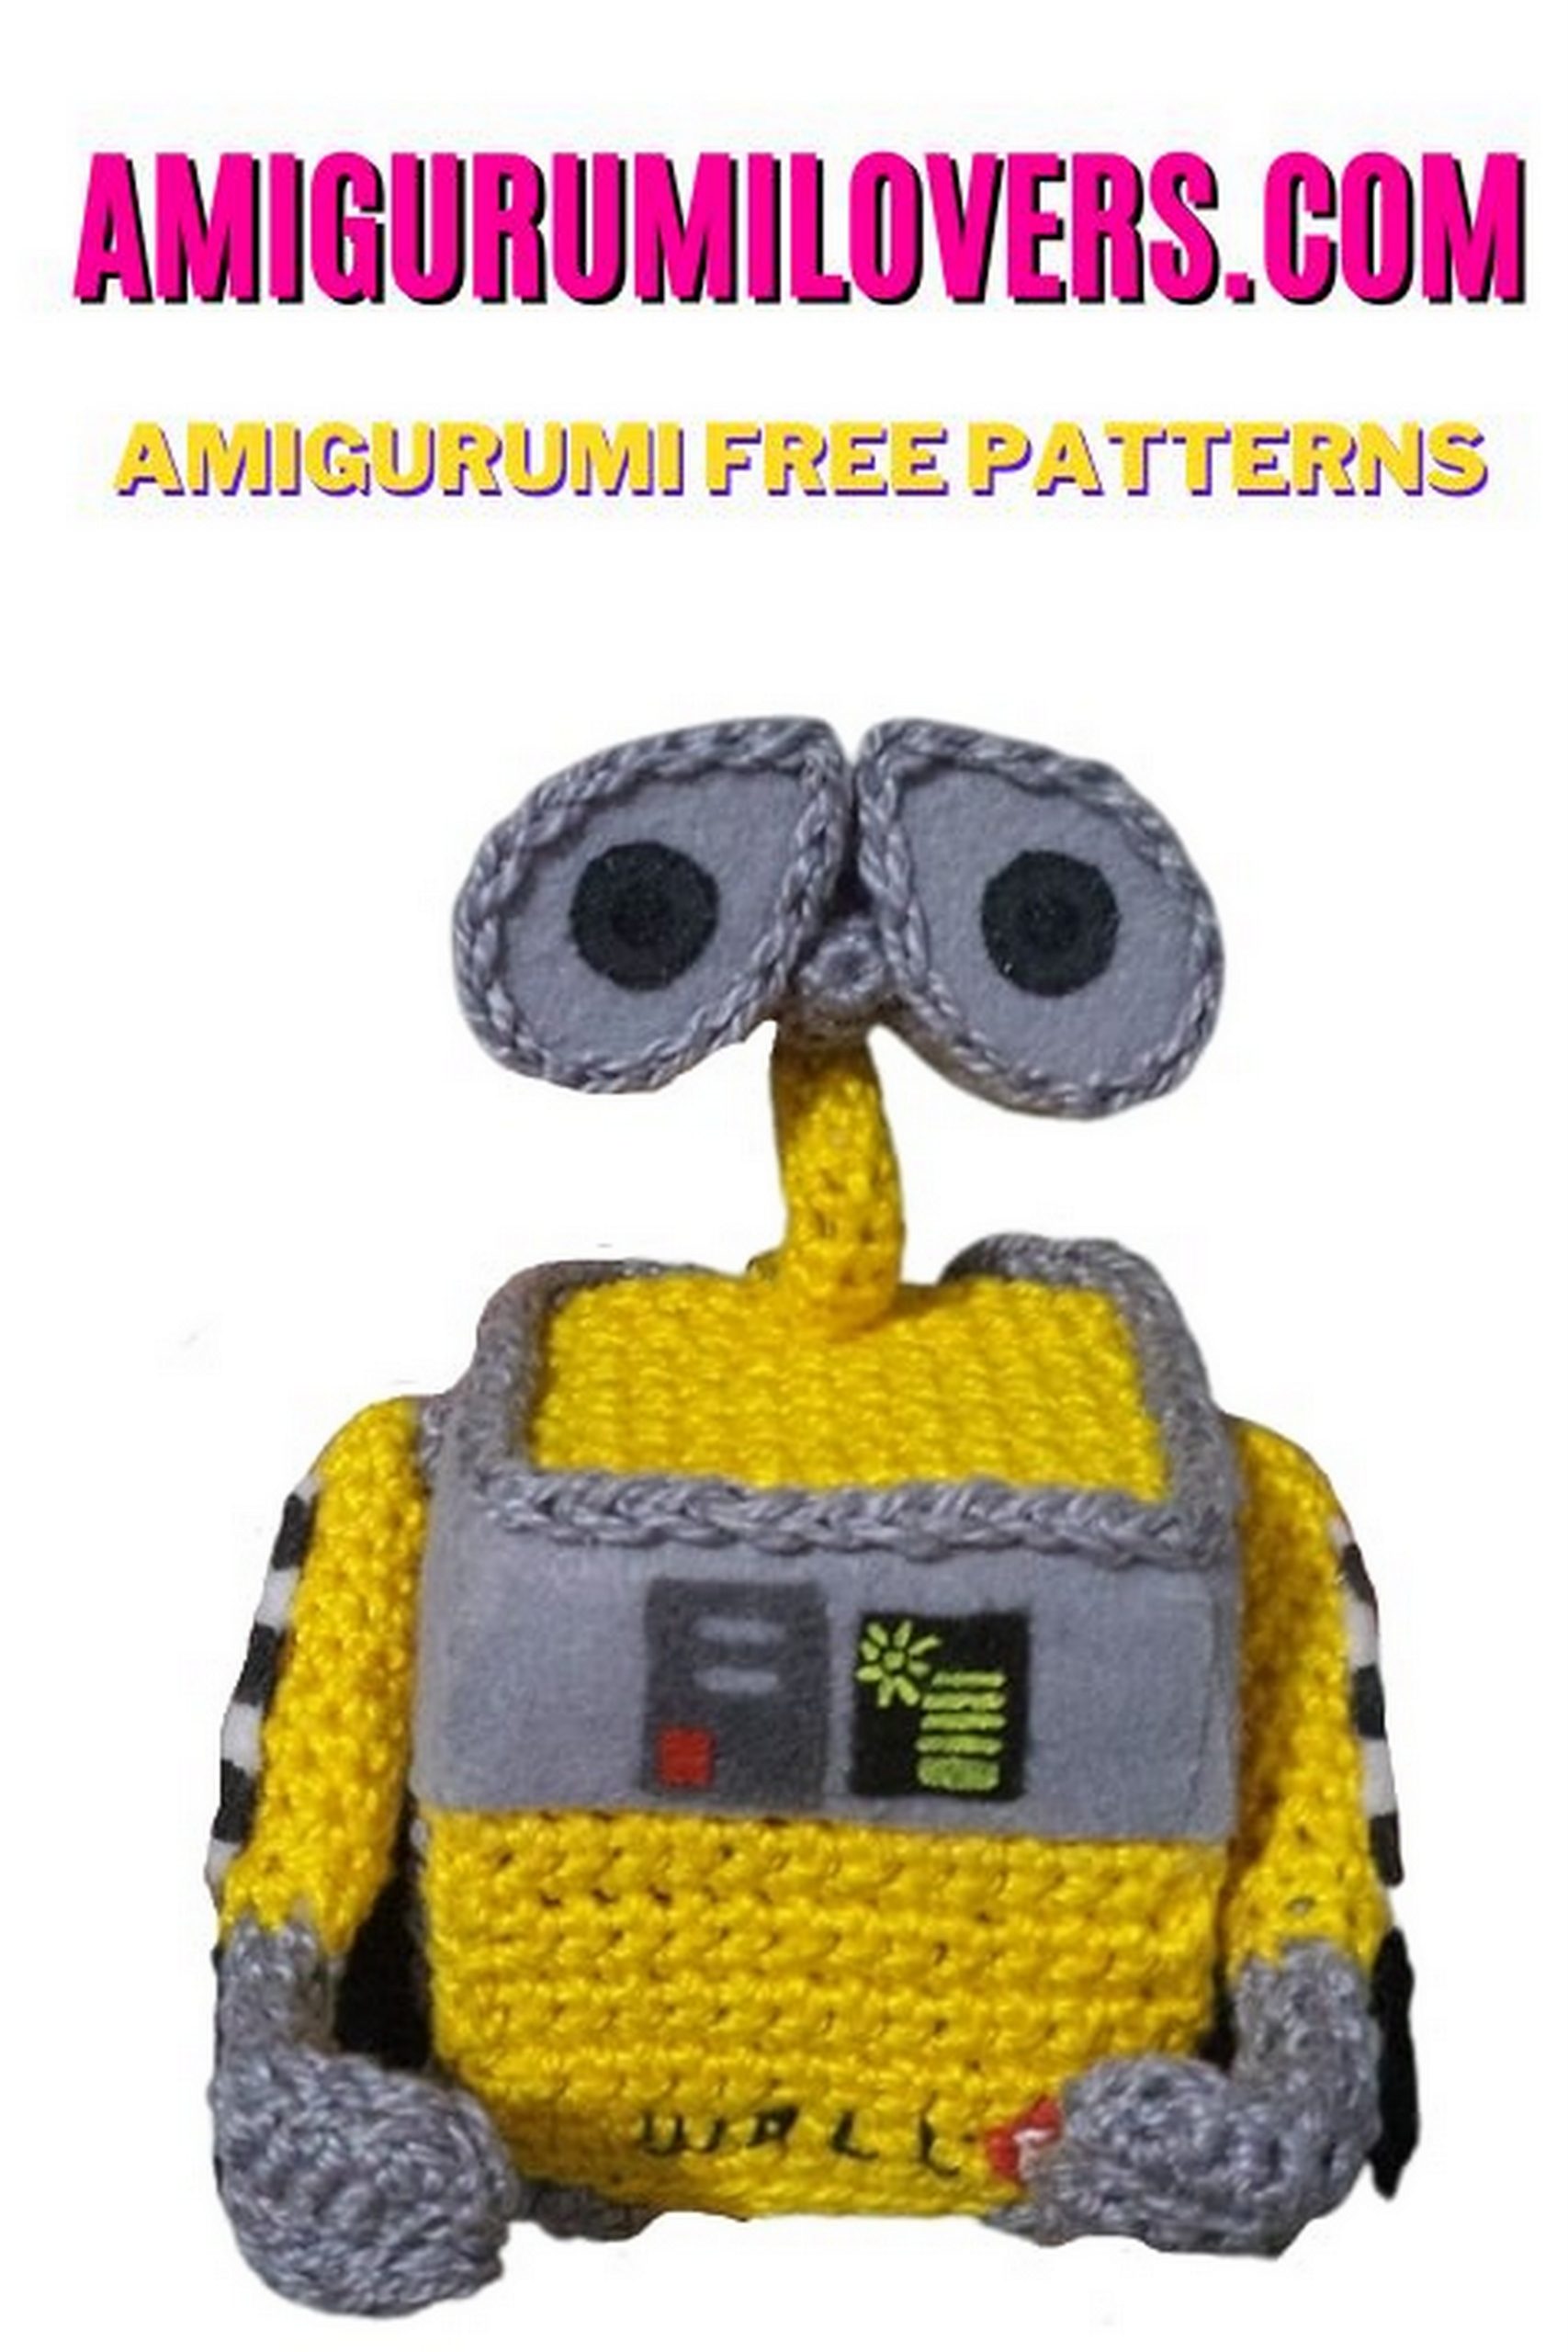
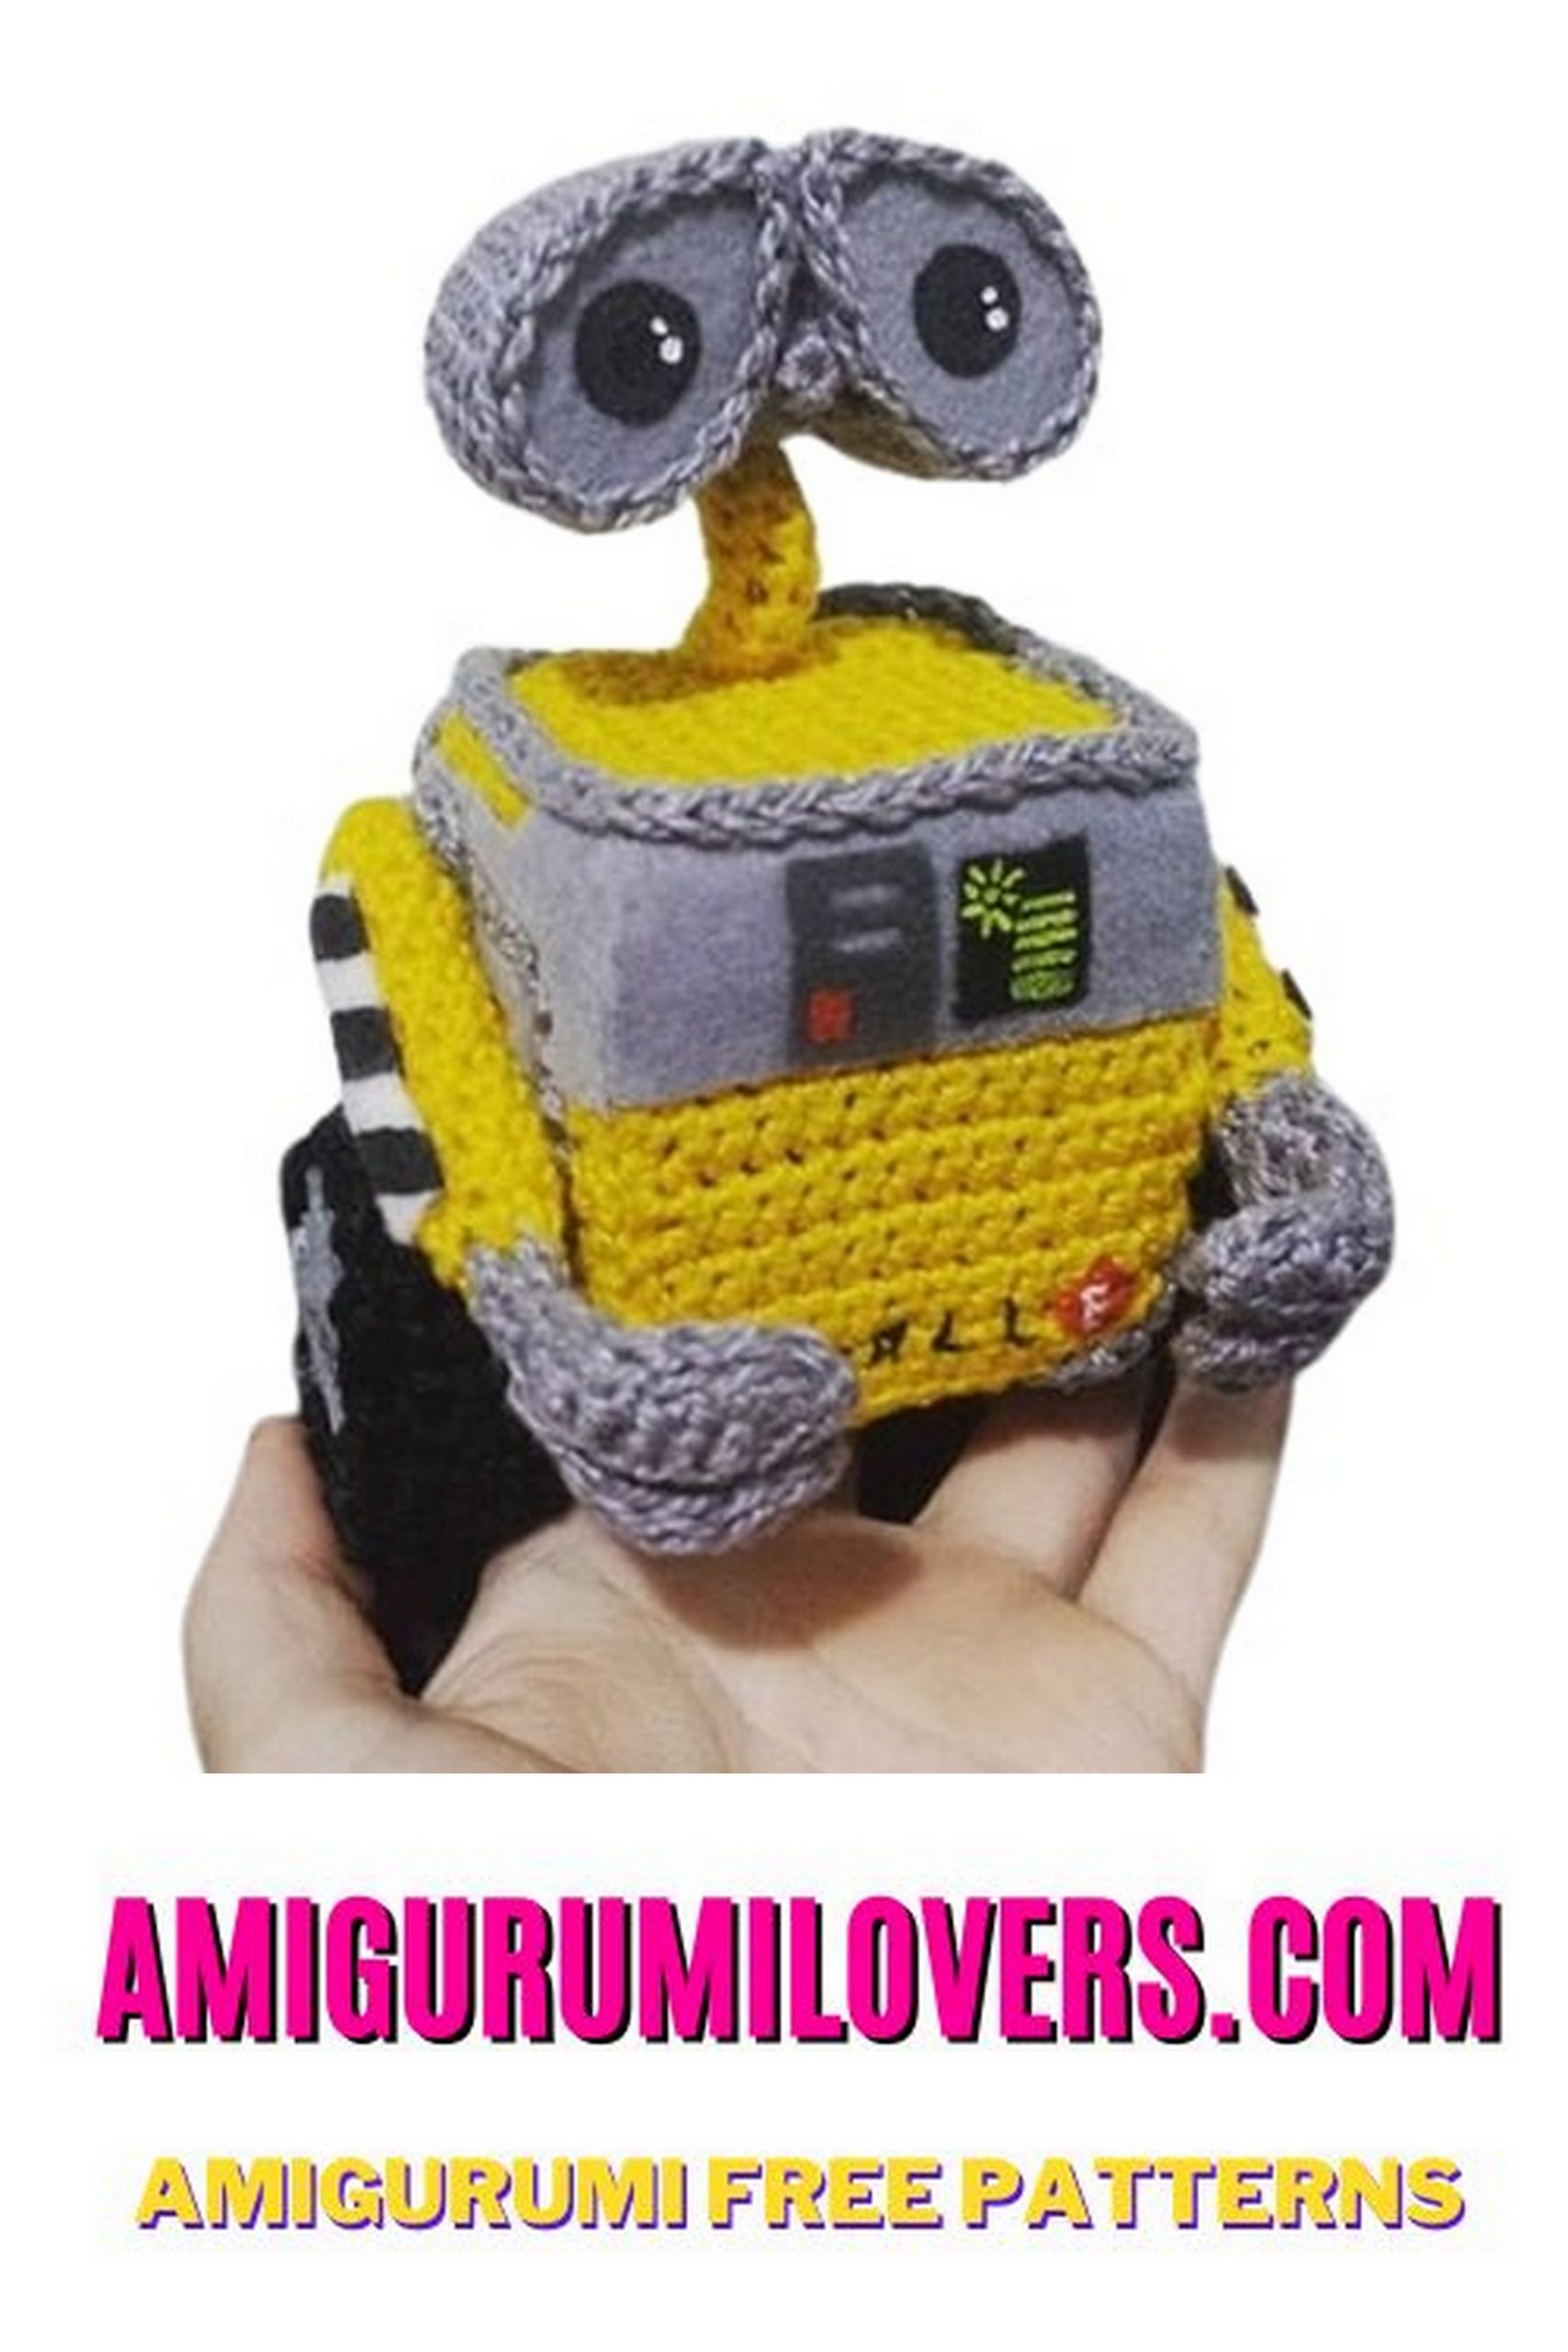
Wall-e Amigurumi Free Crochet Pattern
You may also enjoy exploring our free amigurumi patterns and other popular amigurumi animal patterns available on our website.
Welcome to our crochet corner, where creativity meets craftsmanship! If you’re looking to embark on a delightful project that combines charm and simplicity, then this “Wall-e Amigurumi Free Crochet Pattern” is just for you. Amigurumi, the Japanese art of knitting or crocheting small stuffed animals and toys, has gained popularity among crafters of all ages. Whether you’re a seasoned crocheter or just starting out, this free pattern will guide you in creating your very own cuddly character that is sure to bring a smile to anyone’s face.
This pattern is designed with beginners in mind, focusing on easy-to-follow steps that will have you working up Wall-e in no time. The joy of making amigurumi lies in the small, manageable pieces that gradually come together to form a whimsical plush toy. Wall-e, with his endearing design, is a perfect project to hone your skills while producing a meaningful item that you can cherish or gift. The best part? It’s completely free, making it an ideal choice for those looking to save costs while indulging in their crochet passion.
As you dive into this creative adventure, you’ll find not only a way to express your artistic side but also a comforting hobby that can provide relaxation and joy. Armed with just a few supplies, including yarn, a crochet hook, and some stuffing, you can create a piece that reflects your unique style. This pattern emphasizes basic stitches and techniques, ensuring that even if you’re picking up a hook for the first time, you’ll find success in this project.
In knitting or crocheting amigurumi, the process of assembling the pieces is as rewarding as watching them come to life. You’ll find satisfaction in the small details that make your Wall-e truly one-of-a-kind. Plus, once you get the hang of the foundational techniques, the possibilities are endless. You can start experimenting with colors, sizes, and even creating your own amigurumi characters!
Our aim is to provide you with not just a pattern but a comprehensive guide that empowers you to enjoy every step of the process. So gather your supplies and prepare to express your creativity as you crochet this lovely Wall-e Amigurumi. We’re excited to share this journey with you and can’t wait to see what you create. Let’s get started on this fun adventure—your new favorite crochet project awaits!
Beautiful amigurumi patterns are available for free on this site. I shared with you the amigurumi wall-e pattern in this article.
Materials:
– Yellow yarn (I used Anne by Circulo, which is a Fingering / 4 ply (14 wpi));
– Grey yarn (I used Anne by Circulo, which is a Fingering / 4 ply (14 wpi));
– Black yarn (I used Anne by Circulo, which is a Fingering / 4 ply (14 wpi));
– EVA;
– 2mm crochet hook;
– Fiberfill;
– Tapestry needle, needle and scissors;
– Wire to his neck and to his arms;
– Contact glue;
– Paintbrush, black, white, grey, red and lime fabric paint;
– White and grey felt;
– Black, white and red thread to embroider his name.
Notes:
– I always do my crochet works using continuous rounds. I will let you know when you have to join rounds;
– Everytime I will do a crochet work, the first thing I do is take a look in the entirely pattern before start doing it, so, I can have an idea of how the pattern works. Well, I recommend you to do the same;
– For sewing the pieces together you will use the tapestry needle;
Pattern:
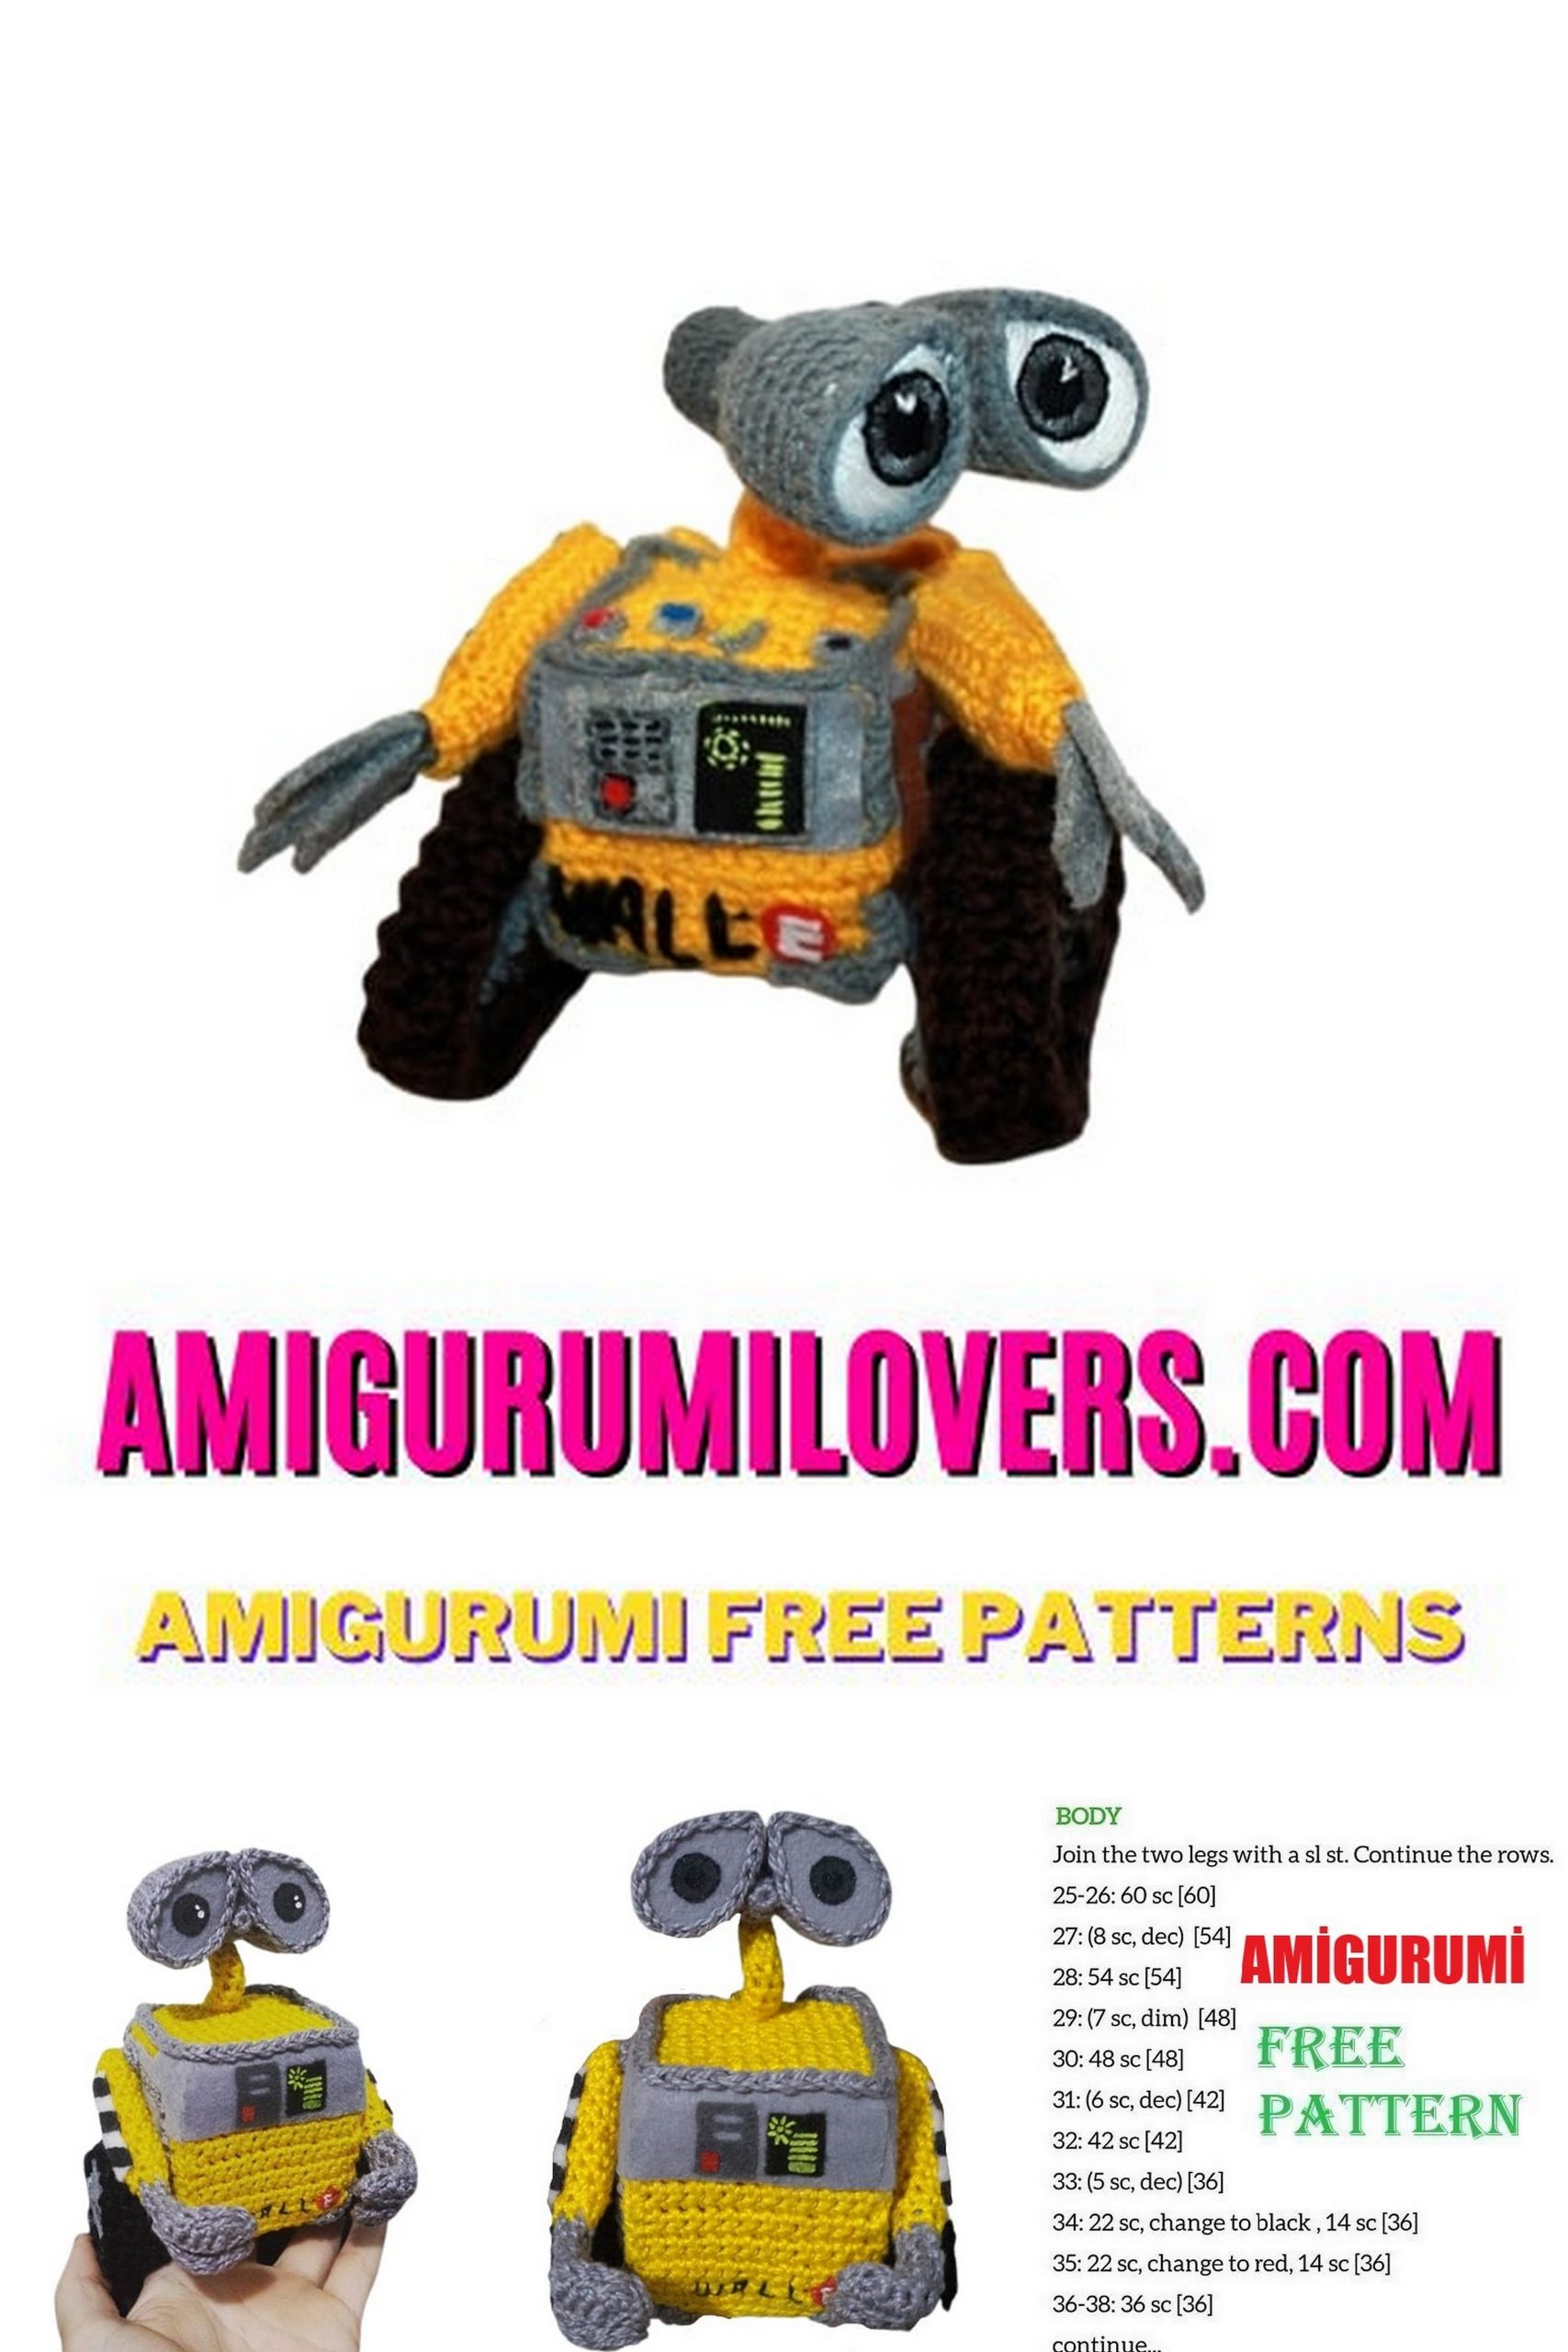
– Body (make 6 – yellow yarn):
Row 1: ch 14, sc 13 (13)
Row 2-15: sc in each sc (13)
Finish off and leave a long tail for sewing.
1. Sew all the pieces together, except the top.
2. Cut a cube shaped piece of foam. You are not going to stuff the cube with fiberfill, but with this foam.
3. Insert the foam inside the crochet cube, then sew the rest of the top.
– Grey edge on the top of his body:
Row 1: Make 38 sc using Moogly’s method, which does not need a foundation chain (38)
Finish off.
This is how the top edge should look like when sewn to his body:
– Grey corners in “y” shape from the bottom (make 4):
Row 1: Make sc 5 using Moogly’s method, which does not need a foundation chain (5)
Cut the yarn and leave a long tail for sewing.
Attach the yarn on the 3rd stitch and make 2 sc.
Finish off.
This is how this piece should look like when sewn to his body:
– Grey corners from his back on the top (make 2):
Row 1: Make sc 2 using Moogly’s method, which does not need a foundation chain (2)
Finish off
– Grey detail located on the sides (make 2):
Row 1: Make sc 17 using Moogly’s method, which does not need a foundation chain (17)
Finish off.
– Grey piece where his arms are attached (join rounds – make 2):
Round 1: 6 sc in MC (6)
Round 2: sc in each sc (6)
Finish off.
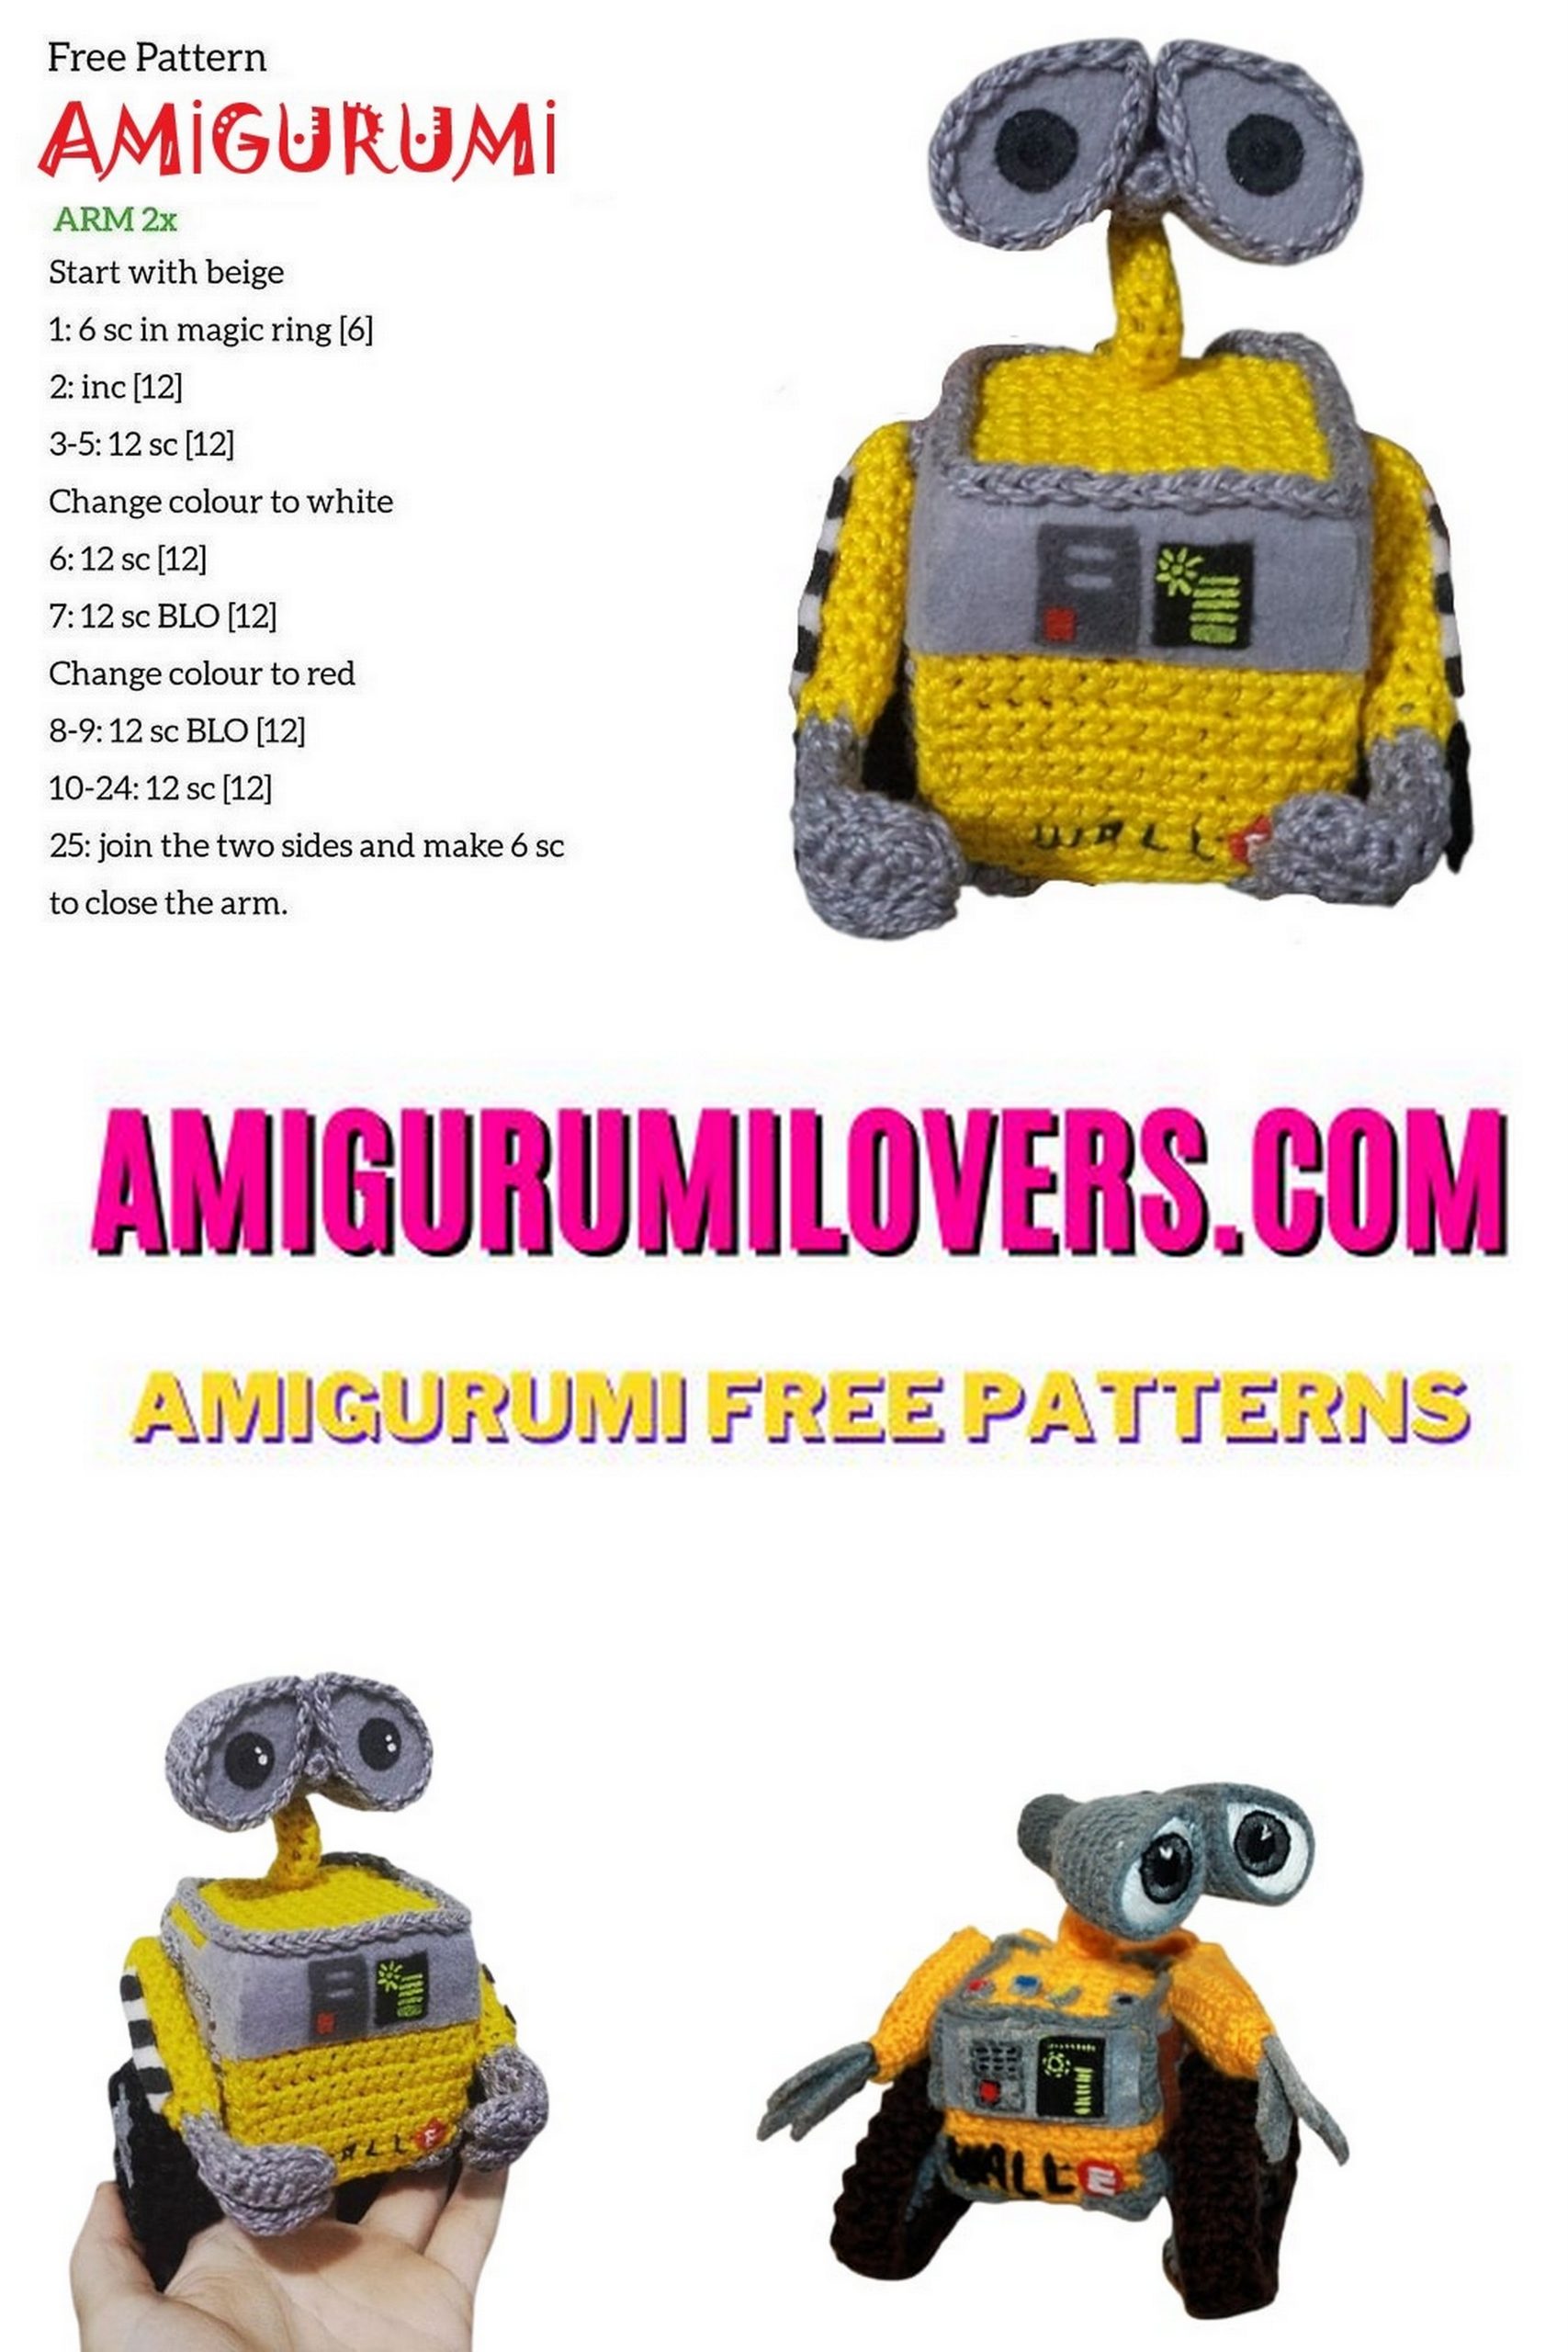
– Arms (make 2):
**Start with yellow yarn
Round 1: 8 sc in MC (8)
Round 2-14: sc in each sc (8)
Round 15: crochet only in the back loops. (sc 2, dec) 2 times (6)
**change to gray yarn
Round 16-17: sc in each sc (6)
Finish off.
– Fingers (make 4 – grey yarn):
Row 1: Make 6 sc using Moogly’s method, which does not need a foundation chain (6)
Row 2: sc in each sc (6)
Finish off and leave a long tail for sewing.
– “Legs” (make 4 – black yarn):
Row 1: Make 4 sc using Moogly’s method, which does not need a foundation chain (4)
Row 2-32: sc in each sc (32)
– Neck (yellow yarn):
Round 1: 6 sc in MC (6)
Round 2-10: sc in each sc (6)
Finish off and leave a long tail for sewing.
– Eyes:
. Tube (make 2):
Round 1: Make 10 sc in MC (10)
Round 2-8: sc in each sc (10)
Finish off.
. Front part (make 2):
Round 1: 8 sc in MC (8)
Round 2: inc (16)
Round 3-9: sc in each sc (16)
Finish off.
Grey cylinder between the eyes:
Round 1: 6 sc in MC (6)
Round 2-5: sc in each sc (6)
Round 6: dec (5)
Finish off.
Assembly:
1. Make his body. Sew all the squares together, except the top, put the foam inside and sew the top square as explained before;
2. Sew the “Grey edge on the top of his body”:
3. Sew the “Grey corners in “y” shape from the bottom”:
4. Sew the “Grey corners from his back on the top”:
5. Using grey felt make two pieces like the one in this photo (they are placed each one in each side) and glue them to his body:
6. Using grey felt make the front ractangle and glue it to his body:
7. Put some fiberfill inside and glue the “Grey piece where his arms are attached” in the same place as shown in the photo:
8. Now, before sewing his arms, it’s necessary to insert a wire inside his body to keep his arms in place. To be able to insert the wire inside the cube I had to pierce with a sharp needle and then enlarge the small hole with a larger needle. After that I was able to insert the piece of wire:
Pierce the cube with a sharp needle
Enlarge the small hole with a larger needle
Insert the wire.
Bend the wire near his body and insert his arm through it.
9. To make his fingers sew two pieces together:
Then, cut two pieces of wire (they need to be bigger than the fingers) and bend it to make it double.
After that insert the wire inside his fingers
Finally, insert the wire inside his arm and sew his fingers:
10. Using a piece of white felt and black fabric paint make this detail of his arms:
11. To make his legs first cut two pieces of a thick wire in the size of his legs and bend it in this shape (get an idea with the photos of the complete wall-e):
unite the loose tips with adesive tape
Sew two pieces of his leg with the wire inside:
12. Cut a piece of wire and try to shape it like in the photo bellow. This is going to be his neck.
First, insert the already shaped wire into his neck:
Then, insert the wire into his body:
After that, sew his neck to his body:
13. Now you are going to sew the “Grey cylinder between the eyes” to the top of his neck:
14. To make his eyes I used EVA. I cut two pieces each one for each eye:
Then, I cut two pieces of grey felt and glued into the eva.
Finally, I painted his pupils and iris:
After that, you are going to insert his eva eyes inside the “Front part” of his eyes and glue them together:
Finally, sew his eyes to the “Grey cylinder between the eyes”:
Now, stuff each “Tube” with fiberfill and glue it to the back of each eye.
Don’t forget to make the reflection in his eyes:
15. Make the details in his front painel using felt and fabric paint and embroider his name:
16. With a black yarn and using only crochet chains make this two wires and sew each one into each eye and both into the “Grey cylinder between the eyes”:
17: Using EVA I made some gears and painted them with silver paint:
Before you leave, make sure to check out more free amigurumi crochet patterns and discover new ideas for your next project.
You can also browse our full amigurumi pattern archive for hundreds of beginner-friendly designs.