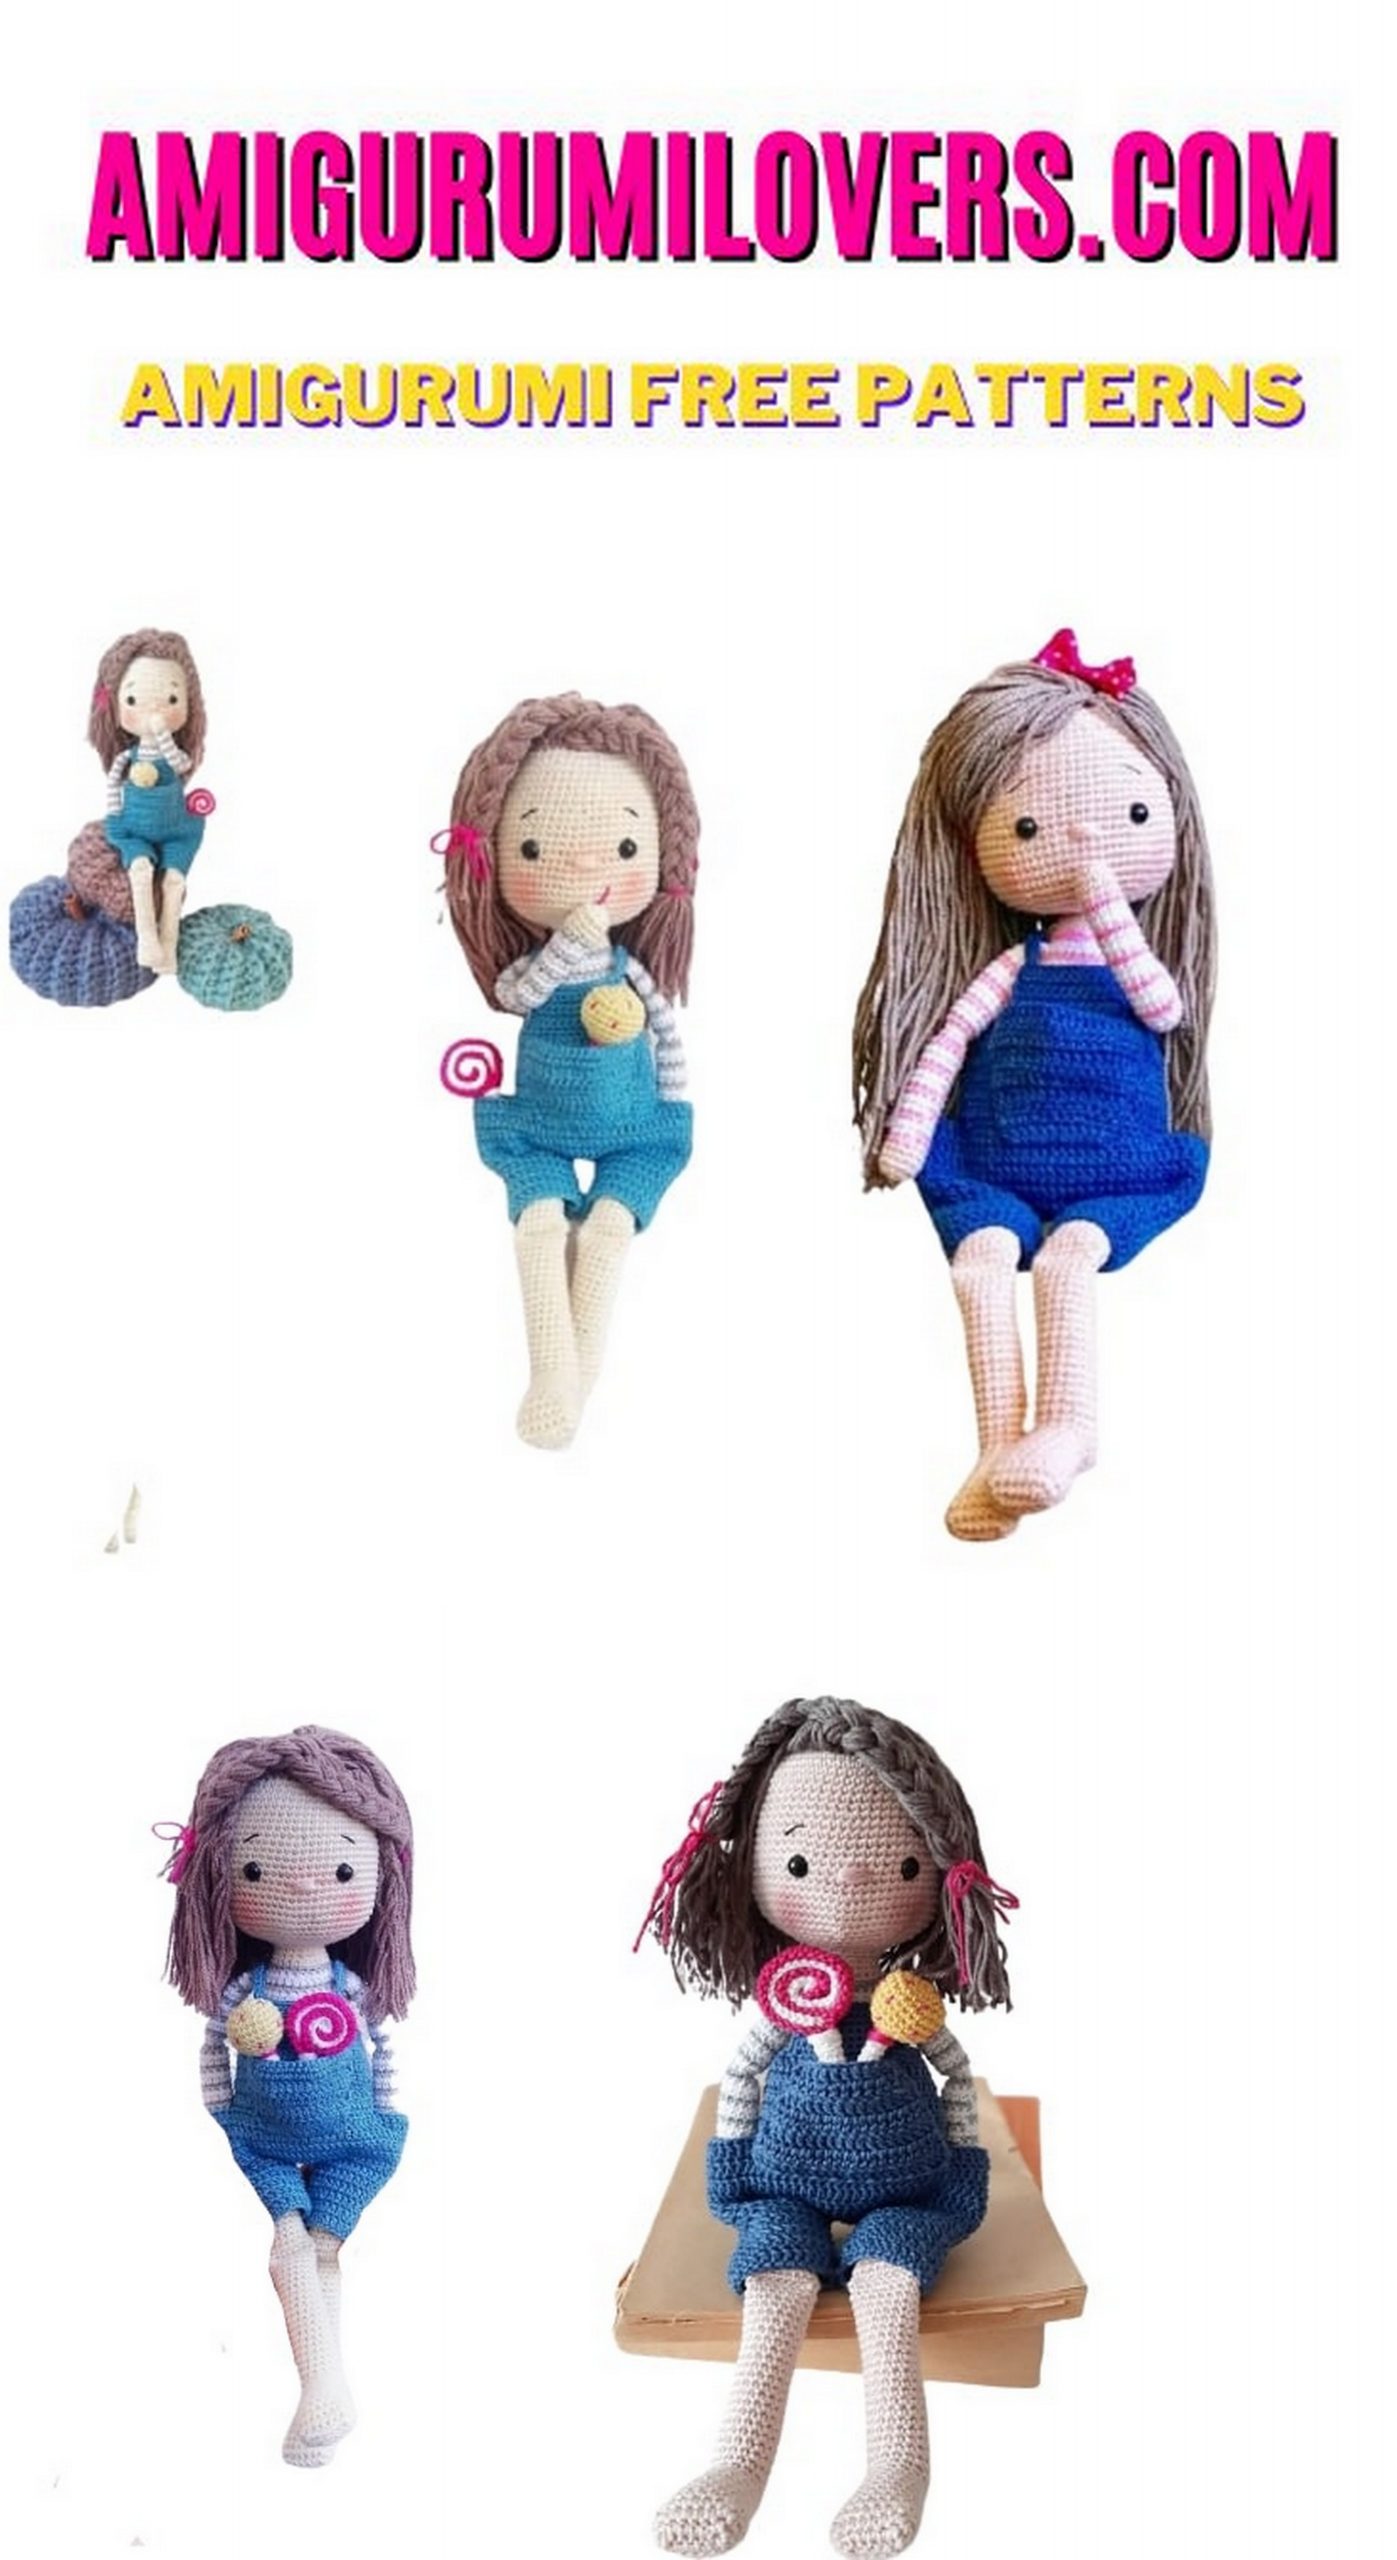
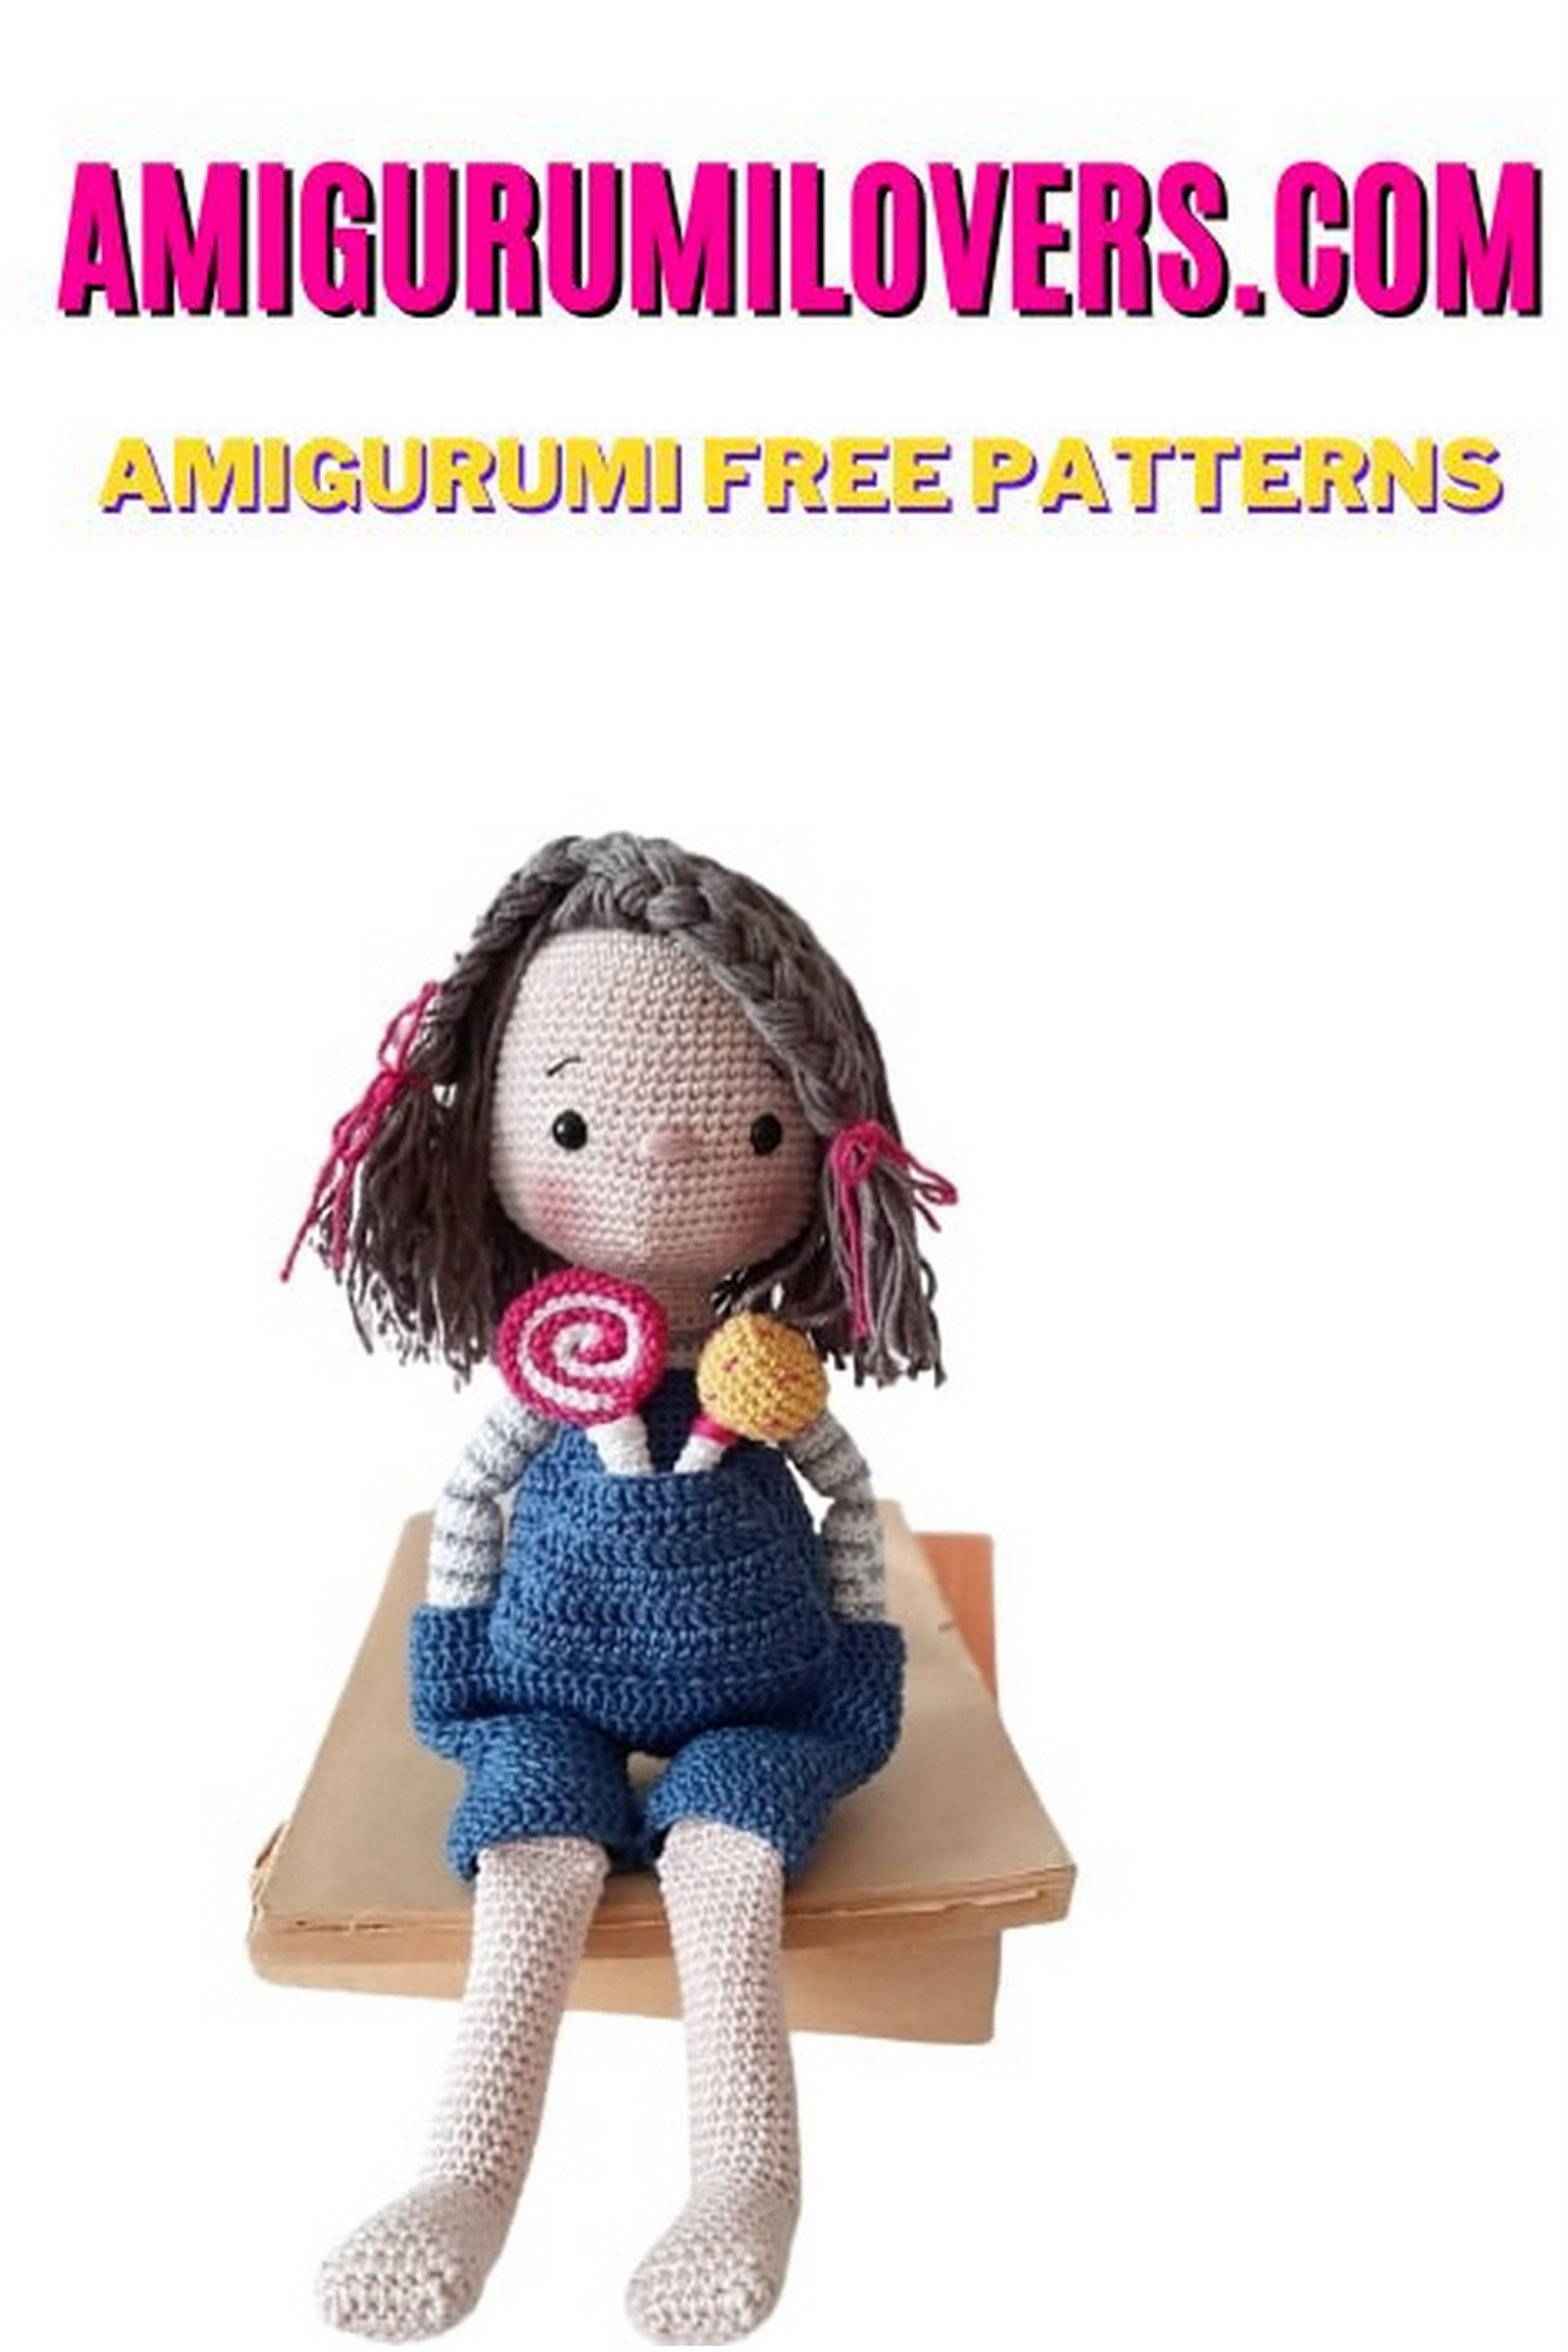
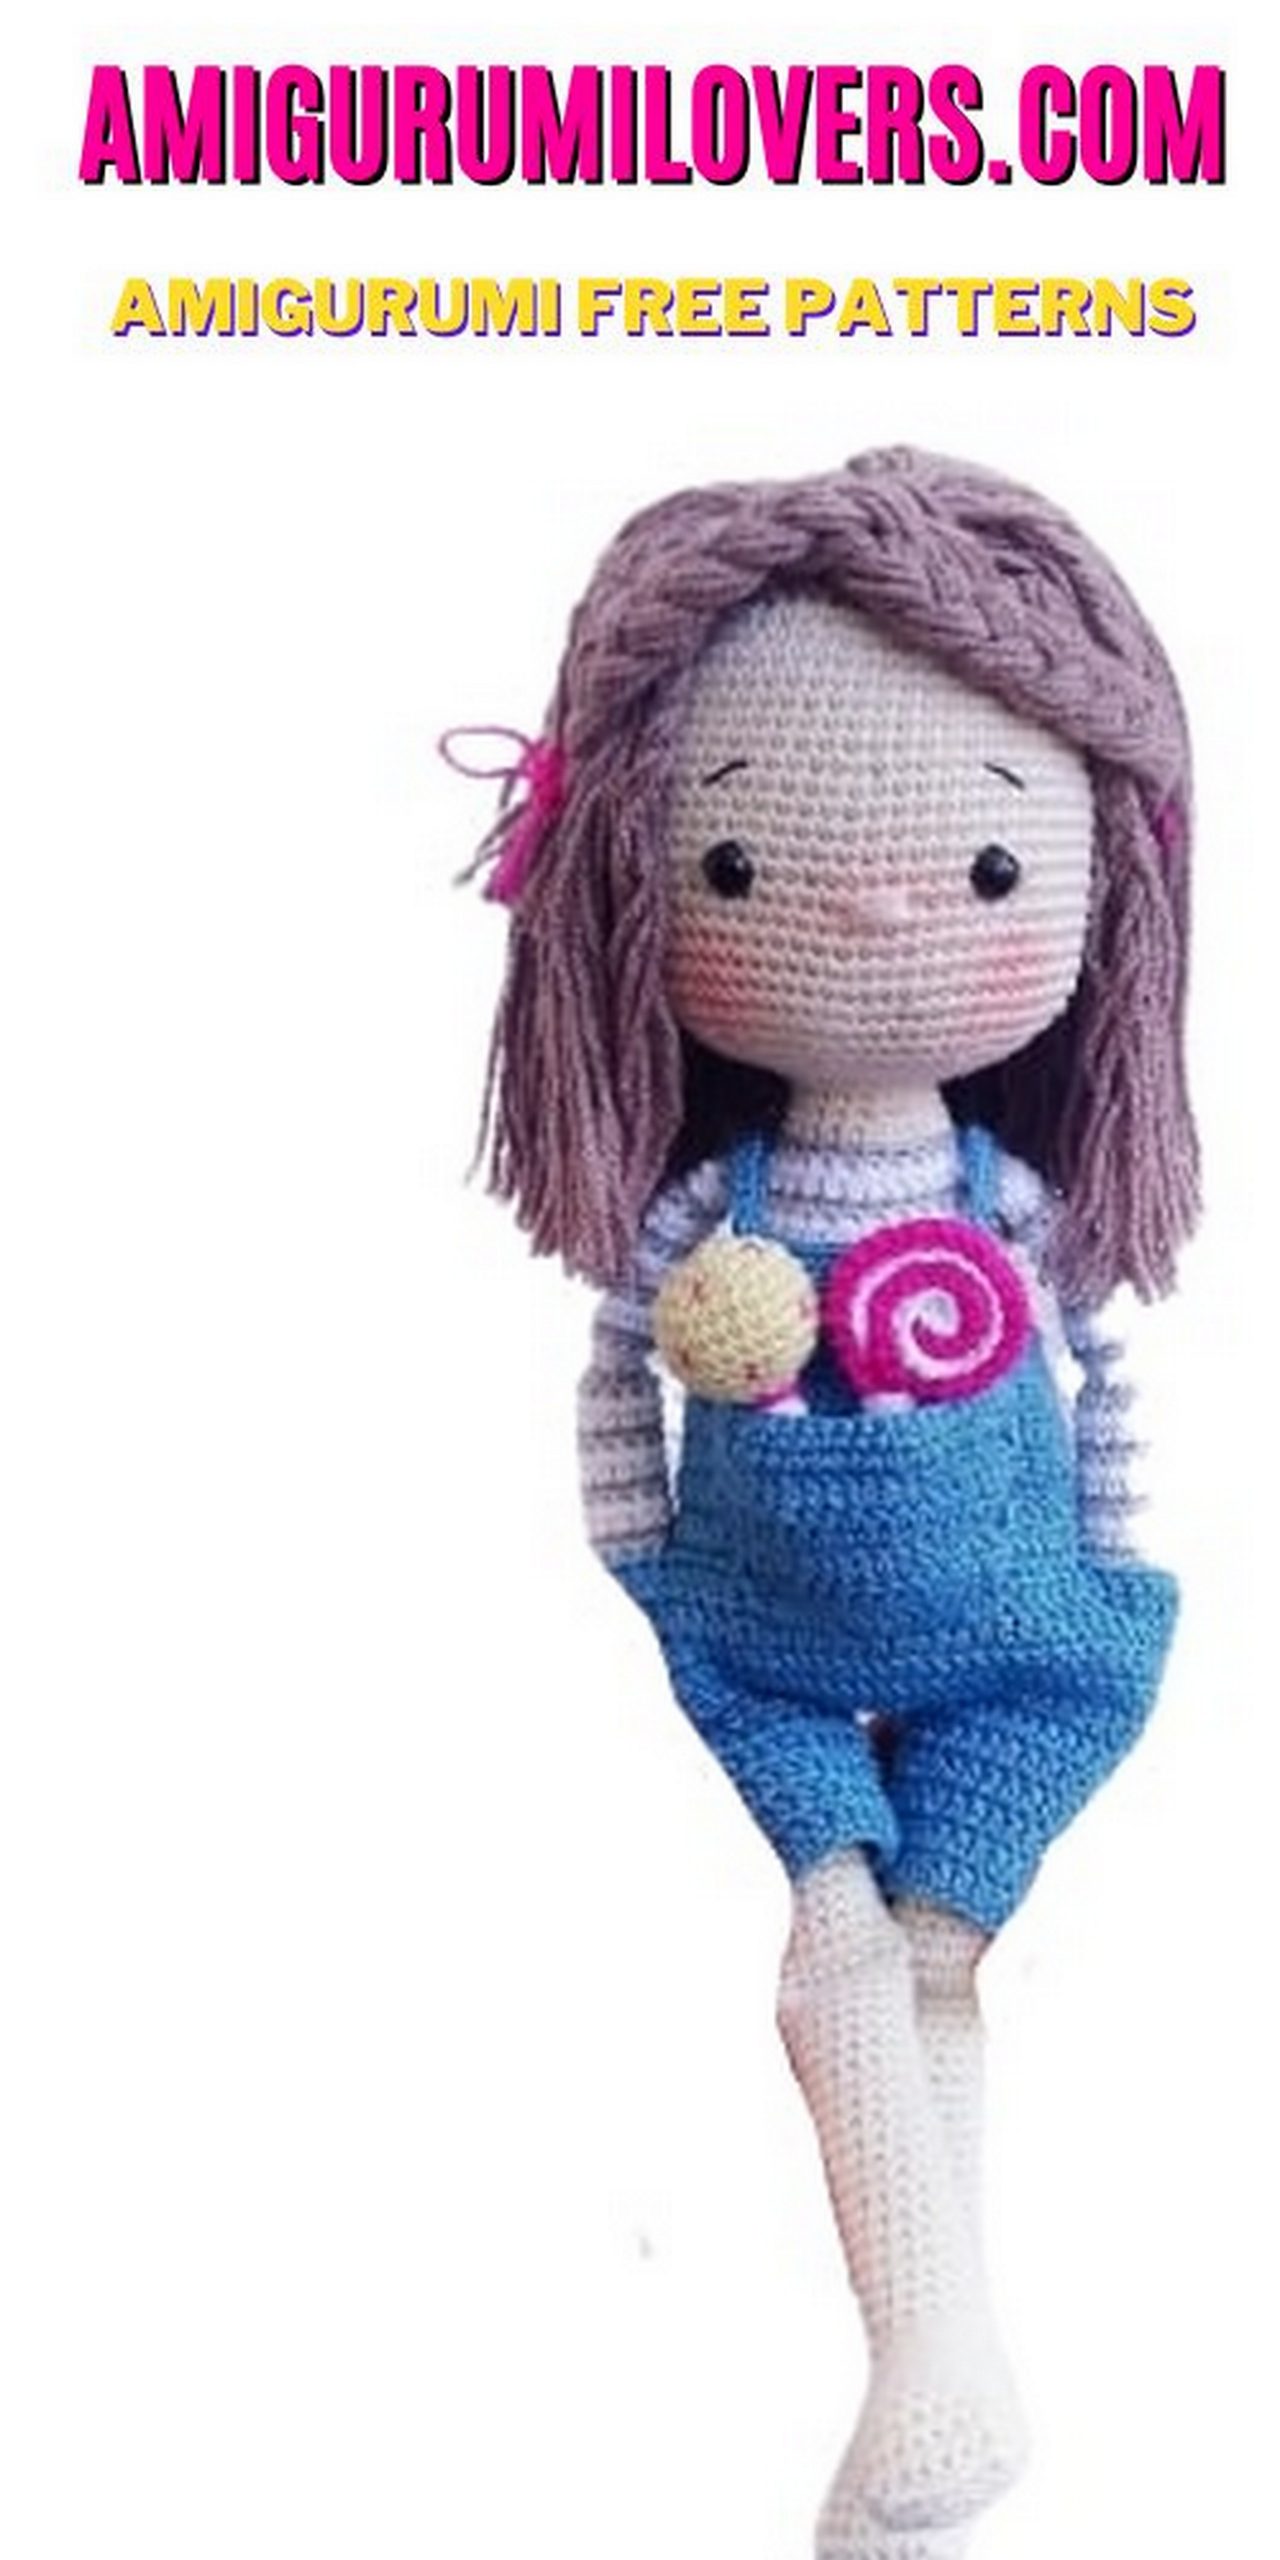
Amigurumi Amanda Doll Free Crochet Pattern
You may also enjoy exploring our free amigurumi patterns and other popular amigurumi animal patterns available on our website.
Welcome to our crochet corner! Today, we’re excited to share a delightful and free amigurumi crochet pattern for you to try: the Amigurumi Amanda Doll. If you’ve ever been enchanted by the world of crochet, amigurumi is a wonderful branch that allows you to create adorable stuffed toys and charming characters, perfect for gifts or personal keepsakes. This pattern is designed with beginners in mind, making it an ideal starting point for those who are just dipping their toes into the vibrant sea of crochet.
The appeal of amigurumi lies not only in the finished creations but also in the joy of the crochet process itself. As you work through each stitch, you’ll find that you are crafting not just a doll, but a companion filled with personality and warmth. The Amigurumi Amanda Doll is a versatile project, allowing you to experiment with different colors and embellishments to truly make her your own. Whether you’re new to crocheting or have a bit of experience, this pattern provides clear instructions and helpful tips to ensure your crafting journey is smooth and enjoyable.
As you begin this project, you will learn essential crochet techniques, such as creating a magic ring, working in rounds, and mastering basic stitches. The pattern includes step-by-step guidance, making it easy to follow along, even if you have only a handful of projects under your belt. By the end of your crochet adventure, you’ll not only have a charming doll to show off but also a boost of confidence in your crafting abilities.
Creating the Amigurumi Amanda Doll is not just about stitching yarn together; it’s about the joy of creation and the love you put into every single round. Imagine gifting this lovable doll to a child or displaying it proudly in your home as a testament to your creativity. This pattern is also perfect for making matching dolls for siblings or friends, sparking a little extra joy in their lives. So gather your yarn, grab your crochet hook, and prepare to embark on this fun, rewarding project that promises a wonderful outcome.
Join us in creating the Amigurumi Amanda Doll, and open the door to a world of crochet possibilities. With each loop and stitch, you’ll not only be crafting a doll but also unlocking the potential for creating your own whimsical creatures. As you follow along with our free pattern, we hope to inspire you to explore the endless creativity that the world of crochet has to offer. Happy crocheting!
Amigurumi related to each other, we continue to bring you beautiful shares. In this article, amigurumi Amanda free pattern is waiting for you.
MATERIALS
Kartopu Organica color no: K1219 (Skin )
Kartopu Organica color no: K1920 (Grey)
Kartopu Organica color no: K010 (White)
Kartopu Organica color no: K258 (Pink)
Kartopu Organica color no: K245 (Pink for candy)
Kartopu Organica color no: K331 (Yellow)
Kartopu Organica color no: K0380 (Blue)
Alize coton gold color no: 688 (Hair)
2,2 mm crochet hook, sewing needle,
Polyester fiberfill for stuffing,
8 mm safety eyes.
ABBREVIATIONS:
Magic ring: Magic ring,
sc: single crochet,
İNC: increase,
DEC: decrease,
x: repeat.
BLO: Back Loop only,
FLO: Front Loop only,
DC: Double crochet.
DECDC: Double crochet decrease,
İNCDC: Double crochet increase.

HEAD:
1. 6 sc in magic ring: 6 sc,
2. 6inc : 12 sc,
3. (1 sc, İNC) x 6 : 18 sc,
4. (2 sc, İNC) x 6 : 24 sc,
5. (3 sc, İNC) x 6 : 30 sc,
6. (4 sc, İNC) x 6 : 36sc,
7. (5 sc, İNC) x 6 : 42 sc,
8. (6 sc, İNC) x 6 : 48 sc,
9. (7 sc, İNC) x 6 : 54 sc,
10. (8 sc, İNC) x 6 : 60 sc,
11-15. 60 sc, ( 5 Rows )
16. (14 sc, İNC ) x 4 : 64 sc,
17-20. 64 sc, ( 4 Rows )
21. (15 sc, İNC ) x 4 : 68 sc,
22-24. 68 sc, ( 3 Rows )
25. (16 sc, İNC ) x 4 : 72 sc,
26-28. 72 sc, ( 3 Rows )
29. (7 sc, DEC) x 8 : 64 sc,
30. (6 sc, DEC) x 8 : 56 sc,
Insert the safety eyes between round 21 and 22, leave 12 hole between them.
31. (5 sc, DEC) x 8 : 48 sc,
32. (4 sc, DEC) x 8 : 40 sc,
33. (3 sc, DEC) x 8 : 32 sc,
34. (2 sc, DEC) x 8 : 24 sc,
35. (4 sc, DEC) x 4 : 20 sc, finish it with slip stitch, leave long yarn tail for sewing and fill the head.
FOOT-LEG
1. Chain 7, leave 1 and sc next, 1 İNC, 4 sc, 3 sc in 1, 5 sc : 14 sc,
2. 2 İNC, 4 sc, 3 İNC, 4 sc, 1 İNC : 20 sc,
3-4. 20 sc, ( 2 Rows )
5. 1 DEC, 9 sc, 1 DEC, 7 sc : 18 sc,
6-7. 18 sc, ( 2 Rows )
8. 1 DEC, 8 sc, 1 DEC, 6 sc : 16 sc,
9-10. 16 sc, ( 2 Rows )
11-16. Chain 1, turn, 5 sc : 5 sc, ( 6 times)
17. 4 sc, take 1 sc from side 1 sc from middle and decrease, 1 DEC, 5 sc, 1 DEC, take 1 sc from middle 1 sc from side and decrease, 4 sc, 1 DEC, 1 sc, 1 DEC: 20 sc,
18. 3 sc, 3 sc in 1 (decrease), 5 sc, 3 sc in 1 (decrease), 6 sc : 16 sc,
19-37. 16 sc, (19 Rows)
38. 15 sc, (Leave 1 from dec row) fill the leg.
39. Put two side together and crochet 8 sc,
40. Chain 1, crochet both side of your 8 sc : 16 sc,
41-48. 16 sc, (8 Rows)
Change color to Pink,
49-56. 16 sc, ( 8 Rows )
Finish it with slip stitch and fill the leg.
Make the second leg with same pattern.
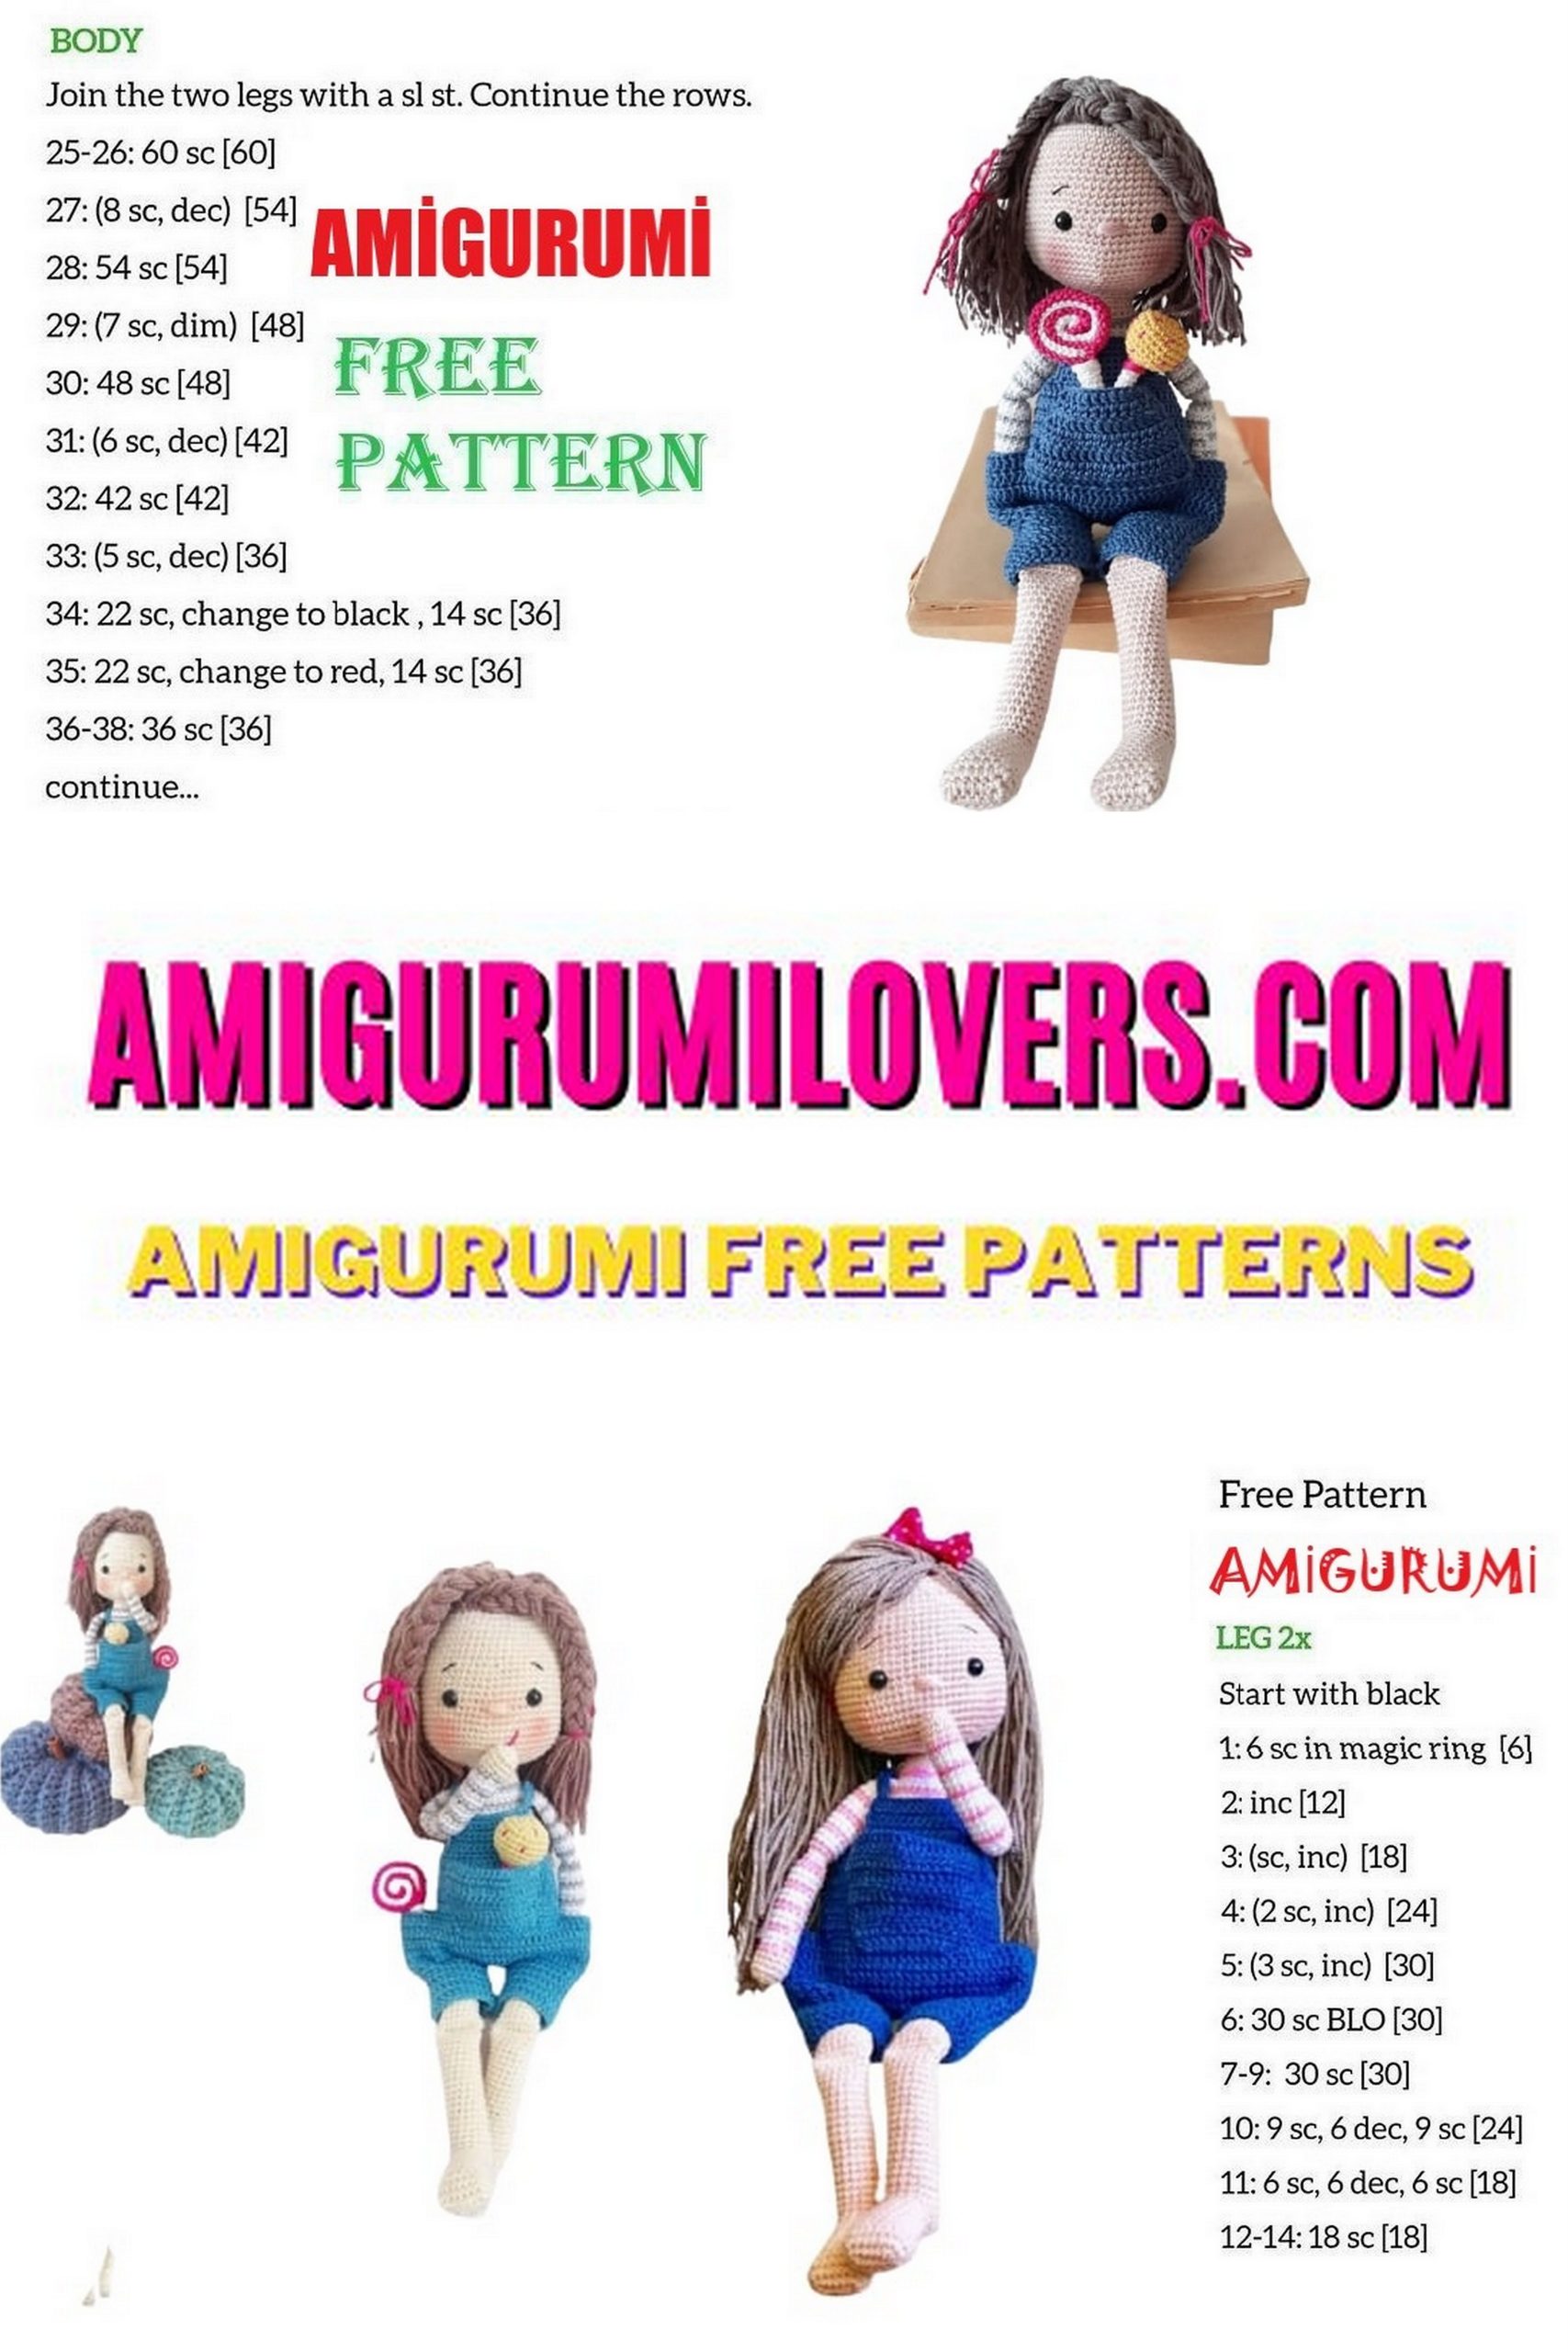
BODY
We will join the legs and continue to body from here.
1. Start with first leg. From back side, put two side together ang crochet 8 sc, chain 6 on the middle, fort he second leg, put two side together ang crochet 8 sc : 22 sc,
2. Chain 1, Crochet both side of your 22 sc : 44 sc,
3. ( 10 sc, 1 İNC ) x 4 : 48 sc,
4-9. 48 sc, ( 6 Rows)
Change color to White,
10. BLO:48 sc,
11. 48 sc,
Change color to Grey,
12. 48 sc,
Change color to White,
13-14. 48 sc, ( 2 Rows)
Change color to Grey,
15. 48 sc,
Change color to White,
16-17. 48 sc, ( 2 Rows)
Change color to Grey,
18. 48 sc,
Change color to White,
19-20. 48 sc, ( 2 Rows)
Change color to Grey,
21. 48 sc,
Change color to White,
22. 48 sc,
23. ( 10 sc, 1 DEC ) x 4 : 44 sc,
Change color to Grey,
24. 44 sc,
Change color to White,
25. 44 sc,
26. (9 sc, 1 DEC) x 4 : 40 sc,
Change color to Grey,
27. 40 sc,
Change color to White,
28. 40 sc,
29. (6 sc, 1 DEC) x 5 : 35 sc,
Change color to Grey,
30. 35 sc,
Change color to White,
31. 35 sc,
32. (5 sc, 1 DEC) x 5 : 30 sc,
Change color to Grey,
33. 30 sc,
Change color to White,
34. 30 sc,
35. (4 sc, 1 DEC) x 5 : 25 sc,
Change color to Grey,
36. 25 sc,
Change color to skin color,
37. BLO 25 sc,
38. (3 sc, 1 DEC) x 5 : 20 sc,
39. 20 sc, finish it with slip stitch and fill the body.
Our toy’s neck is slim as you see. We need to help it with dec device. I used dec flag stick for support the head. You can also use wire or thick straw too. We prepare it for 6 cm long. Insert 3 cm inside to neck and body, 3 cm inside to head.
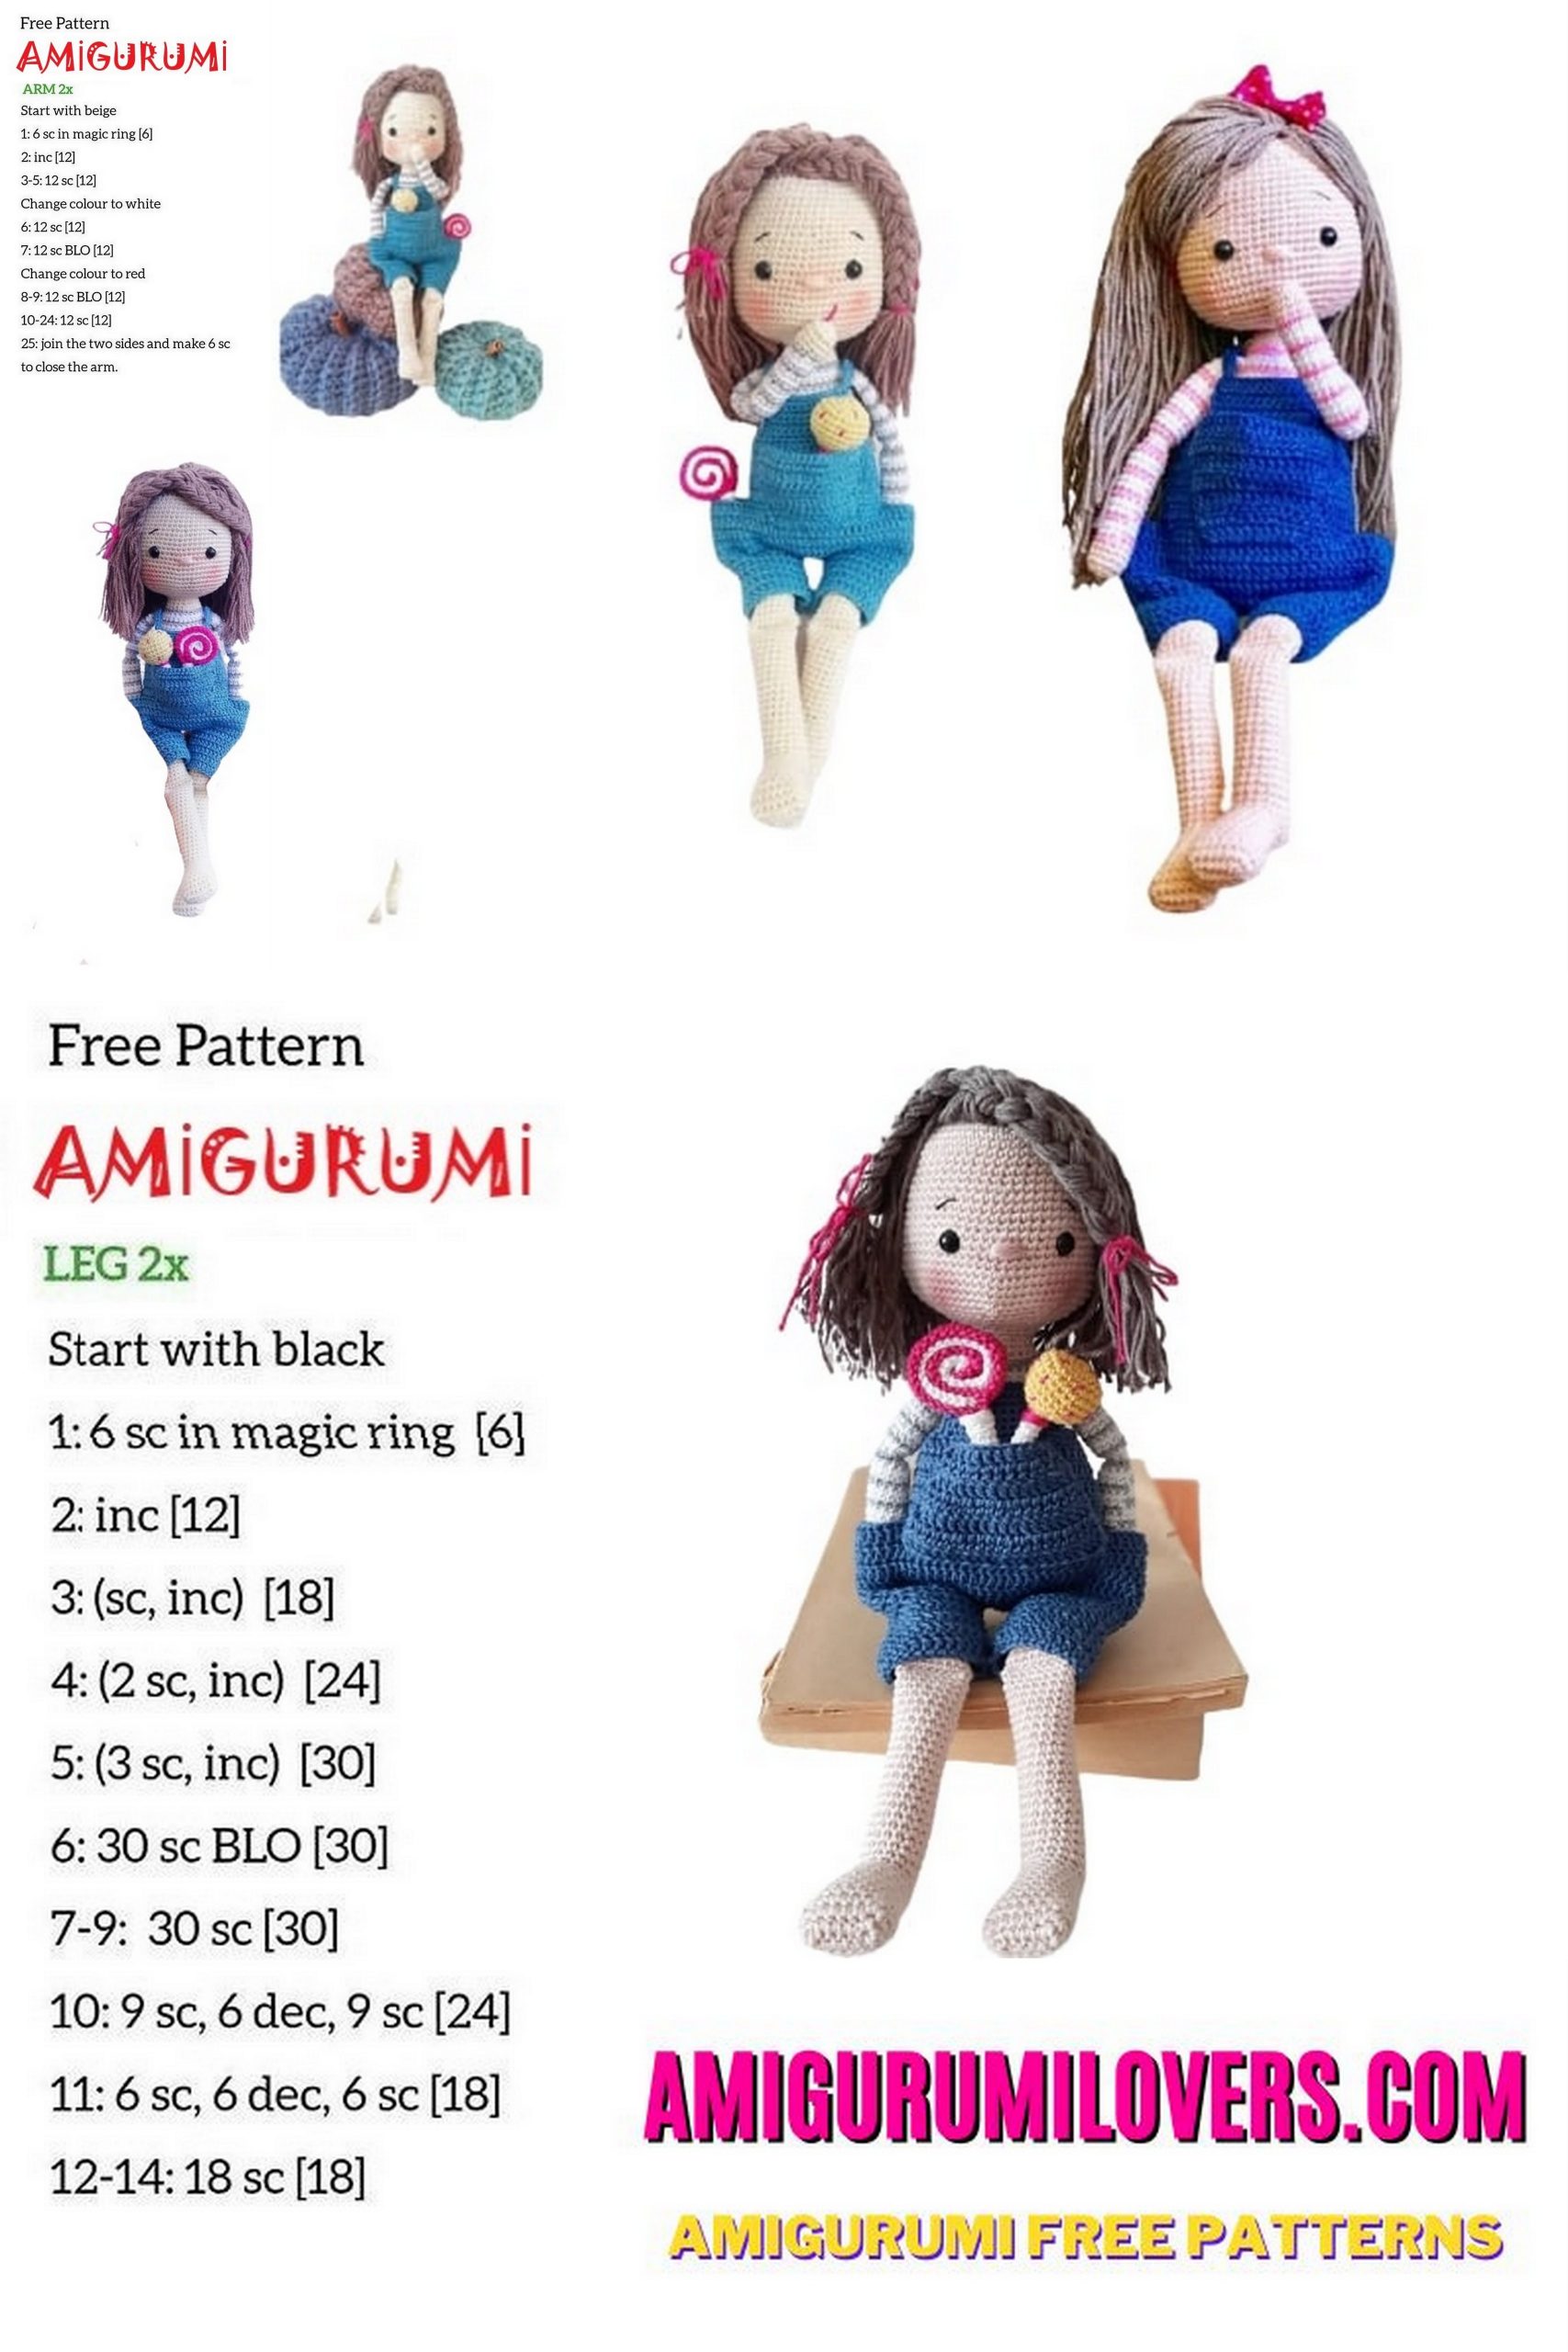
ARMS:
Start with skin color.
1. 8 sc in magic ring: 8 sc,
2. (1 sc, 1 İNC ) x 4 : 12 sc,
3-5. 12 sc, (3 Rows)
Change color to Grey,
6. 12 sc,
Change color to White,
7-8. 35 sc, (2 Rows)
Change color to Grey,
9.. 12 sc,
Change color to White,
10-11. 12 sc, (2 Rows)
Change color to Grey,
12.. 12 sc,
Change color to White,
13-14. 12 sc, (2 Rows)
Change color to Grey,
15. 12 sc,
Change color to White,
16-17. 12 sc, (2 Rows)
Change color to Grey,
18. 12 sc, fill this part of your arm,
Change color to White,
19. 6 DEC : 6 sc,
20. 6 İNC : 12 sc,
Change color to Grey,
21. 12 sc,
Change color to White,
22-23. 12 sc, (2 Rows)
Change color to Grey,
24. 12 sc,
Change color to White,
25-26. 12 sc, (2 Rows)
Change color to Grey,
27. 12 sc,
Change color to White,
28-29. 12 sc, (2 Rows)
Change color to Grey,
30. 12 sc,
Change color to White,
31-32. 12 sc, (2 Rows)
Change color to Grey,
33. 12 sc,
Change color to White,
Chain 1, Put two side together and crochet 6
sc : 6 sc, finish it with slip stitch, leave long yarn tail for sewing.
JUMPER
2 chain in the beginning will count as dec DC.
1. Chain 25, slip stitch to first chain and make dec ring. Chain 2 and crochet 24 DC : 25 DC,
2-6. Slip stitch to first DC, chain 2 and up, 24 DC : 25 DC, ( 5 Rows)
Slip stich to first DC and finish. Make the second leg but don’t cut the yarn. We will crochet from
here. Chain 3 for middle of your legs. Slip thitch to first leg. The join point must be back of your
jumper.
1. Chain 2 and up, 1 DC in same stich ( this mean dec İNC), 23 DC, 2 İNCDC, 1 DC, 2 İNCDC, 23 DC, 2
DCV, 1 DC, 1 İNCDC : 64 DC,
2. Slip stich to First DC, chain 2 and up, 6 DC, 1 İNC, ( 7 DC, 1 İNCDC ) x 7 : 72 DC,
3-5. Slip stich to First DC, chain 2 and up,71 DC, ( 3 Rows)
6. Slip stich to First DC, chain 2 and up, 7 DC, 1 İNC, ( 8 DC, 1 İNCDC ) x 7 : 72 DC,
7. Chain 1, up, 8 sc, chain 3, (Leave 14 for pocket), 26 sc, chain 3, (Leave 14 for pocket), 18 sc : 58 sc,
8-9. Chain 2 and up, 57 DC : 58 DC, ( 2 Rows )
10. Chain 2 and up, 1 DECDC each side, DC rest of the row : 56 DC,
11. Chain 2 and up, 11 DC, 1 DECDC, ( 12 DC, 1 DECDC ) x 3 : 52 DC,
12. Chain 2 and up, 10 DC, 1 DECDC, ( 11 DC, 1 DECDC ) x 3 : 48 DC,
13. Chain 1 and up, 28 sc, don’t finish the row, chain 1 turn,
14-19. 12 sc, chain 1 turn,
20. Continue to side, 6 sc to side, 36 sc, continue to other side, 6 sc, slip stich to the next stich. We will continue with suspenders like the Picture. Chain 45, slip stich to other side. Chain 1 and turn, 45 sc, slip stich to beginning of the chain. You should have dec ring. Dress your baby first and sew he suspender on back of the jumper from middle point.
POCKET:
1. Chain 13, leave 2 and turn, make 11 DC: 12 DC,
2. Chain 2 and turn, 2 DC, 1 İNCDC, 4 DC, 1 İNCDC, 3 DC : 14 DC,
3. Chain 2 and turn, 2 DC, 1 İNCDC, 5 DC, 1 İNCDC, 3 DC : 16 DC,
4. Chain 2 and turn, 2 DC, 1 İNCDC, ( 3 DC, 1 İNCDC) x 3 : 20 DC,
5. Chain 2 and turn, 19 DC,
6. Chain 2 and turn, 3 DC, 1 İNCDC, ( 4 DC, 1 İNCDC) x 3 : 24 DC,
7. Chain 2 and turn, 24 DC, Finish it and leave dec long yarntail for sewing.
Sew your pocket from row 6 to row 12 like the Picture.
CANDY 1:
With Pink:
1. Chain 42, leave 2, 40 DC : 41 DC, finish and leave dec long yarntail for sewing.
With White:
1. Chain 34, leave 2, 32 DC : 33 DC, finish it.
For stick part.
1. Make 6 sc in Magic ring : 6 sc,
2-8. 6 sc, (7 rows) Finish with slip stich and leave dec long yarntail for sewing.
Put your two part together and make roll like the Picture. Sew your candy to stick.
Wrap dec piece of White yarn to sewing point and hide the yarntail.
CANDY 2:
Start with yellow:
1. 6 sc in Magic ring : 6 sc,
2. 6 İNC : 12 sc,
3. ( 1 sc, 1 İNC ) x 6 : 18 sc,
4. ( 2 sc, 1 İNC ) x 6 : 24 sc,
5-8. 24 sc, ( 4 Rows)
9.. ( 2 sc, 1 DEC ) x 6 : 18 sc,
10. ( 1 sc, 1 DEC ) x 6 : 12 sc,
11. 6 DEC : 6 sc, fill your candy.
Change color to white,
12-18. 6 sc, (7 Rows)
19. Close your stick with needle and hide the yarn. Wrap dec piece of pink yarn to sewing point and hide the yarntail. Make little points on the candy like the Picture.
SEWING NOTES:
If you sew arms before sew head this will be easier. Sew the arms to row
34-35. With dec few black or blue yarn make little eyebrows on row 17 like the picture.
Make the nose with skin color yarn between row 22. And row 23. Leave 2 hole.
With dec few skin color yarn make eyelash like the Picture.
Sew your suspender’s back side like the pictures.
Use some blusher for cheeks and top of her nose.
Add your hair from top to row 8.
Make 2 braid on front side of hair like the Picture. You can make little braids other side of the hair too. Cut your dolls hair with dec scissor and shape like me.
You can dress your Amanda doll and also add glasses. Your Amanda doll is ready.
Before you leave, make sure to check out more free amigurumi crochet patterns and discover new ideas for your next project.
You can also browse our full amigurumi pattern archive for hundreds of beginner-friendly designs.