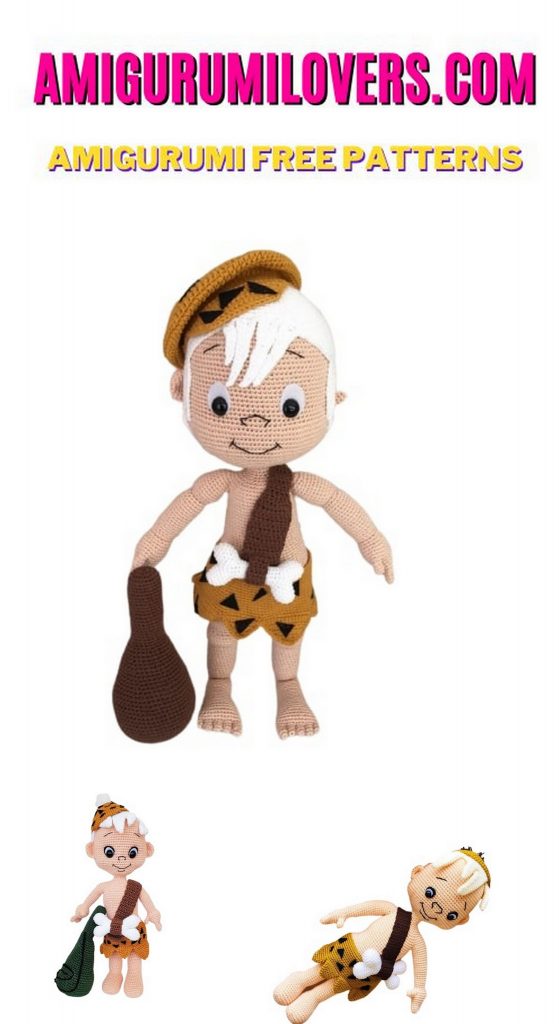
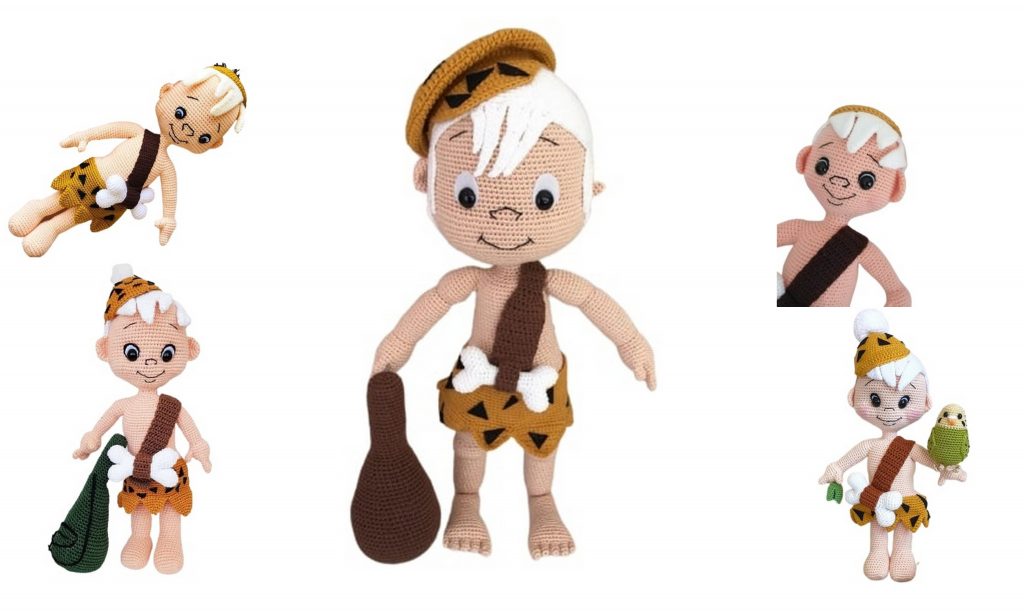
Amigurumi Bambam Free Crochet Pattern: Revisit Your Childhood with This Charming Design
You may also enjoy exploring our free amigurumi patterns and other popular amigurumi animal patterns available on our website.
Crocheting is an art form that brings joy and creativity to our lives, allowing us to transform simple yarn into beautiful creations. For those who have a heart for nostalgia and a love for adorable handmade toys, amigurumi is the perfect way to revisit cherished childhood memories. Today, we’re excited to share a delightful free crochet pattern for an amigurumi Bambam, inspired by the beloved characters that have entertained us since our youth. This charming design not only captures the essence of playful innocence but also invites you to engage in a soothing and rewarding craft.
Amigurumi has gained immense popularity due to its ability to create cuddly and whimsical toys that spark joy in both children and adults alike. Whether you’re a seasoned crocheter or just starting your yarn journey, this pattern is designed to be beginner-friendly, ensuring that everyone can join in on the fun. The amigurumi Bambam is a fantastic project to hone your skills, and its straightforward instructions make it accessible even if you’re just picking up a hook for the first time.
As you follow along with this free crochet pattern, you’ll have the chance to learn essential techniques such as increasing, decreasing, and shaping, all while creating a lovable companion that you can proudly display or gift to a special someone. Imagine the satisfaction of watching your completed project come to life stitch by stitch, knowing that it brings both comfort and cheer. Creating your own amigurumi Bambam is not just about crafting; it’s about connecting with the joy of creation and the whimsy of childhood.
In this blog post, we’ve made it easier than ever to dive into the world of amigurumi by providing you with detailed instructions accompanied by full support throughout your crafting journey. We believe in fostering a friendly and encouraging community, so should you have any questions or need clarifications, feel free to reach out in the comments. This process is made for sharing, and we encourage you to enjoy not only your crafting but also the camaraderie that comes with it.
So grab your favorite yarn, a comfy spot, and let’s embark on a trip down memory lane together as we create your very own amigurumi Bambam. This crochet pattern is more than just a design; it’s an invitation to revisit your childhood and bring a touch of whimsy into your life. Dive in and let your creativity flourish as you make this enchanting amigurumi character, ready to charm everyone who crosses its path!
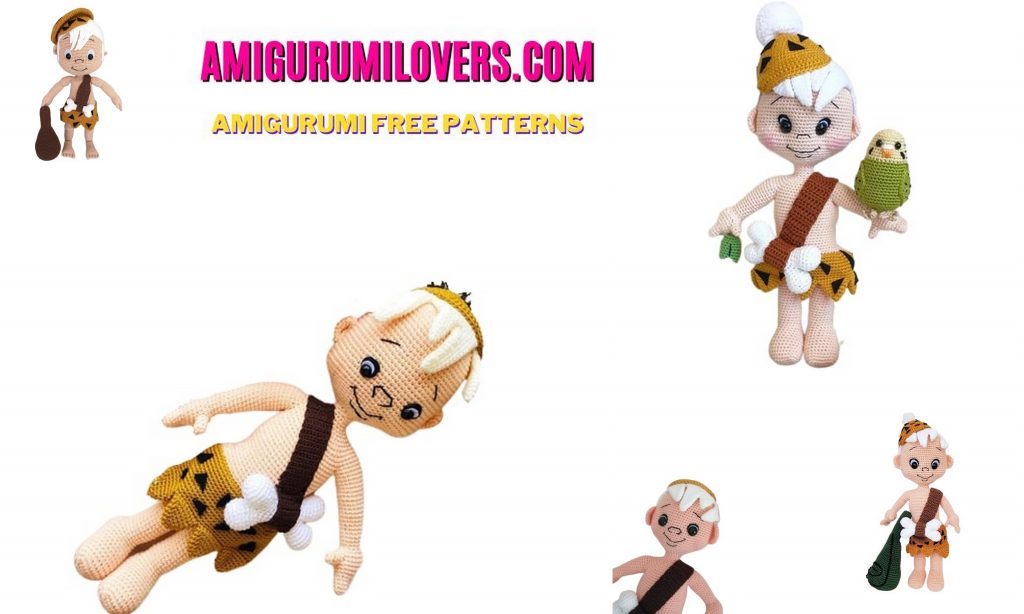
Step into the world of crochet and take a trip down memory lane with the adorable Amigurumi Bambam. This free crochet pattern allows you to recreate the beloved character from the Flintstones animated series. Whether you’re a seasoned crochet enthusiast or a beginner looking for a fun project, this pattern is perfect for all skill levels. Get ready to crochet your way to nostalgia and create a timeless piece of handmade art.
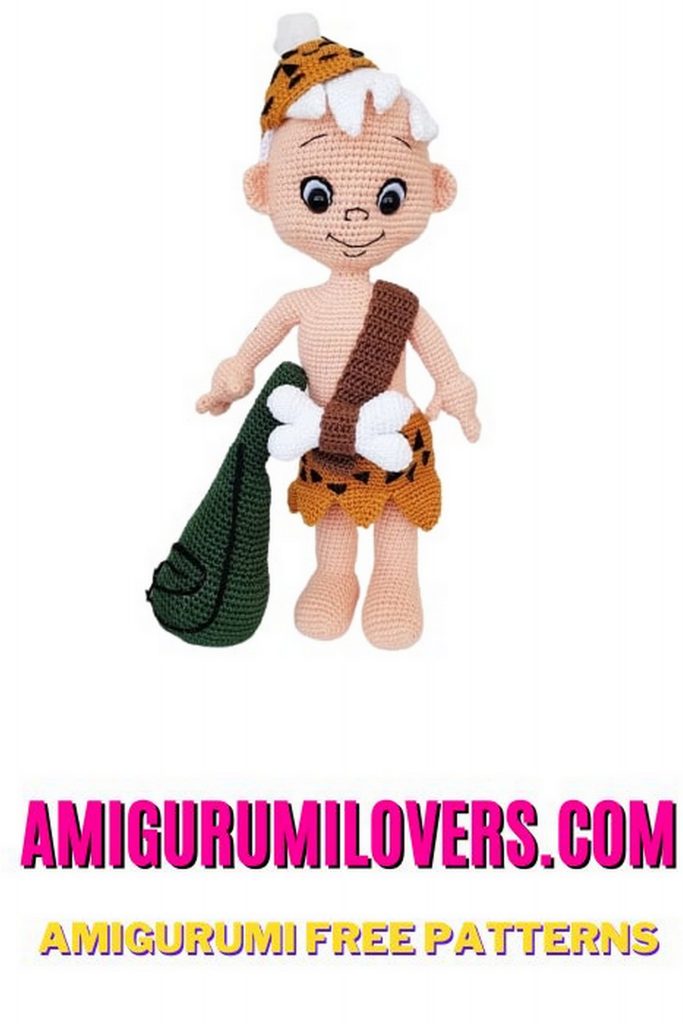
The Amigurumi Bambam free crochet pattern brings the iconic character from the Stone Age into the world of crafts. With detailed instructions and easy-to-follow steps, you’ll be able to craft your very own Bambam doll, complete with his signature outfit and charming personality. This pattern is a fantastic choice for those looking to add a touch of nostalgia to their crochet collection or create a unique gift for a fellow Flintstones fan. Whether you choose to display your finished creation or gift it to a loved one, this project promises hours of creative enjoyment. Get started on your crochet adventure and relive the magic of Bambam and the Flintstones today.
Necessary materials:
* 15 mm black eyes
* White and black felt
* 2.20 mm hook
* Bead wire
* Needle for sewing
* Flesh-colored yarn 200 g
* White yarn 100 g
* Mustard yarn 50 g
* Brown yarn 50 g
* Black floss for mouth, eyebrows and nose
Abbreviations:
CH – chain
SC – single crochet
INC – increase (two columns are tied in one loop)
DEC – decrease (two columns are connected together)
SL-ST – slip-stitch
HDC – half double crochet
DC – double crochet
PATTERN :
Head: flesh-colored
1) 6sc into magic ring
2) (inc) * 6 (12)
3) (sc, inc) * 6 (18)
4) (2 sc, inc) * 6 (24)
5) (3 sc, inc) * 6 (30)
6) (4 sc, inc) * 6 (36)
7) (5 sc, inc) * 6 (42)
8) (6 sc, inc) * 6 (48)
9) (7 sc, inc) * 6 (54)
10) (8sc, inc) * 6 (60)
11) (9 sc, inc) * 6 (66)
12) (10 sc, inc) * 6 (72)
13) (11 sc, inc) * 6 (78)
14) (12 sc, inc) * 6 (84)
15) (13 sc, inc) * 6 (90)
16-18) 90 sc (3 rows)
19) (14 sc, inc) * 6 (96)
20-31) 96 sc (12 rows)
32) 26sc, 2ch, 1sc skip, 14sc, 2 ch, 1sc skip 54sc (94)
33) 26sc, 1sc in the chain, 14sc, 1sc in the chain,
54sc (96)
34-35) 96sc (2 rows)
36) 16sc, (inc, sc) * 7, 9sc, (inc, sc) * 7, 43sc (110))
37-42) 110sc (6 rows)
Now we will make eyes out of felt and insert them into the holes that we left in my head
43) 16sc, (dec, sc) * 7, 9sc, (dec, sc) * 7, 43sc (96)
44) (14sc, dec) * 6 (90)
45) (13 sc, dec) * 6 (84)
46) (12 sc, dec) * 6 (78)
47) (11 sc, dec) * 6 (72)
48) (10 sc, dec) * 6 (66)
49) (9 sc, dec) * 6 (60)
50) (8 sc, dec) * 6 (54)
51) (7sc, dec) * 6 (48)
52) (6 sc, dec) * 6 (42)
53) (5 sc, dec) * 6 (36)
54) (4 sc, dec) * 6 (30)
55) (3 sc, dec) * 6 (24)
56) (2 sc, dec) * 6 (18)
Cut the thread !!
Face design:
Make small eye drops. See photo
Let’s make the mouth, nose and eyebrows a black floss, as in the picture (Insert the wire into the head)
Ears: 2 pcs. skin color:
1) 8sc into magic ring
2) (inc) * 8 (16)
3-5) 16sc (3 rows)
Leave the thread for sewing
We sew ears on the head !!!
Wig: white
1) 6sc into magic ring
2) (inc) * 6 (12)
3) (sc, inc) * 6 (18)
4) (2 sc, inc) * 6 (24)
5) (3 sc, inc) * 6 (30)
6) (4 sc, inc) * 6 (36)
7) (5 sc, inc) * 6 (42)
8) (6 sc, inc) * 6 (48)
9) (7 sc, inc) * 6 (54)
10) (8 sc, inc) * 6 (60)
11) (9 sc, inc) * 6 (66)
12) (10 sc, inc) * 6 (72)
13) (11 sc, inc) * 6 (78)
14) (12 sc, inc) * 6 (84)
15) (13 sc, inc) * 6 (90)
16) (14 sc, inc) * 6 (96)
17-28) 96 sc (12 rows)
29) 25sc, 13 ch with 2 hook loops – 2sc, 4 HDC, 6DC, skip 1sc attach to the next. Column sl-st, 1sc, 15 ch, with 2 loops from the hook – 4sc, 5HDC, 5 DC, skip 1sc to attach to the trace. Column sl-st, 5sc, 15ch with 2 loops from hook – 4sc, 5HDC, 5 DC, skip 1sc attach to the trace. post sl-st, 13 ch, with 2 loops from the hook -2sc, 4 HDC, 6DC, skip 1sc attach to track. post sl-st, 11 HDC, 10ch, with 2 loops from the hook -2sc, 4HDC, 6DC, skip 1sc attach to trace. Column sl-st, 1sc, 17 ch, with 2 loops from hooks – 2sc, 4HDC, 5DC, 5st. with 2 / nak., skip 2sc attach to the trace. Column sl-st, 1sc, 16 ch, with 2 loops from the hook – 3sc, 4HDC, 4DC, 3 tbsp. with 2 / nak, skip 2sc attach to trace. Column sl-st, 1sc, 16 ch, with 2 loops from hooks – 3sc, 4HDC, 4DC, 3 tbsp. with 2 / nk, skip 2sc to attach to the trace. SC-st, 11HDC, 13 ch, with 2 hook loops – 2sc, 4 HDC, 6DC, skip 1sc attach to the trace. post sl-st, 15 ch, with 2 loops from the hook – 4sc, 5HDC, 5DC, skip 1sc to attach to the trace. Column sl-st, 5sc, 15ch, with 2 loops from hook- 4sc, 5HDC, 5DC, skip 1sc attach to the trace. post sl-st, 13 ch, with 2 loops from the hook – 2sc, 4HDC, 6DC, skip 1sc attach to track. column sl-st, 7sc
Leave a long thread for sewing !!
After you made the wig, let’s fix the hair like shown in the last two images, and sew the locks of bangs, so that they are fixed on the head
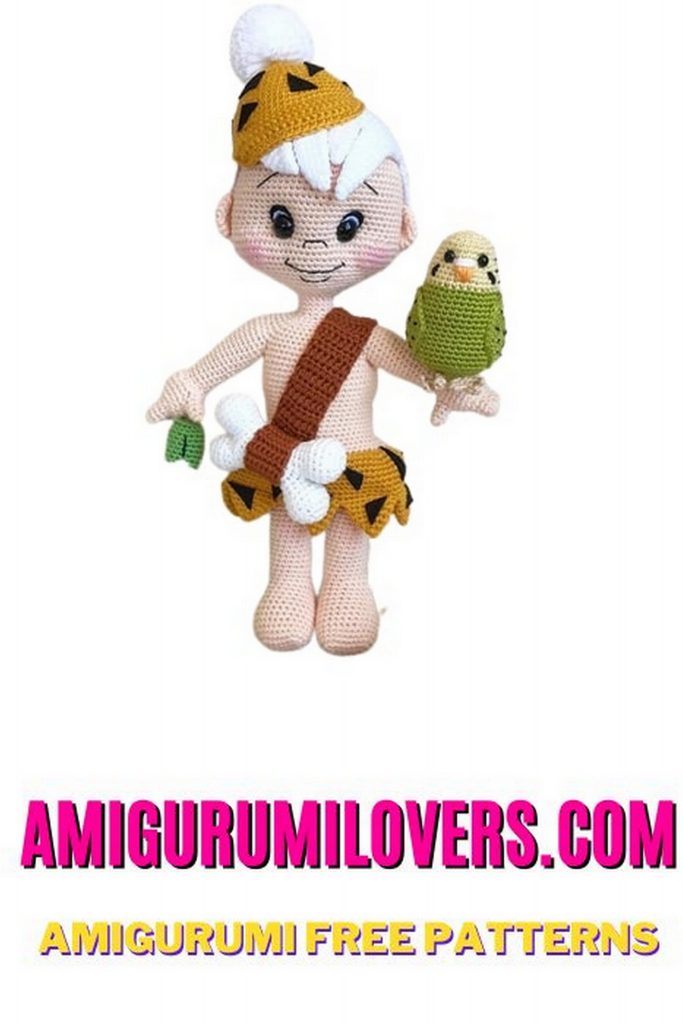
Hands:
Fingers: flesh-colored
Middle finger: 2 pcs
1) 6sc into magic ring
2-5) 6sc (5 rows)
Ring finger and index finger: 4 pcs.
1) 6sc into magic ring
2-4) 6sc (3 rows)
Little finger and thumb: 4 pcs.
1) 6sc into magic ring
2-3) 6sc (2 rows)
Do not cut the thread from the little finger!
Finger joint:
1) By little finger 3sc, by nameless 3sc, by average 3sc, index 6sc, average
3sc, nameless 3sc, pinky 3sc (24)
2-4) 24 sc (3 rows)
5) right hand: 11sc, 6sc, 13sc (30)
5) left hand: 13sc, 6sc, 11sc (30)
6) 30sc
7) (8sc, dec) * 3 (27)
8) 27sc
9) (7sc, dec) * 3 (24)
10) 24sc
11) (4sc, dec) * 3 (20)
12) 6sc, dec, 4sc, dec, 6sc (18)
13) 18sl-st
14) 14-15) 18 sc
16) (5sc, inc) * 3 (21)
17-28) 21 sc (12 rows)
29) (5sc, dec) * 3 (18)
30) (4sc, dec) * 3 (15)
31) 15sl-st
32) (4sc, inc) * 3 (18)
33) (5sc, inc) * 3 (21)
34-38) 21 sc (5 rows)
39) (5sc, dec) * 3 (18)
40) 18 sc
Cut the thread!
Legs: skin color
Toes:
Thumb: 2 pcs
1) 7sc into magic ring
2-4) 7sc (3 rows)
The rest of the fingers -6 pcs.
1) 6sc into magic ring
2-3) 6 sc (2 rows)
Little toes:
1) 5sc into magic ring
2) 5sc
Do not cut the thread !!
Finger Joint: Left Leg
1) pinky 2sc, nameless 3sc, middle 3sc, index 3sc, large finger 7sc, index 3sc, middle 3sc, nameless 3sc, little finger 3sc (30)
2-5) 30 sc (4 rows)
6) dec, 12sc, dec, 14sc (28)
7-8) 28sc
9) 12sc, 2dec, 12sc (26)
10) dec, 24sc (25)
11-12) 25sc
13) 11sc, 2dec, 10sc (23)
14) dec, 21sc (22)
15-16) 22sc
17) 10sc, inc, 11sc (23)
18) 23sc
19) sc, 1ch, turn, 1sc skip, 11sc (11)
20) ch, 1sc skip, 8sc, dec (9)
21) ch, 1sc skip, 6sc, dec (7)
22) ch, 1sc skip, 4sc, dec (5)
23) ch, 1sc skip, 2sc, dec (3)
24) ch, 3sc, on the side of 4sc, in front of
feet 13sc, on the side 4sc (24)
25) 7sc, dec, 9sc, dec, 4sc (22) Type !!
26) 7sc, dec, 3sc, dec, 3sc, dec, 3sc (19)
28) 19sl-st
27) 9sc, 2dec, 6sc (17)
29) 17 sc
30) 9sc, 3inc, 5sc (20)
31-32) 20sc (2 rows)
33) sc, inc, 2sc, inc, 5sc, 1inc, 4sc, inc, 4sc (24)
34-47) 24 sc (14 rows)
48) 6sc, 7cc, 5sc, 6inc (30)
49-52) 30 sc (4 rows)
53) 18sc, 6dec (24)
54) 24sc
55) 8sc, inc, sc, inc, 8sc, inc, 2sc, inc, sc (28)
56-66) 28 sc (11 rows)
67) 10sc
Now we knit the right leg, do not cut the thread !!
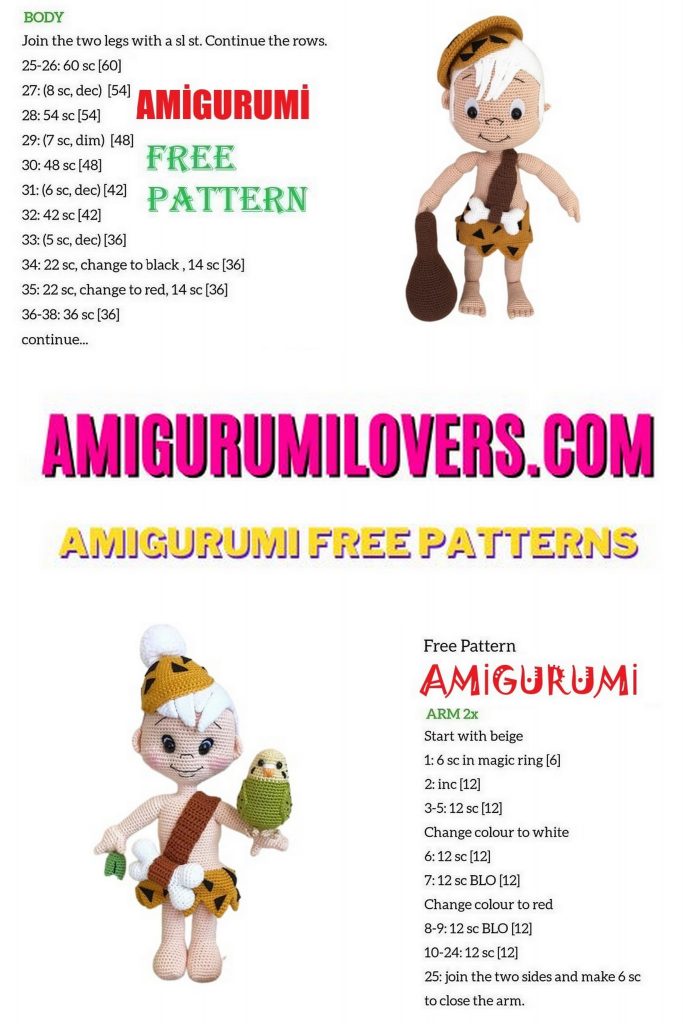
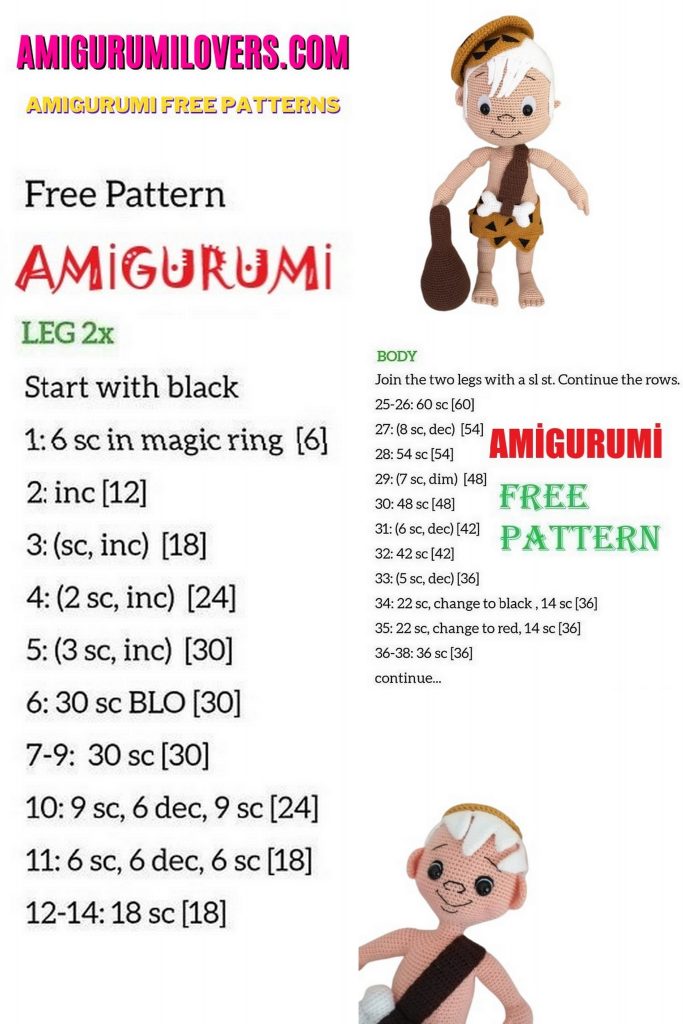
Right leg:
Finger joint:
1) Pinky 3sc, nameless 3sc, middle 3sc, index 3sc, large 7sc, middle 3sc, nameless 3sc, pinky 2sc (30)
2-5) 30sc (4 rows)
6) 14sc, dec, 12sc, dec (28x)
7-8) 28sc (2 rows)
9) 13sc, 2dec, 11sc (26)
10) dec, 24sc (25)
11-12) 25sc (2 rows)
13) 12sc, 2dec, 9sc (23)
14) dec, 21sc (22)
15-16) 22 sc (2 rows)
17) 11sc, inc, 10sc (23)
18) 23 sc
19) 14sc, 1ch, 11sc (11)
20) ch, 1sc skip, 8sc, dec (9)
21) ch, 1sc skip, 6sc, dec (7)
22) ch, 1sc skip, 4sc, dec (5)
23) ch, 1sc skip, 2sc, dec (3)
24) ch, 3sc, on the side of 4sc, in the forefoot of 13sc, on the side of 4sc (24)
25) 7sc, dec, 9sc, dec, 4sc (22) Stuff !!
26) 7sc, dec, 3sc, dec, 3sc, dec, 3sc (19)
27) 9sc, 2dec, 6sc (17)
28) 17sl-st
29) 17 sc
30) 9sc, 3inc, 5sc (20)
31-32) 20 sc (2 rows)
33) sc, inc, 2sc, inc, 5sc, inc, 4sc, inc, 4sc (24)
34-47) 24 sc (14 rows)
48) 6sc, 7cc, 4sc, 6inc, sc (30)
49-52) 30 sc (4 rows)
53) 17sc, 6dec, sc (24)
54) 24sc
55) 7sc, inc, sc, inc, 8sc, inc, 2sc, inc, 2sc (28)
56-66) 28 sc (11 rows)
67) 20sc, if necessary, knit several columns to reach the middle of the inside of the leg)
The connection of the legs and torso:
68) 6 ch attach the left leg, 28sc 6sc in the chain, along the right leg 28sc, 6sc along the chain (68)
Put a marker !!!
69) 10sc, inc, 4sc, inc, 30sc, inc, 4sc, inc, 16sc (72)
70-77) 72 sc (8 rows)
78) (10sc, dec) * 6 (66)
79-80) 66sc (2 rows)
81) (9sc, dec) * 6 (60)
82) 60 sc
83) 88sc, dec) * 6 (54)
84-90) 54sc (7 rows)
91) (7sc, dec) * 6 (48)
92-108) 48 sc (16 rows)
109) 15sc, left hand 3sc (at the same time loops of the arm and body),
21sc, right hand 3sc (at the same time loops of the arm and body),
6sc (48)
110) 15sc, 15sc left hand, 21 sc, 15sc right hand, 6sc (72)
111-112) 73 sc (2 rows)
113) 16sc, 7dec on the left hand, 21sc, 7dec on the right hand, 7sc (58)
114) 14sc, 5dec, 19sc, 5dec, 5sc (48)
115) (6sc, dec) * 6 (42)
116) (sc, dec) * 14 (28)
117) (2sc, dec) * 7 (21)
118) 7sc, dec, 4sc, dec, 3sc, dec, sc (18)
119-122) 18 sc (4 rows)
Finish !!!!
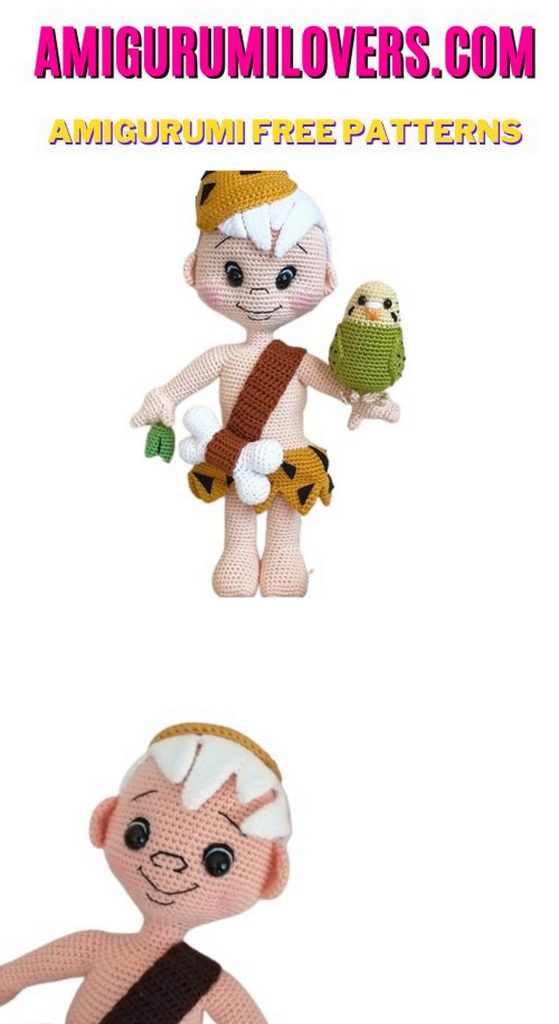
Bone: White
1) 6sc into magic ring
2) (inc) * 6 (12)
3-4) 12 sc
Cut the thread
Let’s knit another piece the exact same way! After you tied the second part, we will continue without cutting the thread!
5) connect both parts and knit 24sc (24)
6) 24 sc
7) (2sc, dec) * 6 (18)
8) (sc, dec) * 6 (12)
9-14) 12 sc (6 rows)
We cut the thread !!! Crammed
We knit the same part and then sew both parts connect 2 parts after stitching, it looks like this
Strap: Brown
1) 11 ch, with 3 hook loops – 9HDC
2-15) ch, 9 HDC (14 rows)
16) ch, skip 1sc, 2HDC, decHDC, 2HDC, decHDC (6)
17) ch, 2HDC, decHDC, 2HDC (5)
18-27) ch, 5HDC (10 rows)
28) ch, 2HDC, incHDC, 2HDC (6)
29) ch, incHDC, 2HDC, incHDC, 2HDC, incHDC (9)
30-43) ch, 9 HDC (14 rows)
Trim thread
Bone Holder: Brown
1) 6 ch, with 3 hook loops – 4HDC
2-8) ch, 4 HDC (7 rows)
To finish
To fix the bone on the suspension, first sew the front part.
Then put the bone under the piece and stitch it on the other side. Front end. We do not cut the remaining thread and sew the belt front of the skirt.
See photo!!
Skirt: mustard color
1) 66 ch join in a circle sl-st
2) 1ch, 66sc (66)
3-4) 1ch, 66sc (2 rows)
5) (10sc, inc) * 6 (72)
6-7) 72sc (2 rows)
8) (11sc, inc) * 6 (78)
9-10) 78 sc (2 rows)
11) (12sc, inc) * 6 (84)
12-17) 84sc (6 rows)
Skirt bottom
18) 8sc, ch, skip 1sc, 5sc, dec (8)
19) ch, turn, skip 1sc, 5sc, dec (6)
20) ch, turn, skip 1sc, 3sc, dec (4)
21) ch, rotate, skip 1sc, sc, dec (2)
22) ch, turn, dec (1)
finish !!
2. Wedge:
1) fasten the thread next to 1 wedge, knit 10sc
1) ch, turn, 10 sc
3) ch, rotate, skip 1sc, 7sc, dec (8)
4) ch, turn, skip 1sc, 5sc, dec (6)
5) ch, rotate, skip 1sc, 3sc, dec (4)
6) ch, rotate, skip 1sc, sc, dec (2)
7) ch, turn, dec (1)
Finish !!
8) ch, turn, skip 1sc, 3sc, dec (4)
9) ch, rotate, skip 1sc, 1sc, dec (2)
10) ch, turn, dec (1)
to finish
7. Wedge:
1) fasten the thread next to the 6th wedge, knit 6sc
2) 2-3) ch, turn, 6sc
4) ch, rotate, skip 1sc, 3sc, dec (4)
5) ch, rotate, skip 1sc, sc, dec (2)
6) ch, turn, dec (1)
to finish
8. Wedge:
2) fasten the thread next to 1 wedge, knit 10sc
2) ch, turn, 10 sc
3) ch, rotate, skip 1sc, 7sc, dec (8)
4) ch, turn, skip 1sc, 5sc, dec (6)
5) ch, rotate, skip 1sc, 3sc, dec (4)
6) ch, rotate, skip 1sc, sc, dec (2)
7) ch, turn, dec (1)
Finish !!
Tie the edges of the wedges sc.
At the corners, knit 3sc into 1 so that the edges do not bend. Cut black felt triangles of different sizes and glue to the skirt
Hat: mustard color
1) 8DC into magic ring
2) (incDC) * 8 (16)
3) (DC, incDC) * 8 (24)
4) (2 DC, incDC) * 8 (32)
5) (3 DC, incDC) * 8 (40)
6) (4 DC, incDC) * 8 (48)
7) (5 DC, incDC) * 8 (56)
8) (6 DC, incDC) * 8 (64)
9) (7 DC, incDC) * 8 (72)
10) (8 DC, incDC) * 8 (80)
11-13) 80sc (3 rows)
14) (8 DC, UBDC) * 8 (72)
15) (7 DC, UBDC) * 8 (64)
16) ch, 64sc
17) (7sc, inc) * 8 (72)
18-19) 72sc (2 rows)
To finish
Visor caps:
Attach the thread to the front of the cap and knit 22sc
1) ch, turn, 20sc, dec (21)
2)) ch, turn, 19sc, dec (20)
3)) ch, turn, 18sc, dec (19)
4)) ch, turn, 17sc, dec (18)
5)) ch, turn, 16sc, dec (17)
6)) ch, turn, 15sc, dec (16)
7)) ch, turn, skip 1st,
13sc, dec (14)
Tie a sc visor and make a pompom out of white yarn, sew it in the center of the cap. Cut the small triangles of black felt and glue them to the hat, like on a picture.
Club
1) 6sc into magic ring
2) (inc) * 6 (12)
3) (sc, inc) * 6 (18)
4) (2 sc, inc) * 6 (24)
5) (3 sc, inc) * 6 (30)
6) (4 sc, inc) * 6 (36)
7) (5 sc, inc) * 6 (42)
8) (6 sc, inc) * 6 (48)
9) (7 sc, inc) * 6 (54)
10) (8 sc, inc) * 6 (60)
11-17) 60 sc (7 rows)
18) (8 sc, dec) * 6 (54)
19-21) 54 sc (3 rows)
(22) (7 sc, dec) * 6 (48)
Crammed
23) 48 sc
24) (6 sc, dec) * 6 (42)
25-26) 42 sc (2 rows)
27) (5 sc, dec) * 6 (36)
28-29) 36sc (2 rows)
30) (4sc, dec) * 6 (30)
31-33) 30 sc (3 rows)
34) (3sc, dec) * 6 (24)
35-57) 24sc (23 rows)
58) (2sc, dec) * 6 (18)
59) (sc, dec) * 6 (12)
60) (dec) * 6 (6)
Finish !!!
Before you leave, make sure to check out more free amigurumi crochet patterns and discover new ideas for your next project.
You can also browse our full amigurumi pattern archive for hundreds of beginner-friendly designs.

