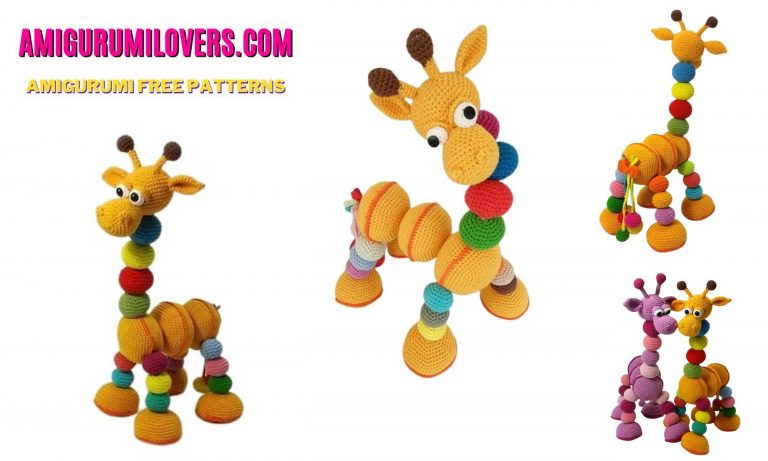
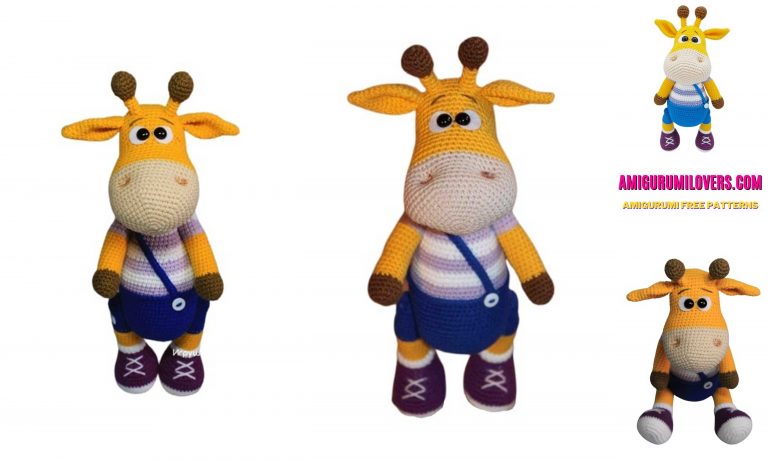
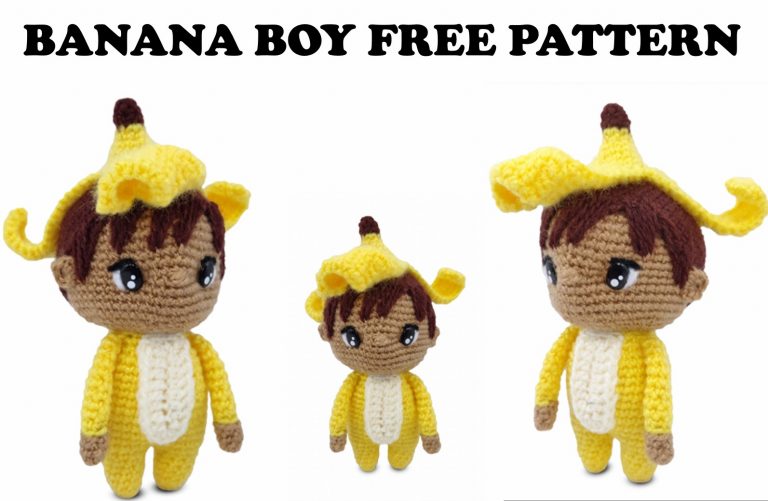
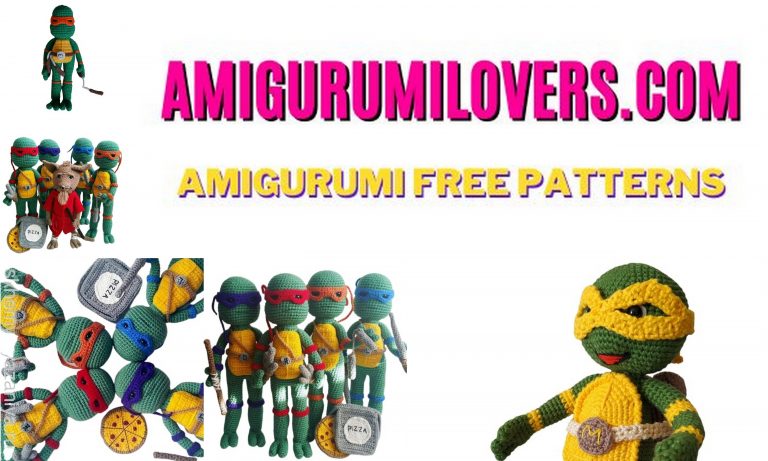
Amigurumi Style Doll Free Crochet Pattern
You may also enjoy exploring our free amigurumi patterns and other popular amigurumi animal patterns available on our website.
If you’re looking to dive into the delightful world of crochet, there’s no better way to start than with an amigurumi style doll. These adorable, stuffed creations have captured the hearts of crafters and collectors alike, offering a fantastic project that results in a charming doll you can be proud of. With their unique designs and vibrant character, amigurumi dolls make perfect gifts for children and adults or even beautiful decorations for your home. In this post, we will share a free crochet pattern specifically designed to help beginners navigate the joys of amigurumi. This easy-to-follow guide will break down each step, ensuring that even those who are just picking up their crochet hook for the first time will find success and satisfaction in creating their very own doll.
Amigurumi, which translates to “crocheted or knitted stuffed toys” in Japanese, generally consists of single crochet stitches worked in the round. This technique creates a dense fabric ideal for stuffing, giving your doll a polished, professional finish. You will be pleasantly surprised at how quickly your little creation comes to life, transforming simple yarn into an endearing companion that showcases your newfound crochet skills.
The beauty of this amigurumi style doll pattern lies in its flexibility. While we’ll provide detailed instructions for crafting the base doll, we encourage you to unleash your creativity by customizing your doll’s features, such as hair and clothing. You can experiment with different colors, textures, and embellishments to make a doll that reflects your personal style or even the preferences of the lucky recipient. This project not only allows you to hone your crochet skills but also serves as a wonderful outlet for self-expression.
In addition to being enjoyable, crocheting an amigurumi doll can serve as a great practice project to help you master fundamental techniques, such as working in the round, increasing and decreasing stitches, and even sewing components together. These are essential skills that can be applied to a wide array of crochet projects in the future. Plus, nothing feels quite as rewarding as holding a tangible result of your craftsmanship in your hands.
So, gather your yarn, grab your crochet hook, and get ready to embark on this delightful journey of crafting an amigurumi style doll. By following the free crochet pattern provided, you will not only create a unique doll but also enrich your crochet experience. Let’s get started and bring a little bit of magic into your crafting endeavors as we turn yarn into loveable amigurumi companions.
We meet you again with a very nice amigurumi Style Doll pattern. Amigurumi free patterns can be found on our website.
Abbreviations
sc– single crochet
Ch – Chain
inc – increase
Dec – Decrease
sl-st – slip stitch
DC – double crochet
Dcinc- Double crochet increase
Tr- triple crochet
MATERIALS
1) Ropes in desired colors (alize coton gold)
2) Skin color (snowball amigurumi)
3) To fill the fiber
4) 5 pcs ball button or beads
5) 10 mm electrical wire (to be folded in half and placed on the neck) to put it inside the neck and fix it.
6) Rabbit for 3mm eye (can manipulate by hand)
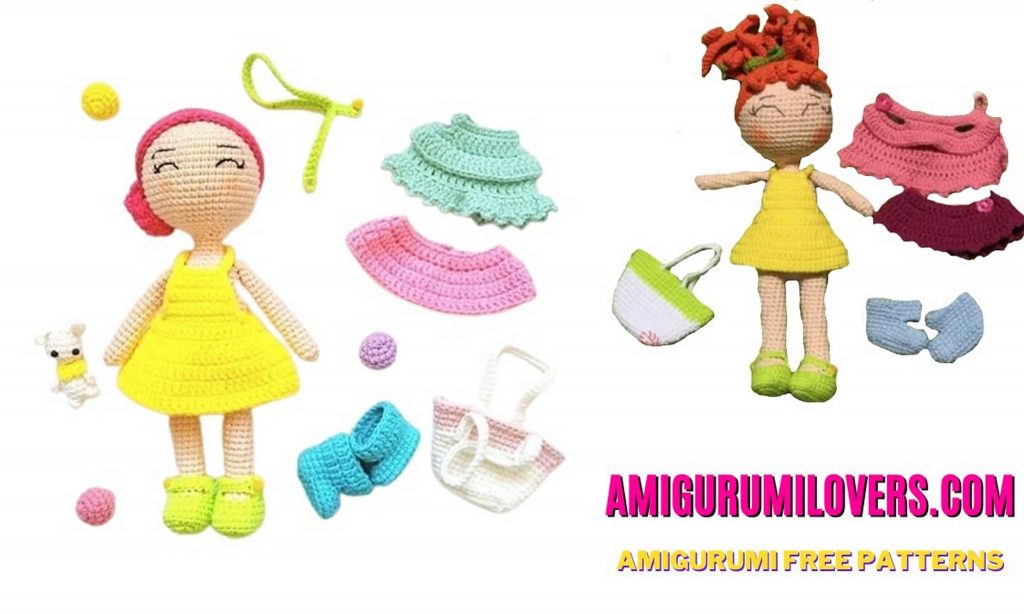
PATTERN
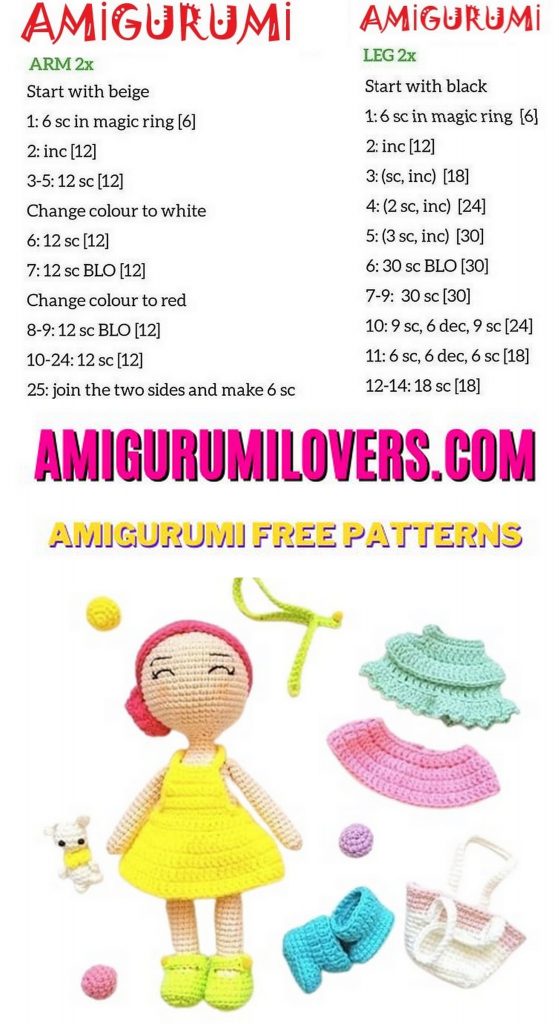
LEGS
1) 6ch 2.ch start 1inc 3sc 1w 4sc: 12
2) 2inc 3sc 3inc 3sc 1inc: 18
3) 1inc 1sc 1inc 6sc 1inc 1sc 1inc 6sc: 22
4) Blo 22
5) 22
6) 8sc 5dec 3sc: 16
7) 7sc 3dec 4sc: 14
8) 7sc 2dec 3sc: 12
9.24) 12
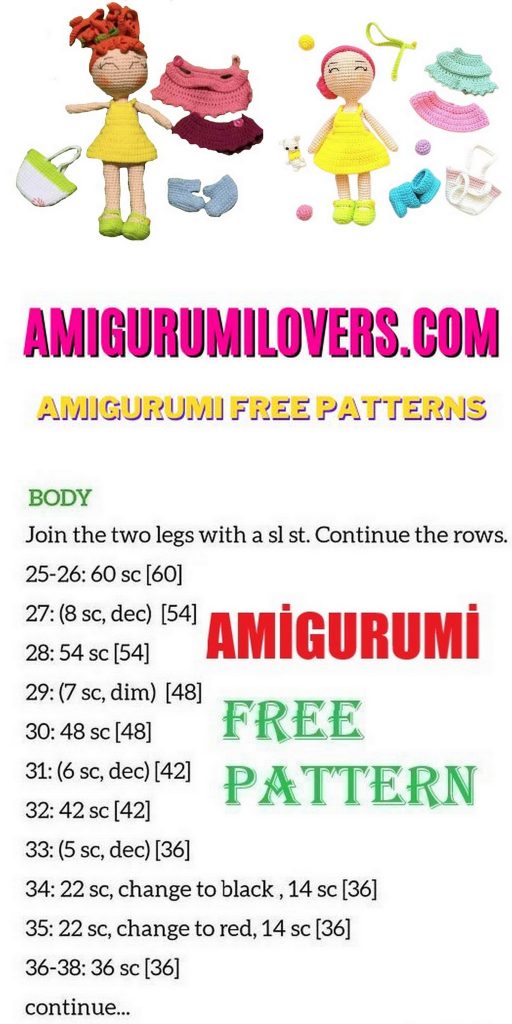
BODY
1) Combine with 4ch, 12 sc 4sc 12sc 4sc: 32
2) (2sc 1inc) * 3 10sc (1inc 2sc) * 3 4sc: 38
3) 7sc 1c 19sc 1c 10sc: 40
4-7) 40
8) 8sc 1dec: 36
9-11) 36
12) 4sc 1dec: 30
13-20) 30
21) 3sc 1dec: 24
22) 2sc 1dec: 18
23) 1sc 1dec: 12
24-26) 12
HEAD
1) Magic ring 6sc
2) 6inc: 12
3) 1sc 1: 18
4) 2sc: 24
5) 3sc 1inc: 30
6) 4sc 1inc: 36
7) 5sc 1inc: 42
8) 6sc 1inc: 48
9-19) 48
20) 6sc 1dec: 42
21) 5sc 1dec: 36
22) 4sc 1dec: 30
23) 3sc 1dec: 24
24) 2sc 1dec: 18
25) 1sc 1dec: 12
HAIR
1) Magic ring 6sc
2) 6inc: 12
3) 1sc 1: 18
4) 2sc 1inc: 24
5) 3sc 1inc: 30
6) 4sc 1inc: 36
7) 5sc 1inc: 42
8) 6sc 1inc: 48
9-13) 48
14) For 1sl-st 2sc 2hdc 38dc 2hdc 2sc 1sl-st weave; Pull 55 ch, pull it out, make 9 pieces 3 separate and make braids and make this braid in the shape of a bun, sew it to the wig.
ARMS
1) Magic ring 6sc
2) 2sc 1inc: 8
3-20) 8
CLASP
58 ch 4 ch break and 5. start 54 sc knit or sew a bead to the end of the knit.
Bag
1) 12 ch 2. ch start 1inc 9sc last ch icine 1w 10sc: 24
2) 1inc 9sc 3inc 9sc 2inc: 30
3) BLO 30
4) 30
5) 1sc 1cc 10c (1cc) * 3 9cc 1cc 1c: 36
6-8) 36
9) 2sc 1inc 11sc (1inc 2sc) * 3 12sc 1inc 2sc 1inc: 42
10) 42
11) Let’s change the color: 42
12) 42
13) 3sc 1inc 12sc (1inc 3sc) * 3 9sc 1inc 3sc 1inc 48
14) 48
15) 48sl-st.
BAG HANDLE (2pcs)
Let’s pull the 51.ch and start the 2nd ch: 50sc
GREEN-SHOES
1) 7 CH 2. Start at 1W, 4SC, 1W, 4SC: 14
2) 3inc, 4sc, 3inc, 4sc: 20
3) (1sc 1inc) * 3 5sc (1inc 1sc) * 3 3sc: 26
4) Blo: 26
5) 26
6) 14sc 5dec 2sc: 21
7) 13sc 1sc 1sc 1sc: 19
8-10) Turn to 12sc 1ch
11) Pull out 10 ch and jump to 4ch 5. ch abdomen 6sc
Note: 7. Knit the second pair of shoes in the opposite direction after knitting
TURQUOISE SHOES
1) 7 CH 2. Start at 1W, 4SC, 1W, 4SC: 14
2) 3inc, 4sc, 3inc, 4sc: 20
3) (1sc 1inc) * 3 5sc (1inc 1sc) * 3 3sc: 26
4) Blo: 26
5) 26
6) 14sc 5dec 2sc: 21
7) Pull 7ch 12sc skip 7sc skip 8.ch 1sl-st 2ch: 20
8-9) 20dc
TOY RABBIT
HEAD
1) Magic ring 6
2) 1sc 1inc: 9
3) 9inc: 18
4.6) 18
7) 9dec: 9
8) 1sc 1dec: 6
EARS
Let’s start 5ch 2.ch 1sc 2hdc 1dc 1hdc: 5
BODY
1) Magic ring 5
2) 5inc: 10
3-5) 10
6) 1popcorn 1sc 2dec 1popcorn 1sc 1dec: 7
ARMS
Let’s start 5ch 3.ch 1dc 2sl-st
BOW TIE
Let’s make 3ch 3dc 1sl-st 3dc 3ch into the magic ring and close the ring
BLOUSE
1) Jump to 30ch 8ch and let’s go down to 9.ch
2) Let’s skip 3sc, 8ch, 3sc, let’s skip 10sc, 8ch, 3sc, let’s turn 3sc, 2ch: 32
3) 3DC, 8Si, 10DC, 8SC, 3DC 1CH Let’s get back: 32
4) Flo: Let’s get 32 1ch
5) 1dc 1dcinc: 48dc
6) The fourth row is blo. Weave 32DC: 32
7-8) We continue 32dc: 32
9) Flo: 32dcinc: 64dc
10) 3sl-st, 3ch, 3sl-st 3ch continue to the end of the row.
Note: Sew a button on the back
SKIRT
1) 48ch 8ch jump and sink 9.ch 4Odc Let’s knit and combine: 4Odc
2) Flo 1dc 1dcinc: 60dc
3-4) 60dc Note: Sew the button on the back
DRESS
1) 43 ch 2. ch start at 42sc: 42
2-4) 42
5) 2DC 1DCC: 56DC (here we connect the ends)
6-8) 56dc
Let’s tear off the rope and move to the top
1) Let’s center 14sc and we’ll go back to 1ch
2) 14
3) Return to 1dec 10sc 1dec 1ch: 12
4) Return to 12 1ch
5) Return to 1dec 8sc 1dec 1ch: 10
6) Return to 10 1ch
7) Return to 1dec 6sc 1dec 1ch: 8
Note: Starting from the side, let’s make 8 sl-st, let’s take 25ch, go back and make 24sl-st. Let’s make 6sl-st, take 25ch again and repeat the same process. Let’s make 8sl-st, sew the strips we make crossed back.
Before you leave, make sure to check out more free amigurumi crochet patterns and discover new ideas for your next project.
You can also browse our full amigurumi pattern archive for hundreds of beginner-friendly designs.

