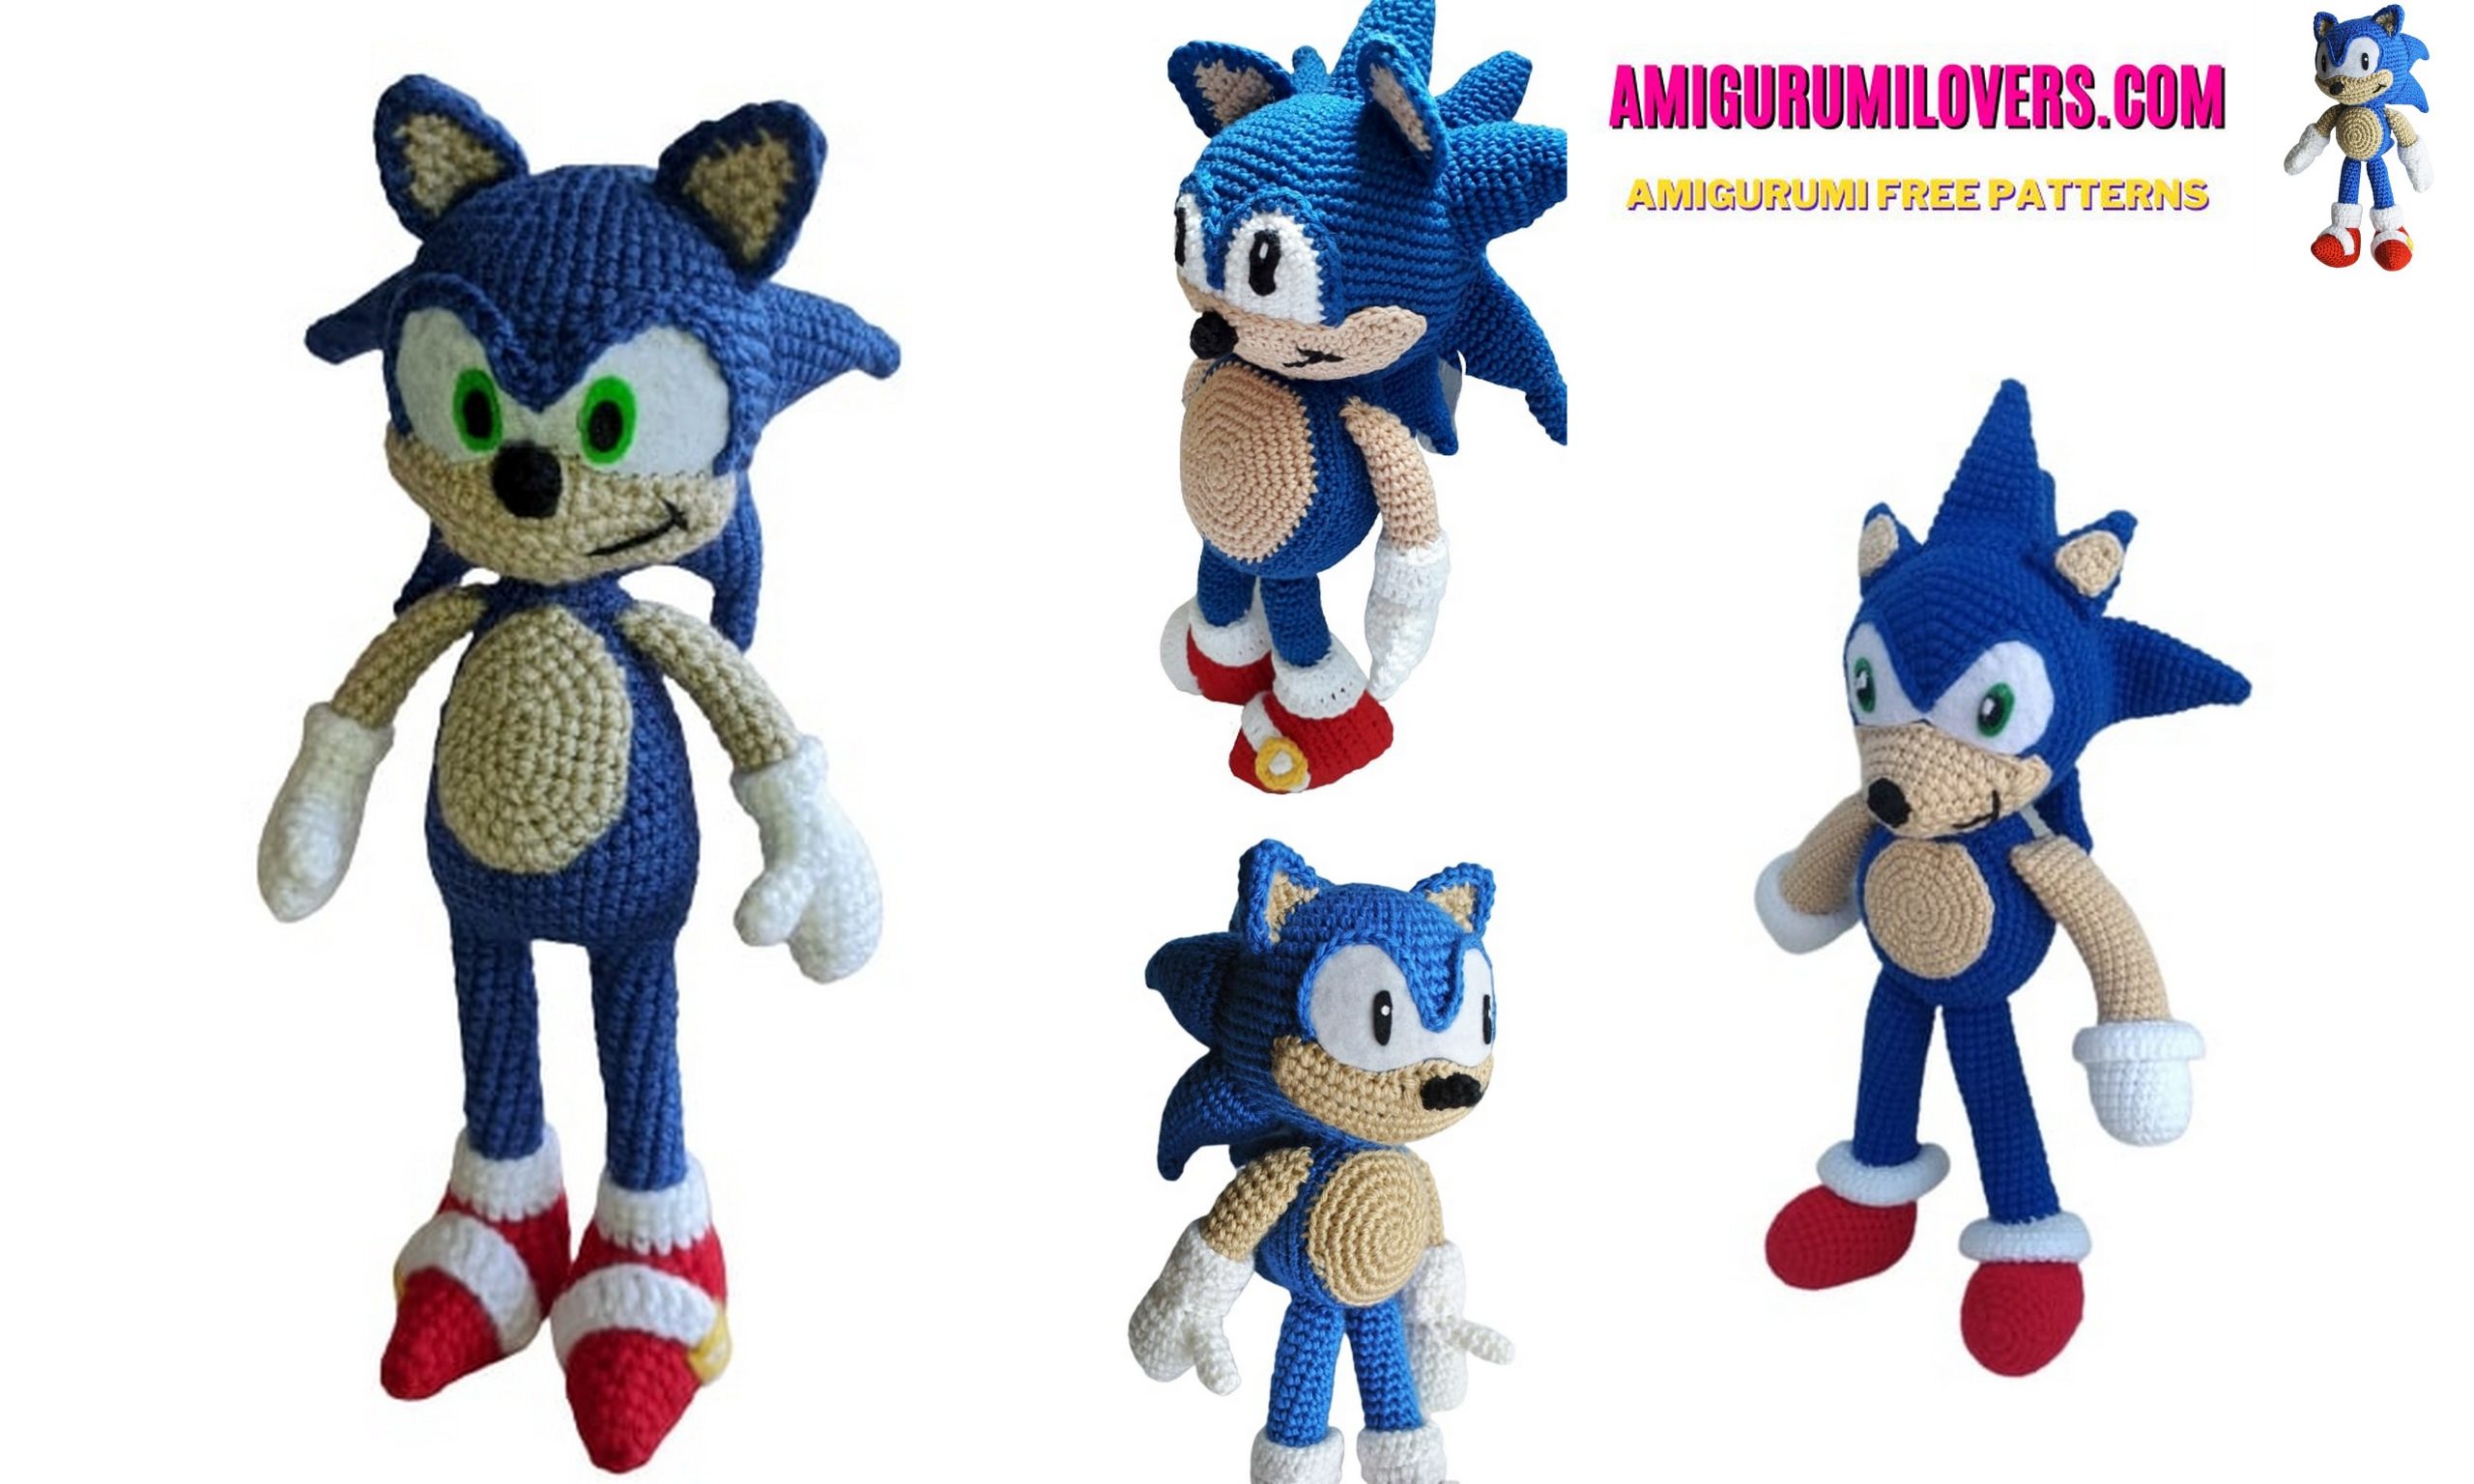
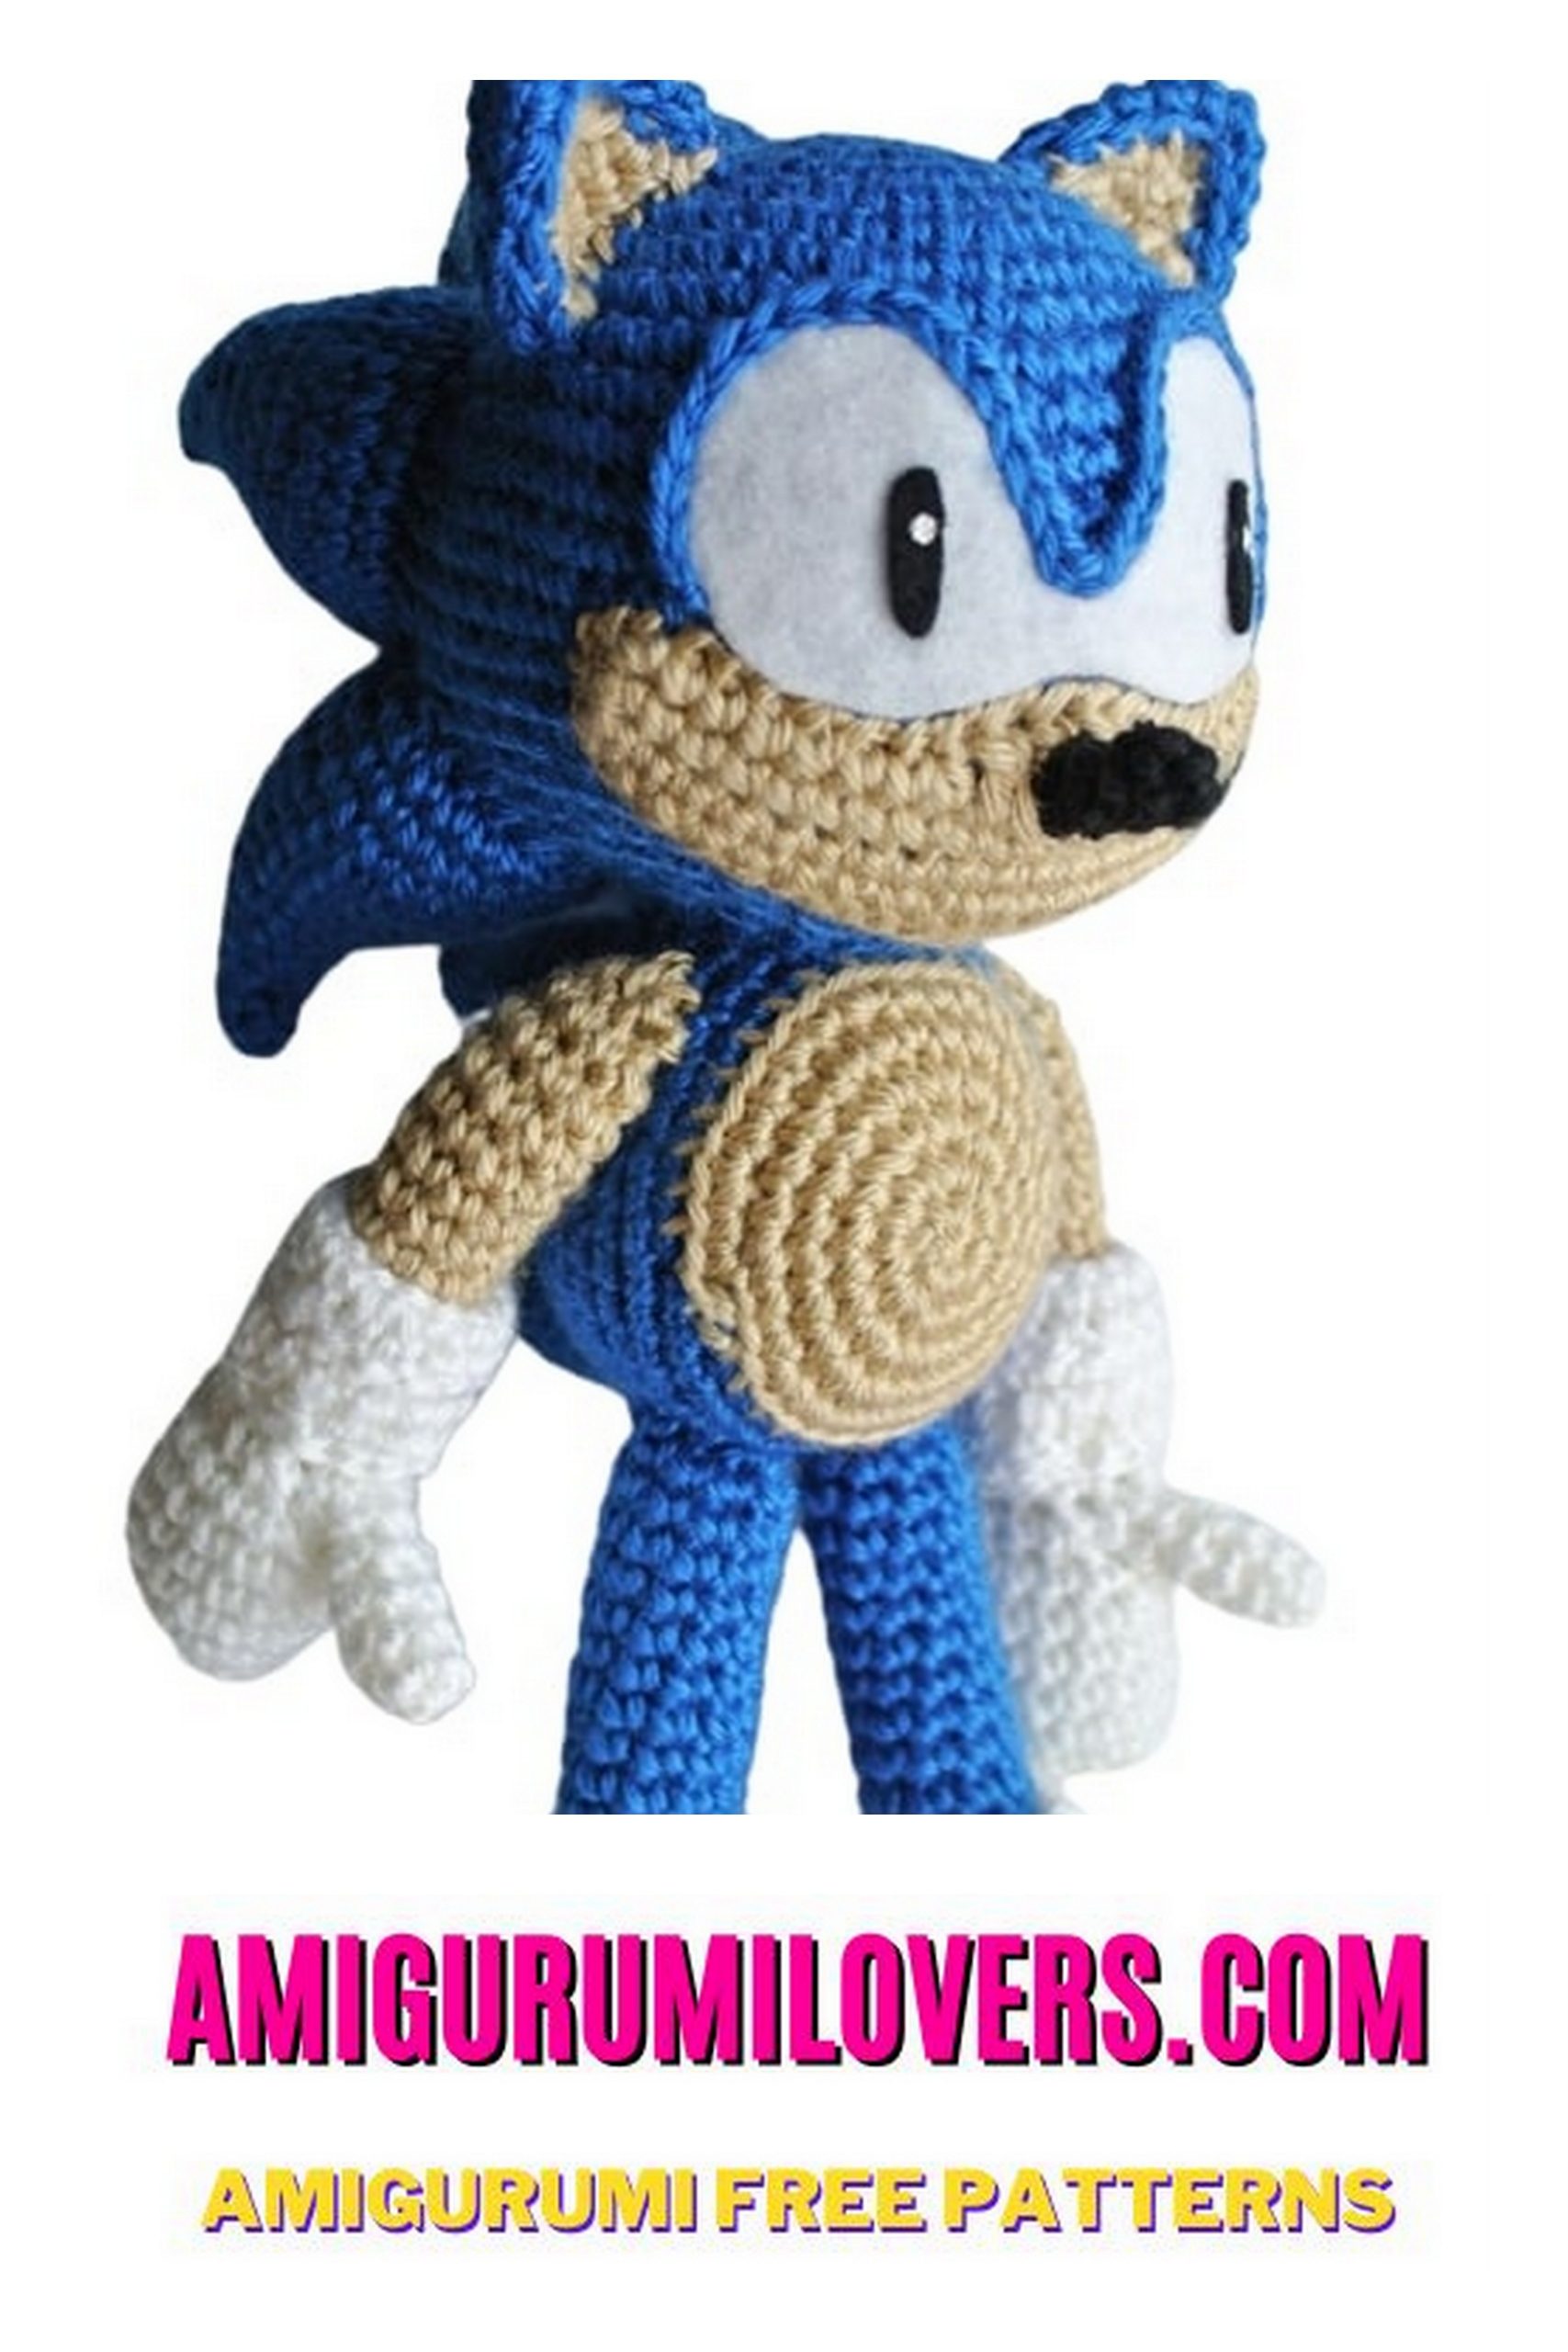
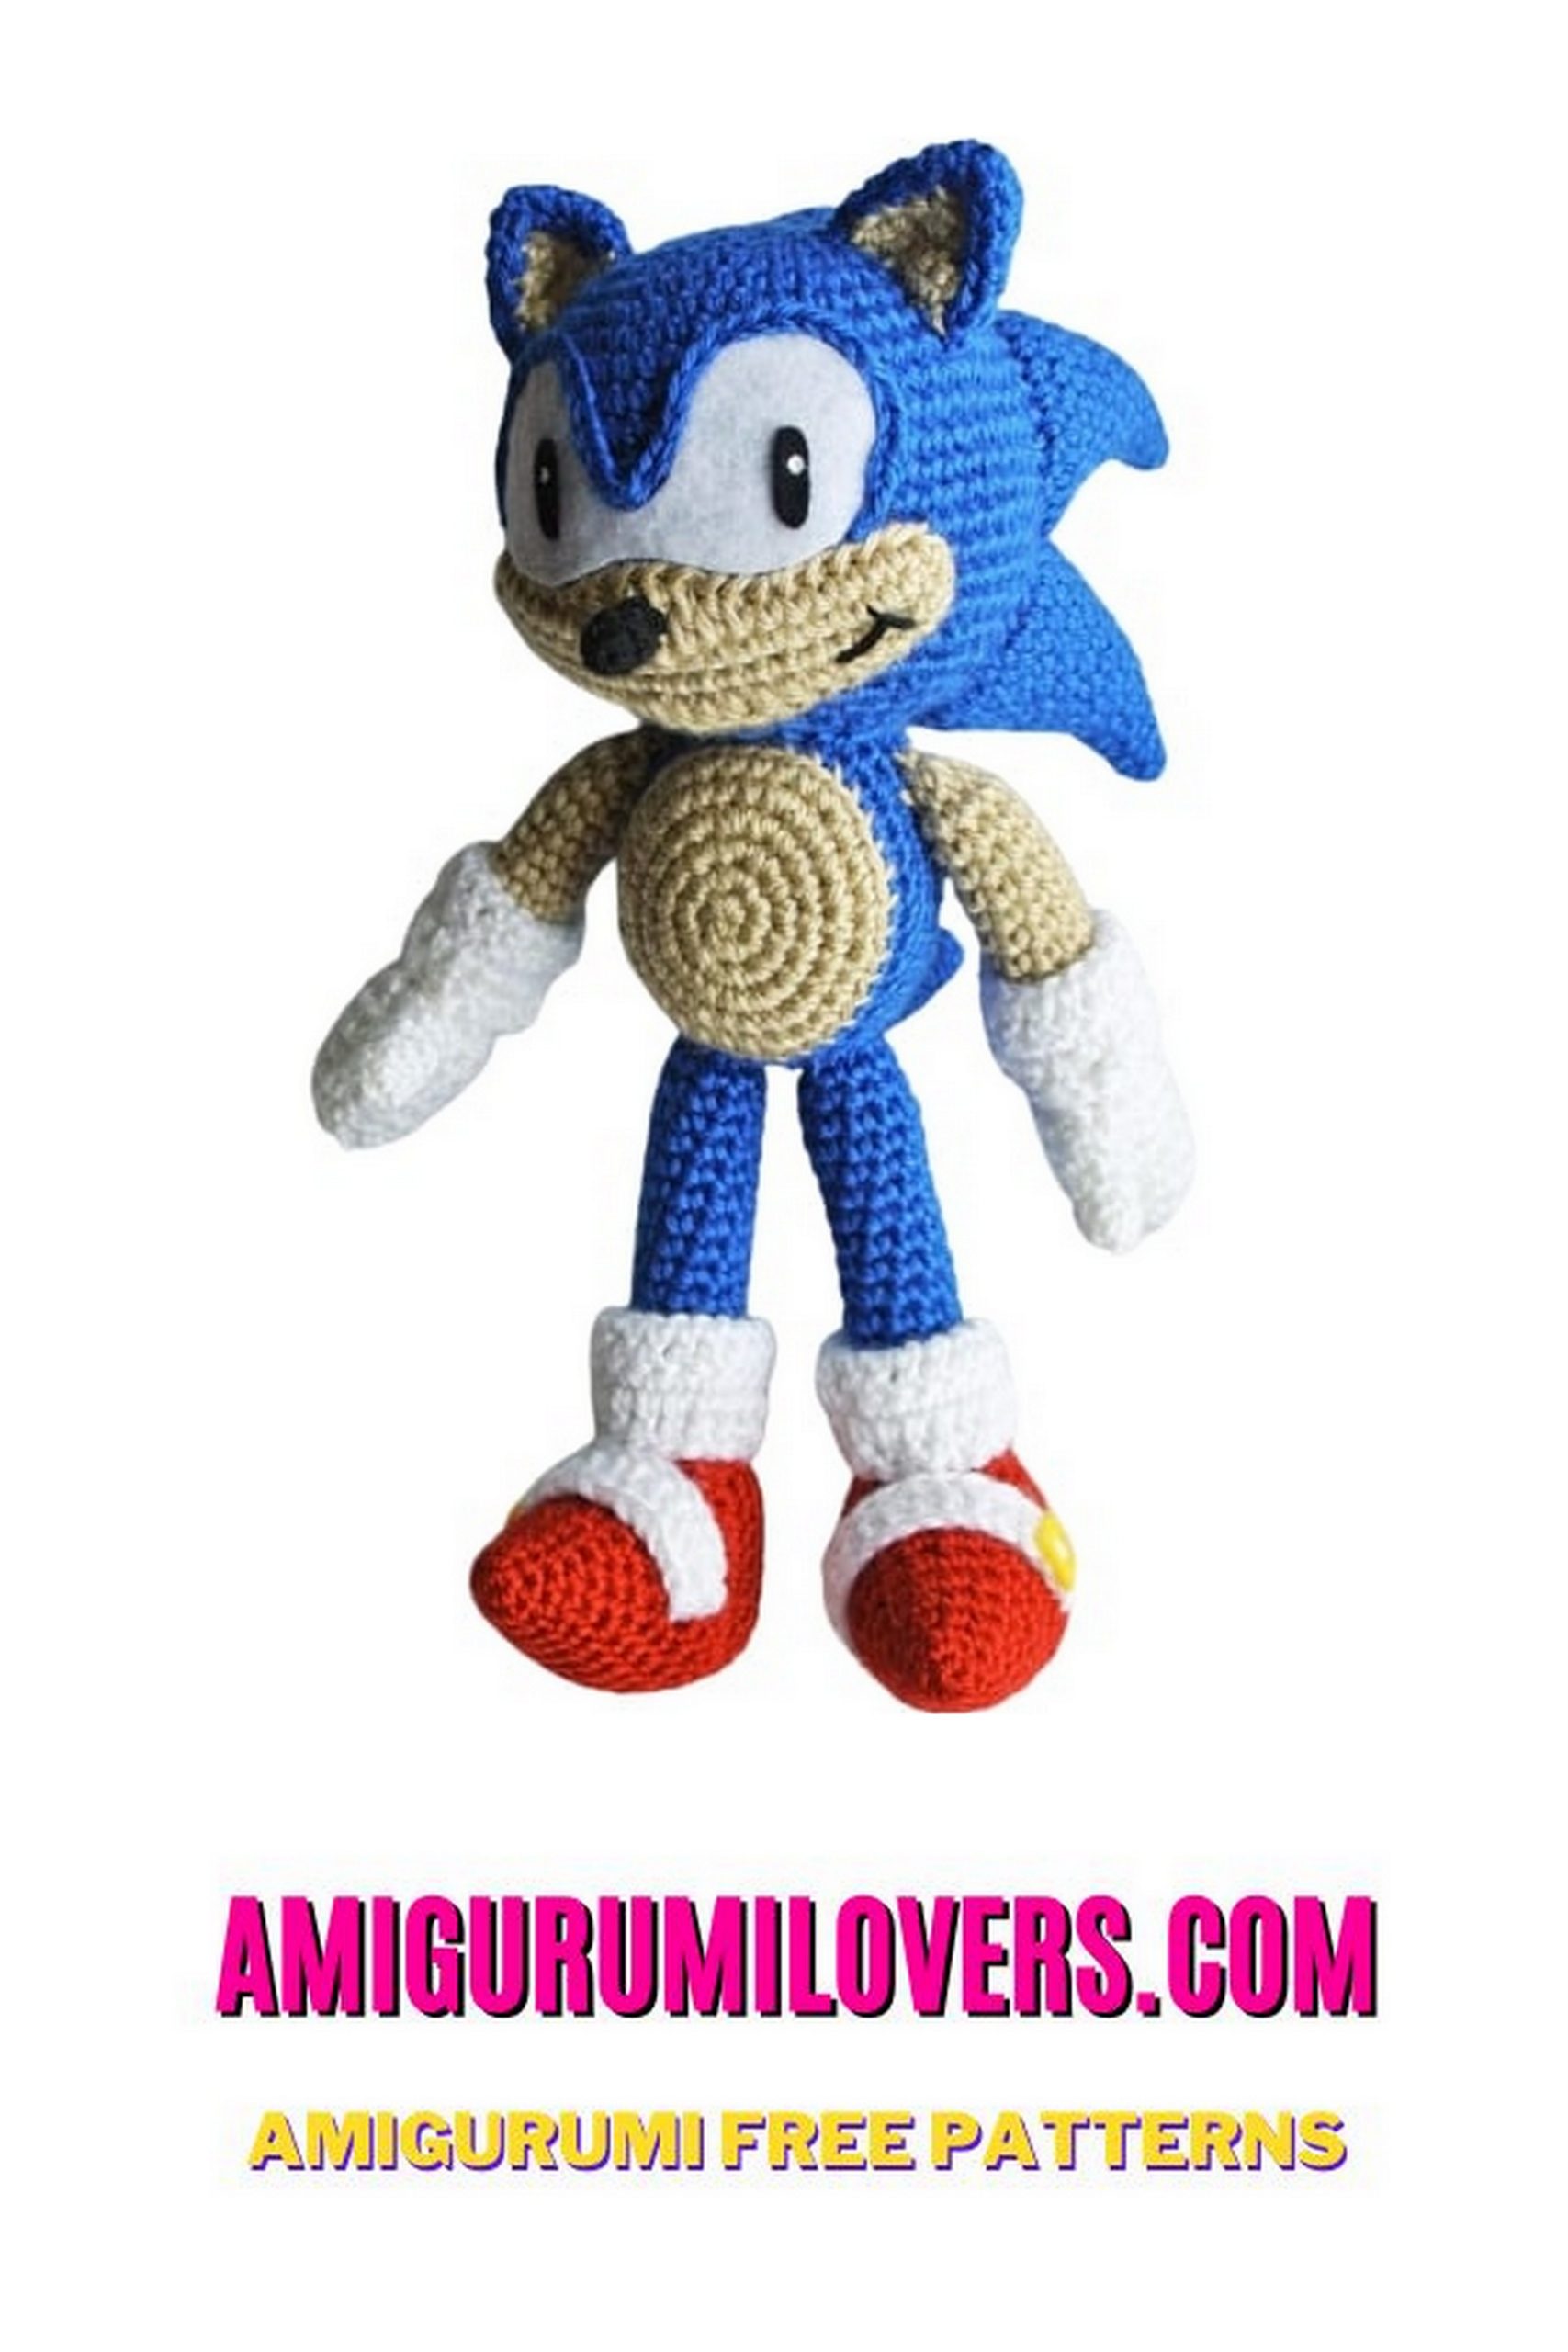
Super Sonic Amigurumi Free Crochet Pattern – Craft Your Own Speedster!
You may also enjoy exploring our free amigurumi patterns and other popular amigurumi animal patterns available on our website.
If you’re a crochet enthusiast looking for a fun and engaging project, you’ve stumbled upon the perfect pattern! Welcome to our latest blog post featuring the “Super Sonic Amigurumi Free Crochet Pattern,” where you can unleash your creativity and craft your very own speedster. Amigurumi, the delightful Japanese art of crocheting small stuffed toys, has gained immense popularity among crafters of all skill levels. Whether you’re a seasoned crocheter or just starting out, this pattern is designed to guide you step-by-step through the process of bringing your plush character to life.
This charming amigurumi character captures the essence of speed and excitement, making it a timeless favorite for both children and adults alike. Not only will you enjoy the therapeutic benefits of crocheting, but you’ll also have a fun and colorful addition to your collection once completed. Plus, making your own toys fosters creativity and can even be a wonderful gift for loved ones or a unique item to sell at craft fairs or online shops.
One of the joys of amigurumi is the ability to customize your creations. With the right materials and a little patience, you can experiment with colors, textures, and accessories to make your speedster stand out. This pattern provides the framework, but your imagination is the limit. Discovering your personal style through crochet can be incredibly satisfying as you develop your skills and learn new techniques along the way.
In this blog post, you’ll find all the details you need to get started, including a list of materials, step-by-step instructions, and helpful tips to ensure your project goes smoothly. Each section is crafted to be beginner-friendly, breaking down the process into manageable steps. This way, even if you’ve never attempted amigurumi before, you’ll feel confident and capable as you work through the process. And the best part? This pattern is completely free, making it a perfect opportunity to dive into the fun world of amigurumi without any financial commitment.
As you embark on this crochet adventure, remember that the most important aspect of crafting is enjoyment. Embrace the learning curve, celebrate your progress, and don’t hesitate to reach out to the crochet community for support and inspiration. Once your speedster is complete, you’ll not only have a beautiful handmade item, but you’ll also feel the pride of having created something unique with your own hands. Get ready to grab your yarn and hooks, and join us as we dive into this exciting project that’s sure to bring a smile to your face.
Welcome to a world of crochet where speed and creativity collide! If you’re a Sonic the Hedgehog fan or just love the art of crochet, you’re in for a thrilling ride. Our Super Sonic Amigurumi Free Crochet Pattern is here to help you transform yarn into a beloved pop culture icon.
Sonic, with his lightning-fast moves and adventurous spirit, has captivated hearts for generations. Now, you can capture his essence in the form of a delightful amigurumi creation, and the best part? It’s completely free!
Gather your crochet hooks, your favorite yarn colors, and your determination as we embark on this exciting crochet journey together. Our step-by-step instructions will guide you through every loop and stitch, making it a fun and accessible project for all skill levels.
Whether you’re crafting this Super Sonic amigurumi for yourself or as a gift for a fellow Sonic enthusiast, it’s sure to be a cherished piece. So, let’s get started, crochet at the speed of sound, and watch as Sonic comes to life in the palm of your hand.
Are you ready to race into the world of amigurumi with our Super Sonic crochet pattern? Let’s make magic with yarn and celebrate the adventurous spirit of Sonic the Hedgehog. Get those fingers moving and let the crochet adventure begin! Happy crafting!
Term Used:
slst – slip stitch
ch – chain
sc – single crochet
inc – increase
dec – decrease
MATERIALS
• Blue, beige, white, red, black
• White, black, yellow felt
• Hook (I used a 3.5 mm hook with Caron Simply Soft wire)
• fiber filling
• fabric glue
• Painting on white fabric (optional)
• thread needle
• Point marker (optional)
HEAD
In blue thread
Row 1: 6 sc into magic ring [6]
Row 2: 6x inc [12]
Row 3: (sc, inc) 6x [18]
Row 4: (2sc, inc) 6x [24]
Row 5: (3sc, inc) 6x [30]
Row 6: (4sc, inc) 6x [36]
Row 7: (5sc, inc) 6x [42]
Row 8: (6sc, inc) 6x [48]
Row 9: (7sc, inc) 6x [54]
Row 10-18: 54 sc [54]
Row 19: (7sc, dec) 6x [48]
Row 20: (6sc, dec) 6x [42]
Row 21: (5sc, dec) 6x [36]
Row 22: (4sc, dec) 6x [30]
Row 23: (3sc, dec) 6x [24]
Row 24: (2sc, dec) 6x [18]
Half sc in the next pt. Finish by leaving a tail to sew. Stuffed stuff fiber.
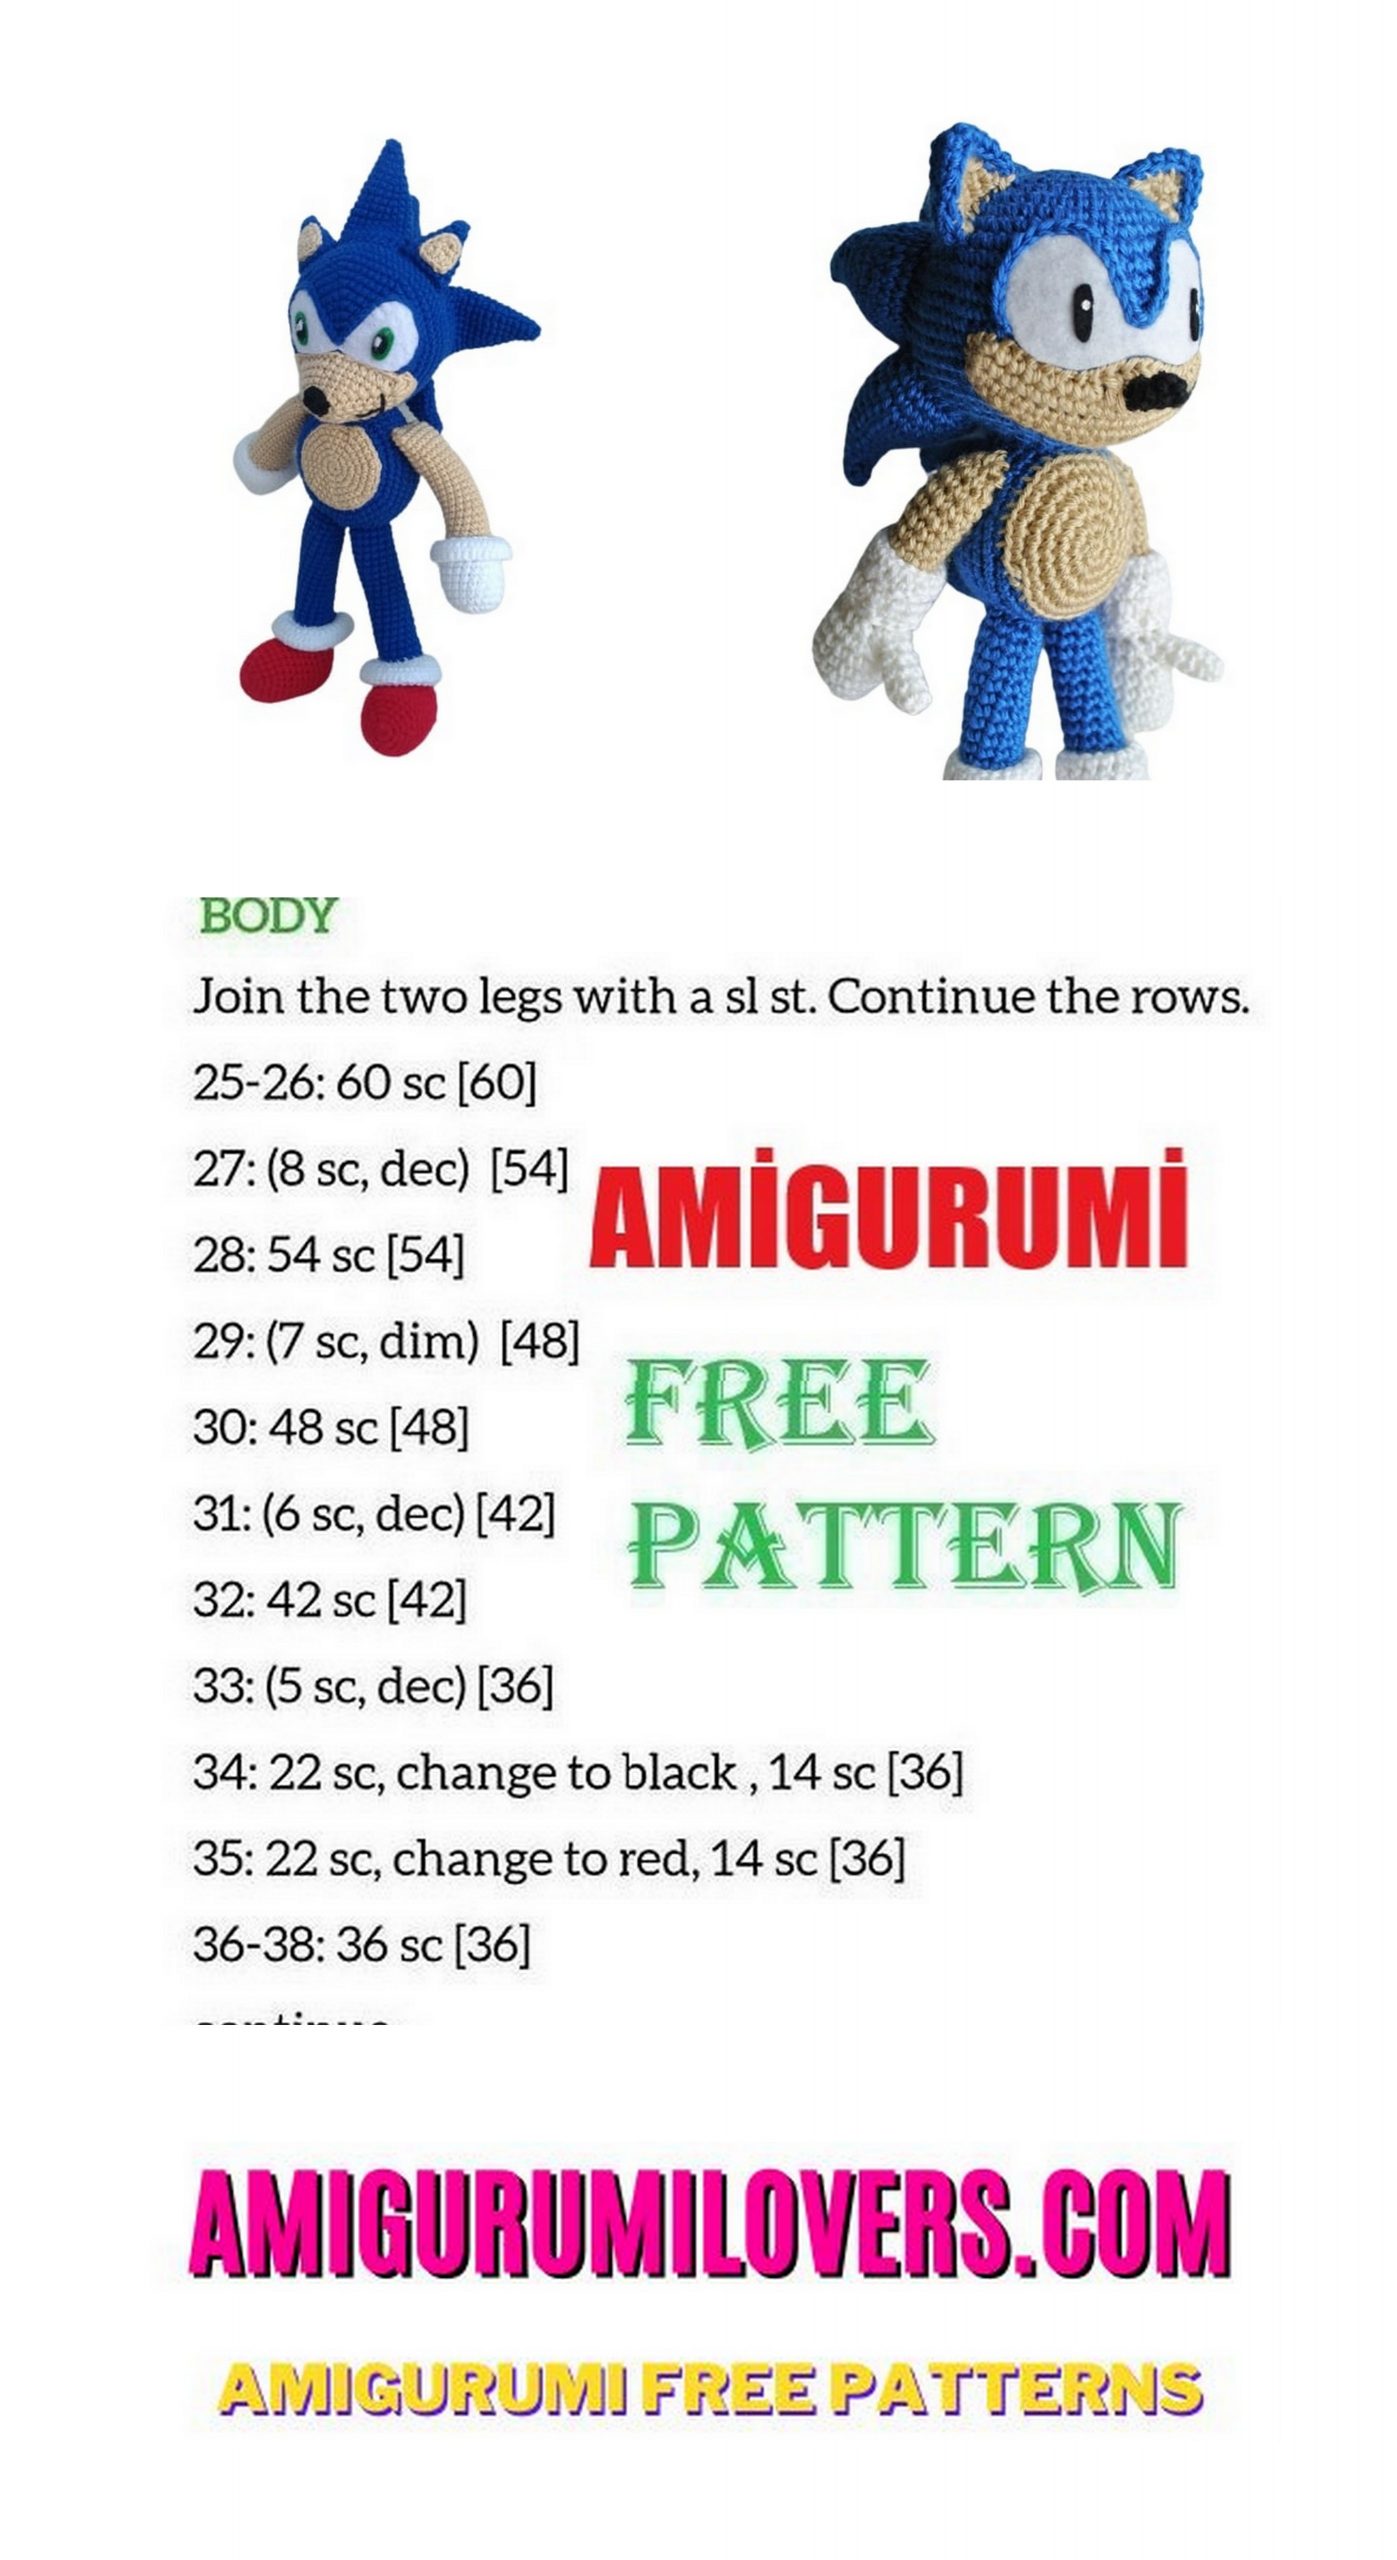
BODY
Start in beige yarn
Row 1: 6 sc into magic ring [6]
Row 2: 6x inc [12]
Row 3: 3x inc, 3sc, 3x inc, 3 sc [18]
Row 4: 2sc, 3x inc, 6sc, 3x inc, 4 sc [24]
Row 5: (3sc, inc) 6x [30]
Row 6: (4sc, inc) 6x [36] Switch to wire blue
Row 7: BLO 36 sc [36]
Row 8-13: 36 sc [36]
Row 14: (4sc, dec) 6x [30]
Row 15: (3sc, dec) 6x [24]
Row 16: (2sc, dec) 6x [18]
Row 17: (sc, dec) 6x [12]
Row 18: 6x dec [6]
Half sc in the next pt and leave a tail. Fill the body and close the hole. Do not sew yet head on the body.
MOUTH
Beige thread, ch 23
Row 1: start on the 2nd ch. from the hook, 22 sc on both sides [44]
Row 2: 6sc, 3hdc, 4dc, 3hdc, 6sc, 8sc, hdc, dc, 2double dc, dc, hdc, 8 sc [44]
Half sc in the next pt and leave a tail for to sew.
NOSE
In black thread
Row 1: 4 sc into magic ring [4]
Row 2-4: 4 sc [4]
Half sc in the next pt, leave a tail to sew. Don’t sew your nose yet in the mouth.
EARS (DO TWO)
Start in beige yarn, ch 2
Row 1: sc on the 2nd ch. hook, ch. 1, turn [1]
Row 2: inc, ch 1, turn [2]
Row 3: inc 2x, ch 1, turn [4]
Row 4: inc, 2sc, inc, ch 1, turn [6]
Row 5: 6 sc [6] snatch. Now you will do the part blue ear.
Row 1: Take your blue yarn and sc on both sides of the ear, then ch 1, turn [11]
Row 2: FLO 5 sc, inc, 5 sc [12]
Row 3-4: 12 sc [12]
Row 5: 2hdc, 3sc, dec, 3sc, 2pm [11]
Half sc, leave a tail to close the part of behind the ear and sew it.
GREAT POINTS (MAKE SIX)
In blue thread
Row 1: 4 sc into magic ring
Row 2: 4 sc [4]
Row 3: (sc, inc) 2x [6]
Row 4: 6 sc [6]
Row 5: (2sc, inc) 2x [8]
Row 6: (3sc, inc) 2x [10]
Row 7: (4sc, inc) 2x [12]
Row 8: inc x2, 10 sc [14]
Row 9: (6sc, inc) 2x [16]
Row 10: inc 2x, 14 sc [18]
Row 11: (8sc, inc) 2x [20]
Row 12: inc 2x, 18 sc [22]
Row 13: (10sc, inc) 2x [24]
Row 14: inc 2x, 22 sc [26]
Half sc in the next pt and stuff.
Leave a tail to sew.
You will assemble your head now.
Start by cutting a piece of felt white eye shape.
Wired blue, make a long chinginha the enough to get around the eyes (see figure). With black thread, embroider a mouth little.
Sew the mouth, the nose, fix the white part of the eyes with glue fabric and add small pieces of black felt to complete the eyes. I I used white
Fabric paint in your eyes, but you you can also use a small piece of white felt. Sew the chente you just made to around the eyes.
Sew the ears on the head and sew the ends at the back of the head.
Tip: I like to bend the ends to get the exact shape I want.
Now that the head is complete, you can sew it on the body.
SPIKE (BODY)
In blue thread
Row 1: 4 sc into magic ring [4]
Row 2: 4 sc [4]
Row 3: (sc, inc) 2x [6]
Row 4: 6 sc [6]
Row 5: (2sc, inc) 2x [8]
Row 6: (3sc, inc) 2x [10]
Row 7: (4sc, inc) 2x [12]
Row 8: inc 2x, 10 sc [14]
Row 9: (6sc, inc) 2x [16]
Row 10: inc 2x, 14 sc [18]
Row 11: (2sc, inc) 6x [24]
Half sc in the next pt and stuff. Leave a tail to sew.
MINOR POINT (BODY)
In blue thread
Row 1: 4 sc into magic ring [4]
Row 2: 4 sc [4]
Row 3: (sc, inc) 2x [6]
Row 4: 6 sc [6]
Row 5: (2sc, inc) 2x [8]
Row 6: 8 sc [8]
Row 7: (3sc, inc) 2x [10]
Row 8: 10 sc [10]
Row 9: inc 2x, 8 sc [12]
Row 10: 12 sc [12]
Half sc in the next pt and stuff. Leave a tail to sew.
LEGS (DO TWO)
Start with red thread
Row 1: 6 sc into magic ring [6]
Row 2: (2sc, inc) 2x [8]
Row 3: (3sc, inc) 2x [10]
Row 4: (4sc, inc) 2x [12]
Row 5: (5sc, inc) 2x [14]
Row 6: (6sc, inc) 2x [16]
Row 7: (7sc, inc) 2x [18]
Row 8: (8 sc, inc) 2x [20]
Row 9: (9sc, inc) 2x [22]
Row 10: (10sc, inc) 2x [24]
Row 11: ch 1, turn, 22 sc [22]
Row 12-13: ch 1, turn, 22 sc [22]
Row 14: ch 1, turn, 8 sc [8]
Row 15-19: ch 1, turn, 8 sc [8]
Turn your work inside out. You should be shaped like a foot with a chentinha in the back, like a door. Sc to start closing the chentinha [8], then sc to close the heel [6].
Tighten and turn the shoe inside out. The wrong side it must be on the inside.
Row 1: take your red wire again and do 15 sc around the hole left foot [15]
Change to the blue wire. Fill your foot with fiber fill and continue filling as you go.
Row 2: (sc, dec) 5x [10]
Row 3-17: 10 sc [10]
Half sc in the next pt. Complete and stuffing leave a tail to sew.
SOCKS (DO 2)
In white thread, ch 20
Row 1: start at the 3rd chente from the hook, 18 dc, ch 2, turn [18]
Row 2: 18 dc, ch 2, turn [18]
Row 3: 18 SC [18]
HALF SC, leaving a tail to sew.
Sew the socks around the feet. They should adjust freely.
WHITE STRIPES (DO TWO)
In white thread, ch 16
Row 1: start at the 3rd chentinha do hook, 14 SC [14]
Half sc, leaving a tail to sew.
Sew on the feet. Using yellow felt, cut small buckles to stick to the feet.
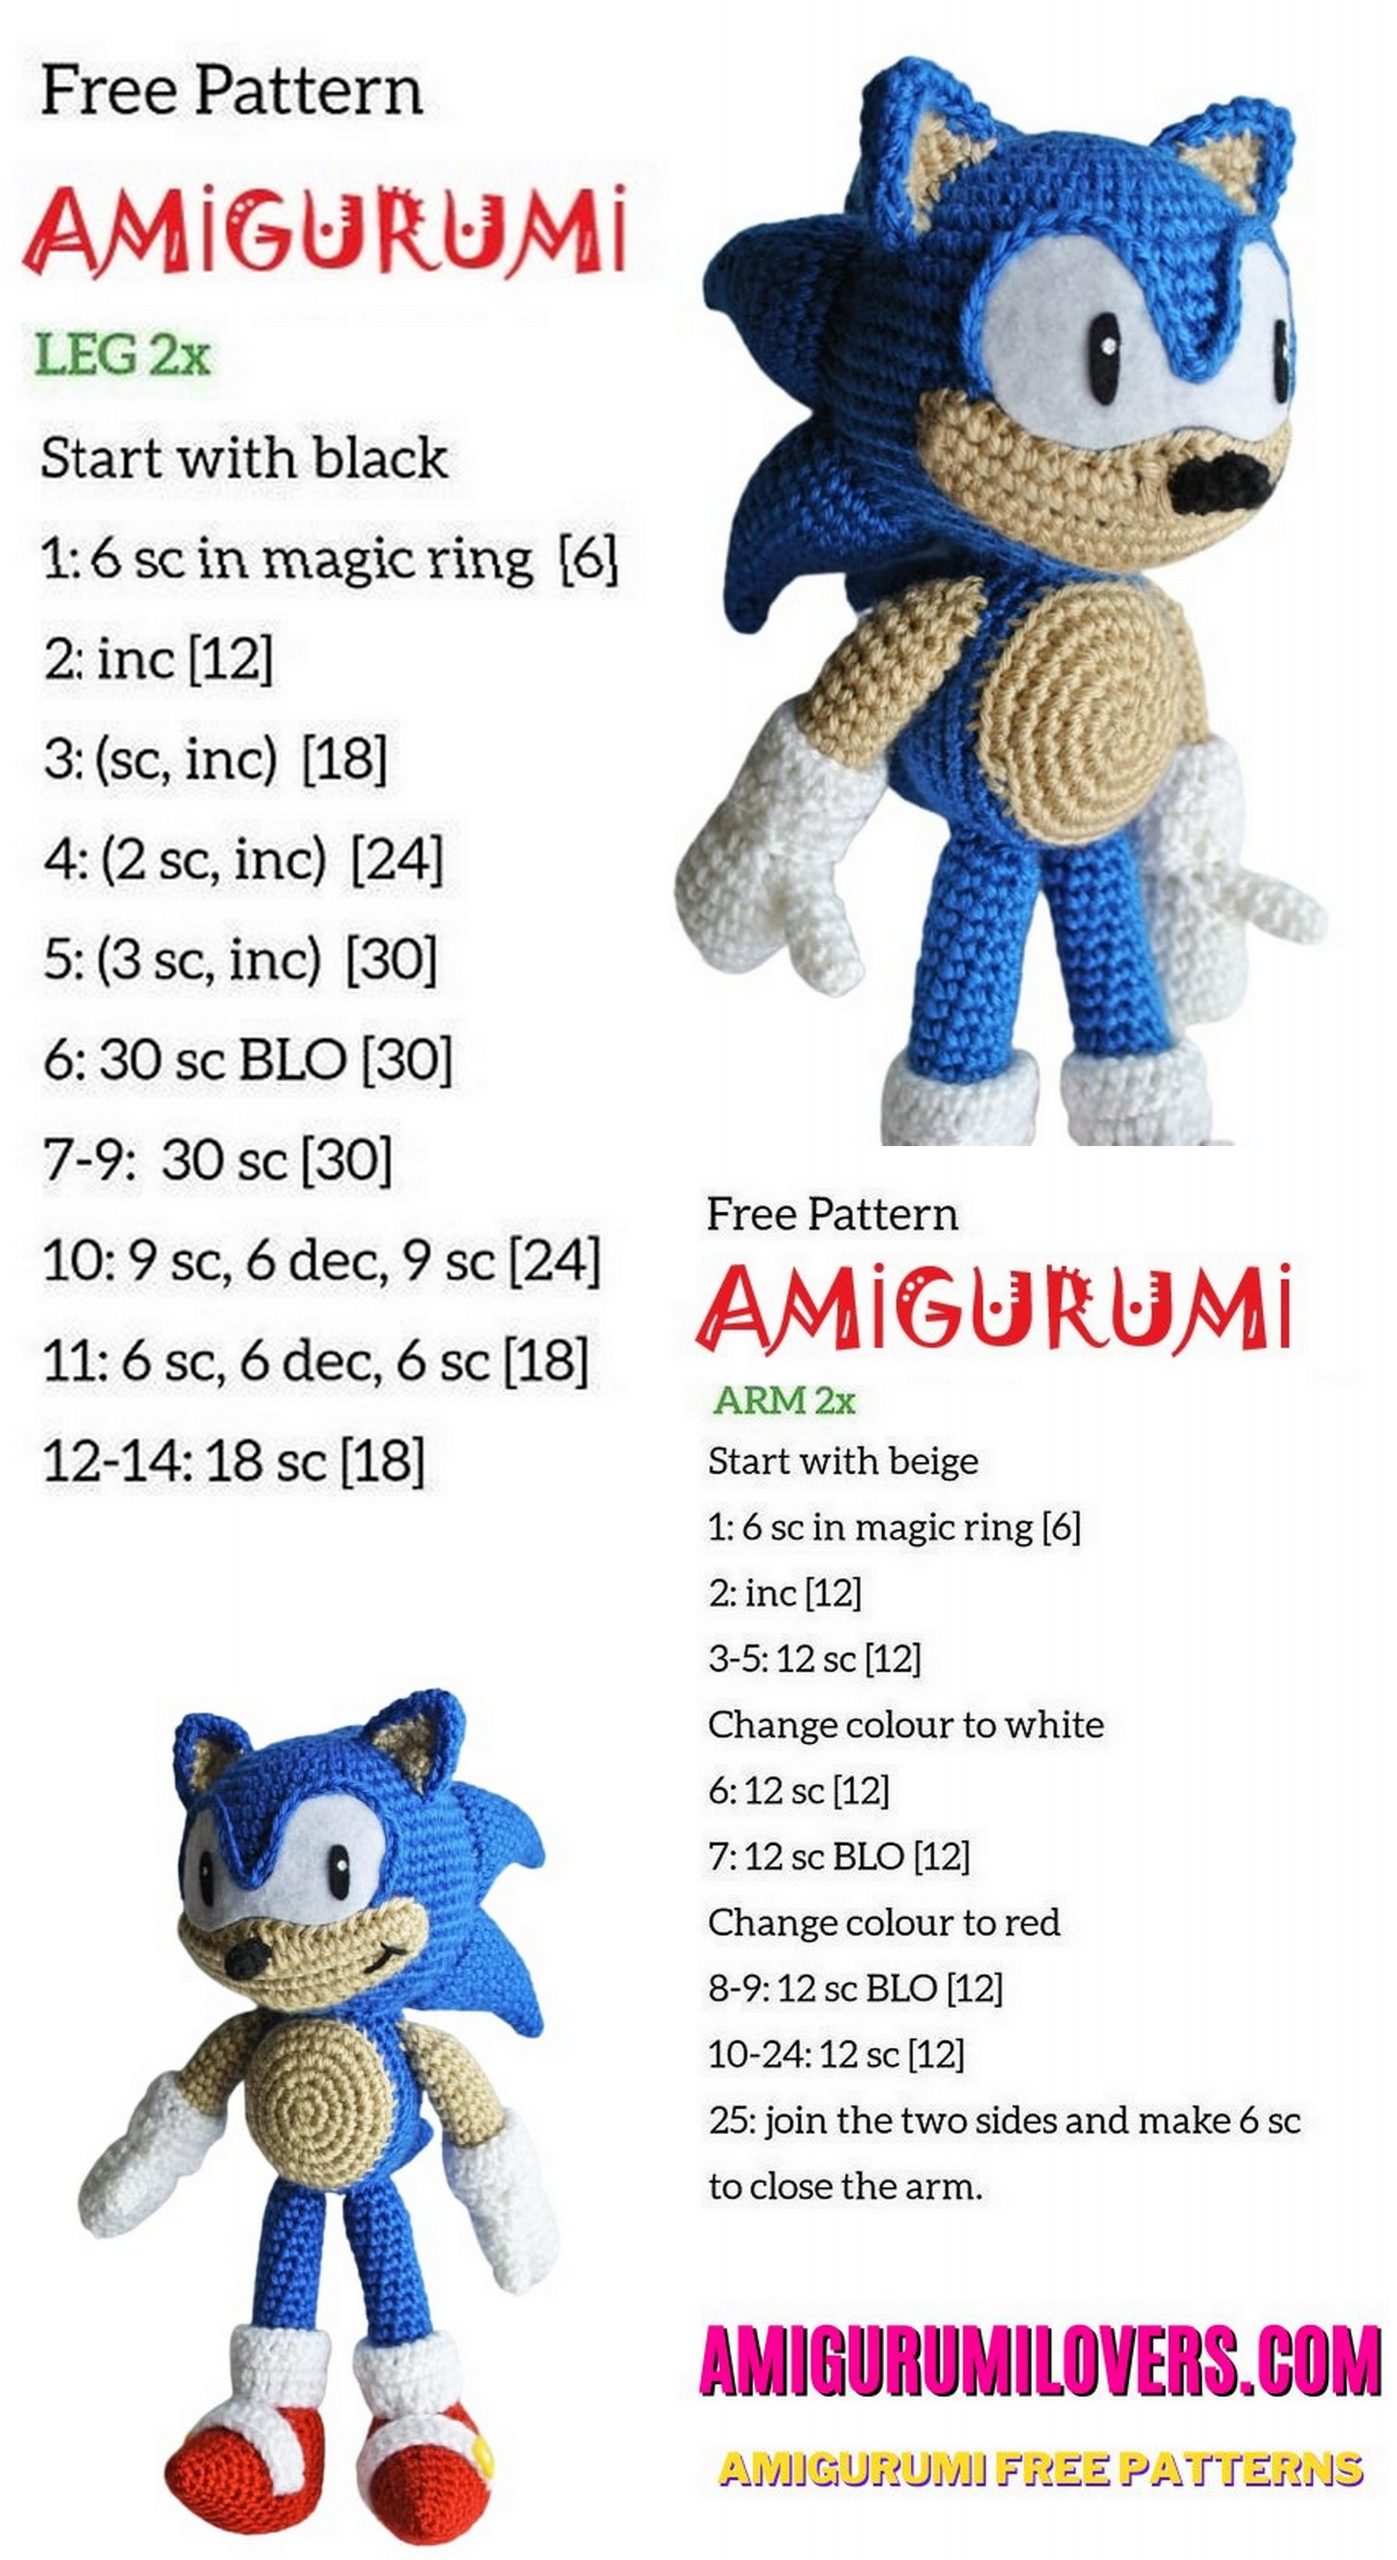
ARMS (MAKE TWO)
Start with white thread. Hands are made in two parts, then joined.
THUMB:
Row 1: 4 sc into magic ring [4]
Row 2: (sc, inc) 2x [6]
Row 3-5: 6 sc [6]
Half sc in the next pt and leave a small tail.
MOST:
In white thread, ch 7
Row 1: start in the 2nd chentinha from hook, 6 sc on both sides of the chentinha [12]
Row 2: 12 sc [12]
Row 3: (2SC, Inc.) 4x [16]
Row 4-6: 16 sc [16]
Row 7 Join this part with your thumb.
Keep working. 4 sc around the thumb, skip 2 pt on the thumb and part greater, 14 sc in the greater part [18]
Using the end of the wire left by the thumb, close the small hole.
Start filling and continue as advances.
Row 8 (sc dec) 6x [12]
Row 9-10: 12 sc [12]
Change to beige yarn
Row 11: (4 ° C, dec) 2x [10]
Row 12-20: 10 sc [10]
Row 21: 5x dec [5]
Half sc in the next pt. Finish the filling and leave a tail to sew.
CUFFS (DO TWO)
In white thread, ch 18
Row 1: start at the third chentinha from hook, 16 dc, ch 1, turn [16]
Row 2: 16 dc, ch 1, turn over [16]
Row 3: 16 SC [16]
Half sc and leave a tail to sew.
Sew on the arms. They must adjust freely.
Sew legs and arms on body, then the spines on the back.
Before you leave, make sure to check out more free amigurumi crochet patterns and discover new ideas for your next project.
You can also browse our full amigurumi pattern archive for hundreds of beginner-friendly designs.