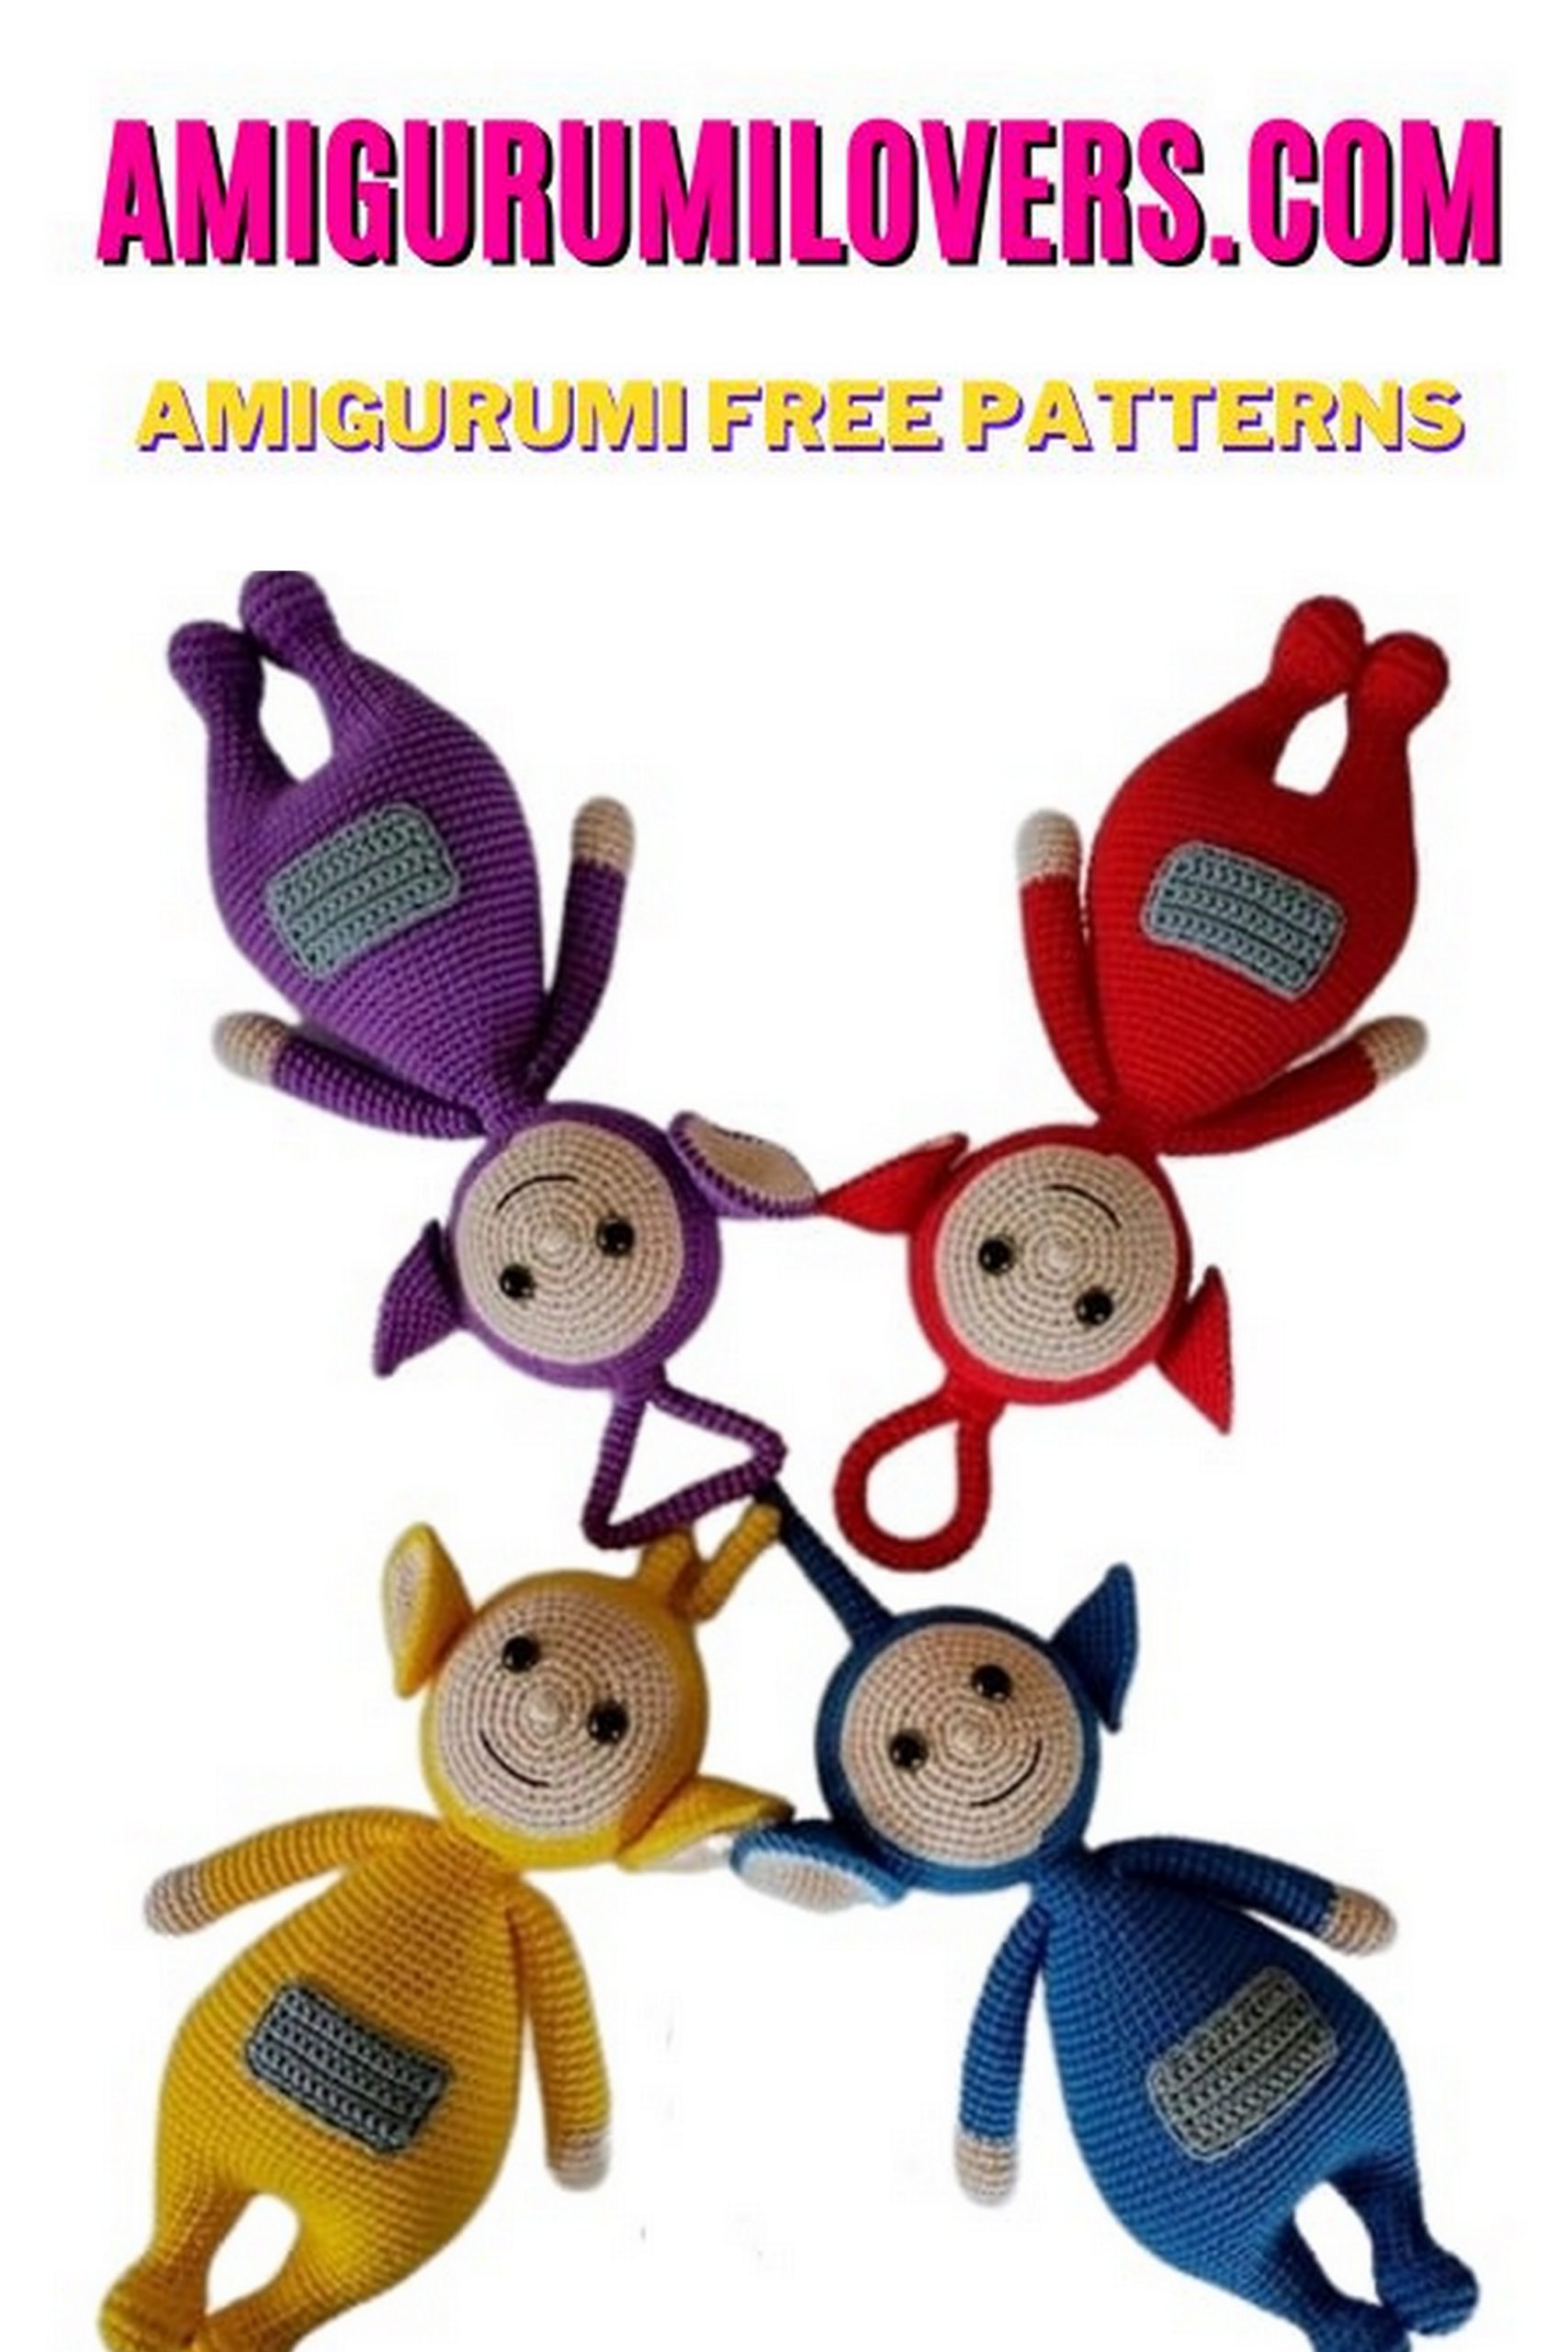
Free Crochet Pattern for Teletubbies Amigurumi
You may also enjoy exploring our free amigurumi patterns and other popular amigurumi animal patterns available on our website.
If you’re a fan of crochet and looking for a fun project to spark your creativity, you’ve come to the right place. In this blog post, we’re excited to share a delightful free crochet pattern for Teletubbies amigurumi that is perfect for beginners and experienced crafters alike. The whimsical characters of Teletubbies are not only nostalgic but also bring joy and charm to any room, making them a fantastic choice for gifts or home decor. Whether you’re looking to create a unique toy for a child or simply want to add a touch of playful color to your crochet collection, this pattern will guide you every step of the way.
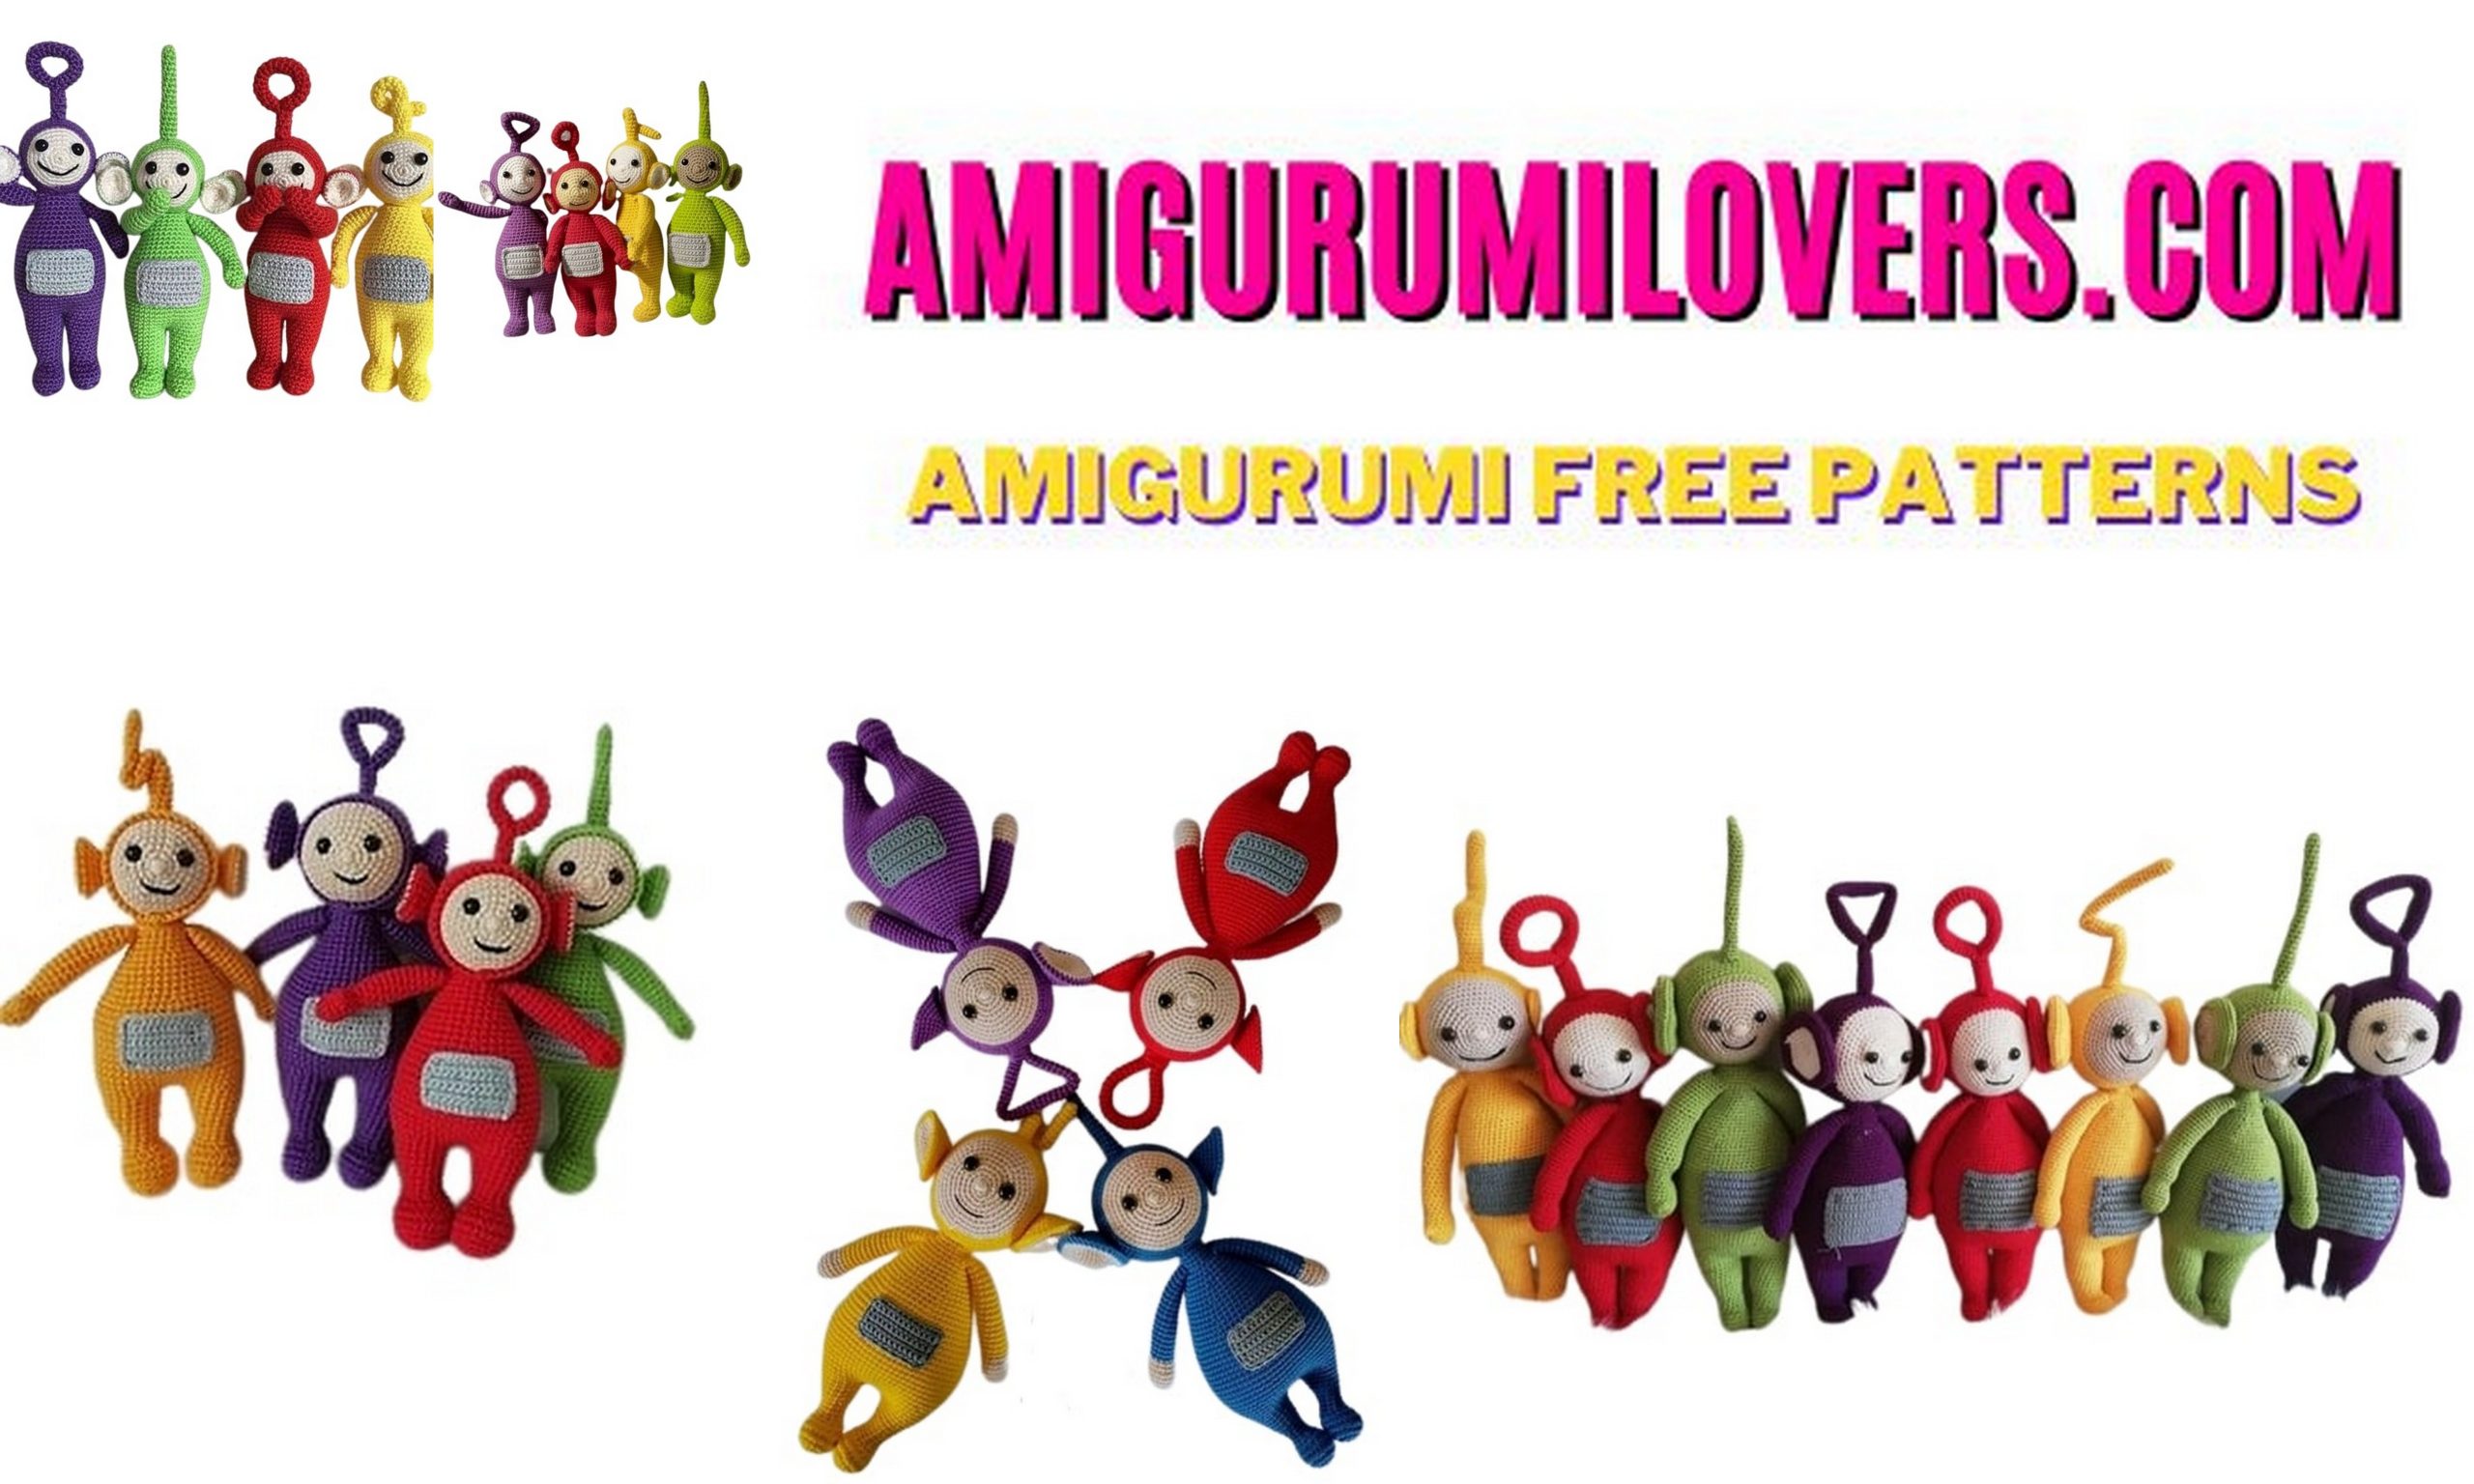
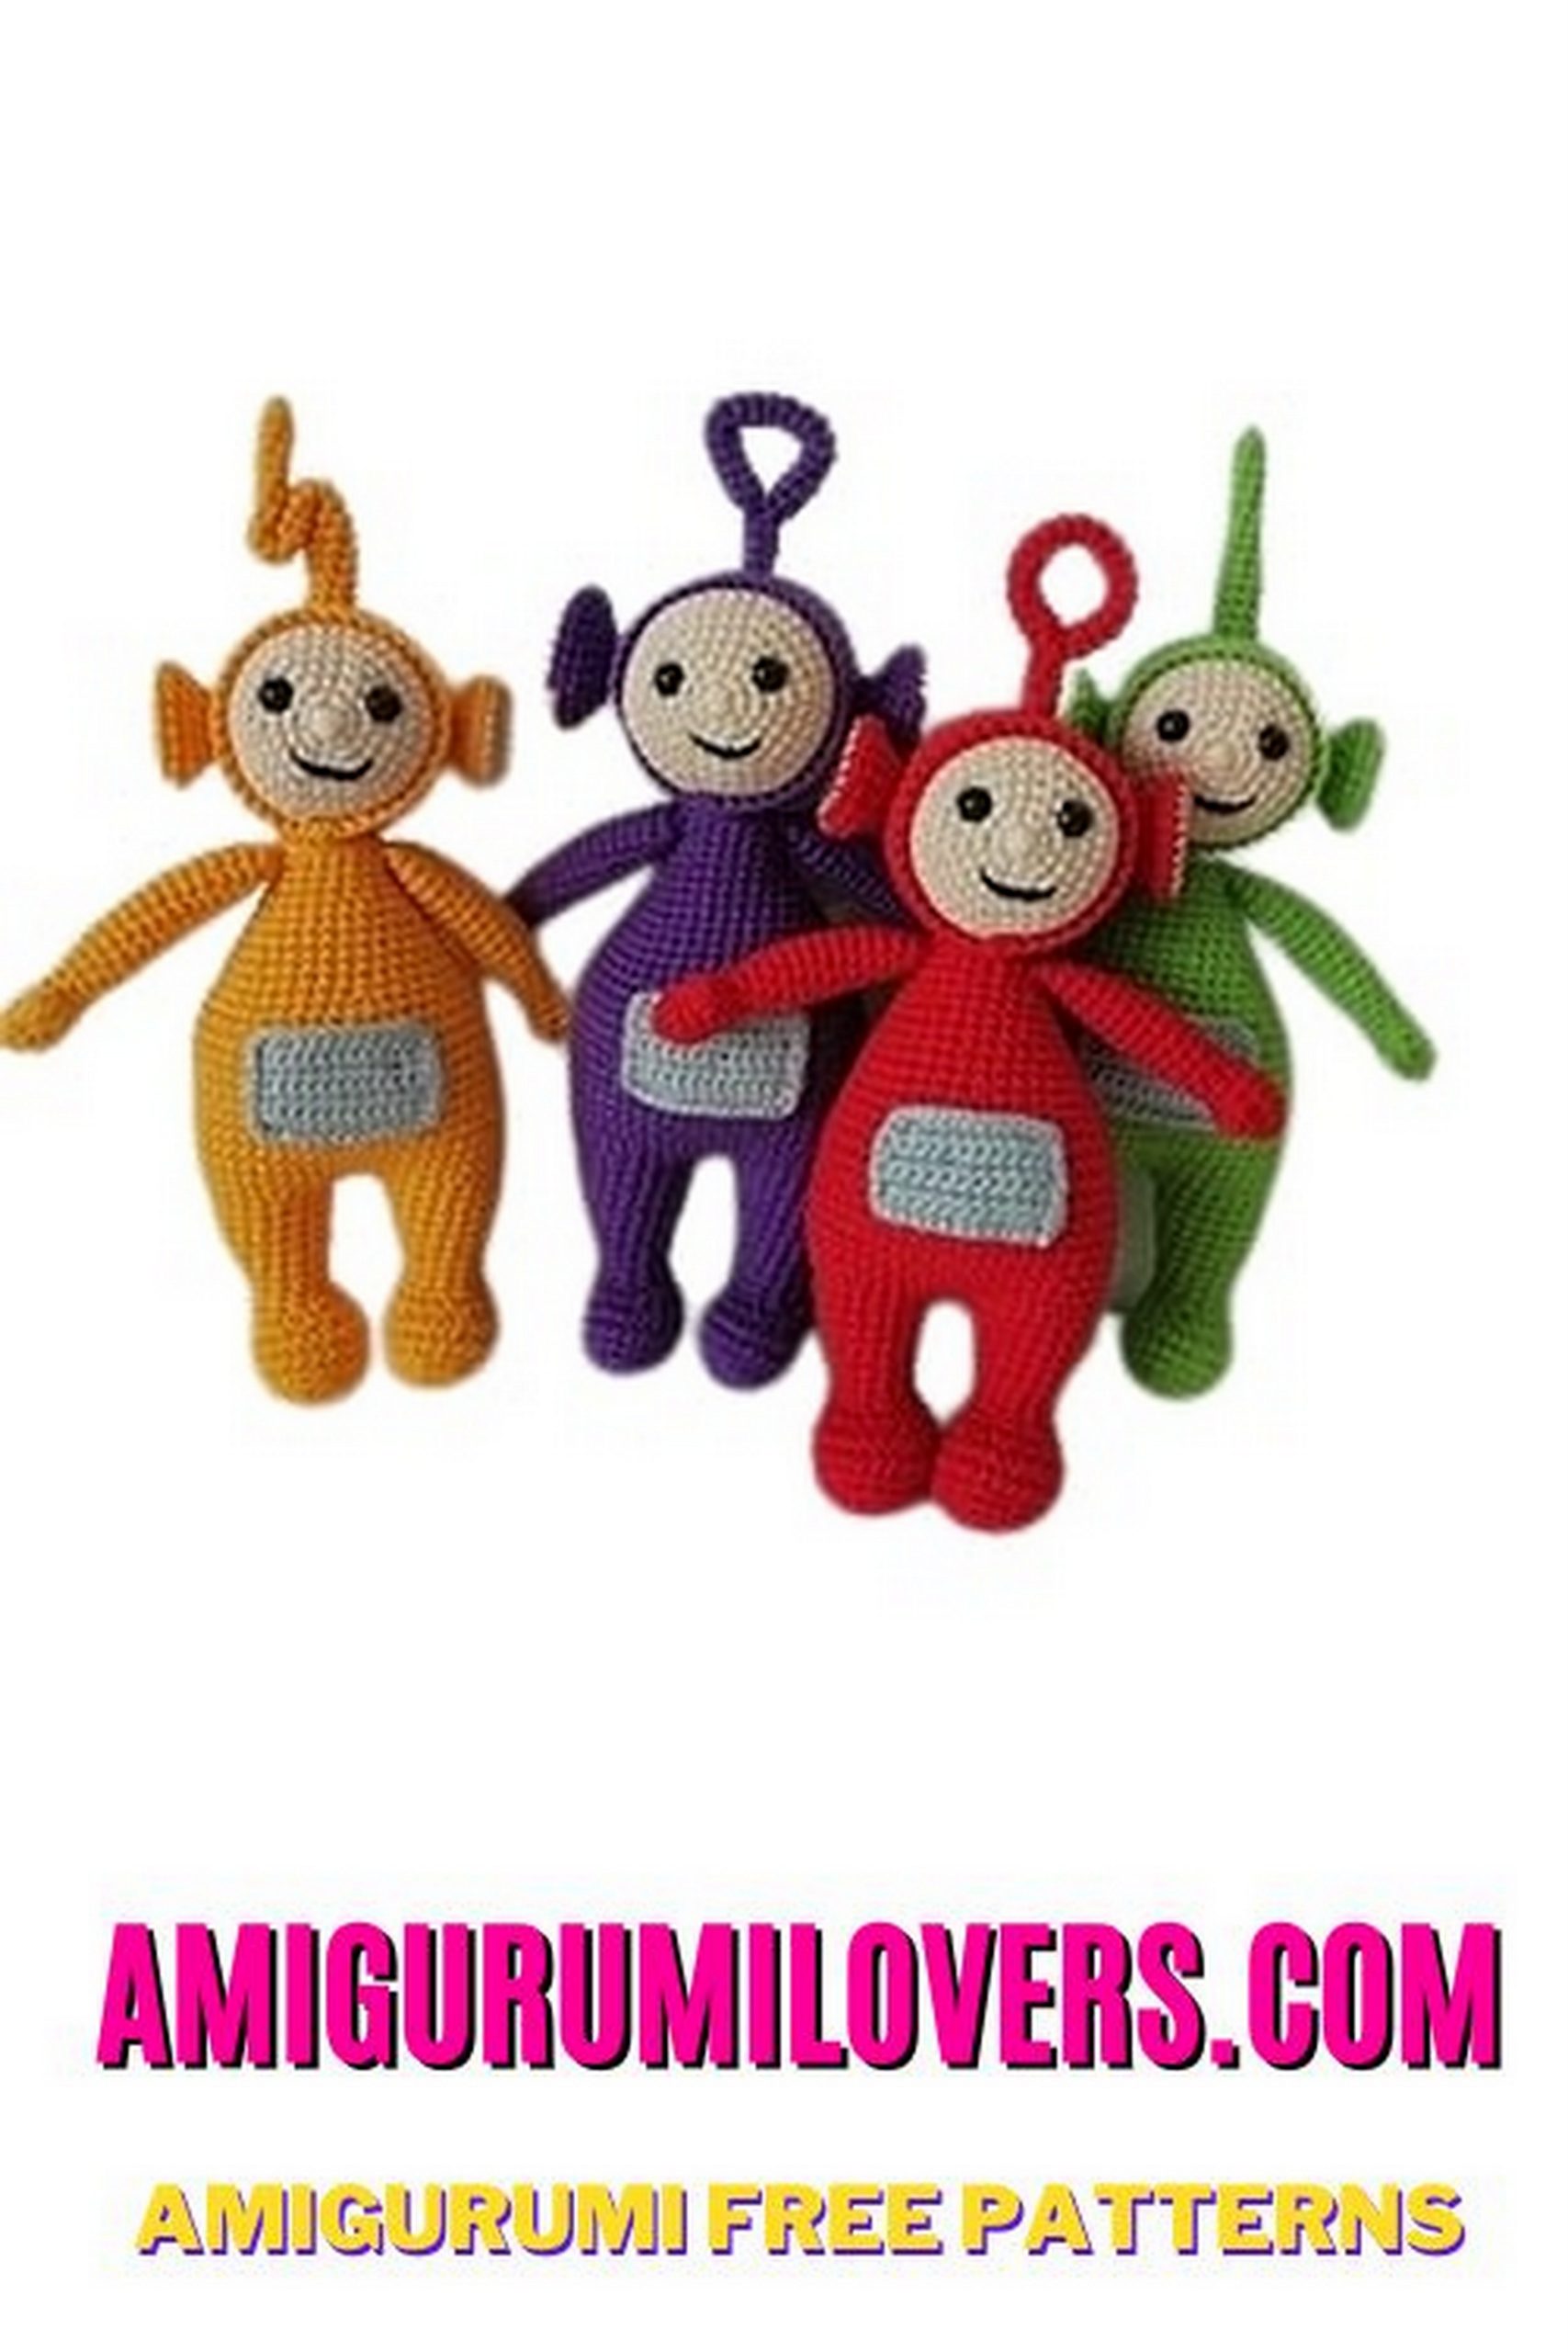
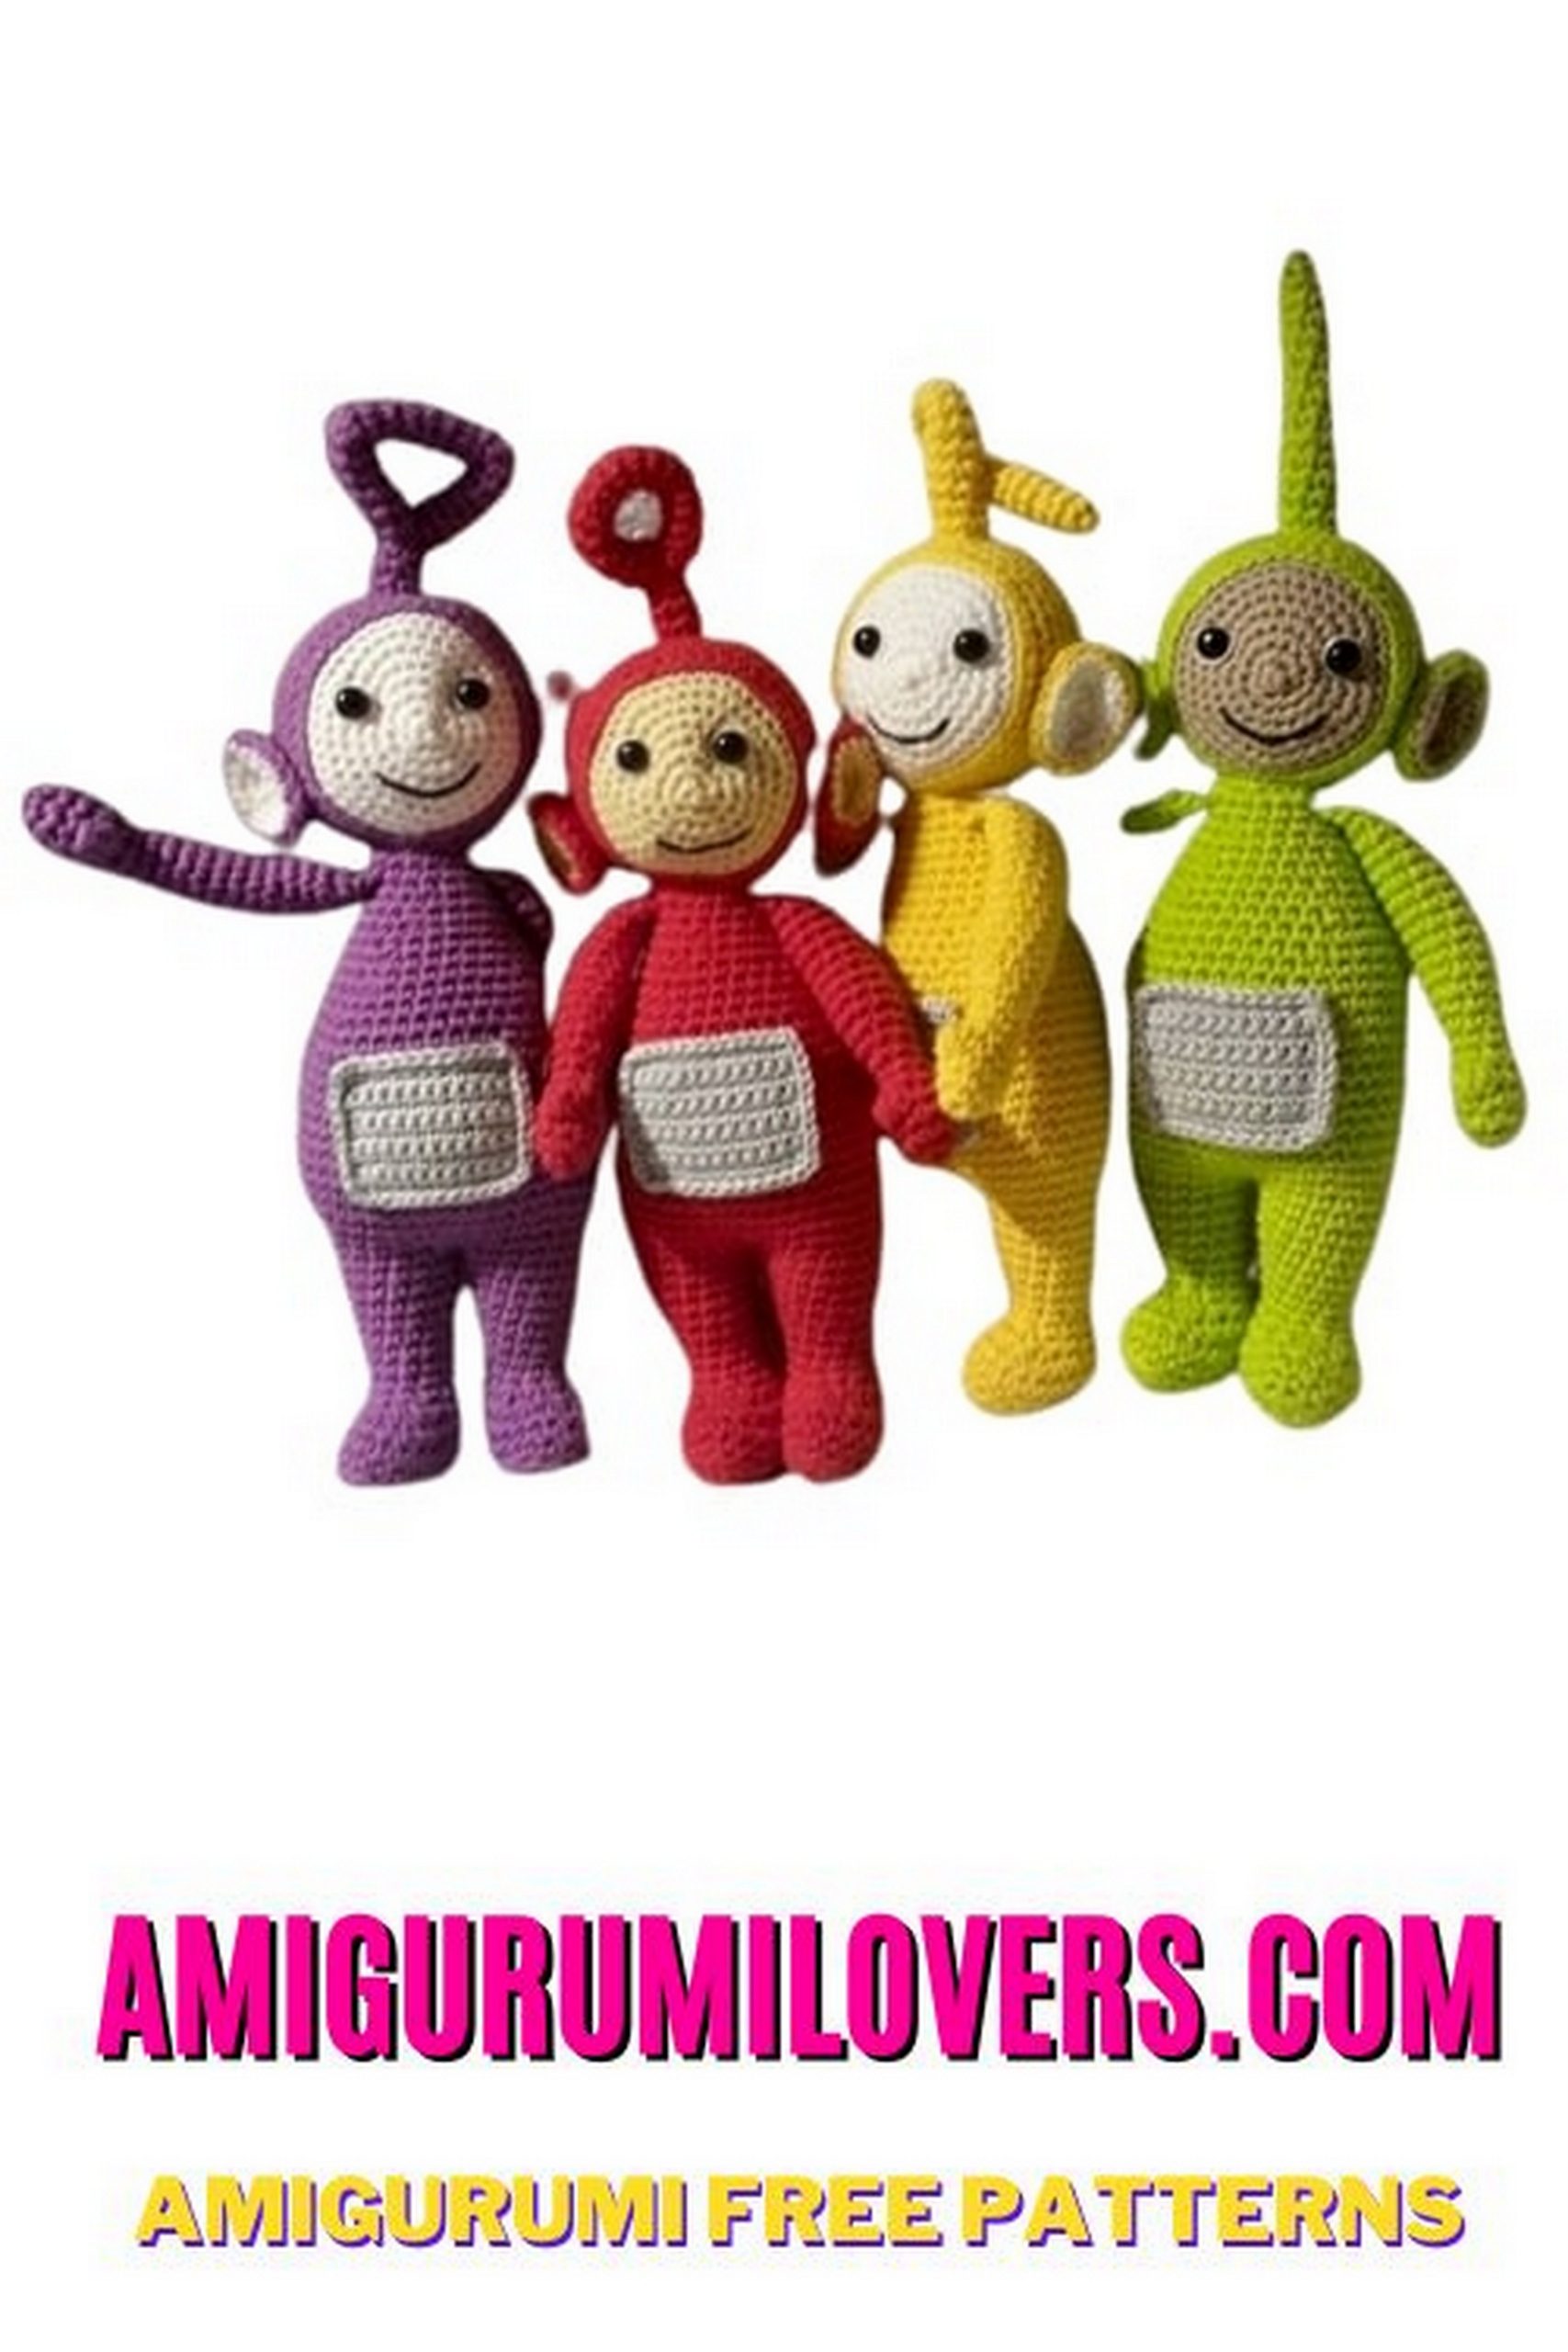
Amigurumi, the Japanese art of knitting or crocheting small stuffed animals and anthropomorphic creatures, has captivated the hearts of crafters around the world. With their cute designs and cuddly demeanor, amigurumi projects allow for endless possibilities in creativity. This Teletubbies crochet pattern brings together the vibrant colors and quirky personalities of Tinky Winky, Dipsy, Laa-Laa, and Po, ensuring you’ll enjoy every moment of the making process. The best part is that the yarn possibilities are endless, so you can infuse your personal touch into each character, whether you choose traditional or unconventional color schemes.
One of the joys of crochet is that it’s a medium through which you can express your creativity while developing new skills. This Teletubbies amigurumi pattern is designed with beginners in mind, featuring straightforward instructions that are easy to follow. You’ll learn essential crochet techniques, from working in the round to attaching pieces, all while creating some of the most adorable Teletubbies you can imagine. By the end of this project, you’ll not only have a finished piece to show off but also newfound confidence in your crochet abilities.
As you embark on this crochet journey, remember that the process is just as rewarding as the final product. Take your time, enjoy each stitch, and don’t hesitate to experiment along the way. If you encounter any challenges, rest assured that the crochet community is filled with resources and fellow crafters eager to help. So grab your crochet hook, choose your yarn, and let’s get started on this wonderful adventure into the world of Teletubbies amigurumi!
Hello, fellow crochet enthusiasts! If you have a soft spot for nostalgia and love all things cute and cuddly, our free crochet pattern for Teletubbies amigurumi dolls is the perfect project for you. These iconic and beloved characters from the Teletubbies TV show have been a part of our childhoods, and now you can bring them to life with your crochet skills.
Amigurumi is a delightful way to recreate your favorite characters and creatures in a soft and huggable form. With this pattern, you can craft your very own Teletubbies – Tinky Winky, Dipsy, Laa-Laa, and Po – or perhaps your favorite among them.
Our step-by-step guide will walk you through the process, from selecting the right yarn colors to mastering the stitches needed to capture the essence of these adorable characters. Whether you’re a seasoned crocheter or just starting, this project is suitable for all skill levels.
So, gather your materials, set up your crochet hooks, and let’s dive into the world of Teletubbies amigurumi. These lovable dolls make for fantastic gifts, nostalgic decorations, or companions for fans of all ages. Don’t forget to keep an eye out for more amigurumi patterns and other exciting crochet projects. Get ready to create a little piece of Teletubbies magic with your own two hands!
Materials:
I have used Egypto Cotton from Schachenmayr for face 180 m / 50g
And Cotton Yarn 125 m / 50g on crochet hook size 2 mm and 2.75
It can be made fine in ordinary cotton 170 m / 50g, just crochet the face on a finer crochet hook than the rest. For example, face on stick 2 and body on 2.5
Eyes size 8 mm, Slightly white felt, Fill cotton
pcorn stitch: crochet 3 bar stitches in the same stitch. Pull out the crochet hook and insert through the 1st Stg. Continue to insert the hook through the loop of the last bar stitch. Turn over and pull through the 2 loops.
The number in parentheses indicates how many stitches there are when the round is crocheted
Use stitch marker (or a thread) to mark the round.
Crochet in a spiral
Teletubbies head
Face:
with skin color crochet hook size 2
Round: MR with 6 sc (6)
Round 2: 2 sc in each st (12)
Round 3: * inc, 1 sc * repeat x 6 (18)
Round 4: * inc., 2 sc * x6 (24)
5. Round: * inc., 3 sc *x6 (30)
6. Round: * inc., 4 sc * x6 (36)
7. Round : 1 sc in each st (36)
Finish staple end
8. Round : With body color and crochet hook size 2.5, work 1 ch in each st (36)
9. Round : 1 sc in each st, crochet down in the middle of the chain sts (36)
If you need safety eyes, you can put them on now
10. Round: * inc., 5 sc *x6 (42)
11-15 rounds: 1 sc in each st (42)
16. Round : * 5 sc,dec. * X 6 (36)
17. Round: 1 sc in each st (36)
18. Round: * 4 sc, inc. * X 6 (30)
19. Round: 1 sc in each st (30)
20. Round: * 3 sc, dec. * x 6 (24)
21. Round: * 2 sc, dec. * X 6 (18)
22. Round: * 1 sc, dec. * X 6 (12)
Fill the head
23. Round: Dec x 6 (6)
Finish and pull the thread through the front stitch on the 6 stitches and pull together. Staple the thread.
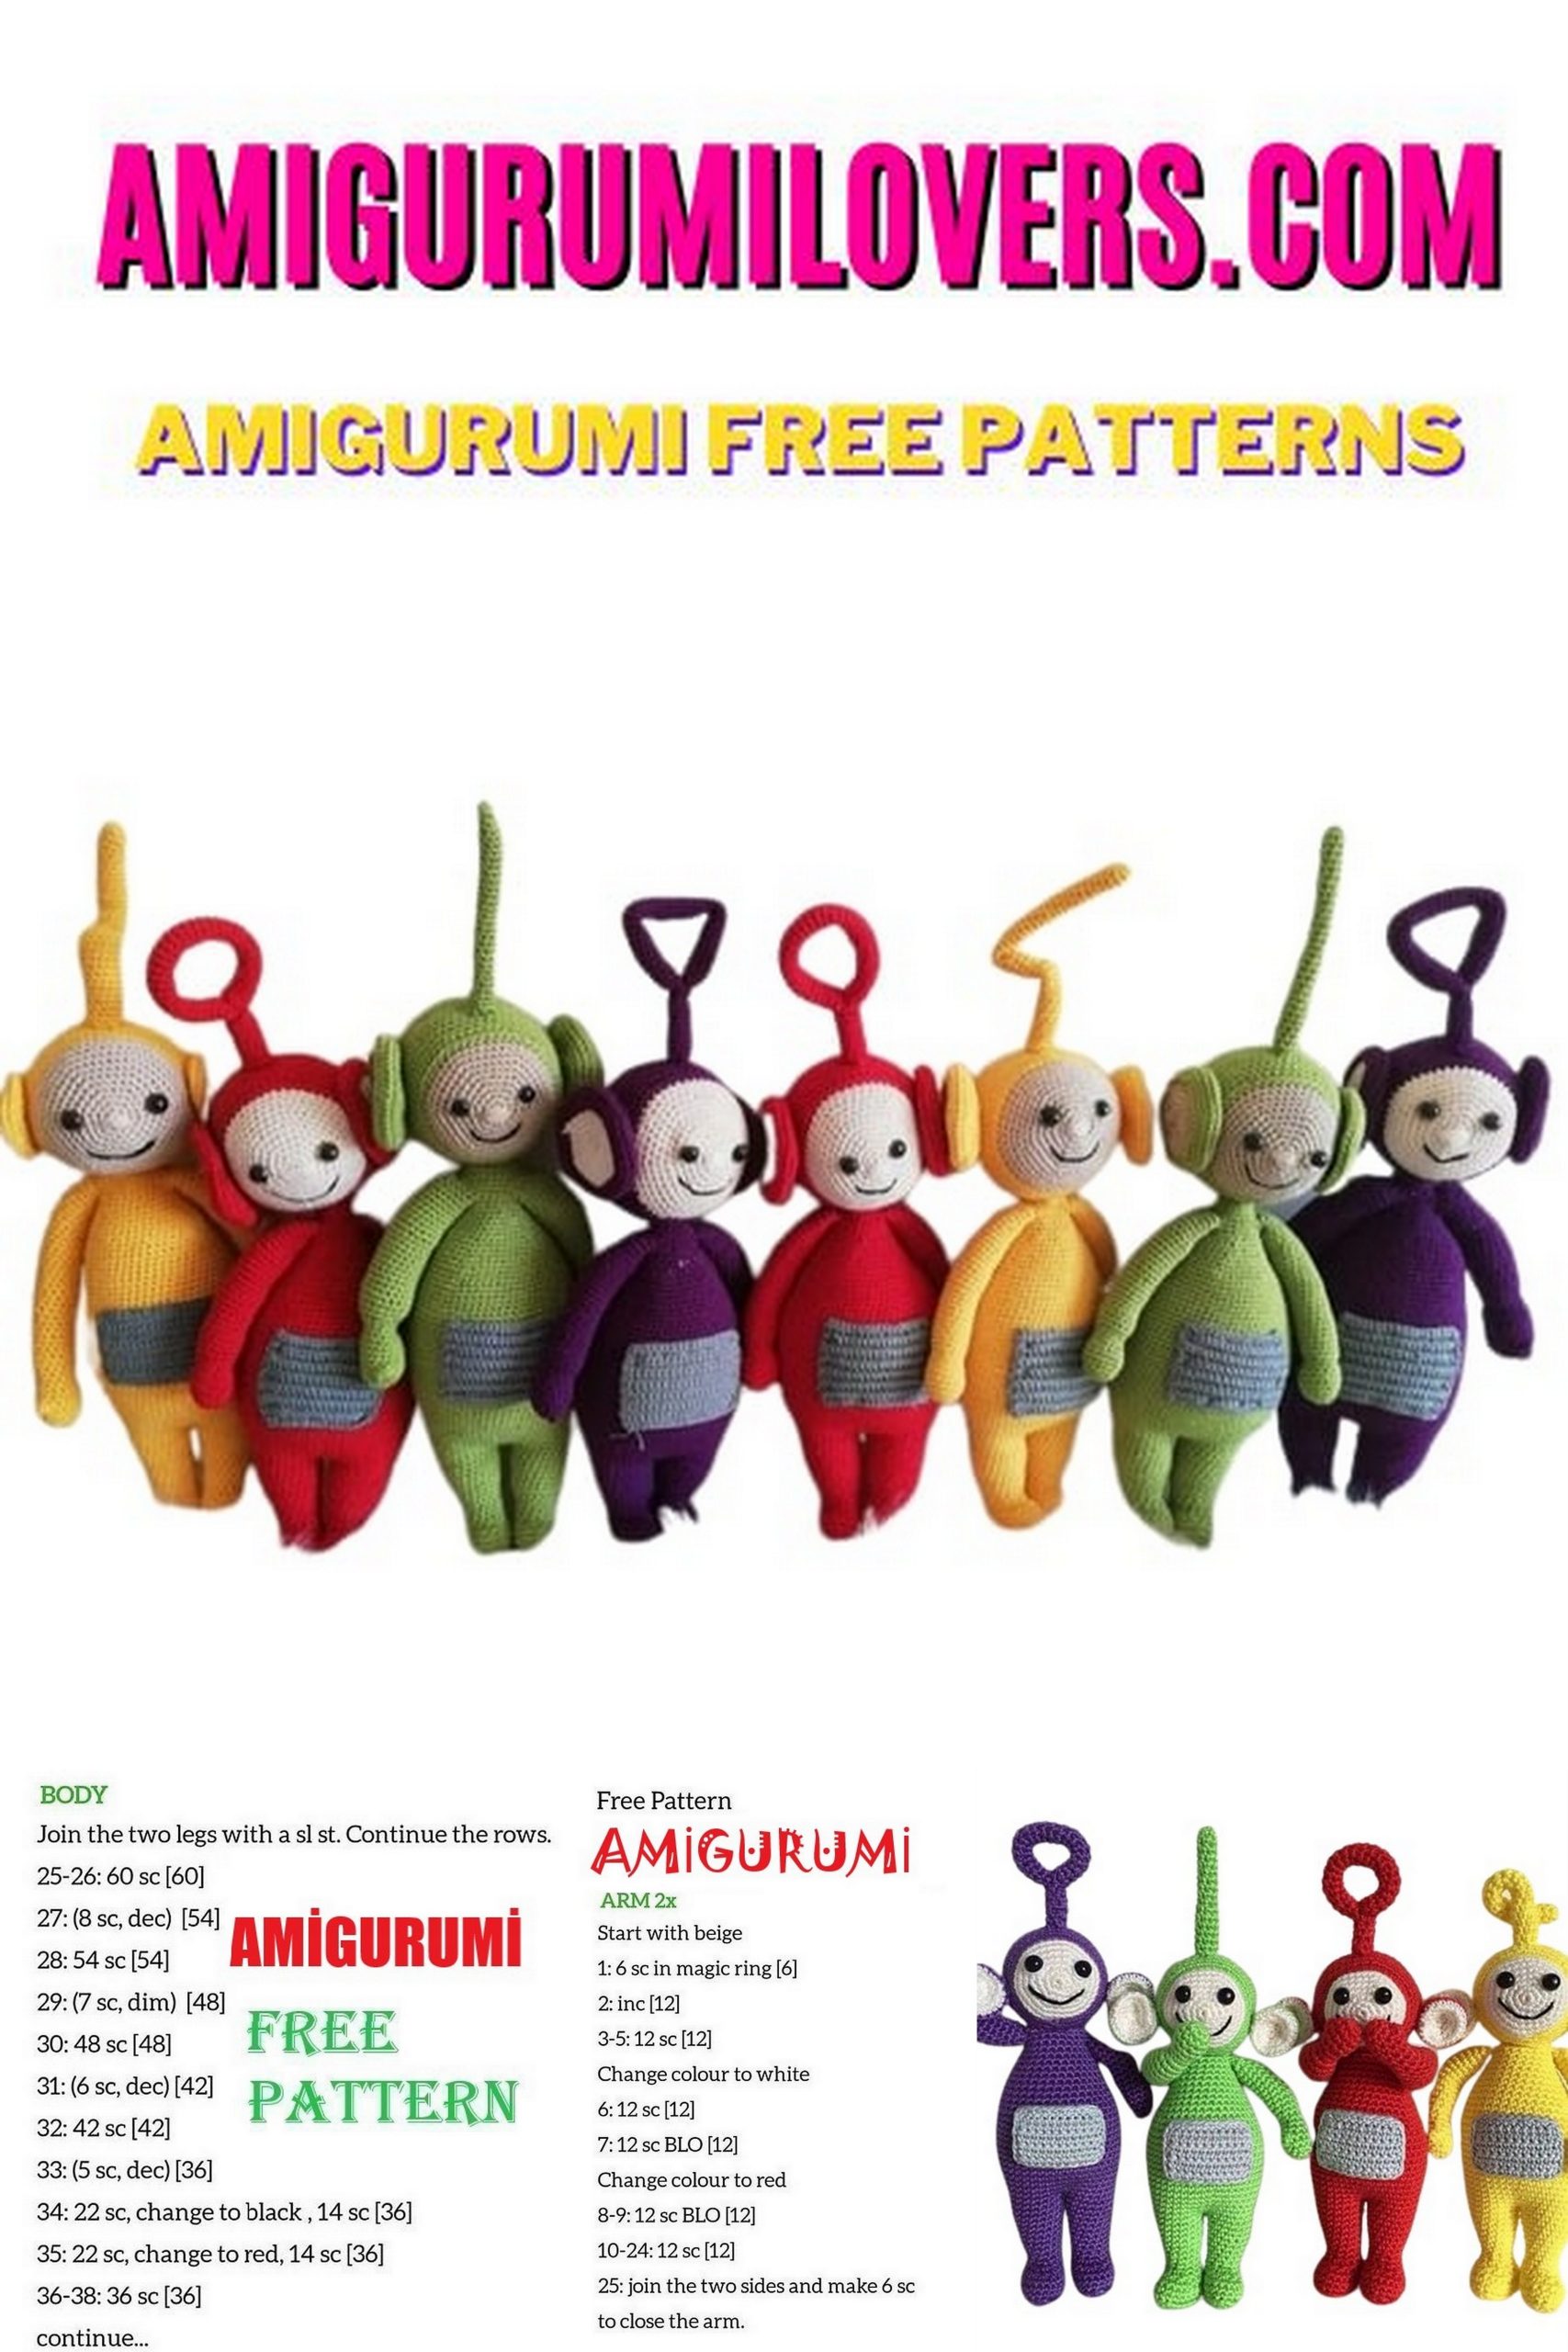
Arms
(make 2 pcs.)
Round: MR with 5 sc (5)
2. Round: 2 sc in each st (10)
3-4. Round: 1 sc in each st (10)
5. Round: 1 bubble mask, 9 sc (10)
6. Round : Dec, 3 sc, dec, 3 sc (8)
7. Round : 1 sc in each st (8)
8. Round : Inc., 3 sc, inc., 3 sc (10)
9. Round : 1 sc in each st (10)
10. Round: 1 sc, inc, 4 sc, inc, 3 sc (12)
11-20. Round: 1 sc in each st (12)
Note! On Red (Po) omit 1 round. Purple + 1 round
21. Round: Dec., 4 sc, dec., 4 sc (10)
Fill the arm lightly
22. Round: Crochet to where you align with your thumb.
Squeeze the arm flat and crochet it together (5)
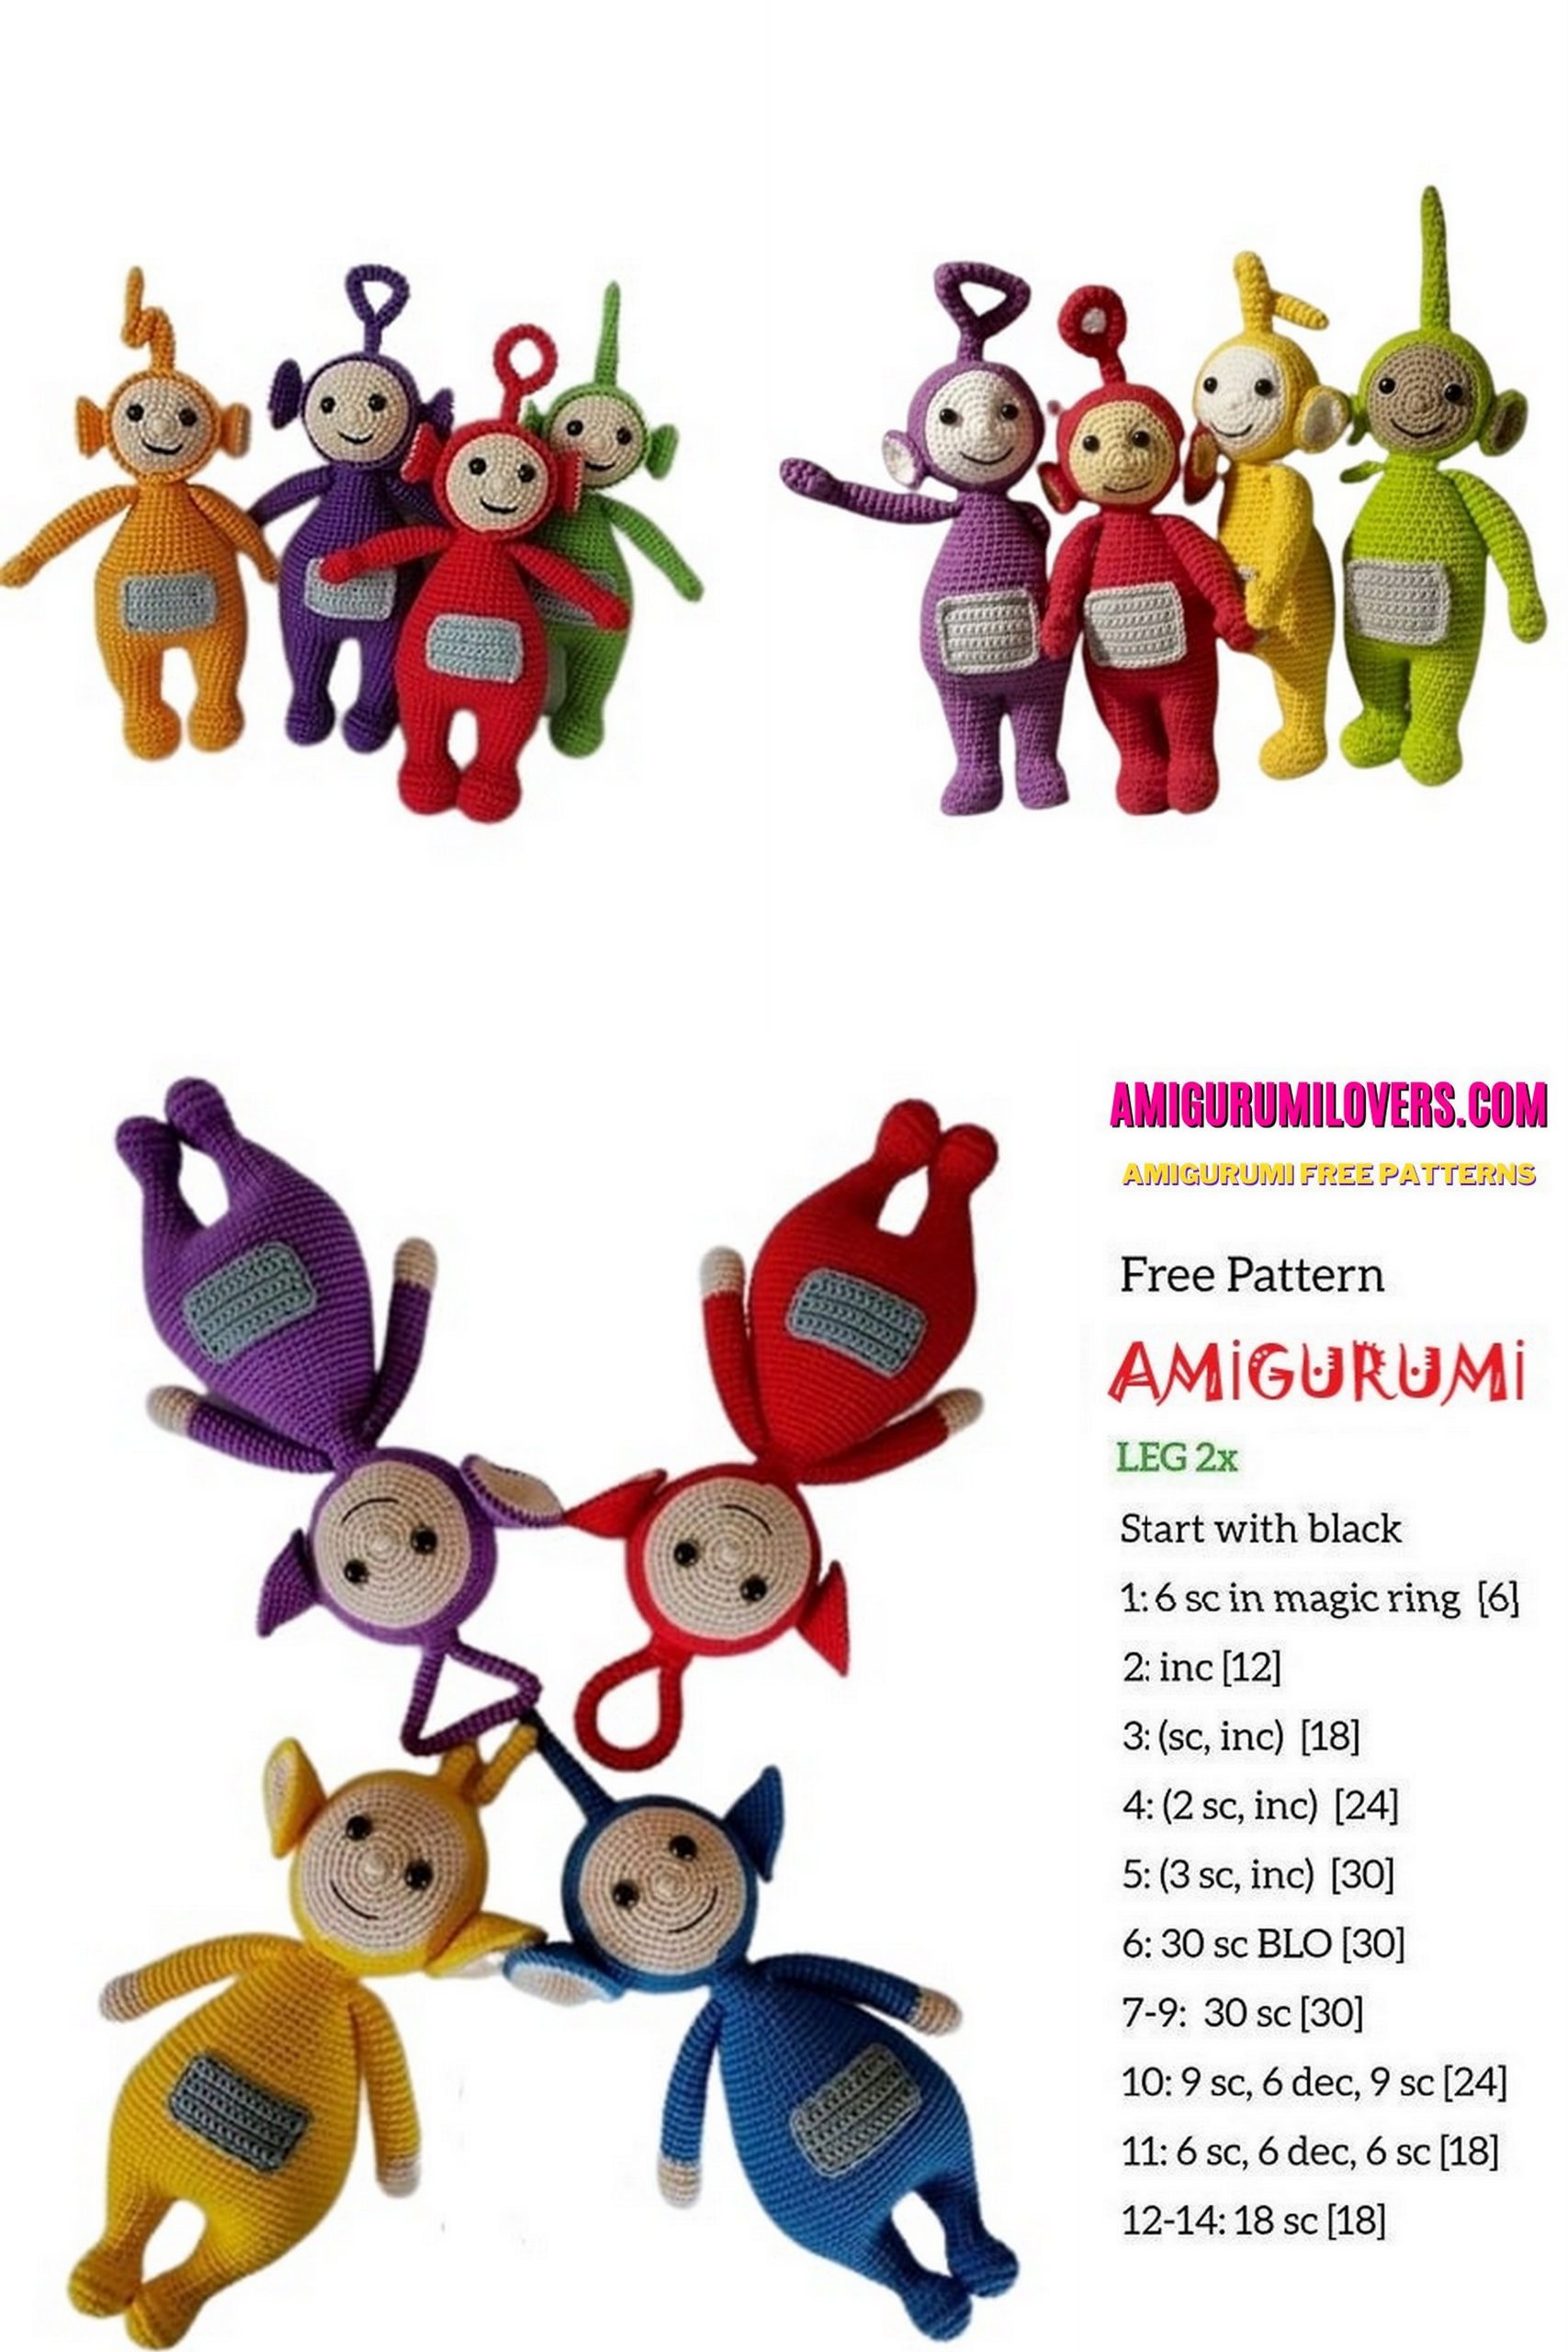
Legs and body
Leg:
1. Round : Cast on 8 stitches (8)
2. round: Start in 2nd st from needle. 1 sc in next 6 sc, 3 sc in last st. Now continue on the underside. 1 sc in next 5 sts, 2 sc in last st (16)
3. Round : 2 sc in first st, 1 sc in next 5 sts, 2 sc in next sc, 1 sc, 2 sc in next sc, 1 sc in next 5 sts, 2 sc in next sc, 1 sc in last st. (20)
4. Round : 1 sc in back stitch round (20)
5-6. Round: 1 sc in each (20)
7. Round : 1 sc in next 5 sts, inc. x 5, 1 sc in next 5 sts (15)
8. Round : 1 sc in next 5 sts, inc. x 3, 1 sc in next 4 sts (12)
9. Round : 1 sc in each st (12)
10. Round: 2 sc, inc, 6 sc, inc, 2 sc (14)
11. Round: 1 sc in each st (14) Fill the foot
12. Round: 3 sc, inc., 7 sc, inc. 2 sc (16)
13. Round : 1 sc in each st (add an extra round to Purple) (16)
14. Round: 4 sc, inc, 8 sc, inc, 2 sc (18)
15-16. Round: 1 sc in each st (add an extra round to Purple) (18)
Fill the leg
Leg 1 ends. Leave thread to sew if necessary. hole between the legs with.
Leg 2 does not need to be finished, now crochet on to body.
Keep your legs next to each other, (If necessary, insert a stitch marker through both legs to hold them together.)
Crochet to middle stitch on leg that is not finished approx. 6 sts, continue in middle st on first leg.
Crochet the 18 sts on leg 1 and continue on leg 2 and crochet the 18 sts there, a total of 36 sts
Teletubies Body
Now the lap starts in the middle of the back between the two legs.
1. Round : 1 sc in all sts (36)
2. Round : * 8 sc, inc * x 4 (40)
3. Round: 1 sc in all sts (40)
4. Round: * 9 sc, inc * x4 (44)
5-14. Round: 1 sc in each st (Red – 1 round, Purple + 1 extra round) (44)
15. Round: 7 sc, dec., 5 sc, dec. 14 sc, dec, 5 sc, dec, 5 sc (40)
16. Round : 1 sc in each st (40)
17. Round: 7 sc, dec, 4 sc, dec, 13 sc, dec, 4 sc, dec., 4 sc (36)
18. Round: 1 sc in each st (36)
19. Round: 7 sc, dec, 3 sc, dec, 12 sc, dec, 3 sc, dec, 3 sc (32)
20. Round: 1 sc in all sts (32)
21. Round: 7 sc, dec, 2 sc, dec, 11 sc, dec, 2 sc, dec, 2 sc (28)
22. Round: 1 sc in each st (28)
23. Round: 7 sc, dec, 1 sc, dec, 10 sc, dec, 1 sc, dec, 1 sc (24)
24. Round: 1 sc in all sts (24)
25. Round: 7 sc, dec, dec, 9 sc, dec, dec. (20)
26. Round : 1 sc in each st. Crochet the arms on this round (20)
Crochet across the back to where the arm is to be put on (Approx. 7 stitches) crochet through arm and body at once, 5 sts, over 5 sts on front and then crochet the other arm with.
27. Round: 1 sc in each st. Crochet further over the back so that you first finish where the first arm was crocheted with.
Fill the body
Sew the head to the body. Add a little more filling cotton wool before closing completely so that the head does not dangle.
Ears:
(make 2 pcs.)
Crochet in body color.
1. Round : 5 ch.
Start with a long thread, To sew the ear on with. (5)
2. round: 1 sc in next 3 sts, 3 sc in last st. Continue on the underside. 1 sc in next 2 sts, 2 sc in last st (10)
3. Round : 1 sc in each (10)
4. Round : * cast off, 1 sc * x 2, cast off, cast off, 1 sc in next 3 sts. 2 sc in last (15)
5. Round: * inc, 1 sc * x 4, inc, 1 sc in next 6 sts. (20)
6. Round : 1 ch in each st
Finish and staple end. Pull the long end out on the right side. With skin color, crochet in the back stitch joint inside the ear
7. Round : 1 sc in each st. (20)
8. Round: * 2 sc, dec. * X 5 (15)
9. Round: * 1 sc, dec. * X 5 (10)
10. Round: Dec. X 5 (5)
Pull the stitches together and press / pull the skin-colored part into the ear and staple.
Antennas:
Red: Po:
Cast on 6 ch and gather with 1 sl st. Crochet 3 rounds. Finish and leave thread for sewing.
This is the “foot” of the antenna.
Cast on 6 ch, gather with 1 sl st and crochet 18 rounds. Fill lightly and sew it together into a ring and then sew it on the “foot”. Fill in and sew it all on top of the head.
Purple: Tinky Winky:
Cast on 6 ch and gather with 1 sl st. Crochet 3 rounds. Finish and leave thread for sewing.
This is the “foot” of the antenna.
Cast on 6 sts and crochet 21 rows. Fill lightly along the way. Bend the tube into a triangle, approx. After 6 rounds, then again after 9 rounds, and sew a few stitches so that it keeps its shape. Sew together and then sew it on the “foot”. Fill in and sew it all on top of the head.
Yellow: Laa-Laa:
4 sc in magic ring (4)
2. Inc. 1 sc, inc., 1 sc (6)
3-19. 1 sc in each st (6)
20. Inc, 2 sc, inc, 2 sc (8)
21-25. 1 sc in each st (8)
Finish and leave thread for sewing. Fill in and sew on top of the head.
Green: Dipsy:
4 sc in magic ring (4)
2. Inc., 1 sc, inc., 1 sc (6)
3-10. 1 sc in each st (6)
11. Inc, 2 sc, inc, 2 sc (8)
12-15. Sc in every st (8)
Finish and leave thread for sewing
Fill in and sew on top of the head.
Good luck crocheting Teletubbies.
Before you leave, make sure to check out more free amigurumi crochet patterns and discover new ideas for your next project.
You can also browse our full amigurumi pattern archive for hundreds of beginner-friendly designs.