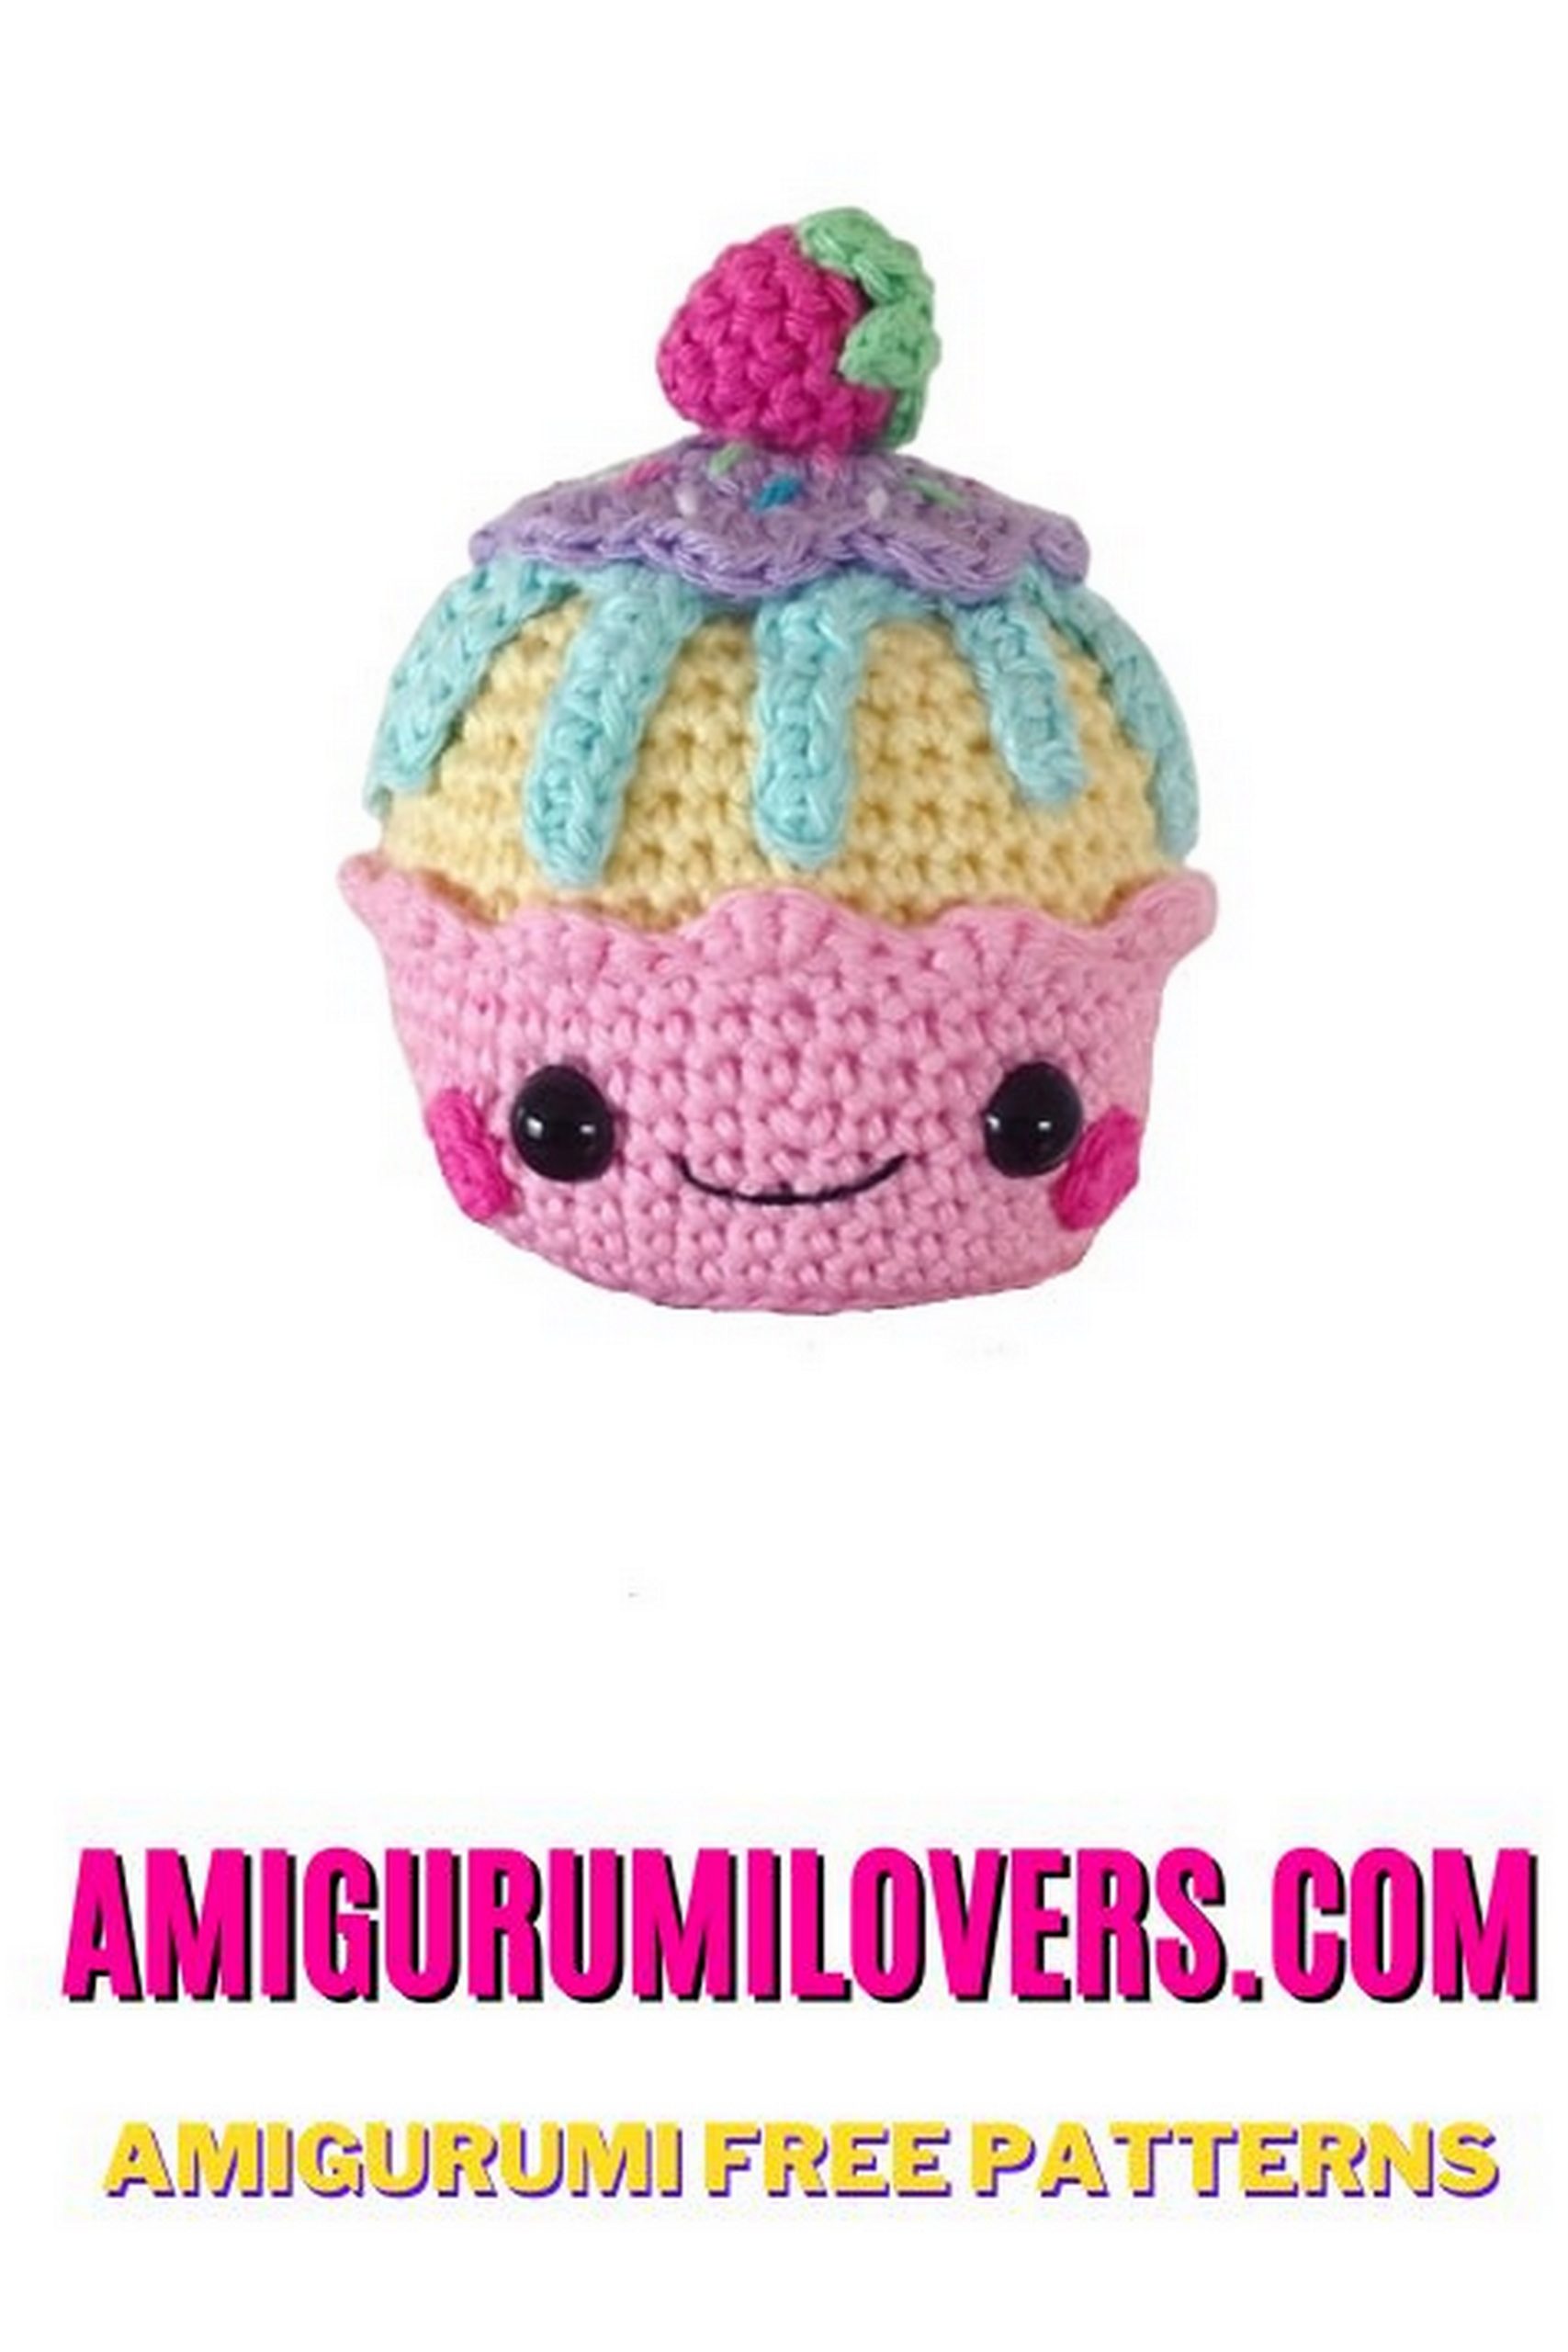
Sweet Cupcake Amigurumi Free Crochet Pattern – Create Your Crochet Confection
You may also enjoy exploring our free amigurumi patterns and other popular amigurumi animal patterns available on our website.
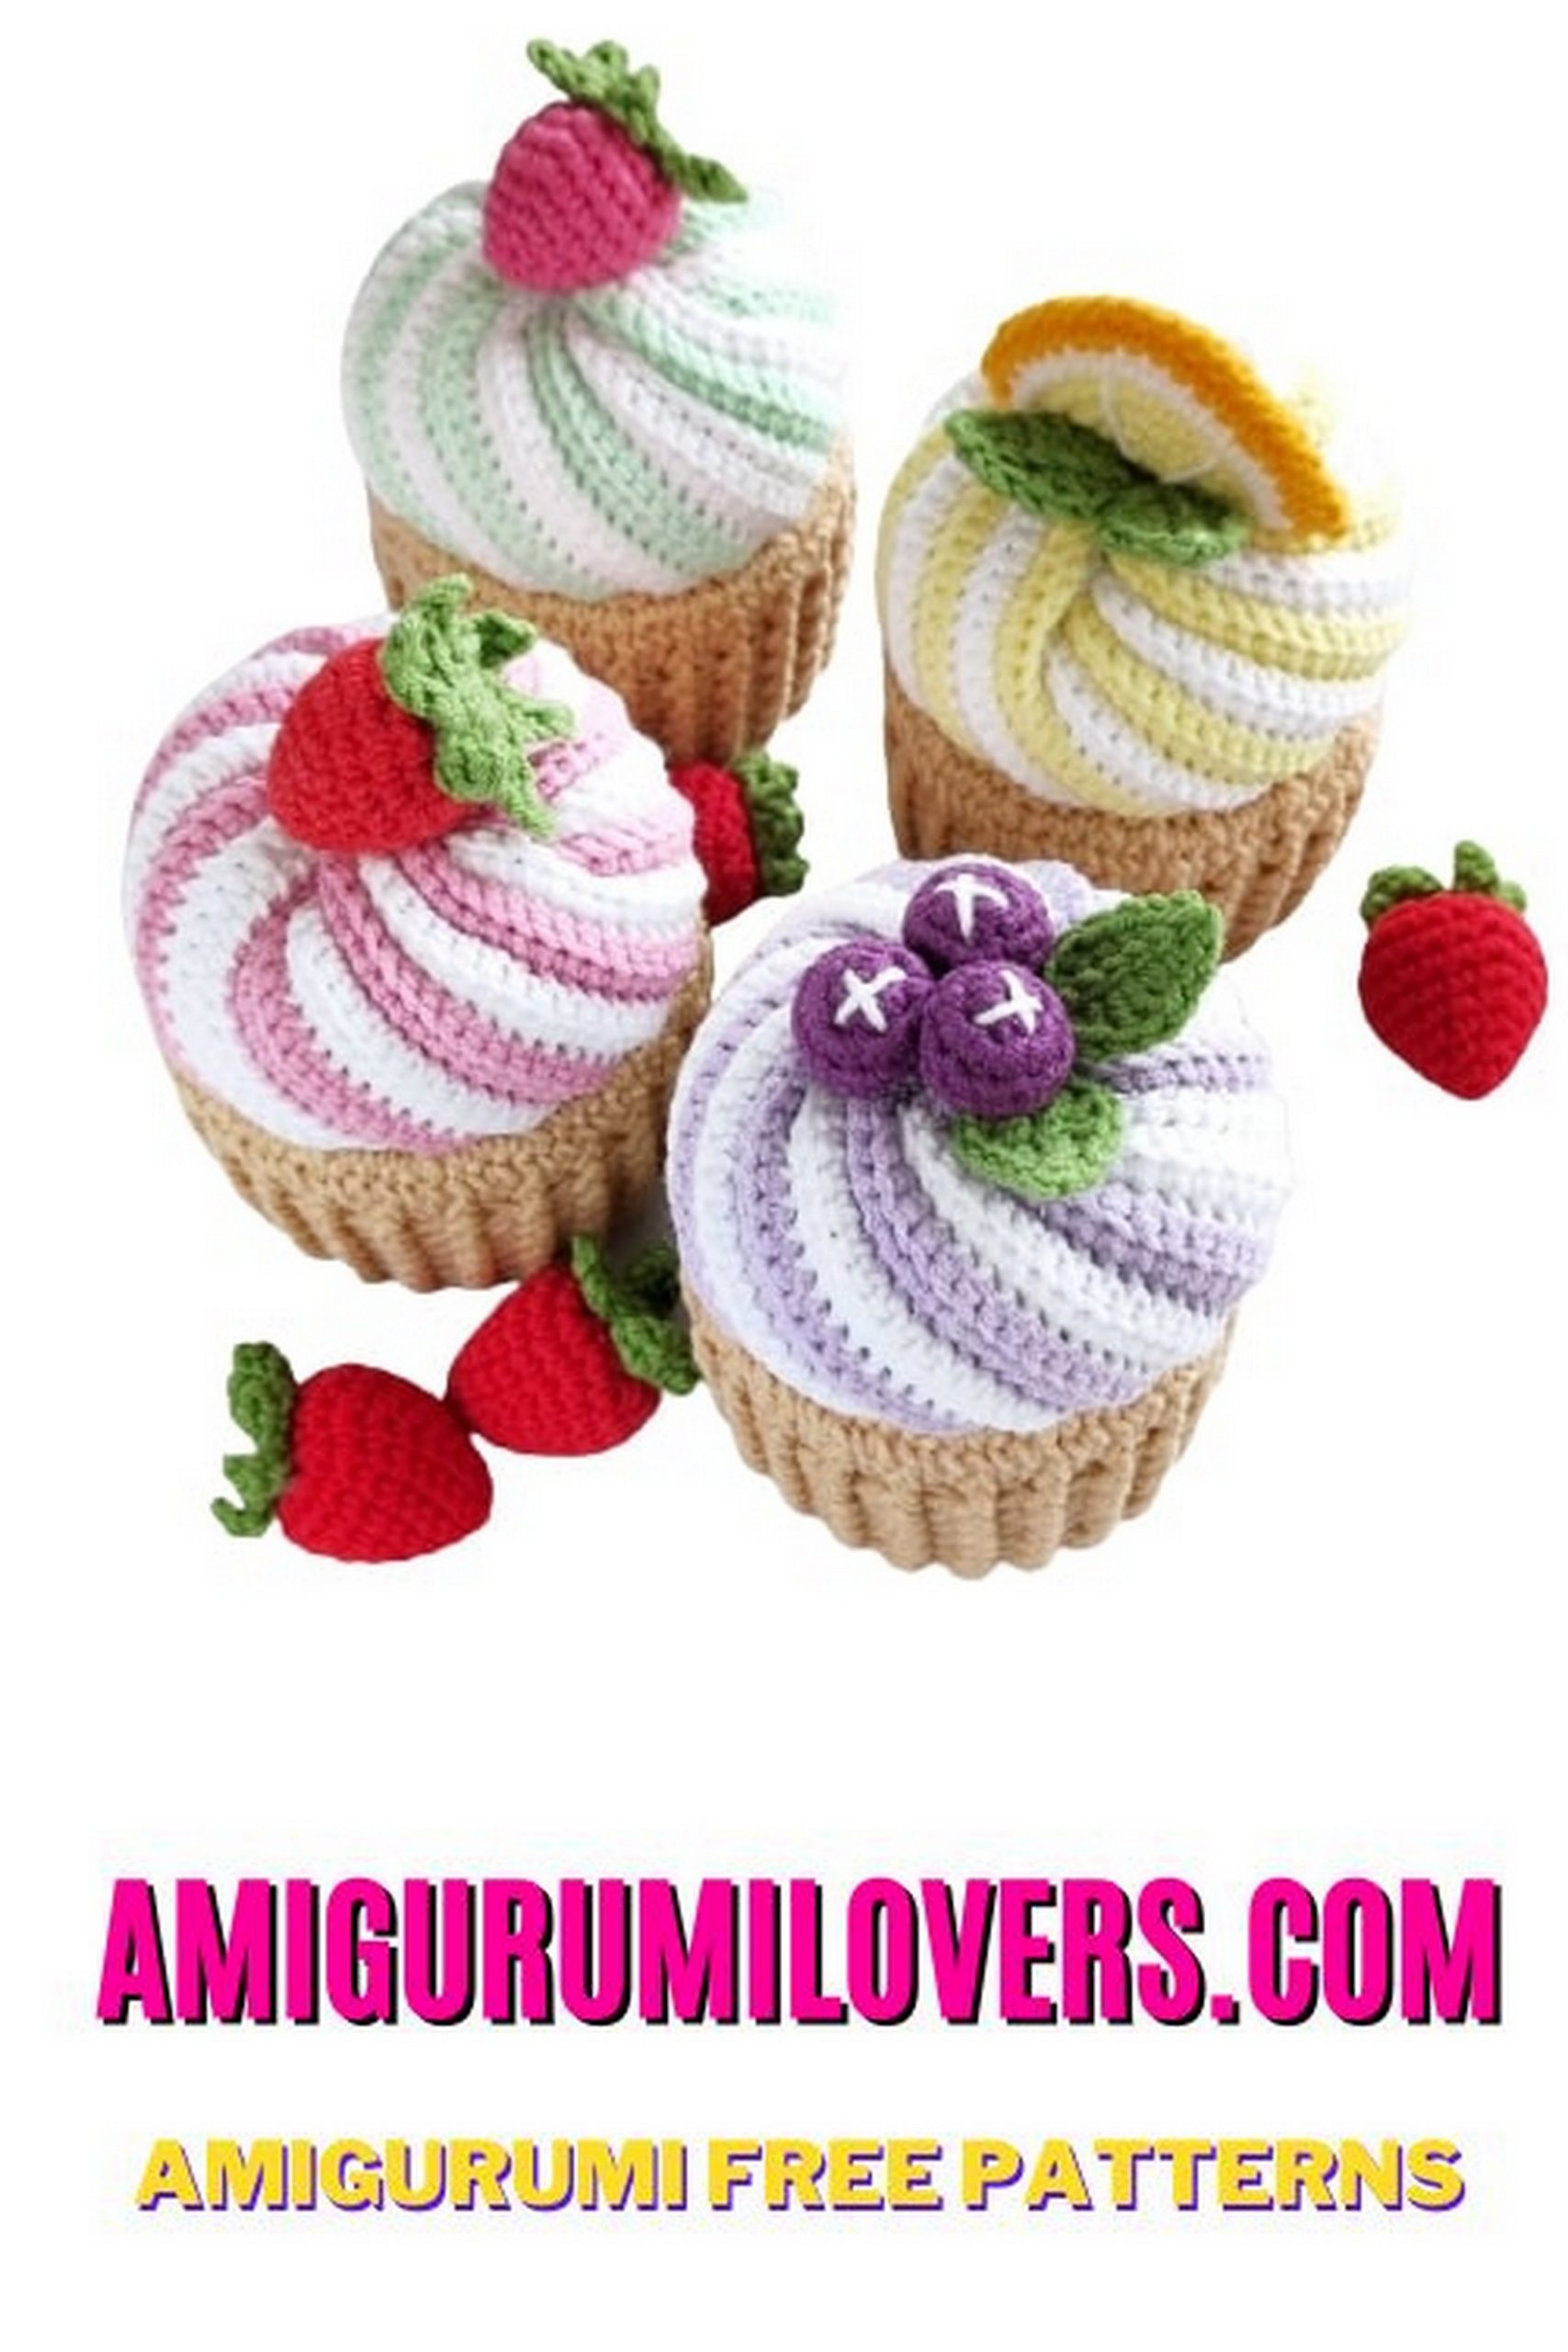
If you’re looking to dive into the delightful world of crochet, you’ve come to the right place! Amigurumi, the art of crocheting adorable stuffed animals and whimsical items, has captured the hearts of crafters everywhere. Today, we’re excited to share a free crochet pattern for a Sweet Cupcake Amigurumi that’s perfect for beginners and seasoned crocheters alike. Not only will this project ignite your creativity, but it will also provide a satisfying sense of accomplishment as you watch your yarn transform into a charming confection. Crocheting this cupcake is an excellent way to practice your skills while making something that can serve as a lovely decoration, a gift, or even a fun toy for kids.
This cupcake amigurumi features delightful details such as a textured frosting and sprinkles, making it a vibrant addition to your crochet collection. The best part? You don’t need advanced crochet skills to bring this charming treat to life. With step-by-step instructions and helpful tips included in the pattern, you’ll feel supported every step of the way. Whether you’re new to crochet or simply looking for a fun and relaxing project, this cupcake amigurumi will provide you with the perfect opportunity to hone your craft.
Gather your favorite yarn colors and crochet hook, and let your imagination run wild as you create your very own cupcake masterpiece. As you work through the pattern, you’ll not only develop your crocheting technique but also enjoy the therapeutic benefits of crafting. There’s something uniquely satisfying about working with your hands to create tangible objects, and this Sweet Cupcake Amigurumi will undoubtedly bring joy into your life and the lives of others. So, let’s get started! After all, who wouldn’t want a cute crochet cupcake sitting pretty on their shelf, showcasing your newfound crochet skills? Follow along as we guide you through this delightful journey into the world of amigurumi crochet. Happy crocheting!
Welcome to the world of crochet, where we’re about to embark on a deliciously creative journey. If you have a sweet tooth for both crochet and confections, you’re in for a treat! Our Cupcake Amigurumi Free Crochet Pattern is here to satisfy your crafting cravings.
Who can resist the charm of a cute, crocheted cupcake that won’t add a single calorie to your day? Whether you’re a crochet pro or just starting out, this free pattern is designed to bring smiles and sweetness to your life.
With your crochet hooks in hand and your choice of colorful yarn, you’re just a few stitches away from creating an adorable crochet cupcake. Our step-by-step instructions will guide you through the process, making it a delightful project for crafters of all levels.
Imagine having your own collection of crochet cupcakes, each one uniquely decorated and calorie-free! These little cuties make fantastic gifts, decorations, or simply a sweet addition to your crochet repertoire.
So, let’s get started and turn yarn into confections with our Cupcake Amigurumi crochet pattern. Indulge your creativity and treat yourself (and your loved ones) to some crochet sweetness. Happy crafting!
Materials:
★ 3 mm crochet hook
★ Yarn
I used Schachenmayr Catania, Catania Color and Micro, but you can use any yarn you want. Just remember to adjust the size of your hook
★ Stuffing
★ Needle
★ Puff paint or safety eyes
★ If you’re a loser when it comes to sewing like me, than you also need a hot glue gun

Stitch Abbreviations:
★ sl st: slip stitch
★ sk st: skip stitch
★ ch: chain
★ sc: single crochet
★ hdc: half double crochet
★ dc: double crochet
★ inc: increase
★ dec: decrease
★ BLO: back loops only
★ FLO: front loops only
★ hdc2tog: half double crochet decrease
PATTERN
Cake:
1) round: 6 sc in magic ring, join, chain 1 (6)
2) round: 2 sc into each stitch, join, chain 1 (12)
3) round: 2 sc in first st, sc in next, repeat around, join, chain 1 (18)
4) round: 2 sc in first st, sc in next 2, repeat around, join, chain 1 (24)
5) round: 2 sc in first st, sc in next 3, repeat around, join, chain 1 (30)
6) round: 2 sc in first st, sc in next 4, repeat around, join, chain 1 (36)
7) round: BLO, 36 sc around, join, chain 1 (36)
8)-10) round: make 36 sc around, join, chain 1 (36)
11) round: 2 sc in first st, sc in next 5, repeat around, join, chain 1 (42)
12-13) round: 42 sc around, join, chain 1 (42)
14) round: sk st, 4 hdc in next stitch, sk st, sl st repeat ** around, join and fasten off
Frosting:
Ch18
1) Row: sk first 2 stitches, (2 hdc), hdc in next 13 stitches, hdc2tog, ch 2, turn (16)
From now on BLO, except first and last stitch of each row
2) Row: hdc2tog, 13 hdc, (2hdc)
3) Row: (2hdc), 13 hdc, hdc2tog
4-22) Row: repeat row 2+3 ( ending with 2)
With sl st in BLO attach row 1 to row 22 to form a tube. Of course you can also sew the parts together, but I like the texture more with sl st. Leave a bit of yarn to close your tube. Now turn it inside out.
Please take a look at the pictures on the next page, for how to close the ends. Weave the yarn with your needle in and out of every second row.
When you have finished one side, fill your frosting with stuffing. Afterwards close your second opening.
Cream Puff:
1) round: 6 sc in magic ring, join, chain 1 (6)
2) round: 2 sc into each stitch, join, chain 1 (12)
3) round: 2 sc in first st, sc in next, repeat around, join, chain 1 (18)
4) Round: FLO 5 hdc in each stitch around, join, fasten off
Cheekies:
1) round: 7 sc in magic ring, join, fasten off (7)
make 2
Chocolate:
1) Round: 5sc in magic ring, join, chain 1 (5)
2) Round: 2 sc into each stitch, join, chain 1 (10)
3) Round: 2 sc in first st, sc in next, repeat around, join, chain 1 (15)
4) Round: 2 sc in first st, sc in next 2, repeat around, join (20)
5) Round: ch 4, into second ch from hook work 1 sc in each of the 3 remaining ch, 2 sl st, ch 2, into second ch from hook work 1 sc in each of the 1 remaining ch, 2 sl st, ch 5, into second ch from hook work 1 sc in each of the 4 remaining ch, 2 sl st, ch 6, into second ch from hook work 1 sc in each of the 5 remaining ch, 3 sl st, ch 3, into second ch from hook work 1 sc in each of the 2 remaining ch, 3 sl st, ch 5, into second ch from hook work 1 sc in each of the 4 remaining ch, 2 sl st, ch 6, into second ch from hook work 1 sc in each of the 5 remaining ch, 2 sl st, ch 5, into second ch from hook work 1 sc in each of the 4 remaining ch, 2 sl st, and fasten off.
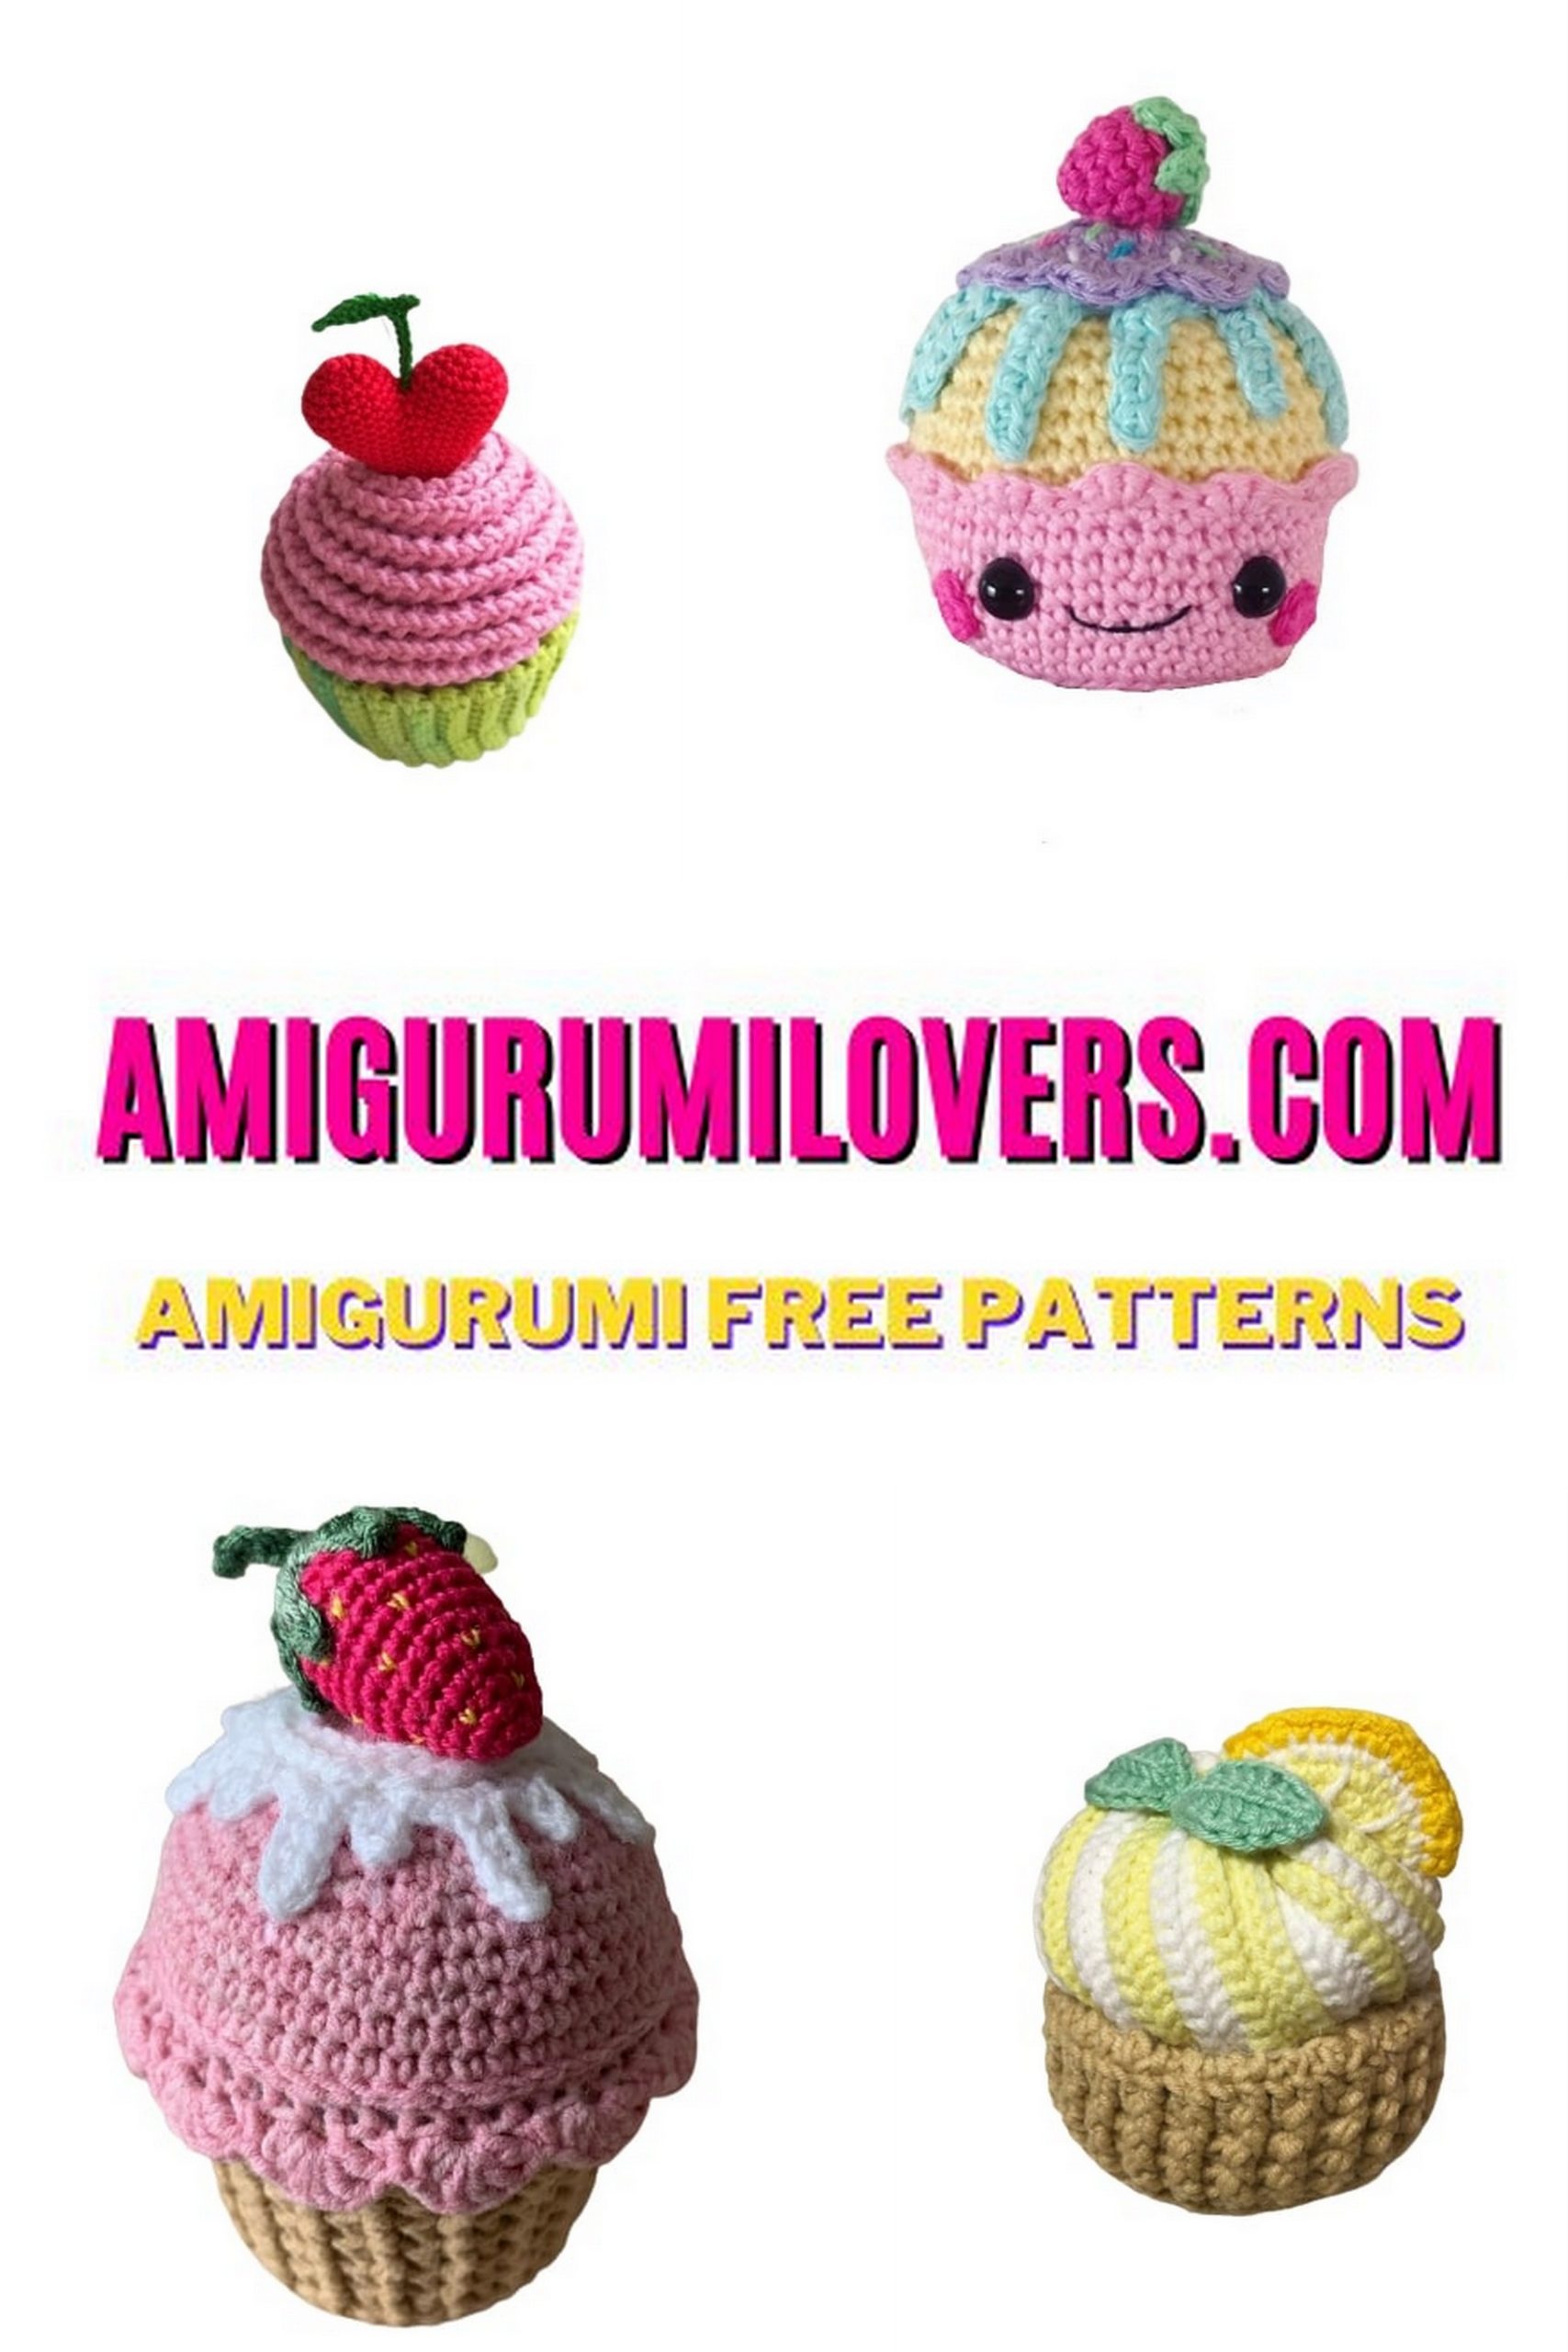
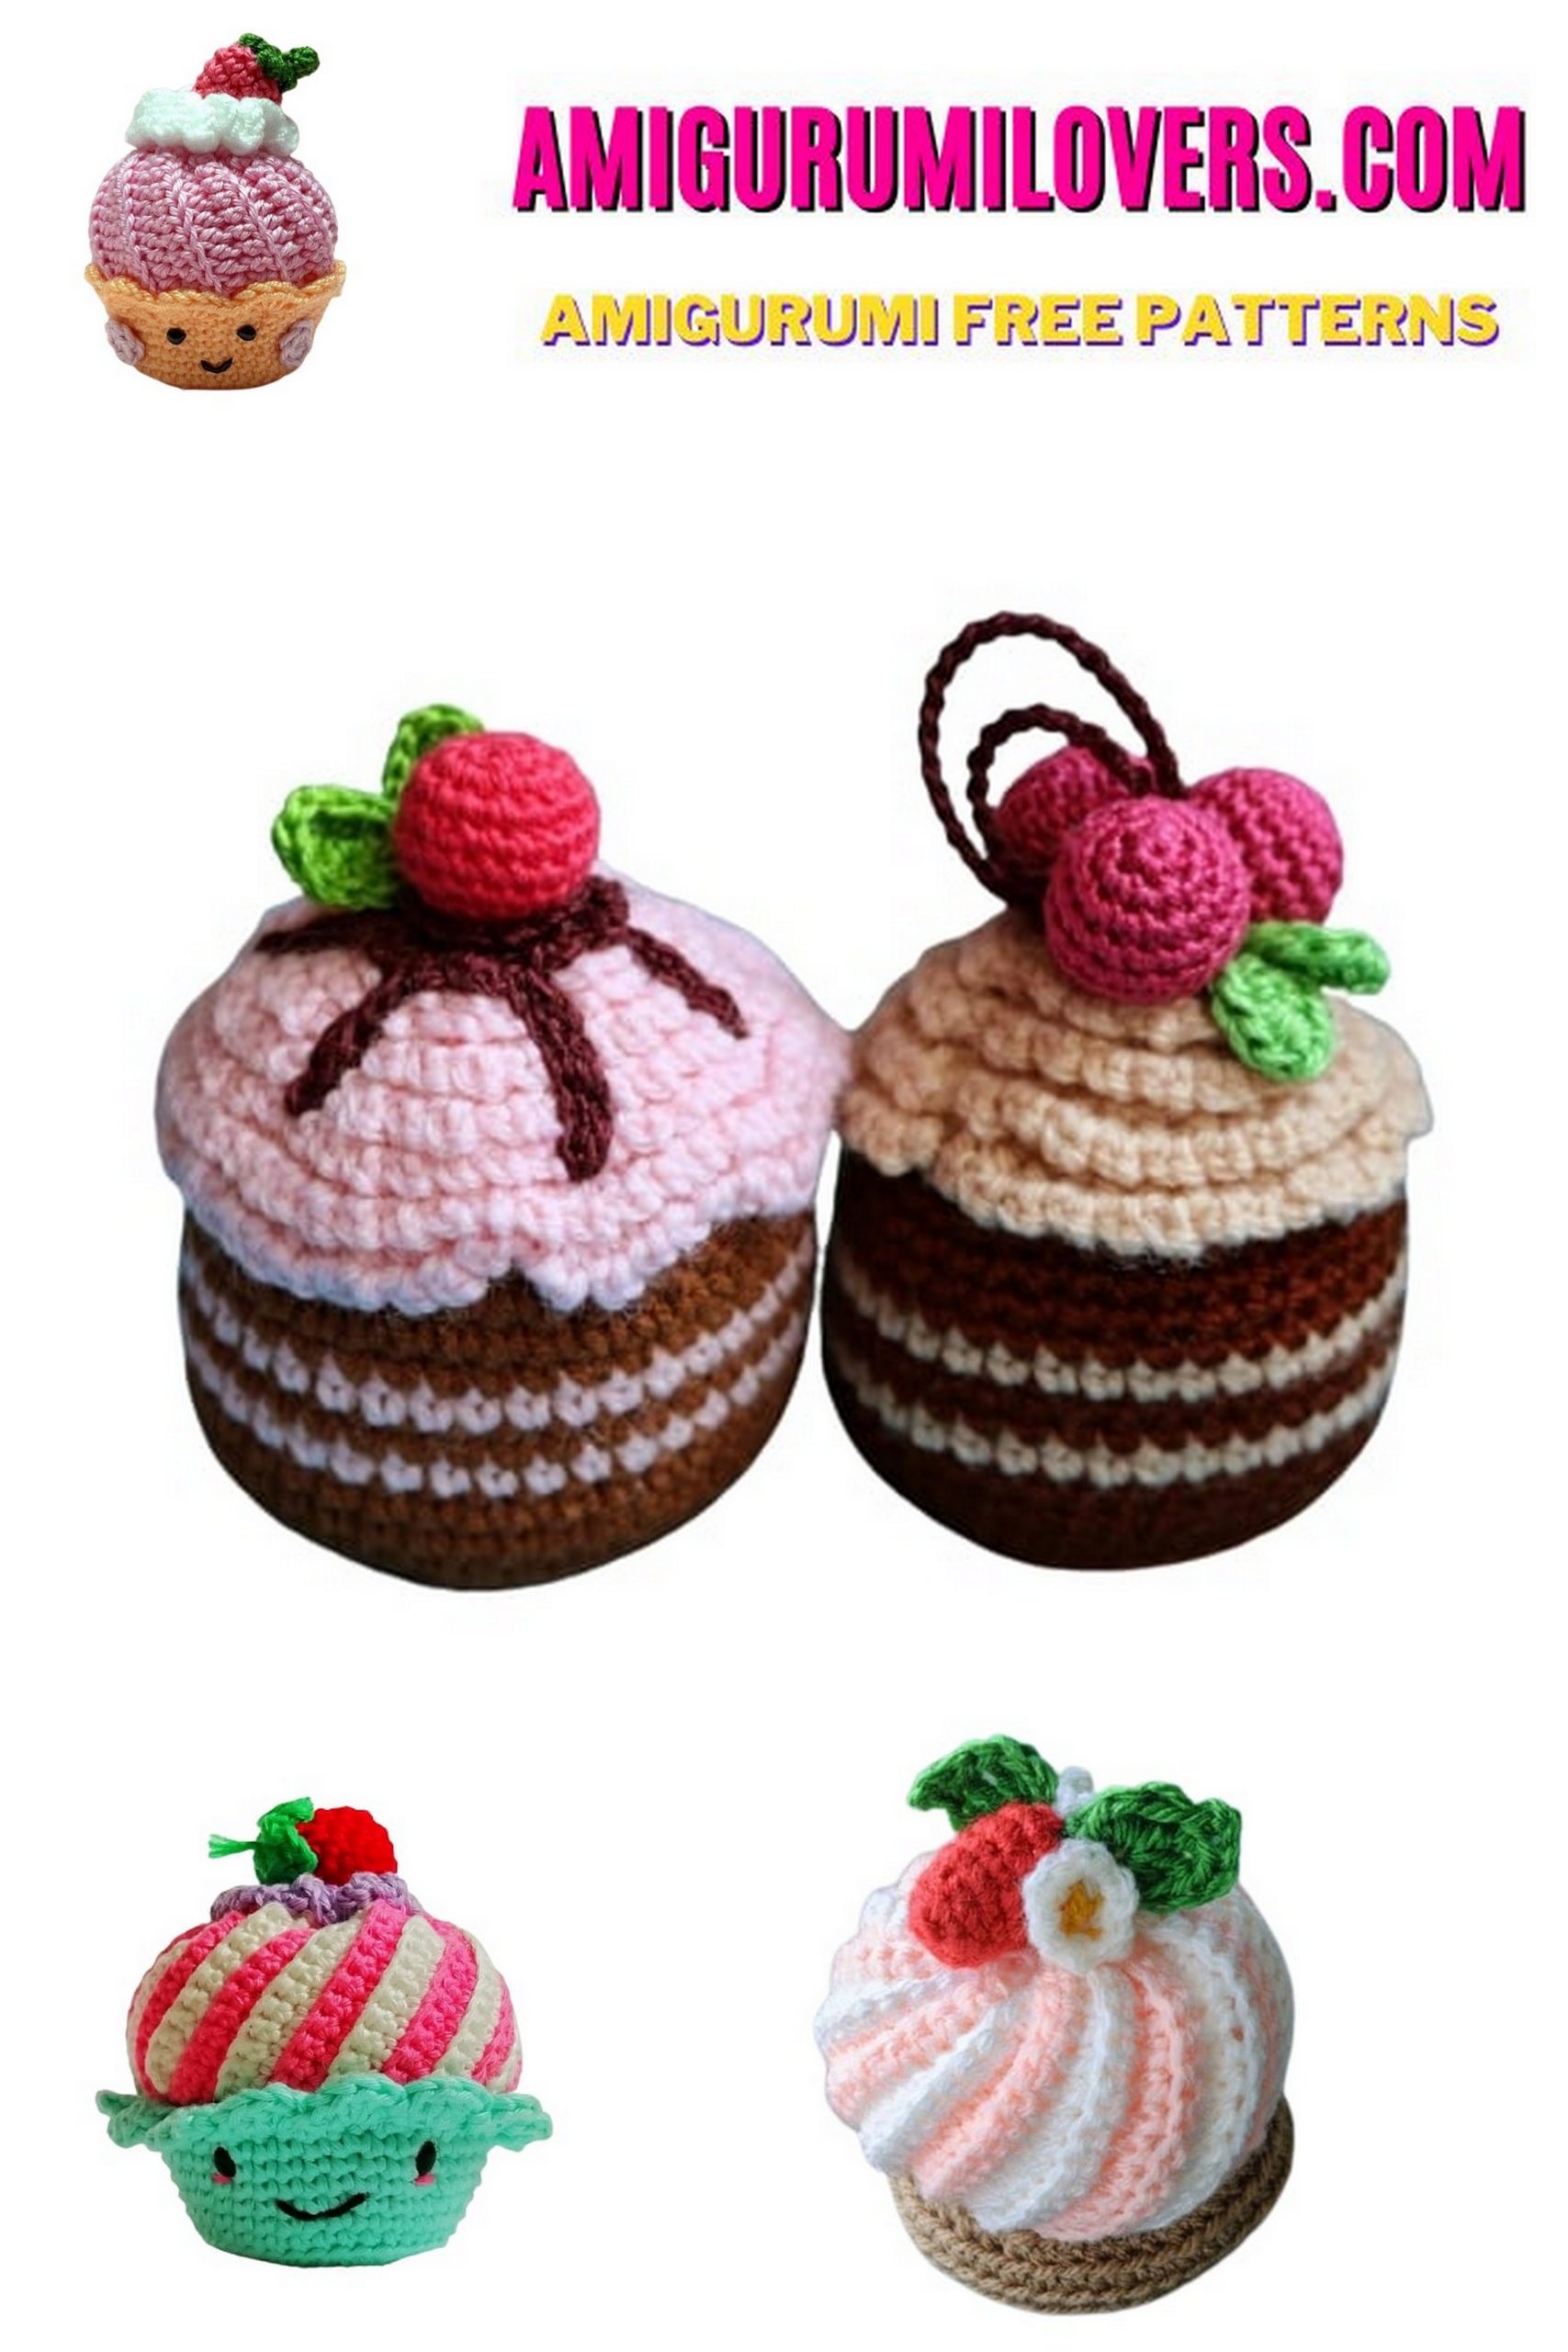
You now have all the basics for your sweet little cupcakes and there are millions of ways to decorate it.
At the end of this pattern I will show you some of my creations for inspiration. In the next part you will find the pattern for two different fruit types. As you know the internet is full of tons of free fruit patterns.
Fruit
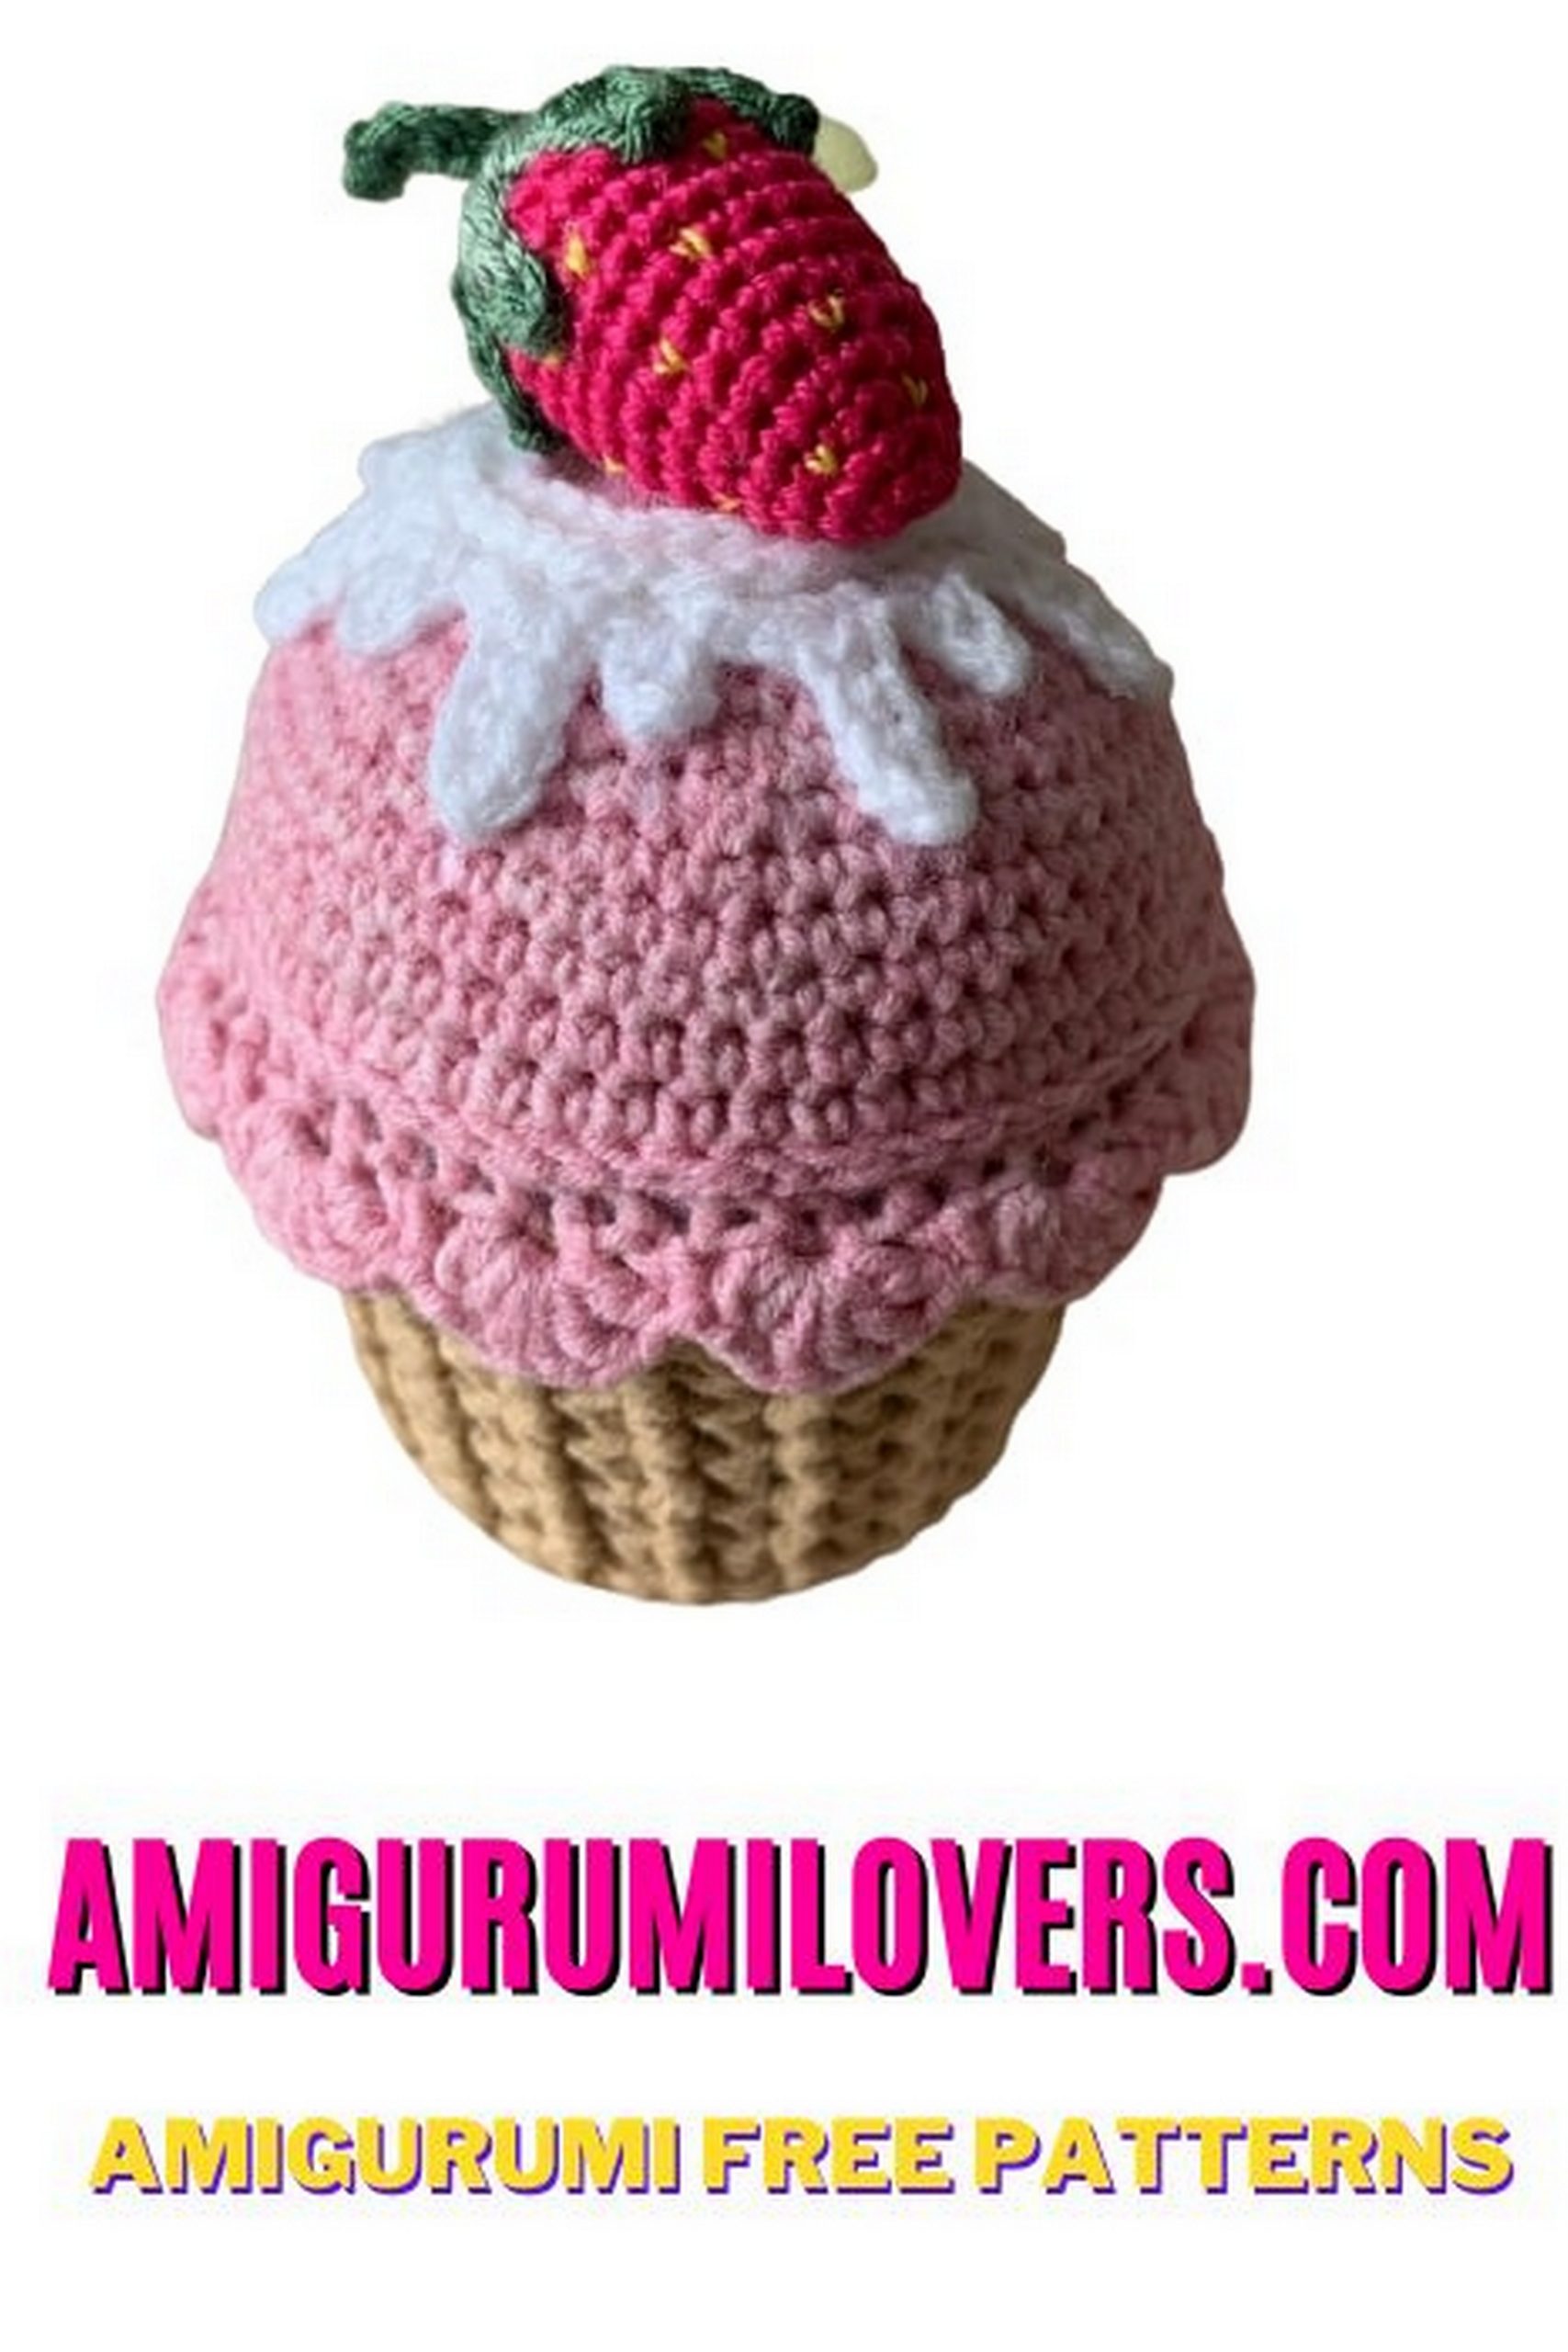
Strawberry:
1) Round: 5 sc in magic ring, join, chain 1 (5)
2) Round: sc in each stitch around, join, chain (5)
3) Round: 2 sc into each stitch, join, chain 1 (10)
4) Round: sc in each stitch around, join, chain 1 (10)
5) Round: 2 sc in first st, sc in next 1, repeat around, join, chain 1 (15)
6) Round: sc in each stitch around, join, chain 1 (15)
7) Round: dec, sc in next repeat around, join, chain 1 (10)
8) Round: dec around, join, fasten off (5)
Stem:
1) Round: 5 sc in magic ring, join, (5)
2) Round: ch 2, sl st in 2) ch from hook, sl st in next repeat 4 more times
3) Round: ch 4, sc in 2) ch from hook and the last 2 ch, fasten off
Pull the yarn through the middle of the mr and your stam is ready to be put on your strawberry
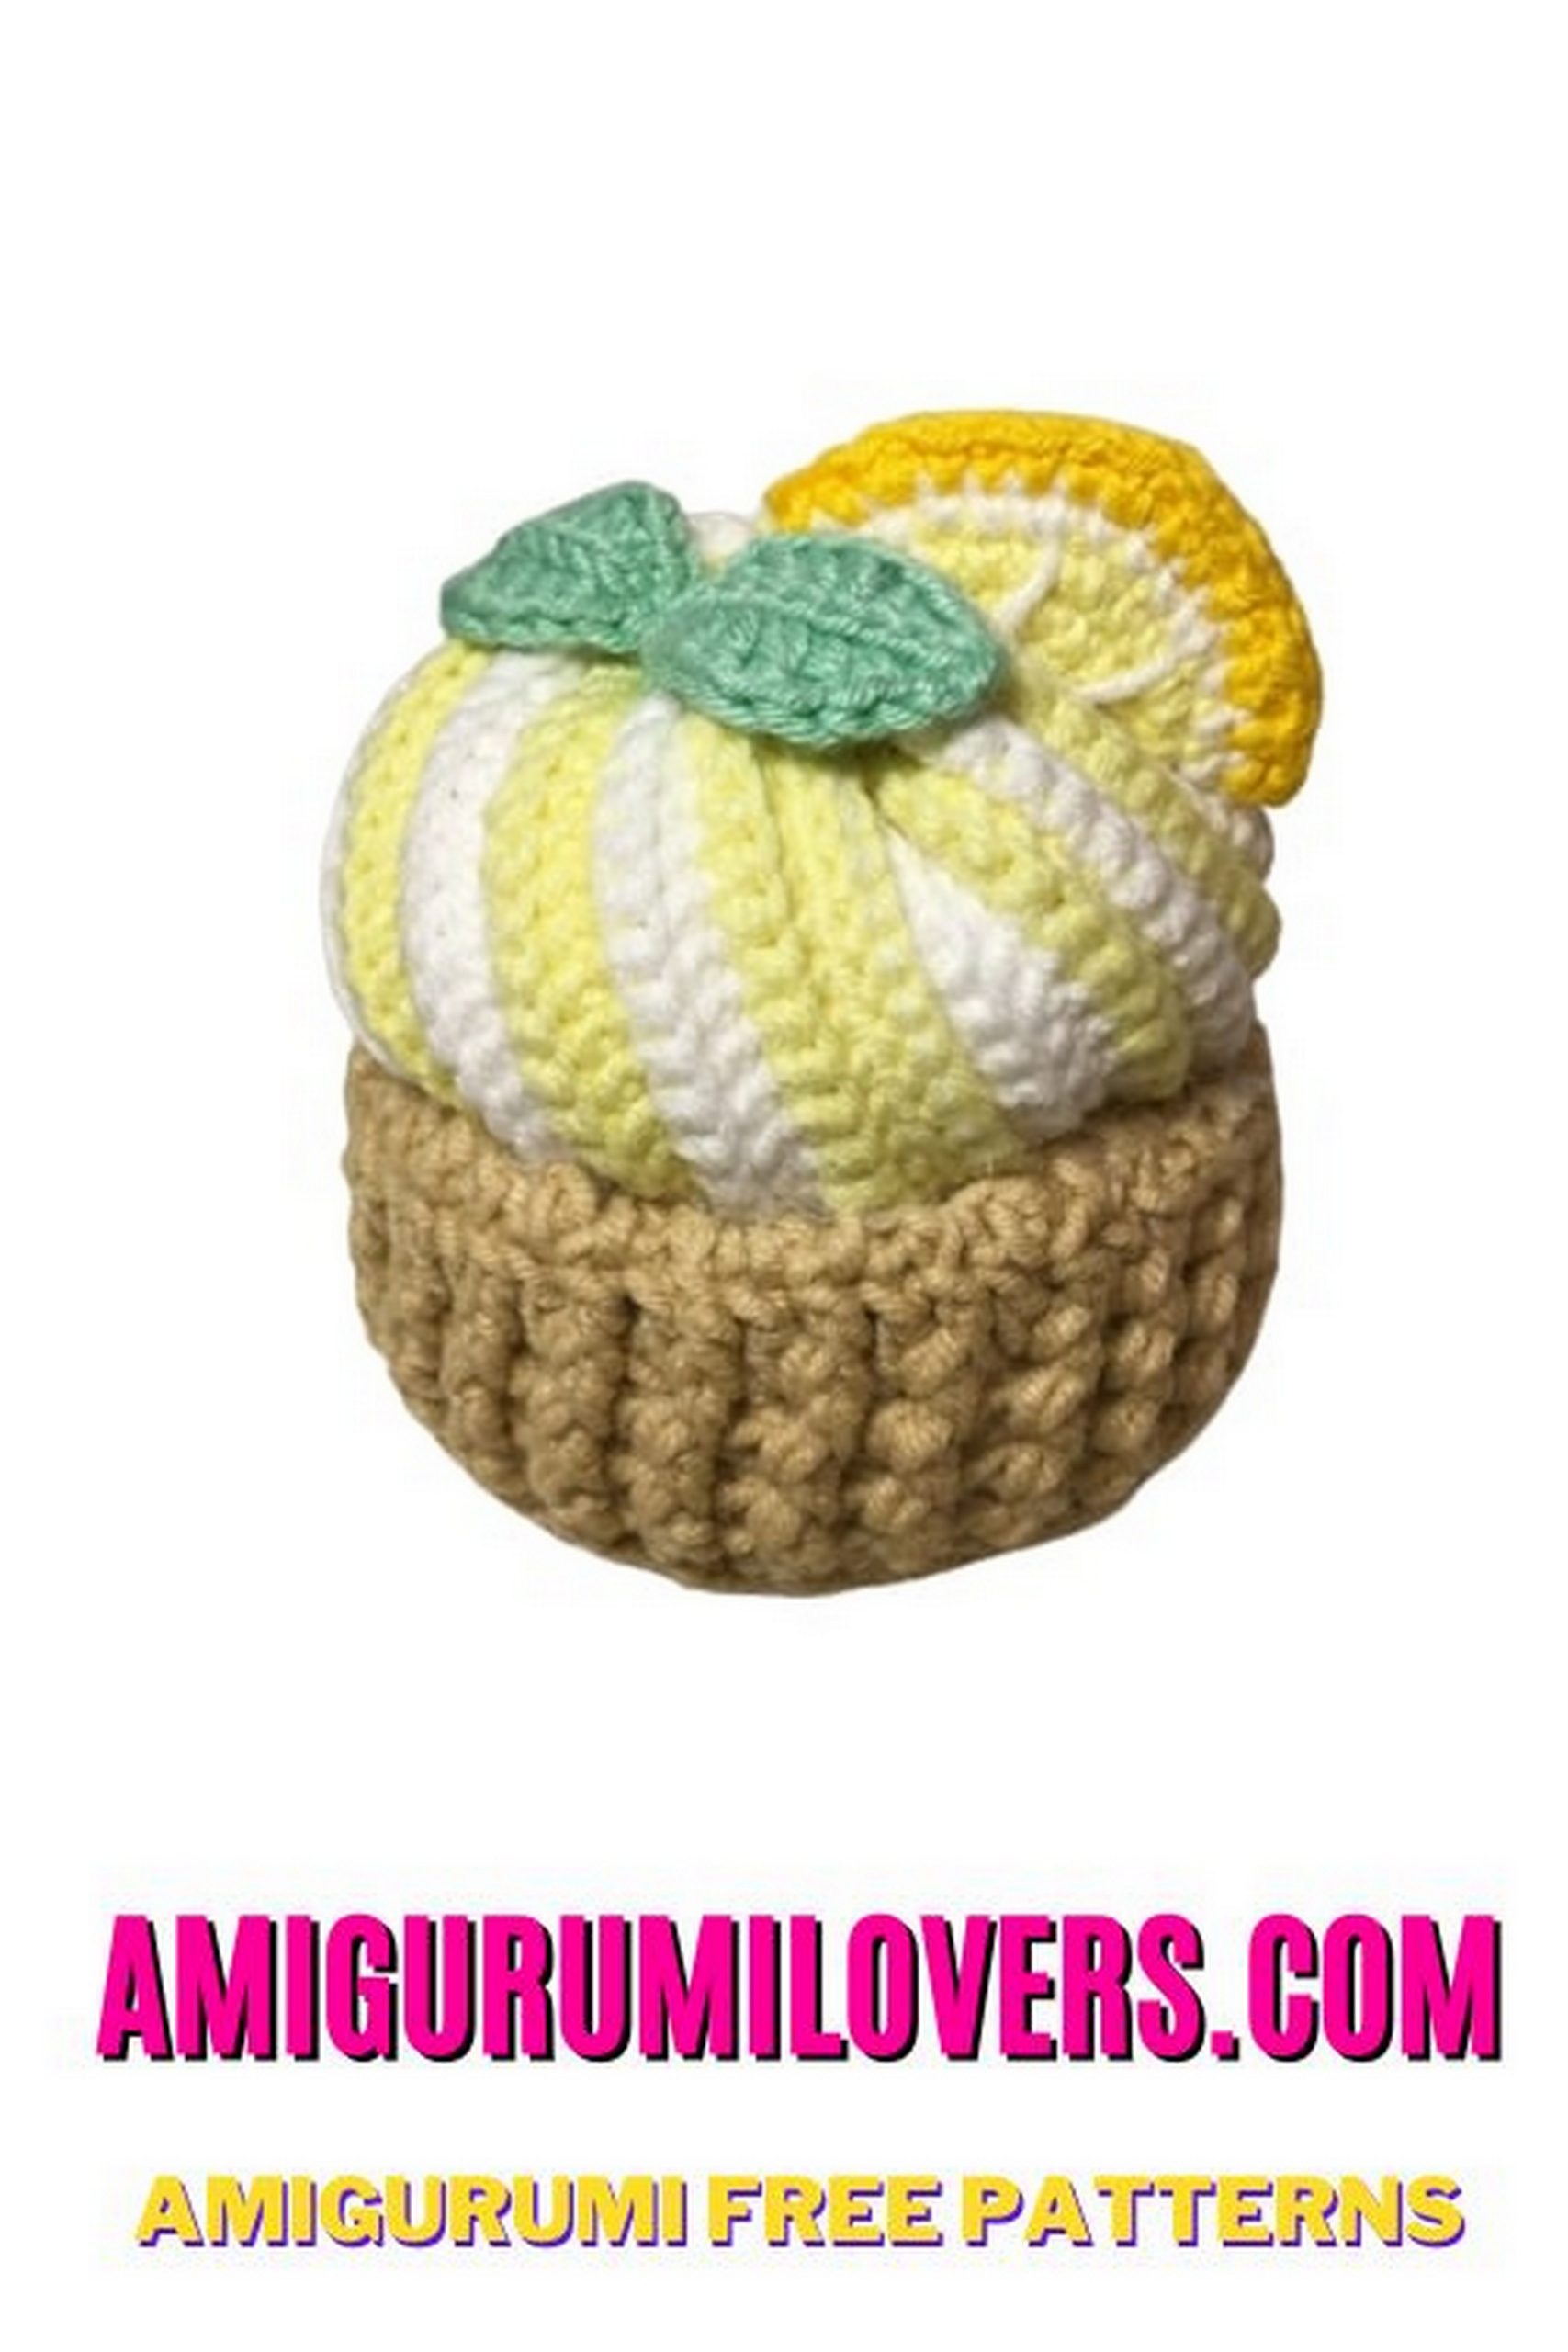
Lemon slice (make 2):
Start with light yellow
1) round: 6 sc in magic ring, join, chain 1 (6)
2) round: 2 sc into each stitch, join, chain 1 (12)
3) round: 2 sc in first st, sc in next, repeat around, join, chain 1 (18)
Change to dark yellow
4) round: 2 sc in first st, sc in next 2, repeat around, join, fasten off (24)
Align your two pieces with the right sides out and whipstitch them together with dark yellow.
If you want to make a segment, just make one piece, fold it in half and stitch the edges together.
For a kiwi slice, start with white yarn and change to green after the first round.
Congratulations! When you’re reading this, you mastered this pattern and I hope it was understandable enough.
Now the only thing left is sewing all those parts together. Or as in my case, use your glue gun for attaching the parts. Don’t forget the eyes and mouth. You can either use safety eyes or stitch them on. I prefer using puff paint or pearl maker pens.
Before you leave, make sure to check out more free amigurumi crochet patterns and discover new ideas for your next project.
You can also browse our full amigurumi pattern archive for hundreds of beginner-friendly designs.