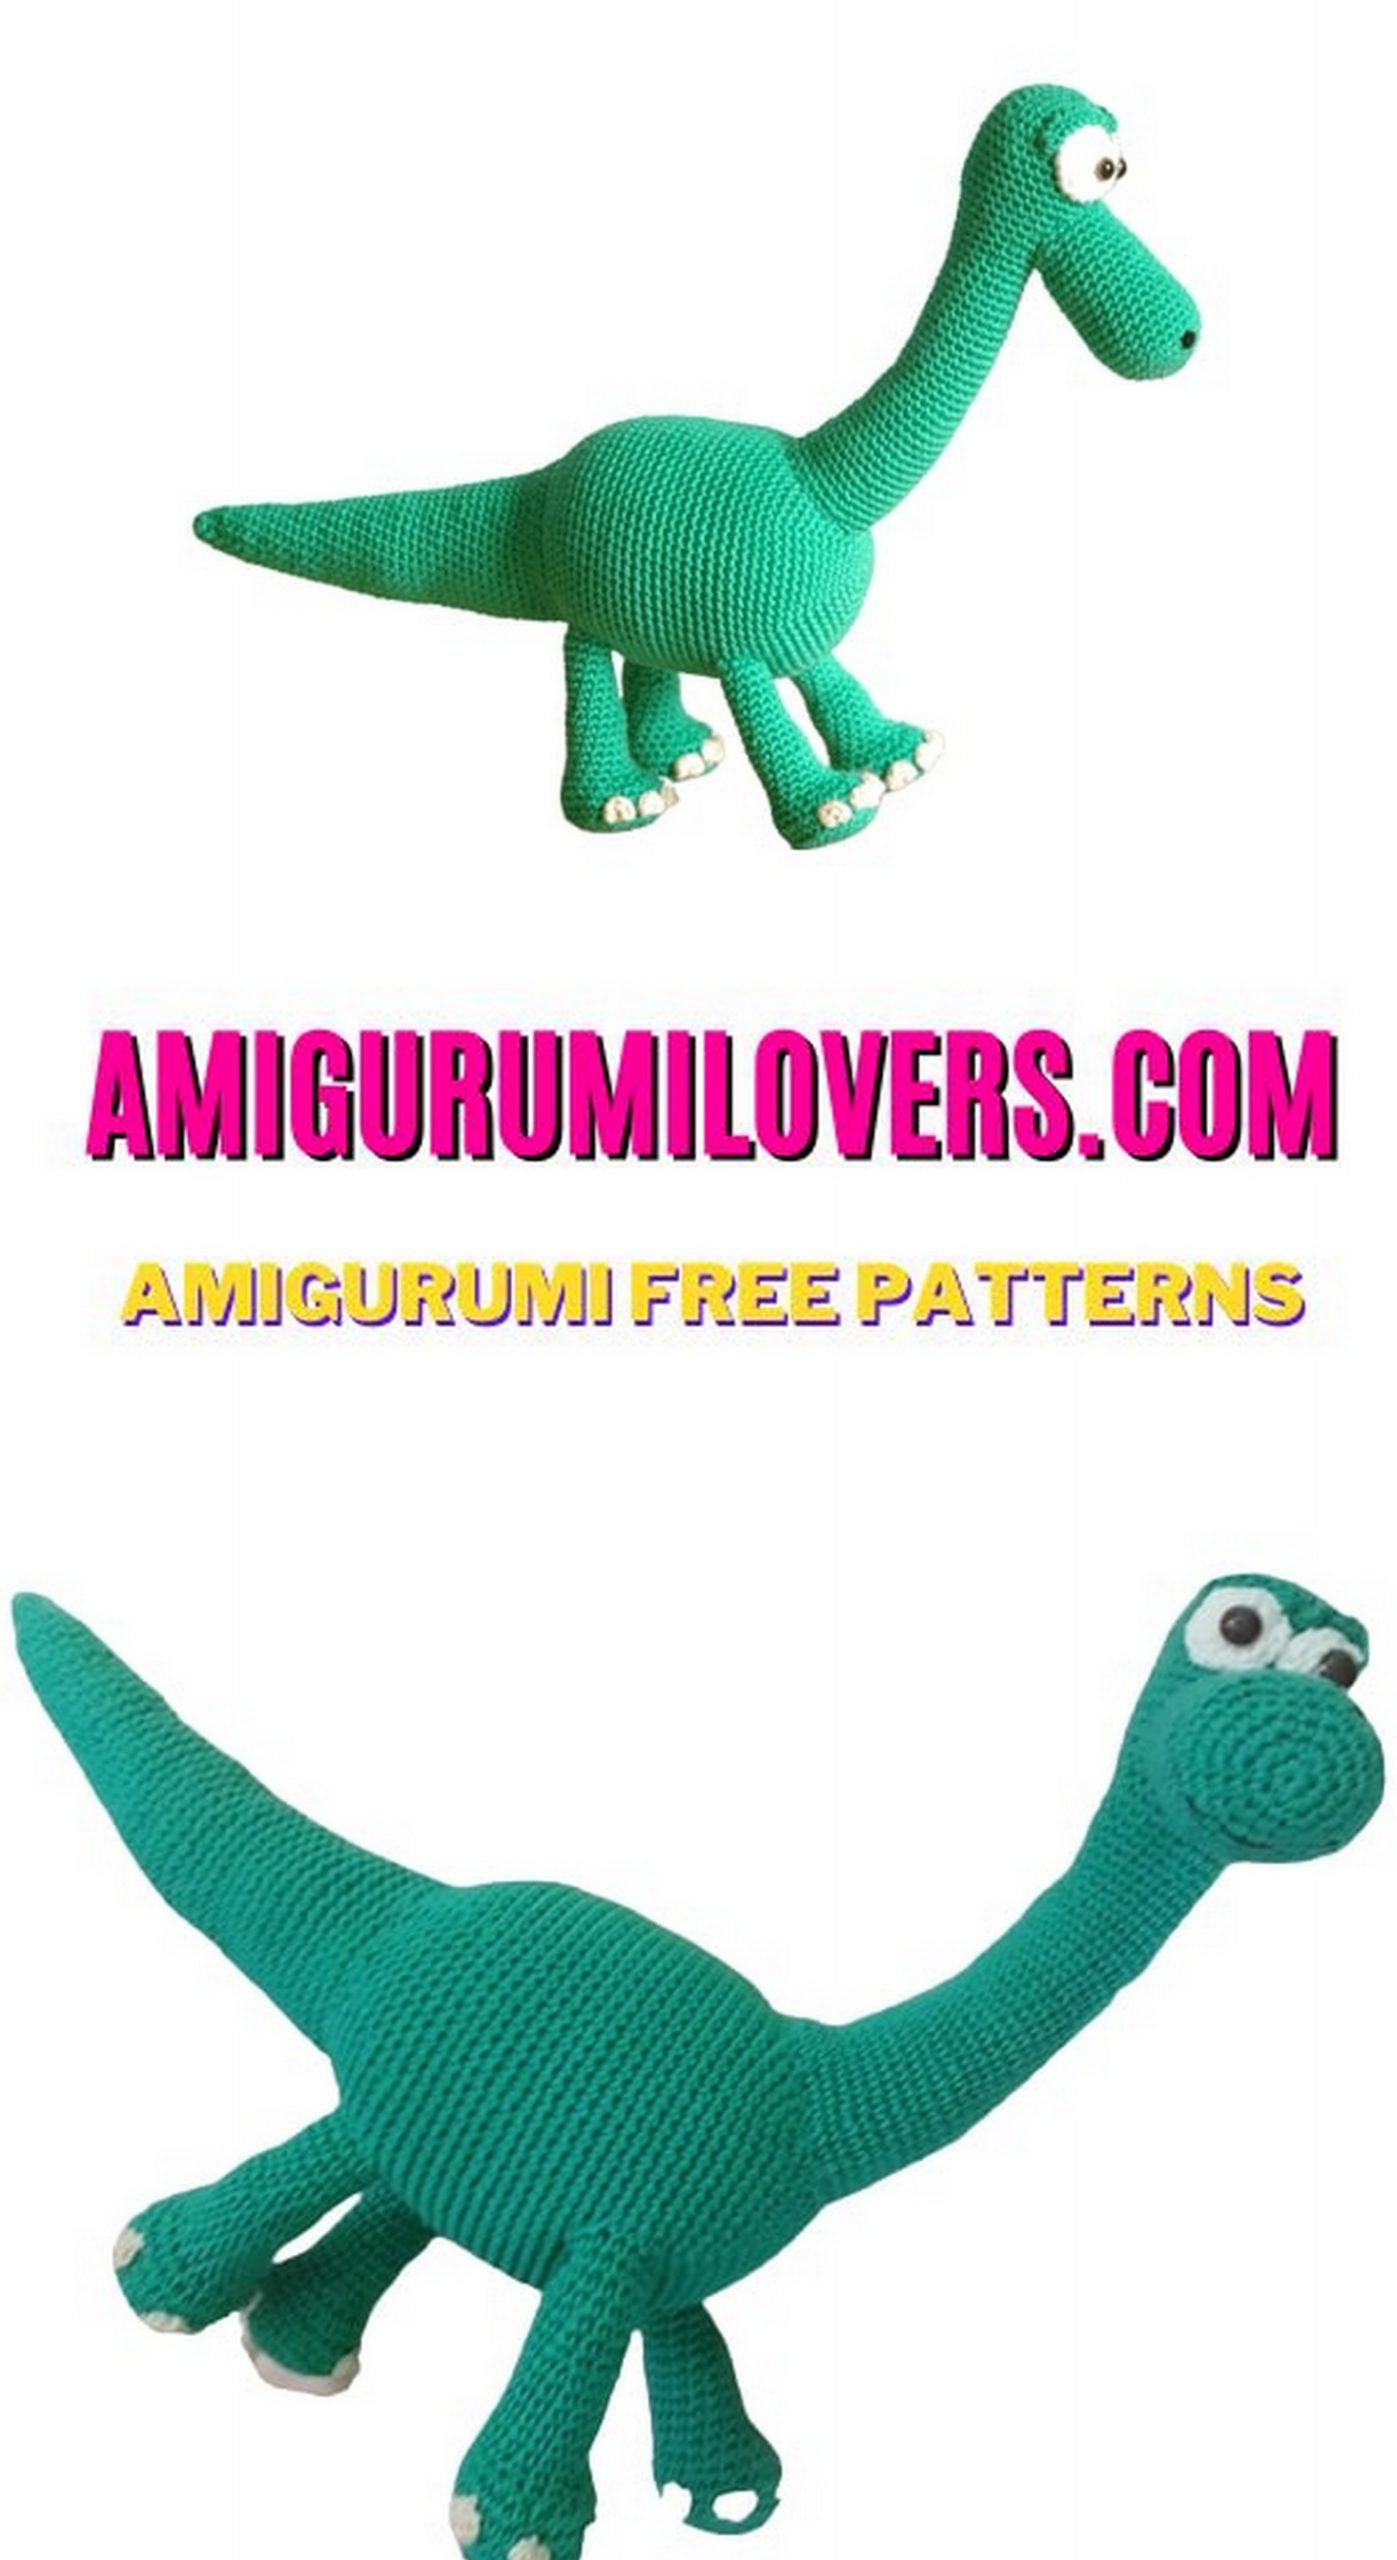
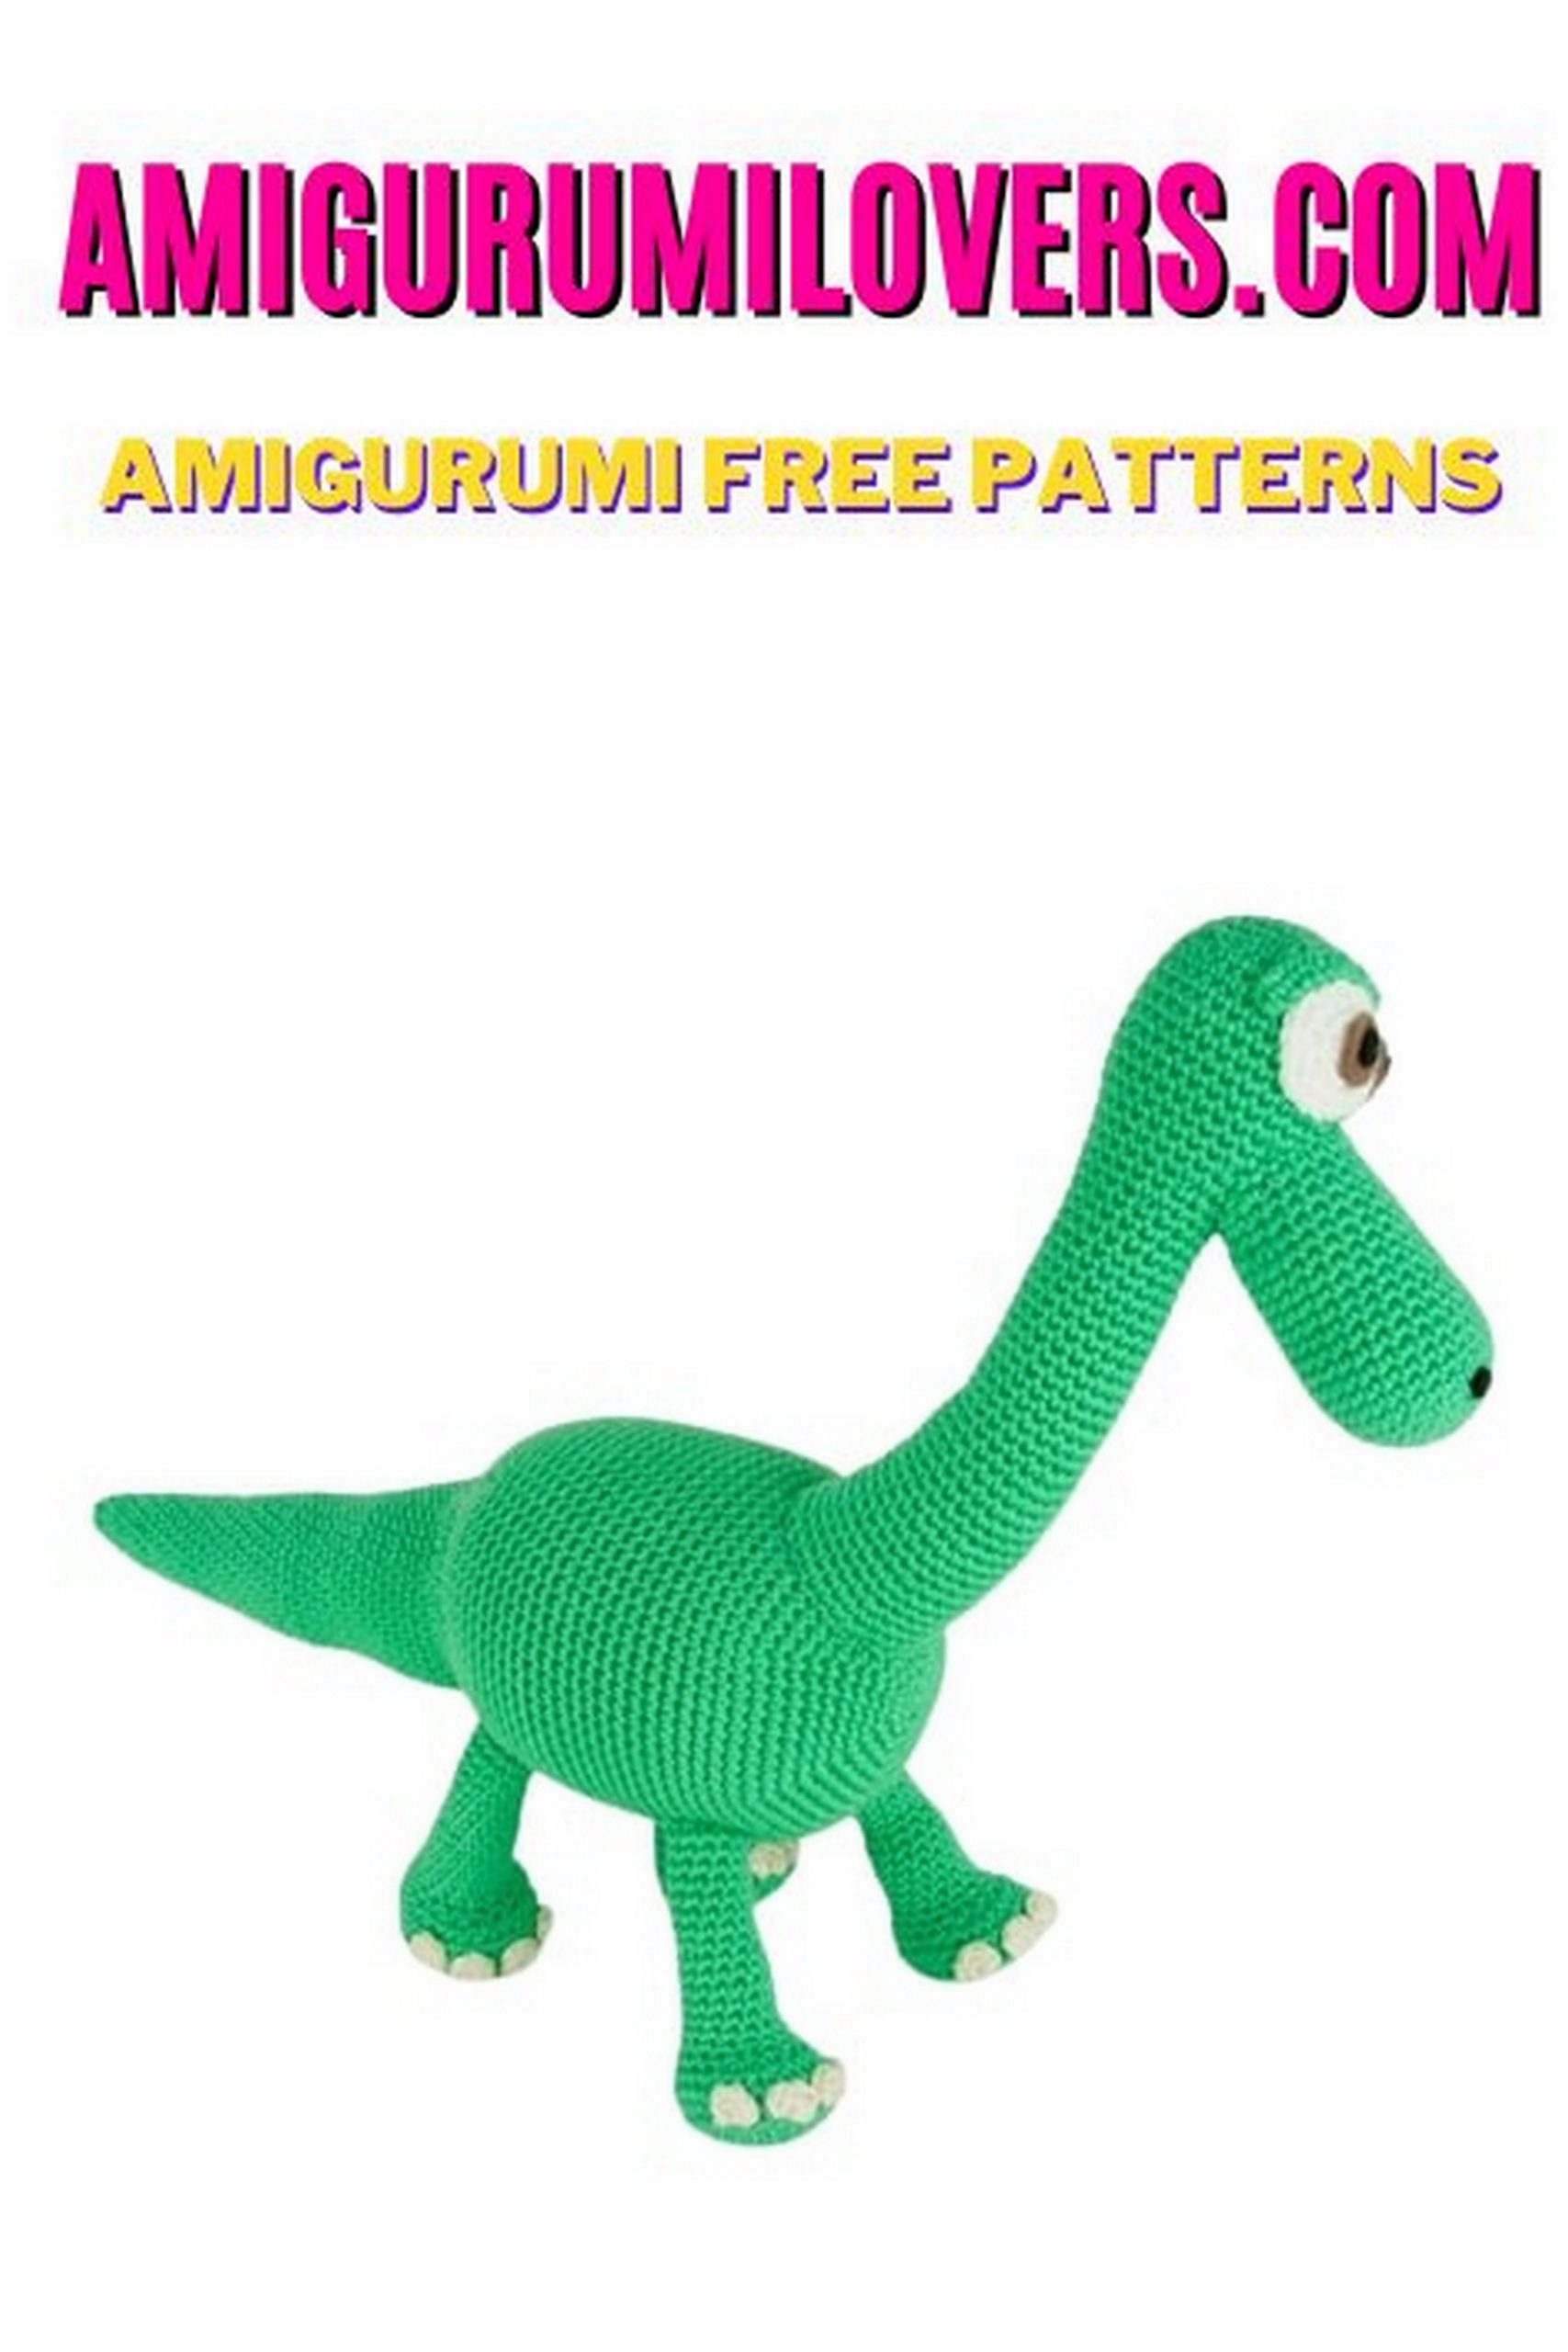
Amigurumi Arlo The Good Dinosaur Free Pattern
You may also enjoy exploring our free amigurumi patterns and other popular amigurumi animal patterns available on our website.
Welcome to our crochet corner, where creativity and fun come together to create adorable treasures! Today, we are excited to share a free amigurumi crochet pattern for Arlo, the lovable dinosaur from the beloved movie “The Good Dinosaur.” This charming pattern is designed to be beginner-friendly, allowing you to dive into the enchanting world of amigurumi with ease. Whether you’re a seasoned crocheter or just starting out, our step-by-step instructions will guide you every stitch of the way, ensuring that your experience is enjoyable and fulfilling.
Amigurumi has gained popularity for its delightful and cuddly characters, and creating your own plush toys is an incredible way to showcase your skills while crafting something special. Arlo, with his gentle nature and big heart, is a perfect choice for anyone looking to explore the delightful realm of crochet toys. By following our simple pattern, you will not only create a huggable dino friend for yourself or a loved one but also gain confidence in your crochet abilities.
Gather your yarn and hooks, and prepare to embark on this crochet adventure. This free pattern is designed with a focus on clarity and accessibility, ensuring that you can follow along easily. We will cover all the necessary stitches and techniques along the way, making it a wonderful project for beginners. Plus, since it’s Amigurumi, you’ll be learning how to create those intricate shapes and details that make these little creatures come alive.
As you stitch Arlo, you’ll find that crochet is not just a hobby, but a rewarding way to express your creativity. Each loop and stitch will bring your personal touch to this lovely character, transforming simple materials into a treasured keepsake. Sharing your finished creation with family and friends can spark joy and inspire others to pick up their hooks and embark on their own crochet journeys.
So, roll up your sleeves, grab your crochet supplies, and let’s get started on bringing Arlo to life! We’re thrilled to have you join us in this crafting experience, and we can’t wait to see your unique interpretations of this delightful dino. Happy crocheting!
Arlo The Good Dinosaur
Materials
• 150 gr green cotton thread
• a little white thread for the eyes
• a few strands of black thread to embroider the mouth
• a pair of eight millimeter safety blue eyes
• optional wire
• yellow felt for hooves
• rigid plastic or cardboard for the base of the legs
• 2.5mm crochet hook
• fiber to fill
Approximate measurements
• 40 cm long (tail tip to the head)
• 18 cm body height
• 28 cm head height
Abbreviations :
ch = chain stitch
sl-st = slip-stitch
sc = single crochet
hdc = half double crochet
dc = double crochet
inc = increase
dec = decrease
BLO = back strand only
Work in a spiral using a mark at the beginning of each round.

Head and neck
With green thread.
Close and leave a long strand for sewing.
1 6 sc magic ring 6
2 6 inc 12
3 (1 sc 1 inc) x6 18
4 (2 sc 1 inc) x6 24
5/6 24 sc 24
7 (3 sc 1 inc) x6 30
8/16 30 sc 30
17 (8 sc 1 dec) x3 27
18/19 27 sc 27
20 (7 sc 1 dec) x3 24
21/23 24 sc 24
24 (6 sc 1 dec) X3 21
25 21 sc 21
26 (5 sc 1 dec) x3 18
27/30 18 sc 18
31 1 sc 1 hdc 5 dc 1hdc 10 dc 18
32 18 sc 18
33 1 sc 1 hdc 5 dc 1hdc 10 dc 18
34/38 18 sc 18
39 (5 sc 1 inc) x3 21
40/43 21 sc 21
44 (6 sc 1 inc) x3 24
45/48 24 sc 24
49 (7 sc 1 inc) x3 27
50/51 27 sc 27
52 (8 sc 1 inc) x3 30
53/55 30 sc 30
Head and Muzzle neck Snout
With green thread.
It starts with 9 chains and the second round works on both sides of the chain stitch.
Close and leave a long strand for sew.
Fill and mark the two holes nasal.
1 9 ch 9
2 1 sc in the second ch, 6 sc, 3 sc in the last ch, 6 sc, 2 sc in the last ch 18
3 1 inc, 6 sc, 3 inc, 6 sc, 2 inc 24
4 1 sc, 1 inc, 6 sc, (1 sc 1 inc) x3, 6 sc, (1 sc 1 inc) x2 30
5 2 sc, 1 inc, 6 sc, (2 sc 1 inc) x3, 6 sc, (2 sc 1 inc) x2 36
6 3 sc, 1 inc, 6 sc, (3 sc 1 inc) x3, 6 sc, (3 sc 1 inc) x2 42
7/13 42 sc 42
14 3 sc, 1 dec, 6 sc, (3 sc 1 dec) x3, 6 sc, (3 sc 1 dec) x2 36
15/16 36 sc 36
17 2 sc, 1 dec, 6 sc, (2 sc 1 dec) x3, 6 sc, (2 sc 1 dec) x2 30
18/22 30 sc 30
23 1 sc, 1 dec, 6 sc, (1 sc 1 dec) x3, 6 sc, (1 sc 1 dec) x2 24
24/25 24 sc 24
26 14 sc, 1 sl-st, 1 ch and turn piece 15
27 skip one point, 10 sc, 1 sl-st 11
Body
With green thread.
Close and leave a long strand for sewing.
1 6 sc in magic ring 6
2 6 inc 12
3 (1 sc 1 inc) x6 18
4 (2 sc 1 inc) x6 24
5 (3 sc 1 inc) x6 30
6 (4 sc 1 inc) x6 36
7 (5 sc 1 inc) x6 42
8 (6 sc 1 inc) x6 48
9 48 sc 48
10 (7 sc 1 inc) x6 54
11 54 sc 54
12 (8 sc 1 inc) x6 60
13 60 sc 60
14 (9 sc 1 inc) x6 66
15/30 66 sc 66
31 (9 sc 1 dec) x6 60
32 60 sc 60
33 (8 sc 1 dec) x6 54
34 54 sc 54
35 (7 sc 1 dec) x6 48
36 48 sc 48
37 (6 sc 1 dec) x6 42
38 42 sc 42
39 (5 sc 1 dec) x6 36
40 (4 sc 1 dec) x6 30
41 (3 sc 1 dec) x6, fill 24
42 (2 sc 1 dec) x6 18
43 (1 sc 1 dec) x6 12
44 6 dec 6
Tail
With green thread.
Close and leave a long strand for sewing.
1 4 sc in magic ring 4
2 (1 sc 1 inc) x2 6
3 6 sc 6
4 (2 sc 1 inc) x2 8
5 8 sc 8
6 (3 sc 1 inc) x2 10
7/8 10 sc 10
9 (4 sc 1 inc) x2 12
11/10 12 sc 12
12 (5 sc 1 inc) x2 14
13/15 14 sc 14
16 (6 sc 1 inc) x2 16
17/20 16 sc 16
21 (7 sc 1 inc) x2 18
22/25 18 sc 18
26 (8 sc 1 inc) x2 20
27/29 20 sc 20
30 (9 sc 1 inc) x2 22
31/33 22 sc 22
34 (10 sc 1 inc) x2 24
35/37 24 sc 24
38 (11 sc 1 inc) x2 26
39/40 26 sc 26
41 (12 sc 1 inc) x2 28
42/43 28 sc 28
44 (13 sc 1 inc) x2 30
45 30 sc 30
Legs
With green thread.
Once round number 7 is completed, cut 4 discs from the plastic rigid or cardboard of the same diameter as the base of the leg (see photo) and place them when indicated in the pattern.


Front legs (x2)
Close and leave a long strand for sewing.
1 6 sc in magic ring 6
2 6 inc 12
3 (1 sc 1 inc) x6 18
4 (2 sc 1 inc) x6 24
5 (3 sc 1 inc) x6 30
6 (4 sc 1 inc) x6 36
7 36 sc BLO 36
8/9 36 sc, insert disc 36
10 (1 sc 1 dec) x12 24
11 24 sc 24
12 (6 sc 1 dec) x3 21
13/15 21 sc 21
16 (5 sc 1 dec) x3 18
17/18 18 sc 18
19 (4 sc 1 dec) x3 15
20 5 sc, 1 hdc, 1 dc, 2 inc dc, 1 dc, 1 hdc, 4 sc 17
21 5 sc, 1 hdc, 6 dc, 1 hdc, 4 sc 17
22 5 sc, 1 hdc, 1 dc, 2 dec dc, 1 dc, 1 hdc, 4 sc 15
23 15 sc 15
24 (4 sc 1 inc) x3 18
25/29 18 sc 18
30 (5 sc 1 inc) x3 21
Rear legs (x2)
Close and leave a long strand
To sew.
1 6 sc in magic ring 6
2 6 inc 12
3 (1 sc 1 inc) x6 18
4 (2 sc 1 inc) x6 24
5 (3 sc 1 inc) x6 30
6 (4 sc 1 inc) x6 36
7 36 sc BLO 36
8/9 36 sc, insert disc 36
10 (1 sc 1 dec) x12 24
11 24 sc 24
12 (6 sc 1 dec) x3 21
13/14 21 sc 21
15 (5 sc 1 dec) x3 18
16 18 sc 18
17 (4 sc 1 dec) x3 15
18 5 sc, 1 hdc, 1 dc, 2 inc dc, 1 dc, 1 hdc, 4 sc 17
19 5 sc, 1 hdc, 6 dc, 1 hdc, 4 sc 17
20 5 sc, 1 hdc, 1 dc, 2 dec dc, 1 dc, 1 hdc, 4 sc 15
21 15 sc 15
22 (4 sc 1 inc) x3 18
23/26 18 sc 18
27 (5 sc 1 inc) x3 21
Eyes (x2)
With white thread.
Close and leave a long strand for sewing.
Eyes are not stuffed, squashed a little and safety eyes are inserted on your site.
Eyelids (x2)
With green thread.
7 ch, 6 sc and close.
Assembly and finishing
Insert the wire from one side of the body to the other, leaving the same protruding length neck and tail. Bend the ends to prevent them from coming off. This part is optional, can also be done without wire by firmly filling neck and tail
(if it is for small children better without wire).
Sew the neck and tail on both sides of the body.
Sew the muzzle between passes 11 and 19 of the neck with the protruding tab upwards.
Sew the eyes over the snout and the eyelids over the eyes.
Embroider the mouth with black thread.
Felt trim the hooves (can also be embroidered with thread), 3 per leg and sew them guided by the photo.
Sew the front legs three passes from the neck and separated by 5 stitches.
Sew the front legs three passes from the tail and separated by 5 stitches.
All legs should be sewn with the knees slightly turned out.
1 6 sc in magic ring 6
2 6 inc 12
3/4 12 sc 12
5 6 dec 6
Before you leave, make sure to check out more free amigurumi crochet patterns and discover new ideas for your next project.
You can also browse our full amigurumi pattern archive for hundreds of beginner-friendly designs.