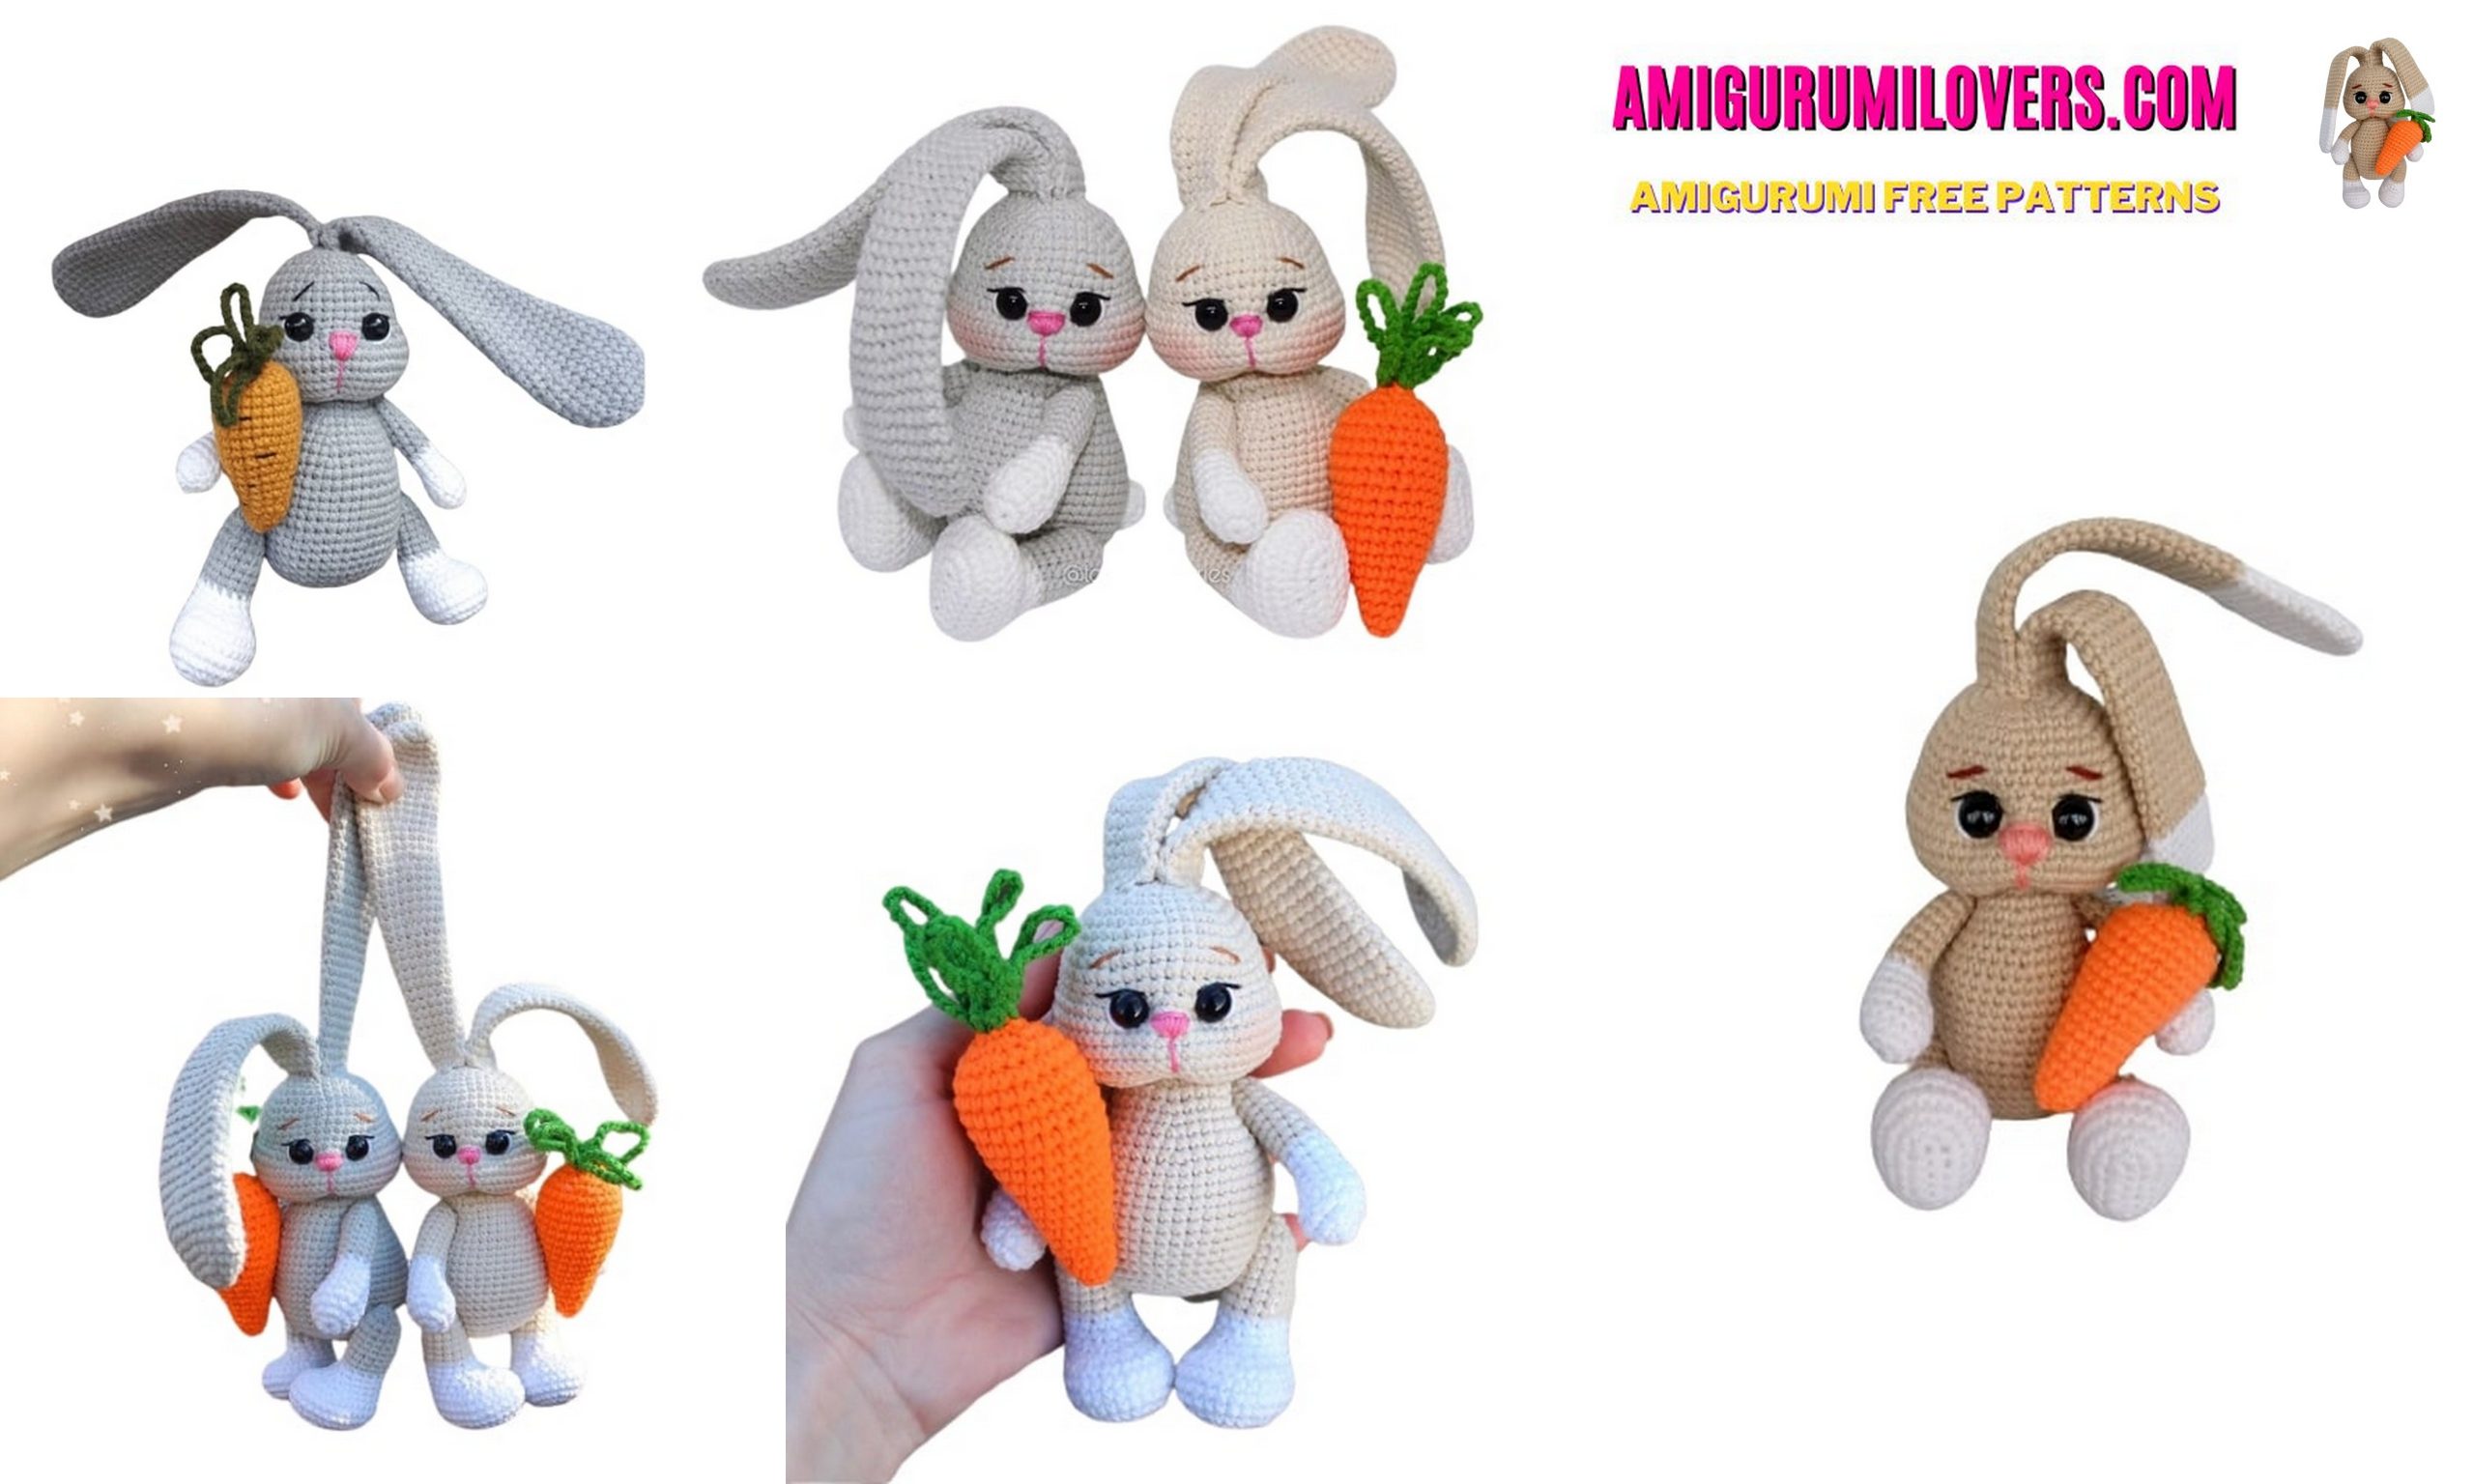
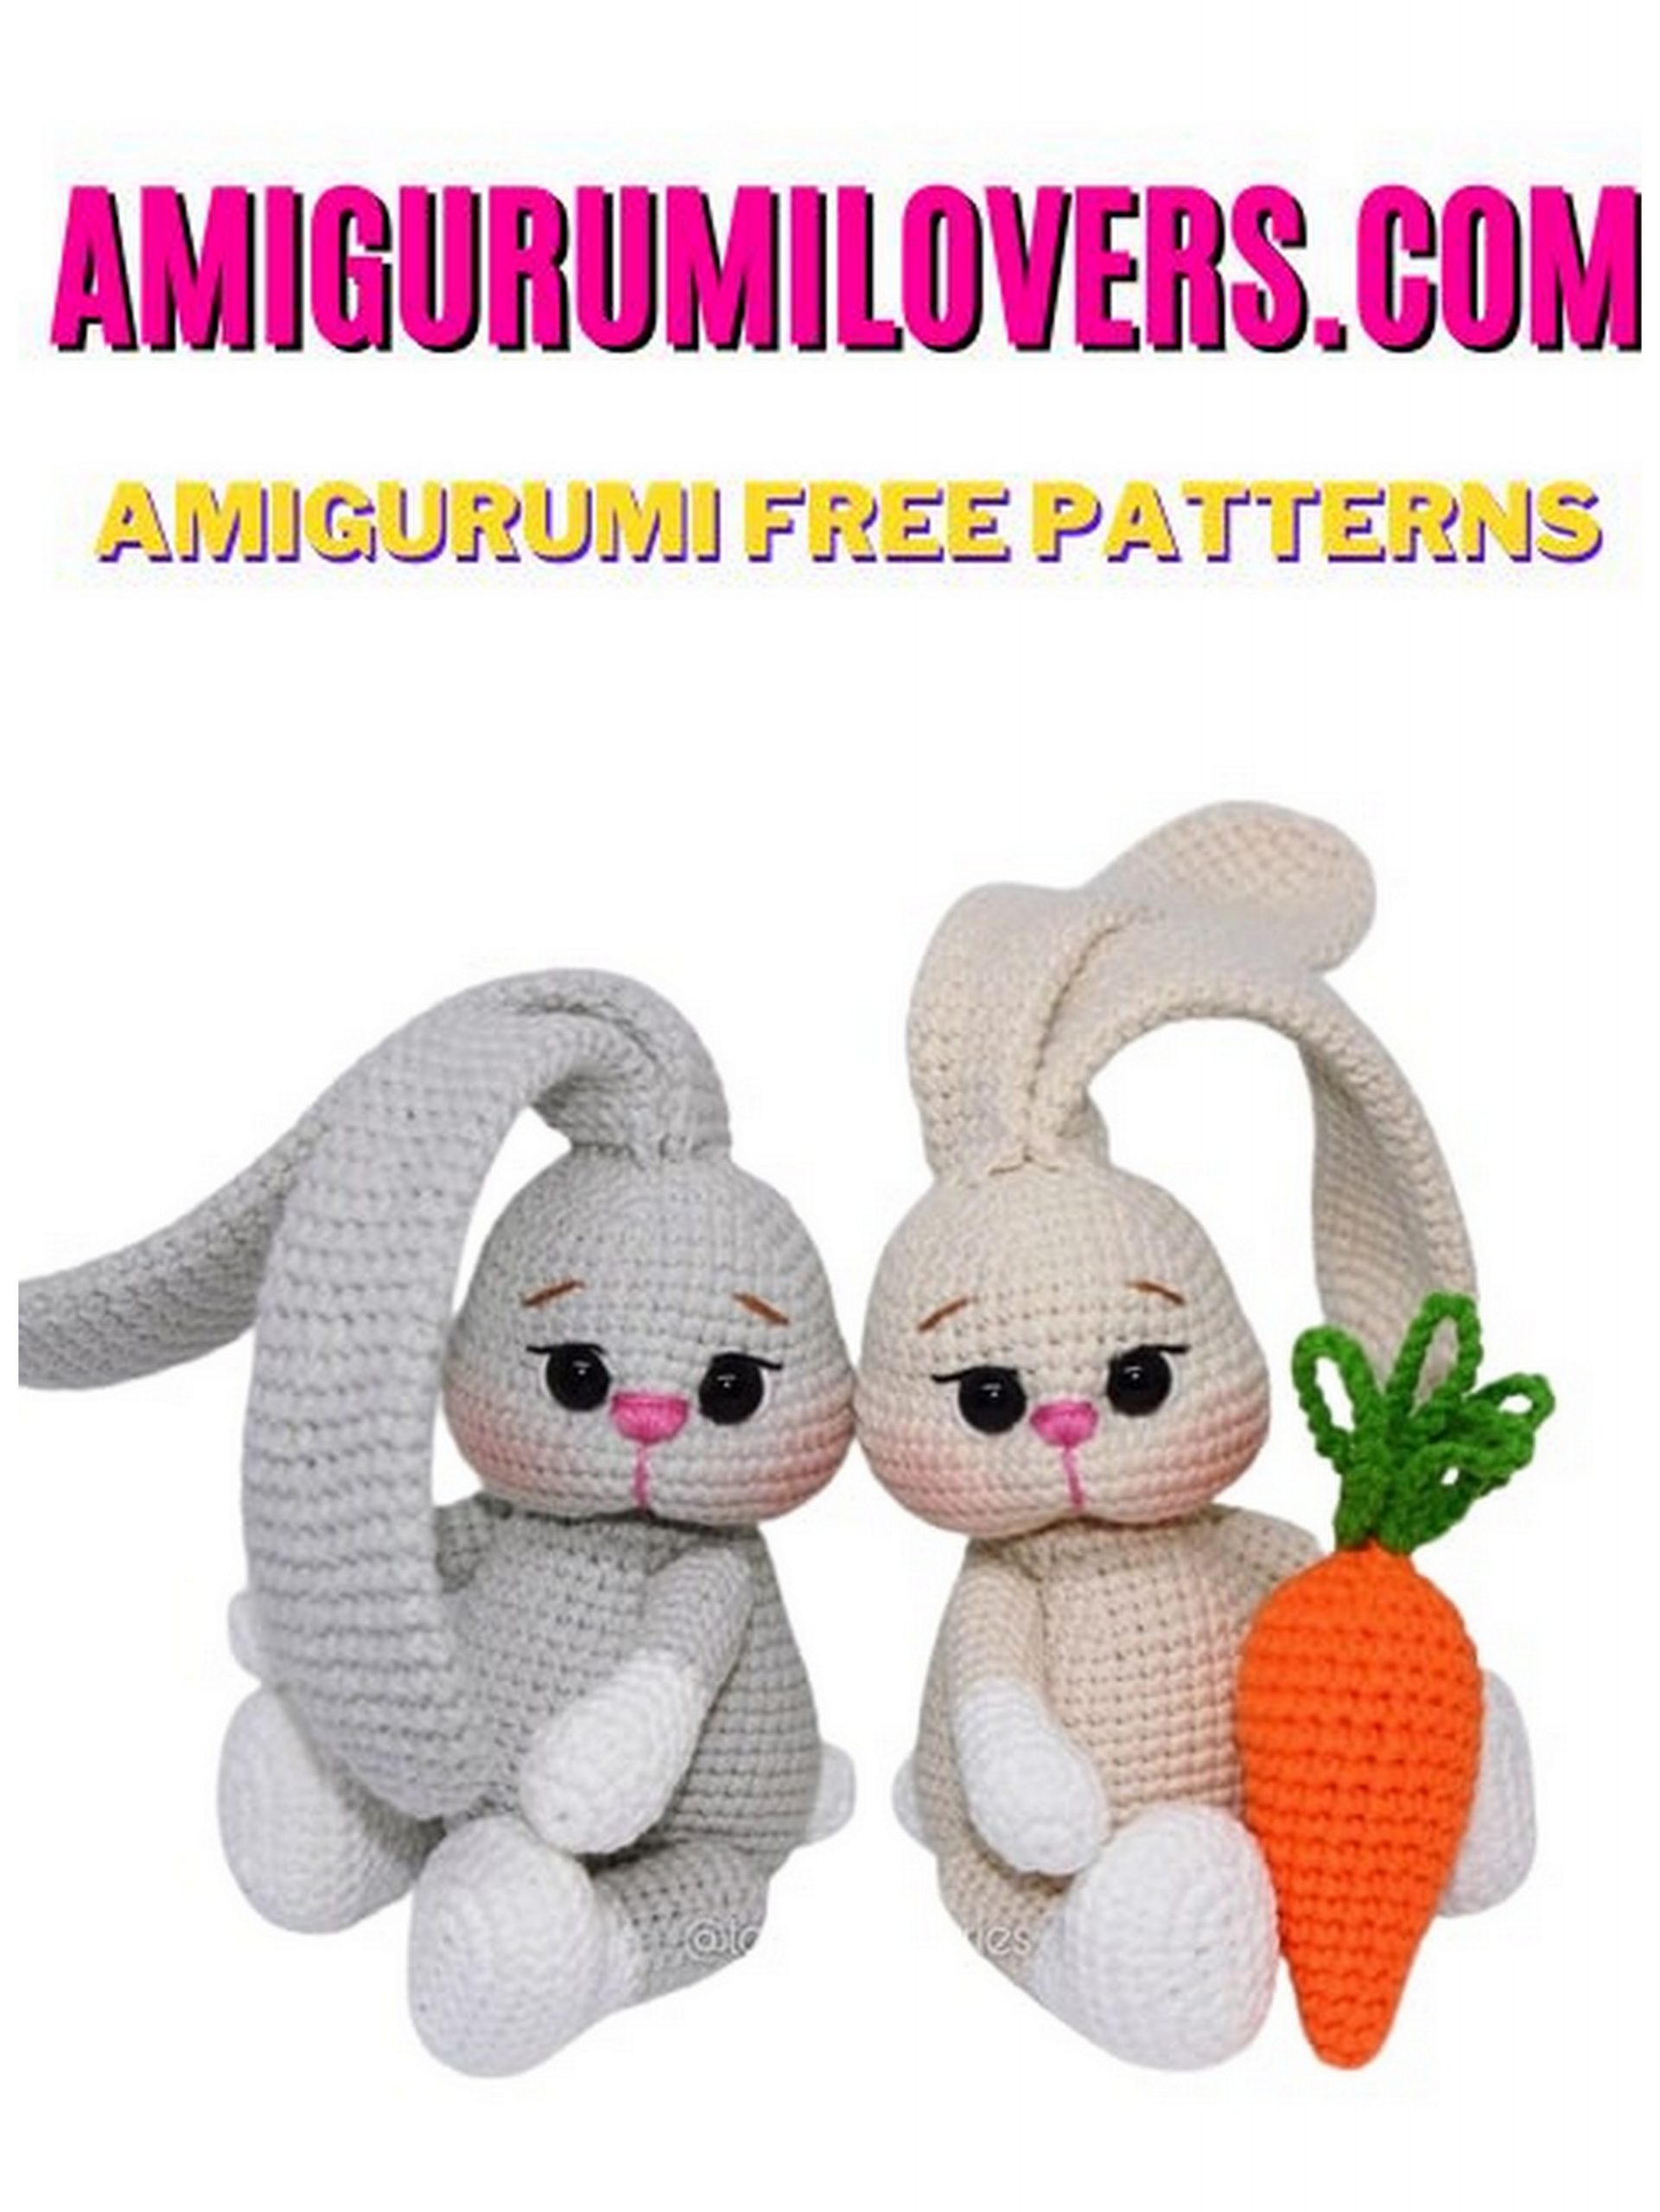
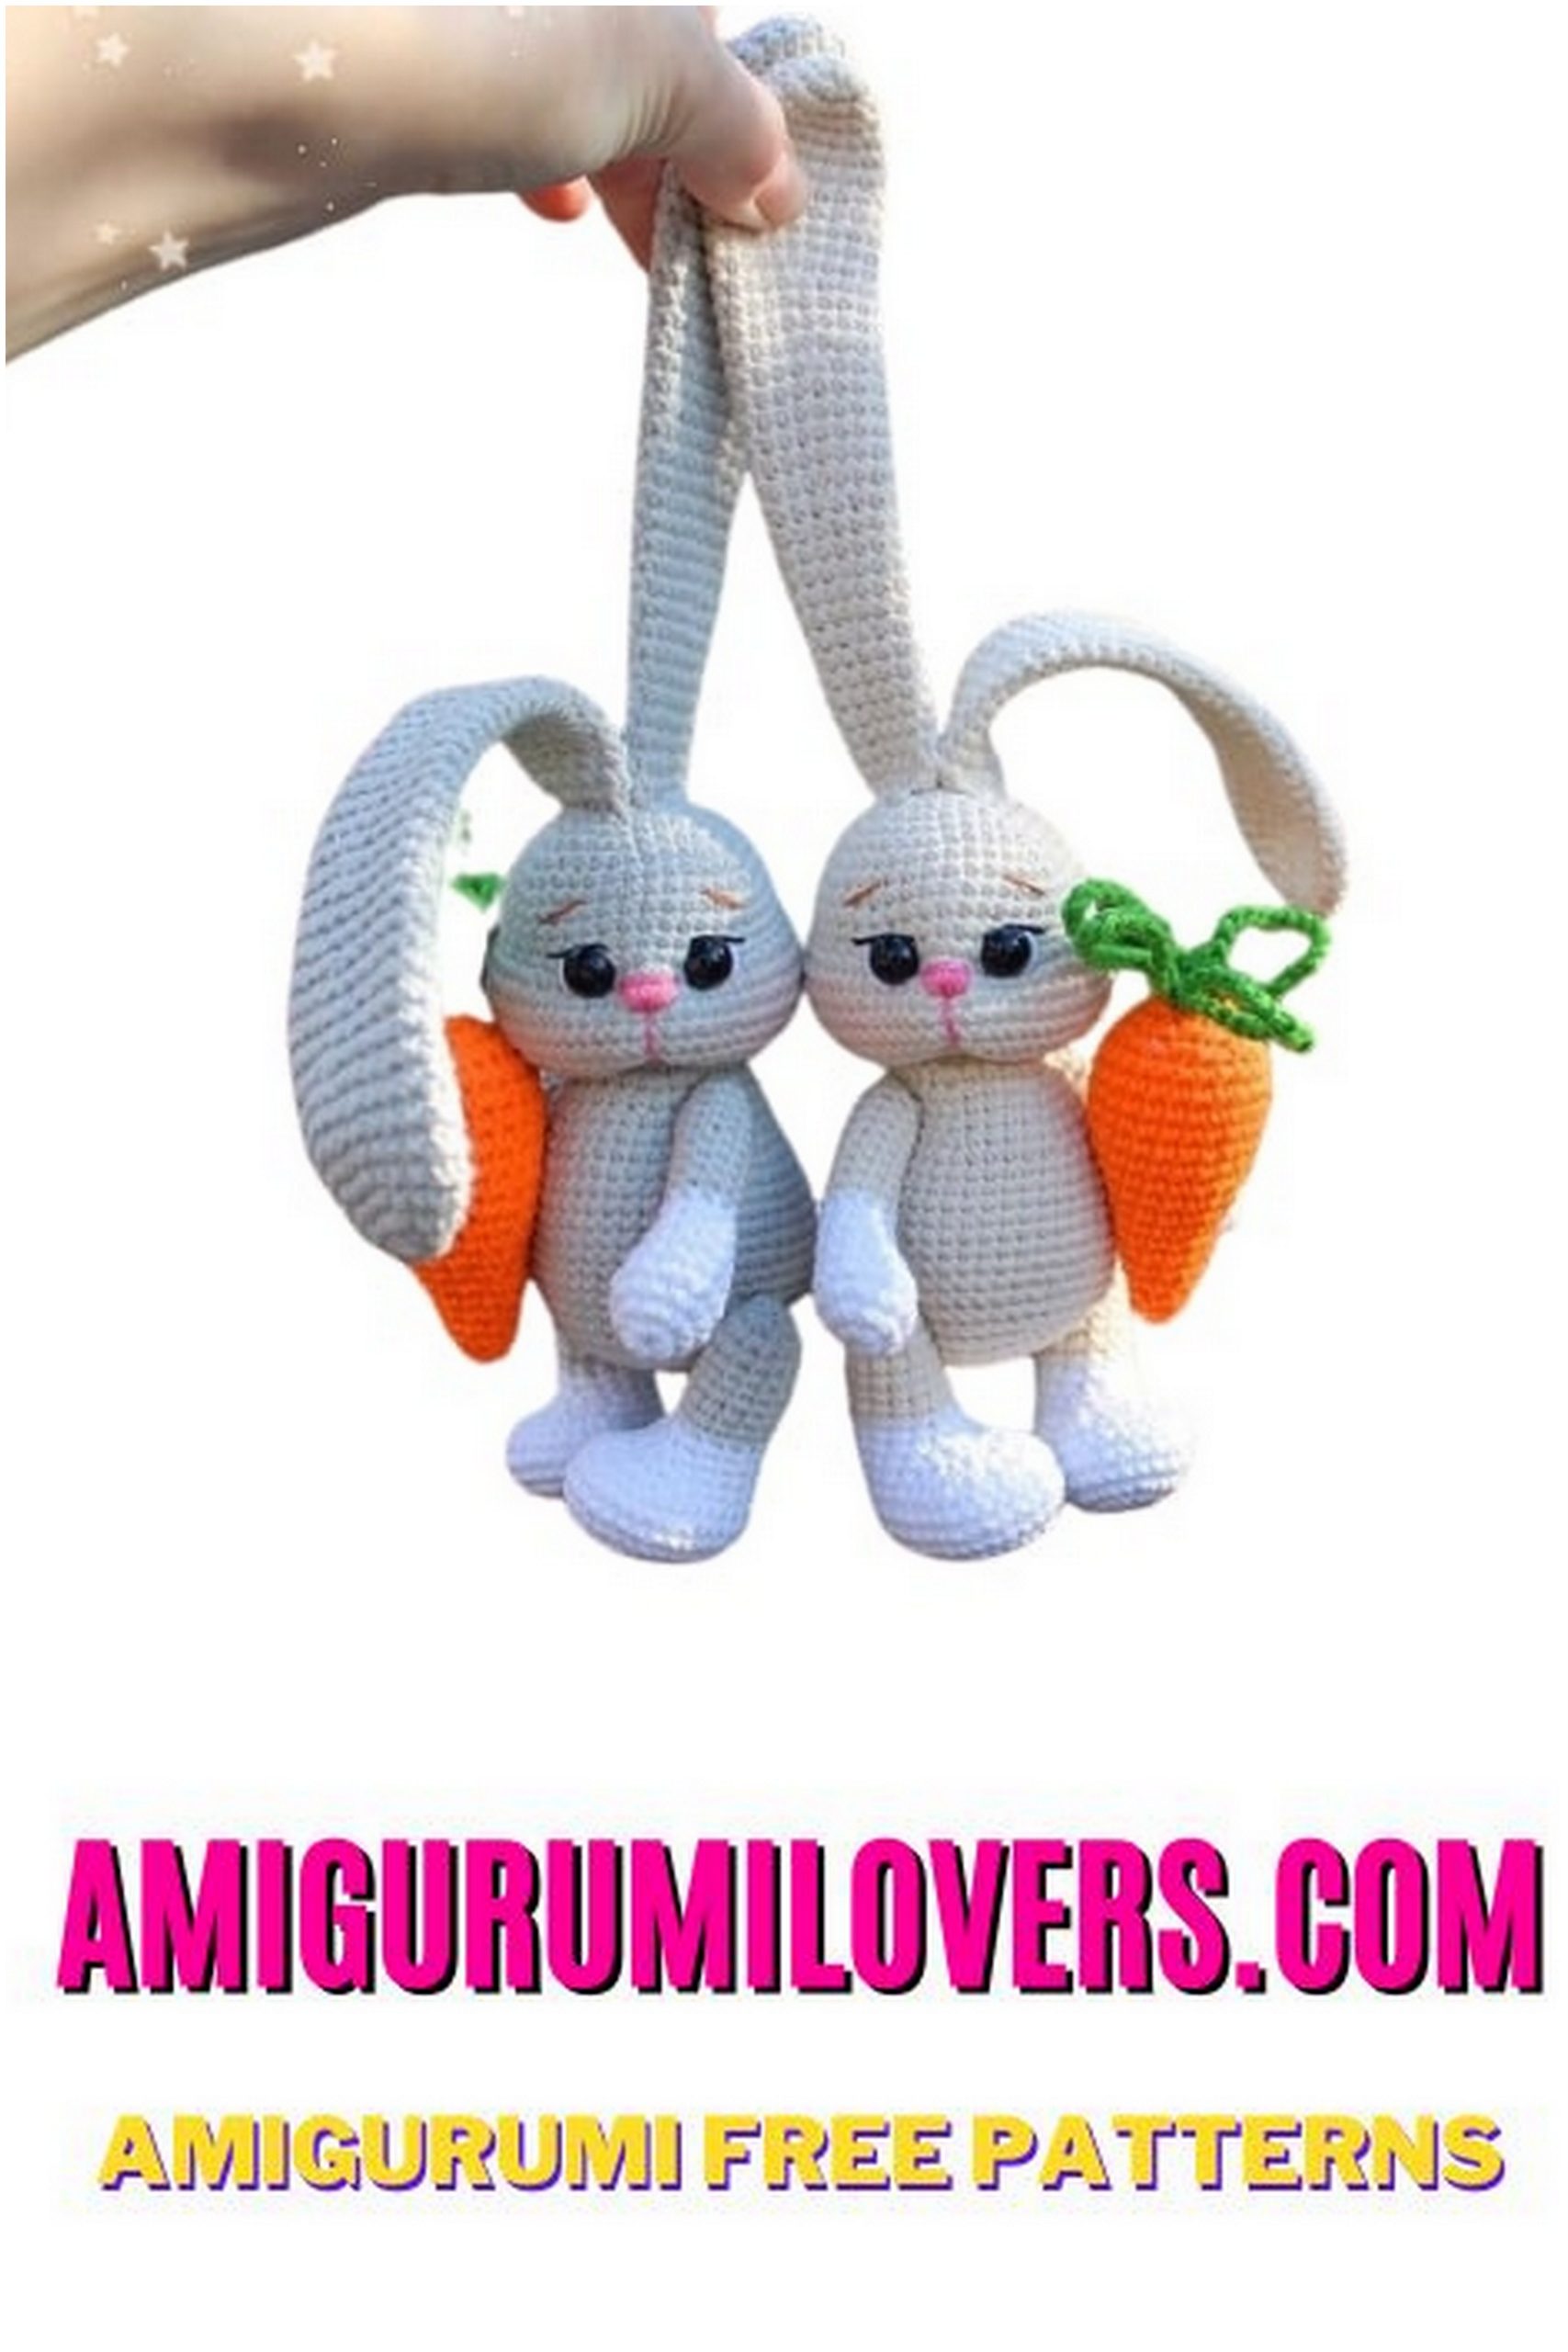
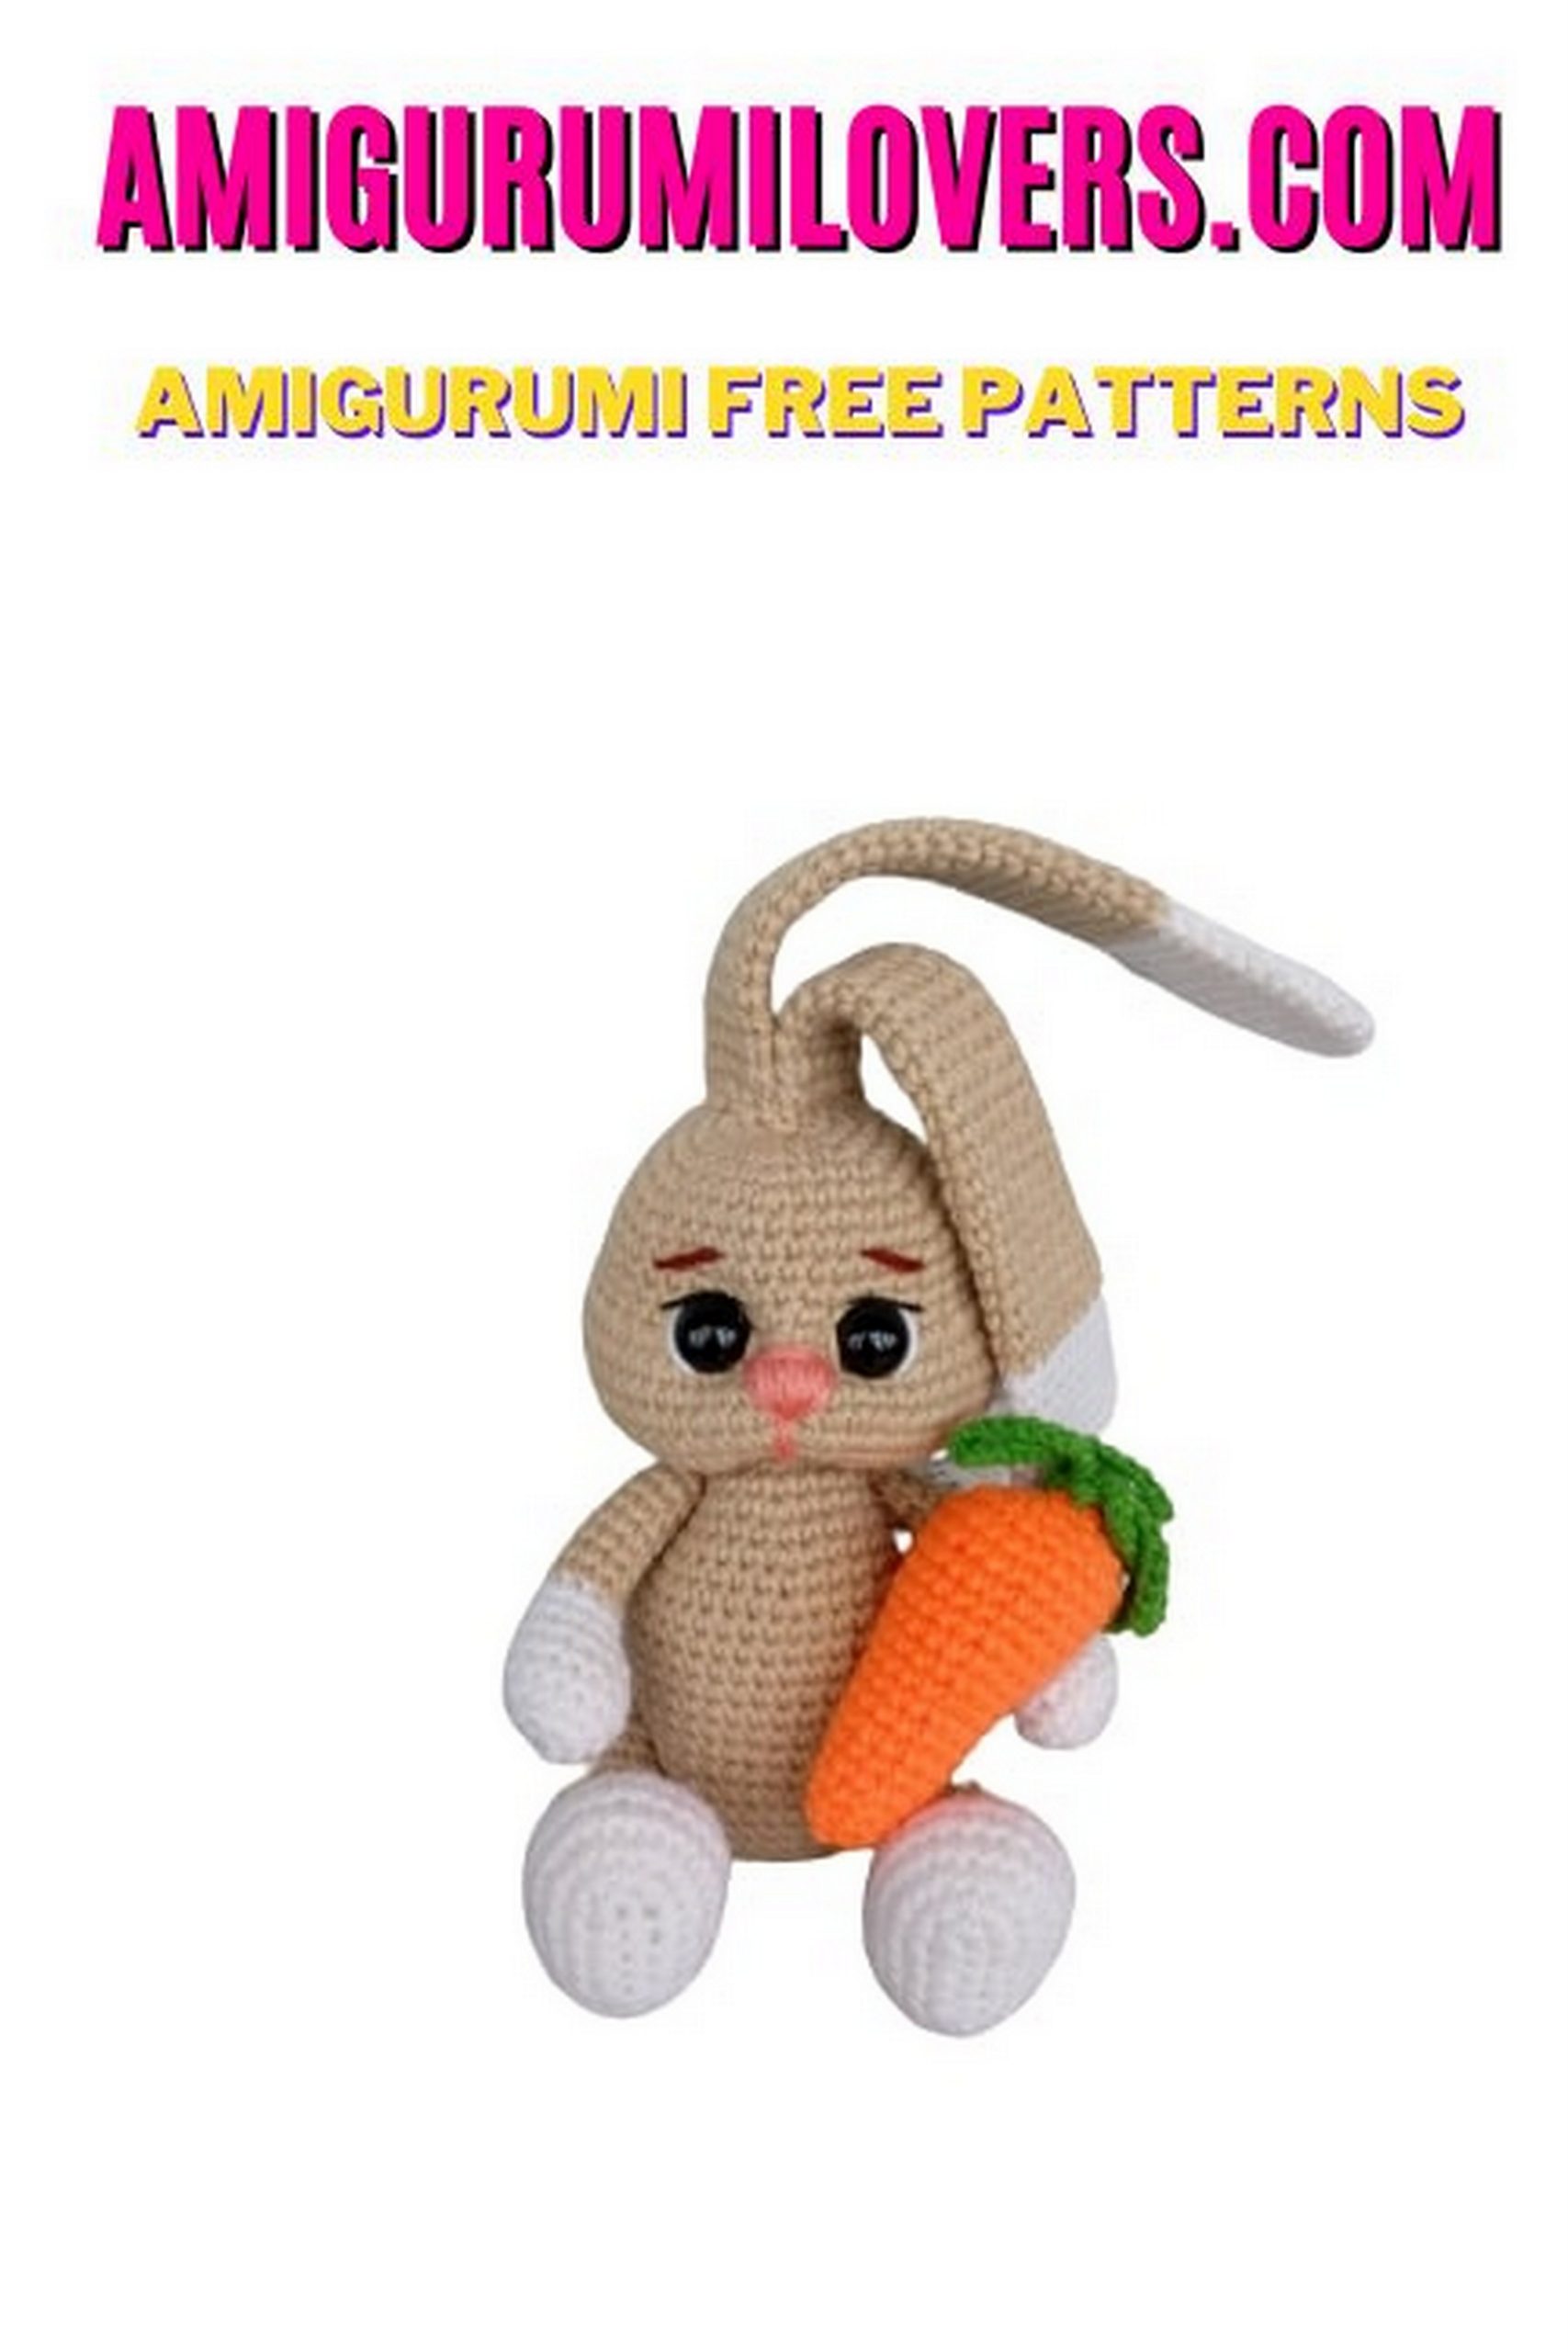
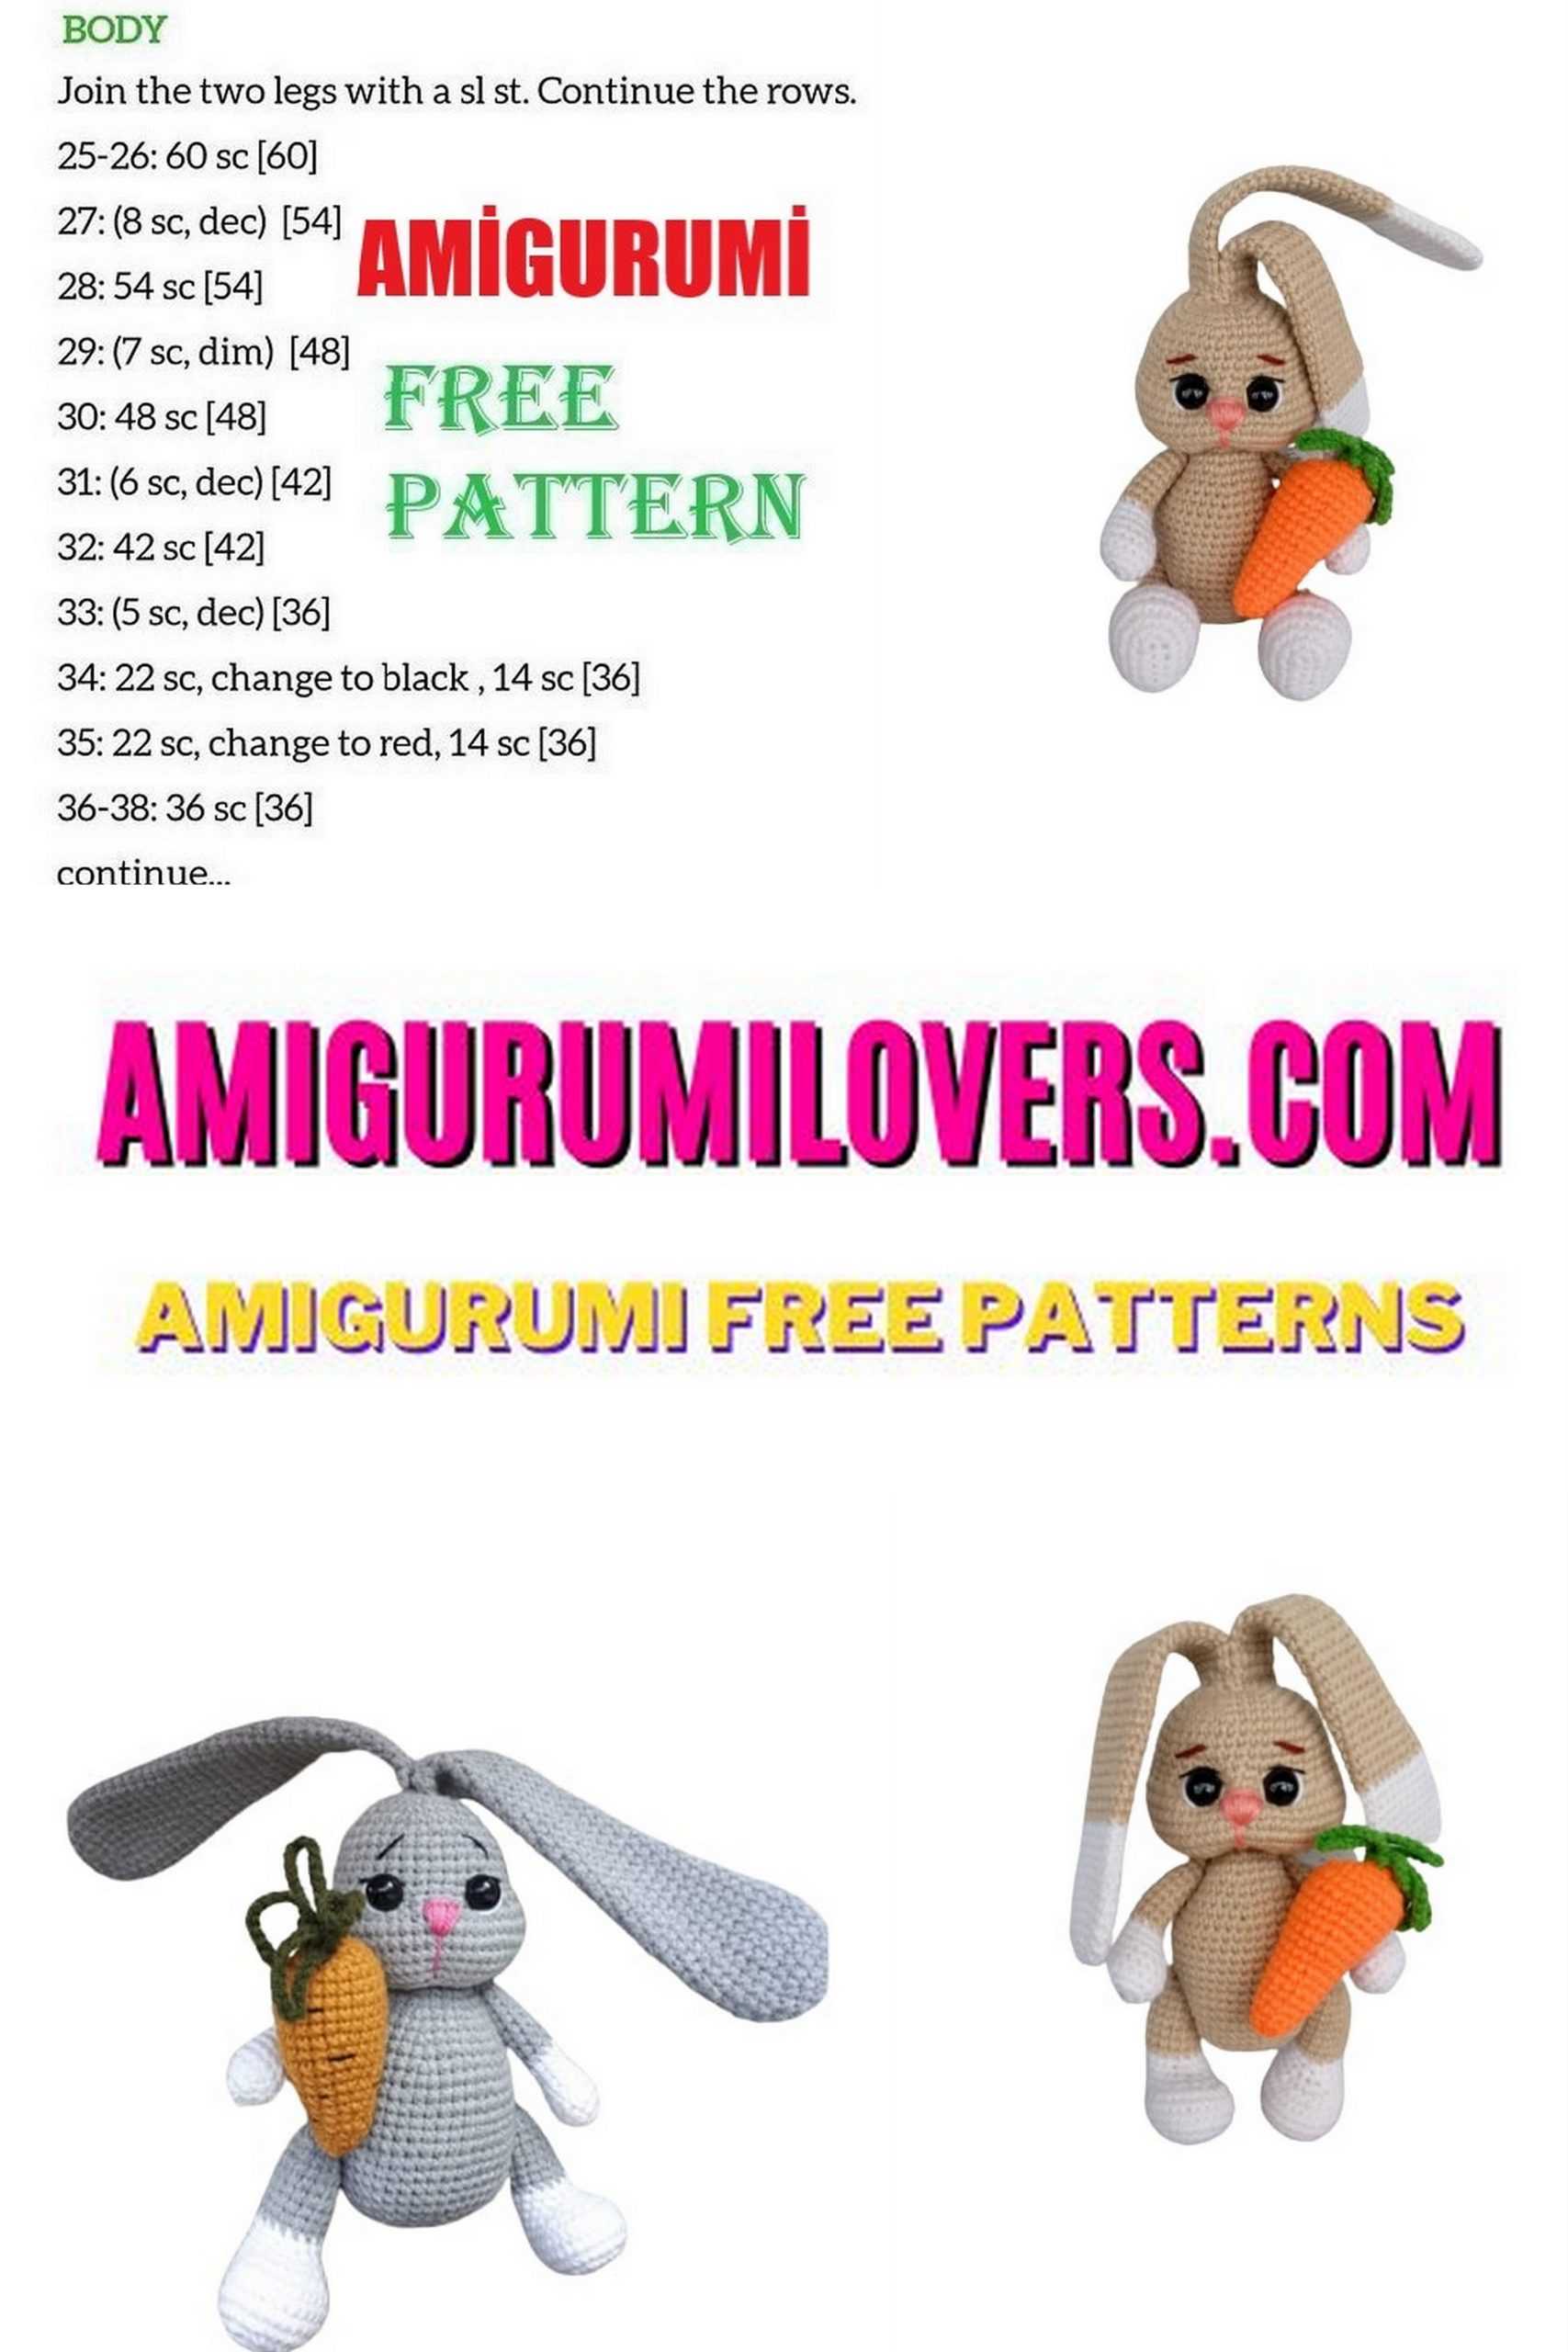
Cute Bunny Amigurumi Free Pattern
You may also enjoy exploring our free amigurumi patterns and other popular amigurumi animal patterns available on our website.
Welcome to our crochet haven, where yarn enthusiasts and beginners alike can discover the magic of amigurumi! If you’ve been looking for an adorable project to spark your creativity, you’re in for a treat. In this post, we’re excited to share a free crochet pattern for a cute bunny amigurumi. This charming little creation is not only perfect for beginner crocheters but also a delightful addition to any collection. Crocheting amigurumi is a wonderful way to practice your skills while crafting something that will bring joy to both the maker and the recipient.
Amigurumi, the art of crocheting small stuffed animals and objects, has gained immense popularity in the crafting community. Its whimsical designs and cuddly textures make it a favorite for crafters of all ages. Whether you’re making a thoughtful gift for a loved one or simply creating for yourself, amigurumi projects are rewarding and fun. Our bunny pattern is designed to be simple yet effective, allowing you to create a lovable little friend without feeling overwhelmed. With clear instructions and basic stitches, you’ll be whipping up this adorable bunny in no time.
This cute bunny amigurumi is perfect for a variety of occasions—be it Easter decorations, baby showers, or just a delightful addition to your home décor. Imagine gifting this charming bunny to a child, friend, or even keeping it as a delightful companion for yourself. The best part is that you can customize your bunny by choosing your favorite colors and yarn types, making it uniquely yours. If you’re new to crochet, don’t worry! Our free pattern includes step-by-step guidance to help you every stitch of the way. With a little patience and creativity, you’ll see how satisfying it can be to bring your yarn to life.
So grab your crochet hook, a ball of yarn, and let your imagination run wild. Crochet offers a wonderful opportunity to express your creativity, and there’s nothing quite like the sense of accomplishment you’ll feel when you finish your very own amigurumi bunny. Dive into this fun project, follow our pattern closely, and soon you’ll have a new furry friend ready to hop into your day. Whether you’re adding it to your collection or gifting it to someone special, this bunny will surely bring smiles and warmth. Let’s get started on this joyful journey of crocheting your cute bunny amigurumi!
We share wonderful amigurumi free patterns with you. In this article, Cute bunny amigurumi free pattern is waiting for you.
LIST OF MATERIALS REQUIRED
YarnArt JEANS yarn shade 80/05 (gray / beige), 01 (white), 77 (orange), 52 (green)
Threads of floss or iris pink, black and brown for the design of the muzzle.
Hook No. 2 and 2.5.
Filler (holofiber, synthetic fluff).
Eyes 8 mm on the secure mount.
Joint for attaching the head 2.5 cm (optional)
Long needle with a large eye for tightening and threading fastening.
Needle for sewing together toy parts.
Scissors.
When using the specified materials and medium density knitting toy turns out to be about 14 cm tall without ears and 27 cm with ears.
ABBREVATİONS
SC – single crochet
inc – increase (2 SC in one loop)
dec – decrease (2 SC together)
CH – air loop
SL-ST – connecting post
The offset loop is always the first loop of the row (knit like SC), but then the second loop that follows it is considered the first loop. With it, we align knitting. The offset loop is not included in the total loop count for the pattern.
HEAD
Start knitting with your base color.
1st row: 6 SC in amigurumi ring (6)
2nd row: increase * 6 times (12)
3rd row: (1 SC, inc) * 6 times (18)
4th row: (2 SC, inc) * 6 times (24)
5 row: (3 SC, inc) * 6 times (30)
6 row: (4 SC, inc) * 6 times (36)
7 row: (11 SC, inc) * 3 times (39)
8 row: (12 SC, inc) * 3 times (42)
9-12 row (4 rows): 42 SC (42)
13th row: inc, 8 SC, 8 inc, 7 SC (in place a marker in the central loop of these seven – this is the center of the muzzle), 8 inc, 8 SC, inc, 1 SC (60)
14-19 row (6 rows): 60 SC (60)
At this point, insert the safety eyes between the 12th and 13th rows of the head at a distance of 7 SC, focusing on the center of the muzzle.
20 row: (1 SC, dec) * 20 times (40)
21 row: (2 SC, dec) * 10 times (30)
Start filling your head.
22 row: (3 SC, dec) * 6 times (24)
23 row: (2 SC, dec) * 6 times (18)
If you plan to use the joint to attach the head, insert one part of the joint (disc with screw) into the head at this point. If you are not using a joint, skip this step and just continue knitting.
Before inserting the joint, fill the head all the way, very tightly, forming the cheeks.
24 row: (1 SC, dec) * 6 times (12)
25 row: decrease * 6 times (6)
Cut the thread, tighten the hole around the screw. Hide the thread.
DECORATION OF THE FACE
First you need to pull the muzzle.
To do this, you need to mark the points through which you will tighten. Points A and B, C and D are located near the toy’s eye, points D and E in the middle of the muzzle between 20 and 21 rows. Distance between adjacent points – 1 SC. Insert the thread at point D, output at point B (the end of the thread should remain visible from point D). For convenience, I will write the points in turn of inserting and removing the needle. So: D – (B – A – D – E – C – G – E – D) * repeat 2-3 times. Thus, you have pulled the mouth of the toy, now you need to pull your eyes together: (A – D – C – B) * repeat 2 times. Tighten the thread.
Bring the thread out at point D, tie both ends and hide.
The tightening is ready.
Next, embroider the whites of the eyes, eyelashes, eyebrows and nose of the toy.
How I do this, you can watch the video on Instagram (in the publication with the MK stages).
EARS (2 pieces)
Begin to crochet with a thread of the main color in a larger size (I have it a hook number 2.5). Knit loose enough to make the eyelet heavier.
1st row: 6 SC in magic ring (6)
2nd row: increase * 6 times (12)
3rd row: (1 SC, inc) * 6 times (18)
4th row: (8 SC, inc) * 2 times (20)
5 row: 1 SC, inc, 9 SC, inc, 8 SC (22)
6-9 row (4 rows): 22 SC (22)
10 row: (dec, 9 SC) * 2 times (20)
11-13 row (3 rows): 20 SC (20)
14 row: (dec, 8 SC) * 2 times (18)
15-17 row (3 rows): 18 SC (18)
18 row: (dec, 7 SC) * 2 times (16)
19-23 row (5 rows): 16 SC (16)
24 row: (dec, 6 SC) * 2 times (14)
25-29 row (5 rows): 14 SC (14)
30 row: (dec, 5 SC) * 2 times (12)
31-37 row (7 rows): 12 SC (12)
Fold the base of the eyelet in half, knit 6 SC together. Cut the thread, leave the end for sewing.
In order for the ears to be less “standing”, be sure to steam them with an iron, slightly stretching the canvas.
TRUNK
The body is knitted from top to bottom.
Start knitting with your base color.
1st row: 6 SC in magic ring (6)
Tighten the amigurumi ring lightly so that the screw from the joint can be inserted into it.
2nd row: increase * 6 times (12)
3rd row: (1 SC, inc) * 6 times (18)
4th row: (2 SC, inc) * 6 times (24)
5 row: (7 SC, inc) * 3 times (27)
6 row: 3 SC, inc, (8 SC, inc) * 2 times, 5 SC (30)
7 row: (9 SC, inc) * 3 times (33)
Attach the base of the torso to the head by sliding it over the joint screw and securing it with a plug. To make it easier to do this, thread a knitting needle through your head (at the very base, just above the disc of the joint), and lean on this knitting needle when attaching the torso.
Continue knitting the torso
8 row: 4 SC, inc, (10 SC, inc) * 2 times, 6 SC (36)
9 row: (11 SC, inc) * 3 times (39)
10 row: 5 SC, inc, (12 SC, inc) * 2 times, 7 SC (42)
11 row: 12 SC, 2 inc, 28 SC (44)
12 row: 13 SC, 2 inc, 29 SC (46)
13 row: 14 SC, 2 inc, 30 SC (48)
If you are not using a joint to attach the head, mark yourself the increments in rows 11-13 – this is the center of the back of the toy.
14-21 rows (8 rows): 48 SC (48)
22 row: 2 SC, dec, (6 SC, dec) * 5 times, 4 SC (42)
23 row: (5 SC, dec) * 6 times (36)
Start filling your torso.
24 row: 1 SC, dec, (4 SC, dec) * 5 times, 3 SC (30)
25 row: (3 SC, dec) * 6 times (24)
26 row: (2 SC, dec) * 6 times (18)
27 row: (1 SC, dec) * 6 times (12)
28 row: decrease * 6 times (6)
Cut the thread, pull off the hole. Hide the thread.
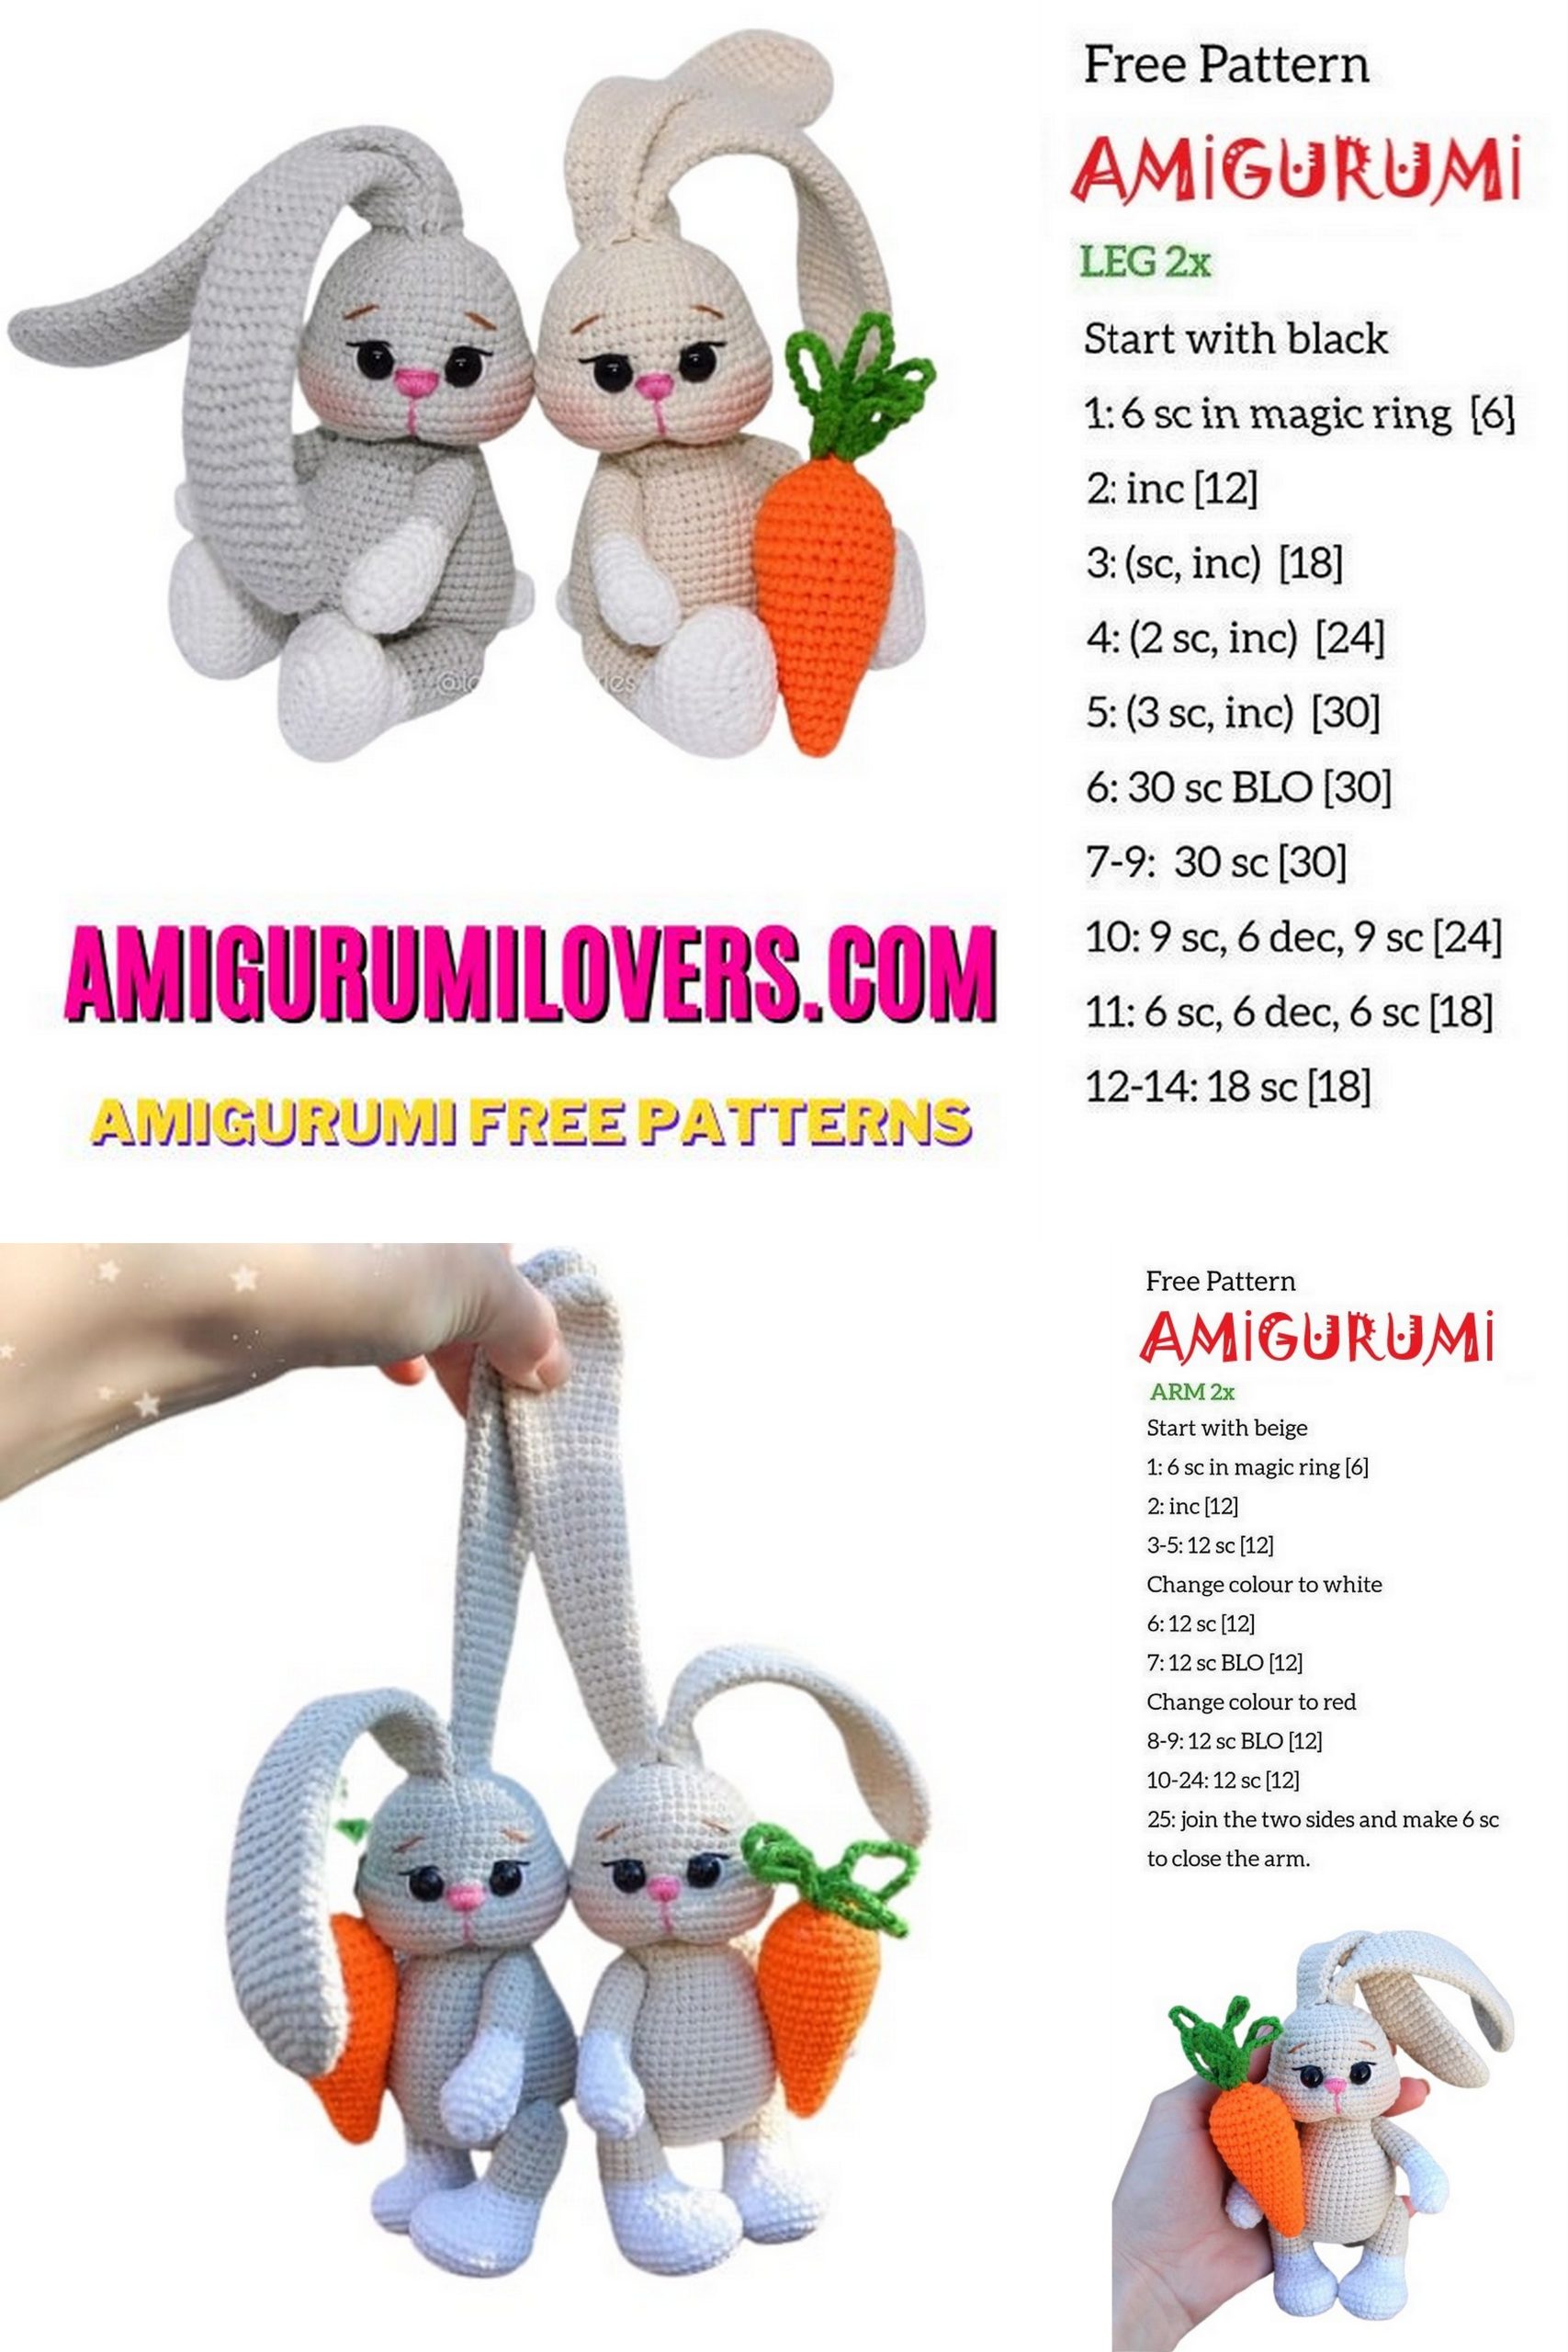
LEGS (2 pieces)
Start knitting with white thread. Cast on 6 CH, start knitting from the second loop from the hook.
1 row: inc, 3 SC, 4 SC in one loop, 4 SC (13)
2nd row: 2 inc, 2 SC, 6 inc, 2 SC, inc (22)
3rd row: (1 SC, inc) * 2 times, 2 SC, (1 SC, inc) * 6 times, 3 SC, inc (31)
Work two offset loops.
4-6 rows (3 rows): 31 SC (31)
7 row: dec, 29 SC (30)
8 row: 7 SC, 8 dec, 7 SC (22)
9th row: 7 SC, 4 dec, 7 SC (18)
10 row: 7 SC, 2 dec, 7 SC (16)
11 row: 7 SC, dec, 7 SC (15)
Change the thread to your base color.
12-18 row (7 rows): 15 SC (15)
19 row: (3 SC, dec) * 3 times (12)
20 row: decrease * 6 times (6)
Cut the thread, pull off the hole. Hide the thread.
HANDLES (2 pieces)
Start knitting with white thread.
1st row: 6 SC in magic ring (6)
2nd row: increase * 6 times (12)
3rd row: (3 SC, inc) * 3 times (15)
4-5 row: 15 SC (15)
6 row: 1 dec, 2 SC, 1 dec, 9 SC (13)
7 row: 2 dec, 9 SC (11)
8 row: 1 dec, 9 SC (10)
Change the thread to your base color.
9-17 row (9 rows): 10 SC (10)
18 row: decrease * 5 times (5)
Cut the thread, pull off the hole. Hide the thread.
TAIL
Knit with white thread.
1st row: 6 SC in magic ring (6)
2nd row: increase * 6 times (12)
3rd row: (1 SC, inc) * 6 times (18)
4th row: decrease * 9 times (9)
Fasten the thread, cut, leave a long end for sewing. Tail
Lightly fill with filler.
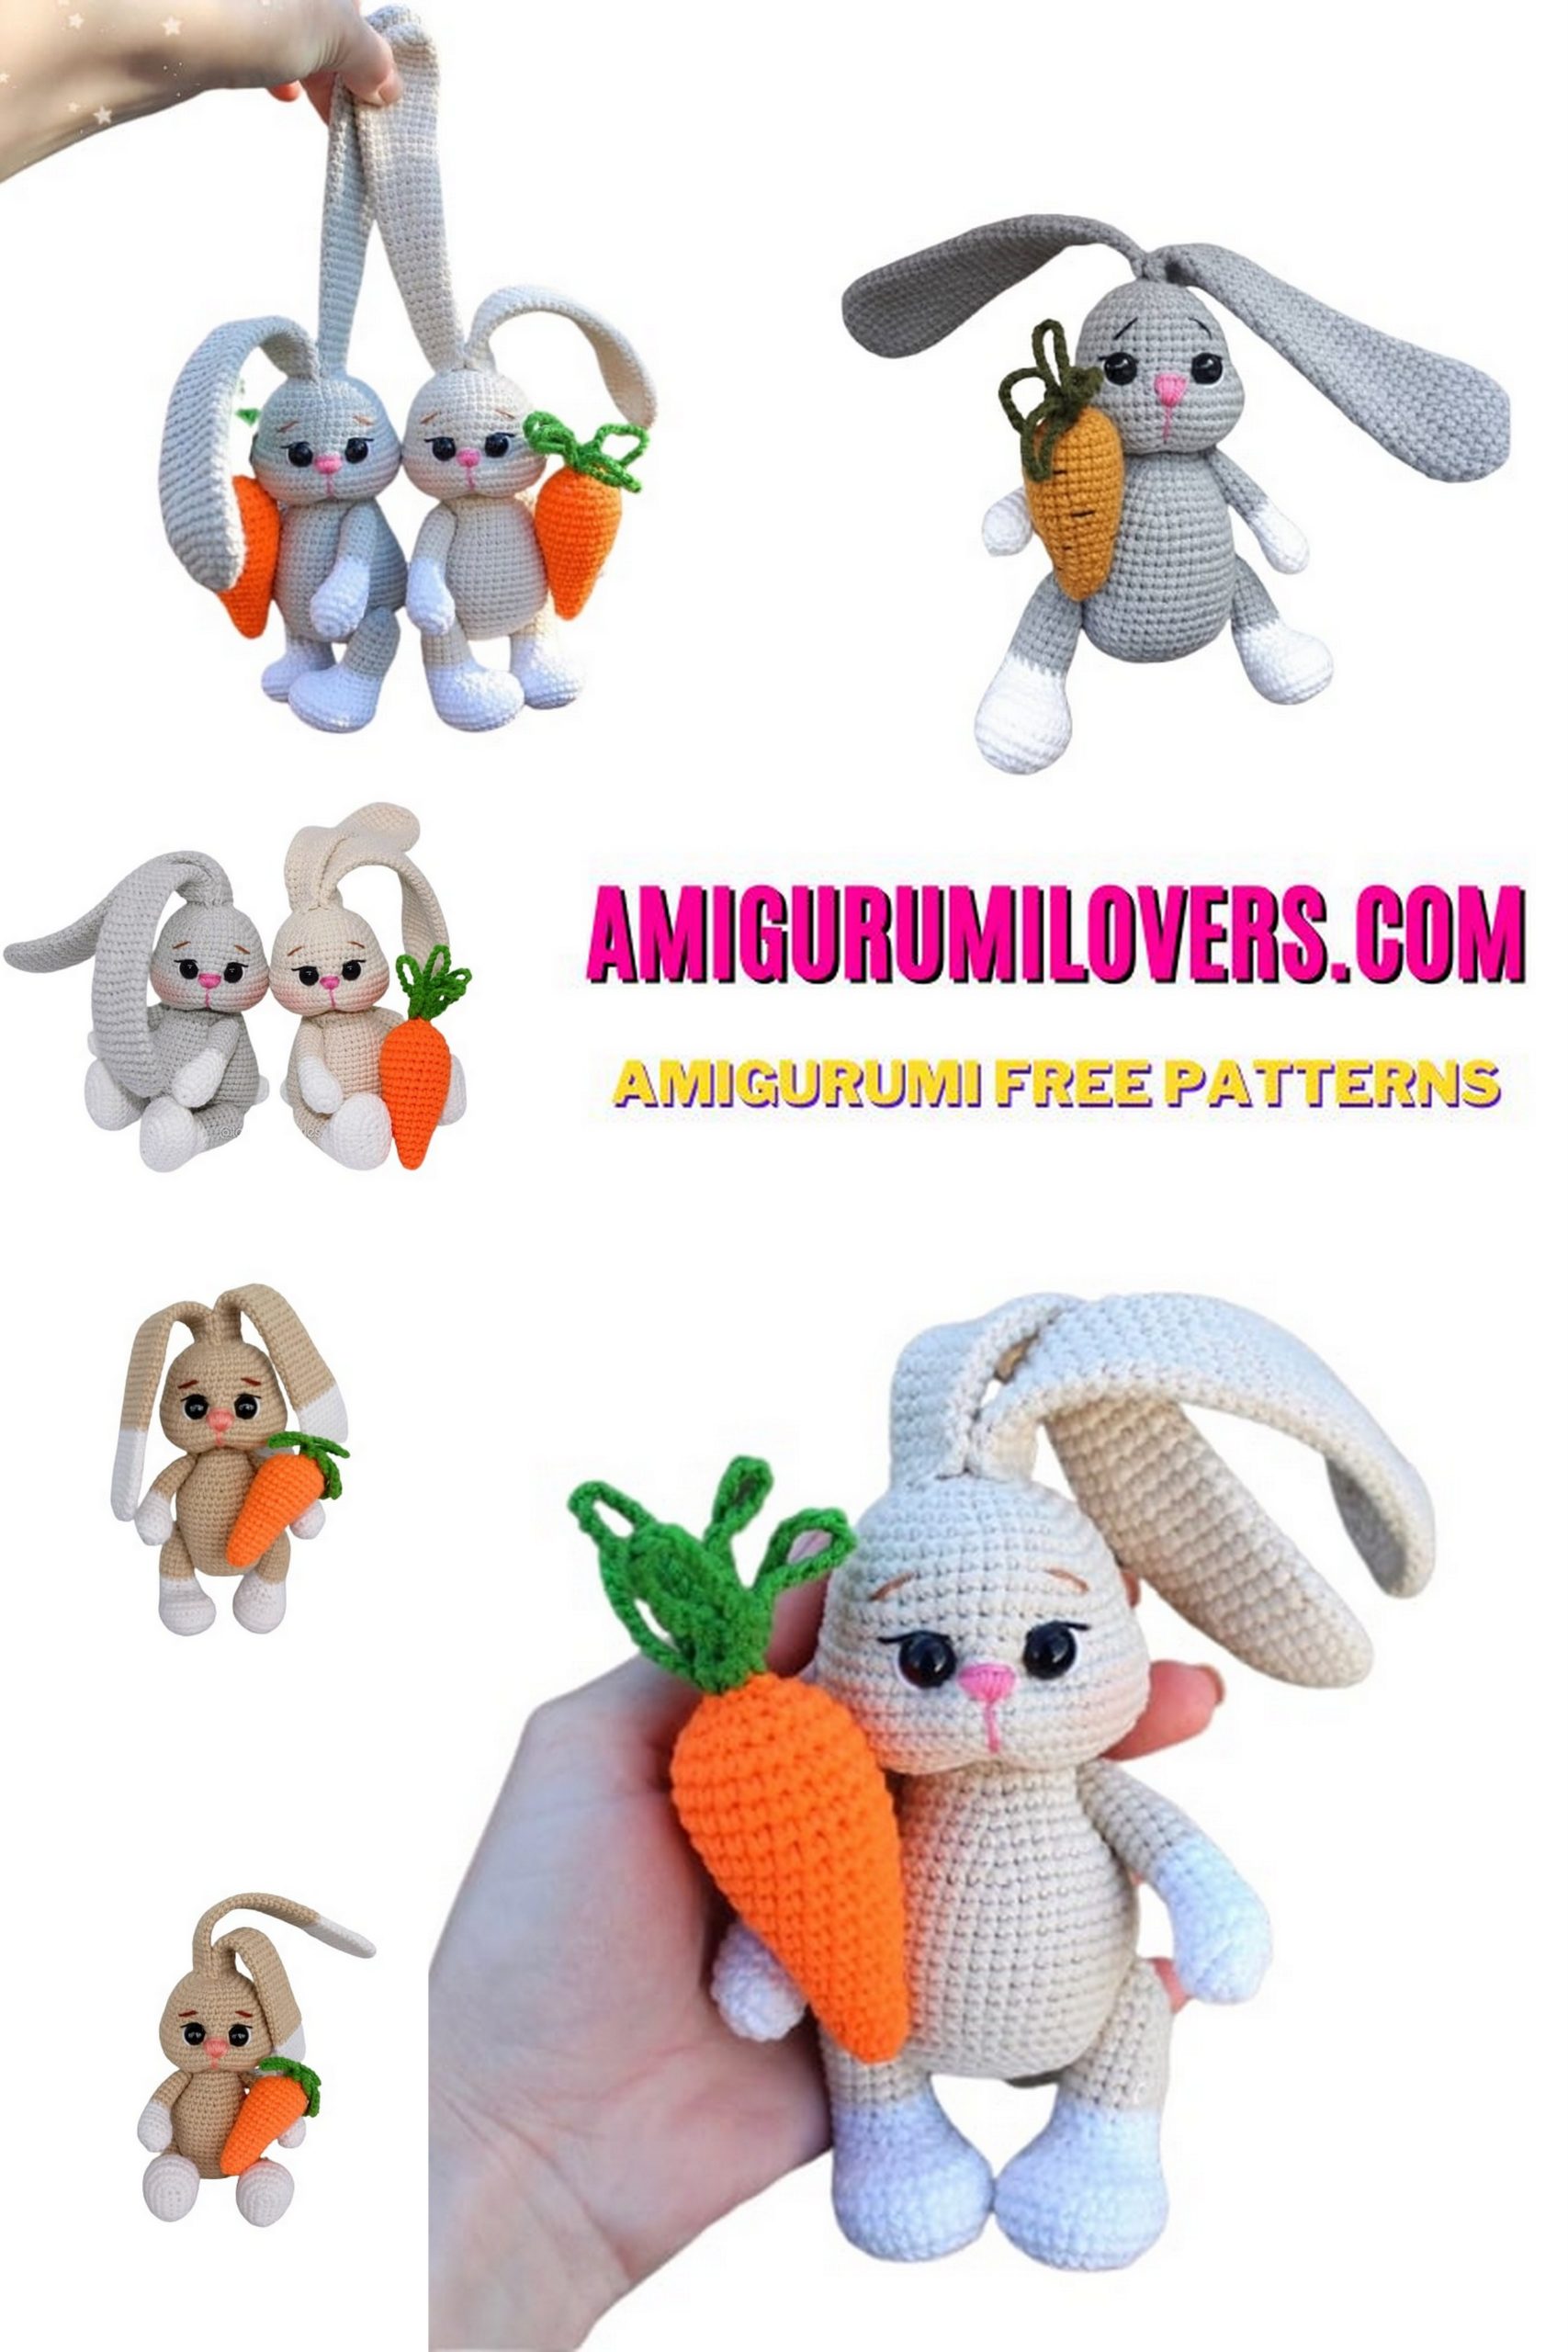
ASSEMBLING THE TOY
Sew the ears to the head, placing them at the base at an angle to each other, and then lightly grab them together to shape them (see photo) Attach the arms and legs using a thread fastener – the legs between 10 and 11 rows of the body (bottom), handles between 23 and 24 rows (bottom). You can see how I make the thread fastening of the legs on Instagram-TV on my @tata_memories page.
Sew the ponytail between 10-13 rows of the body (from below). Tint the cheeks. The bunny is ready!
Before you leave, make sure to check out more free amigurumi crochet patterns and discover new ideas for your next project.
You can also browse our full amigurumi pattern archive for hundreds of beginner-friendly designs.