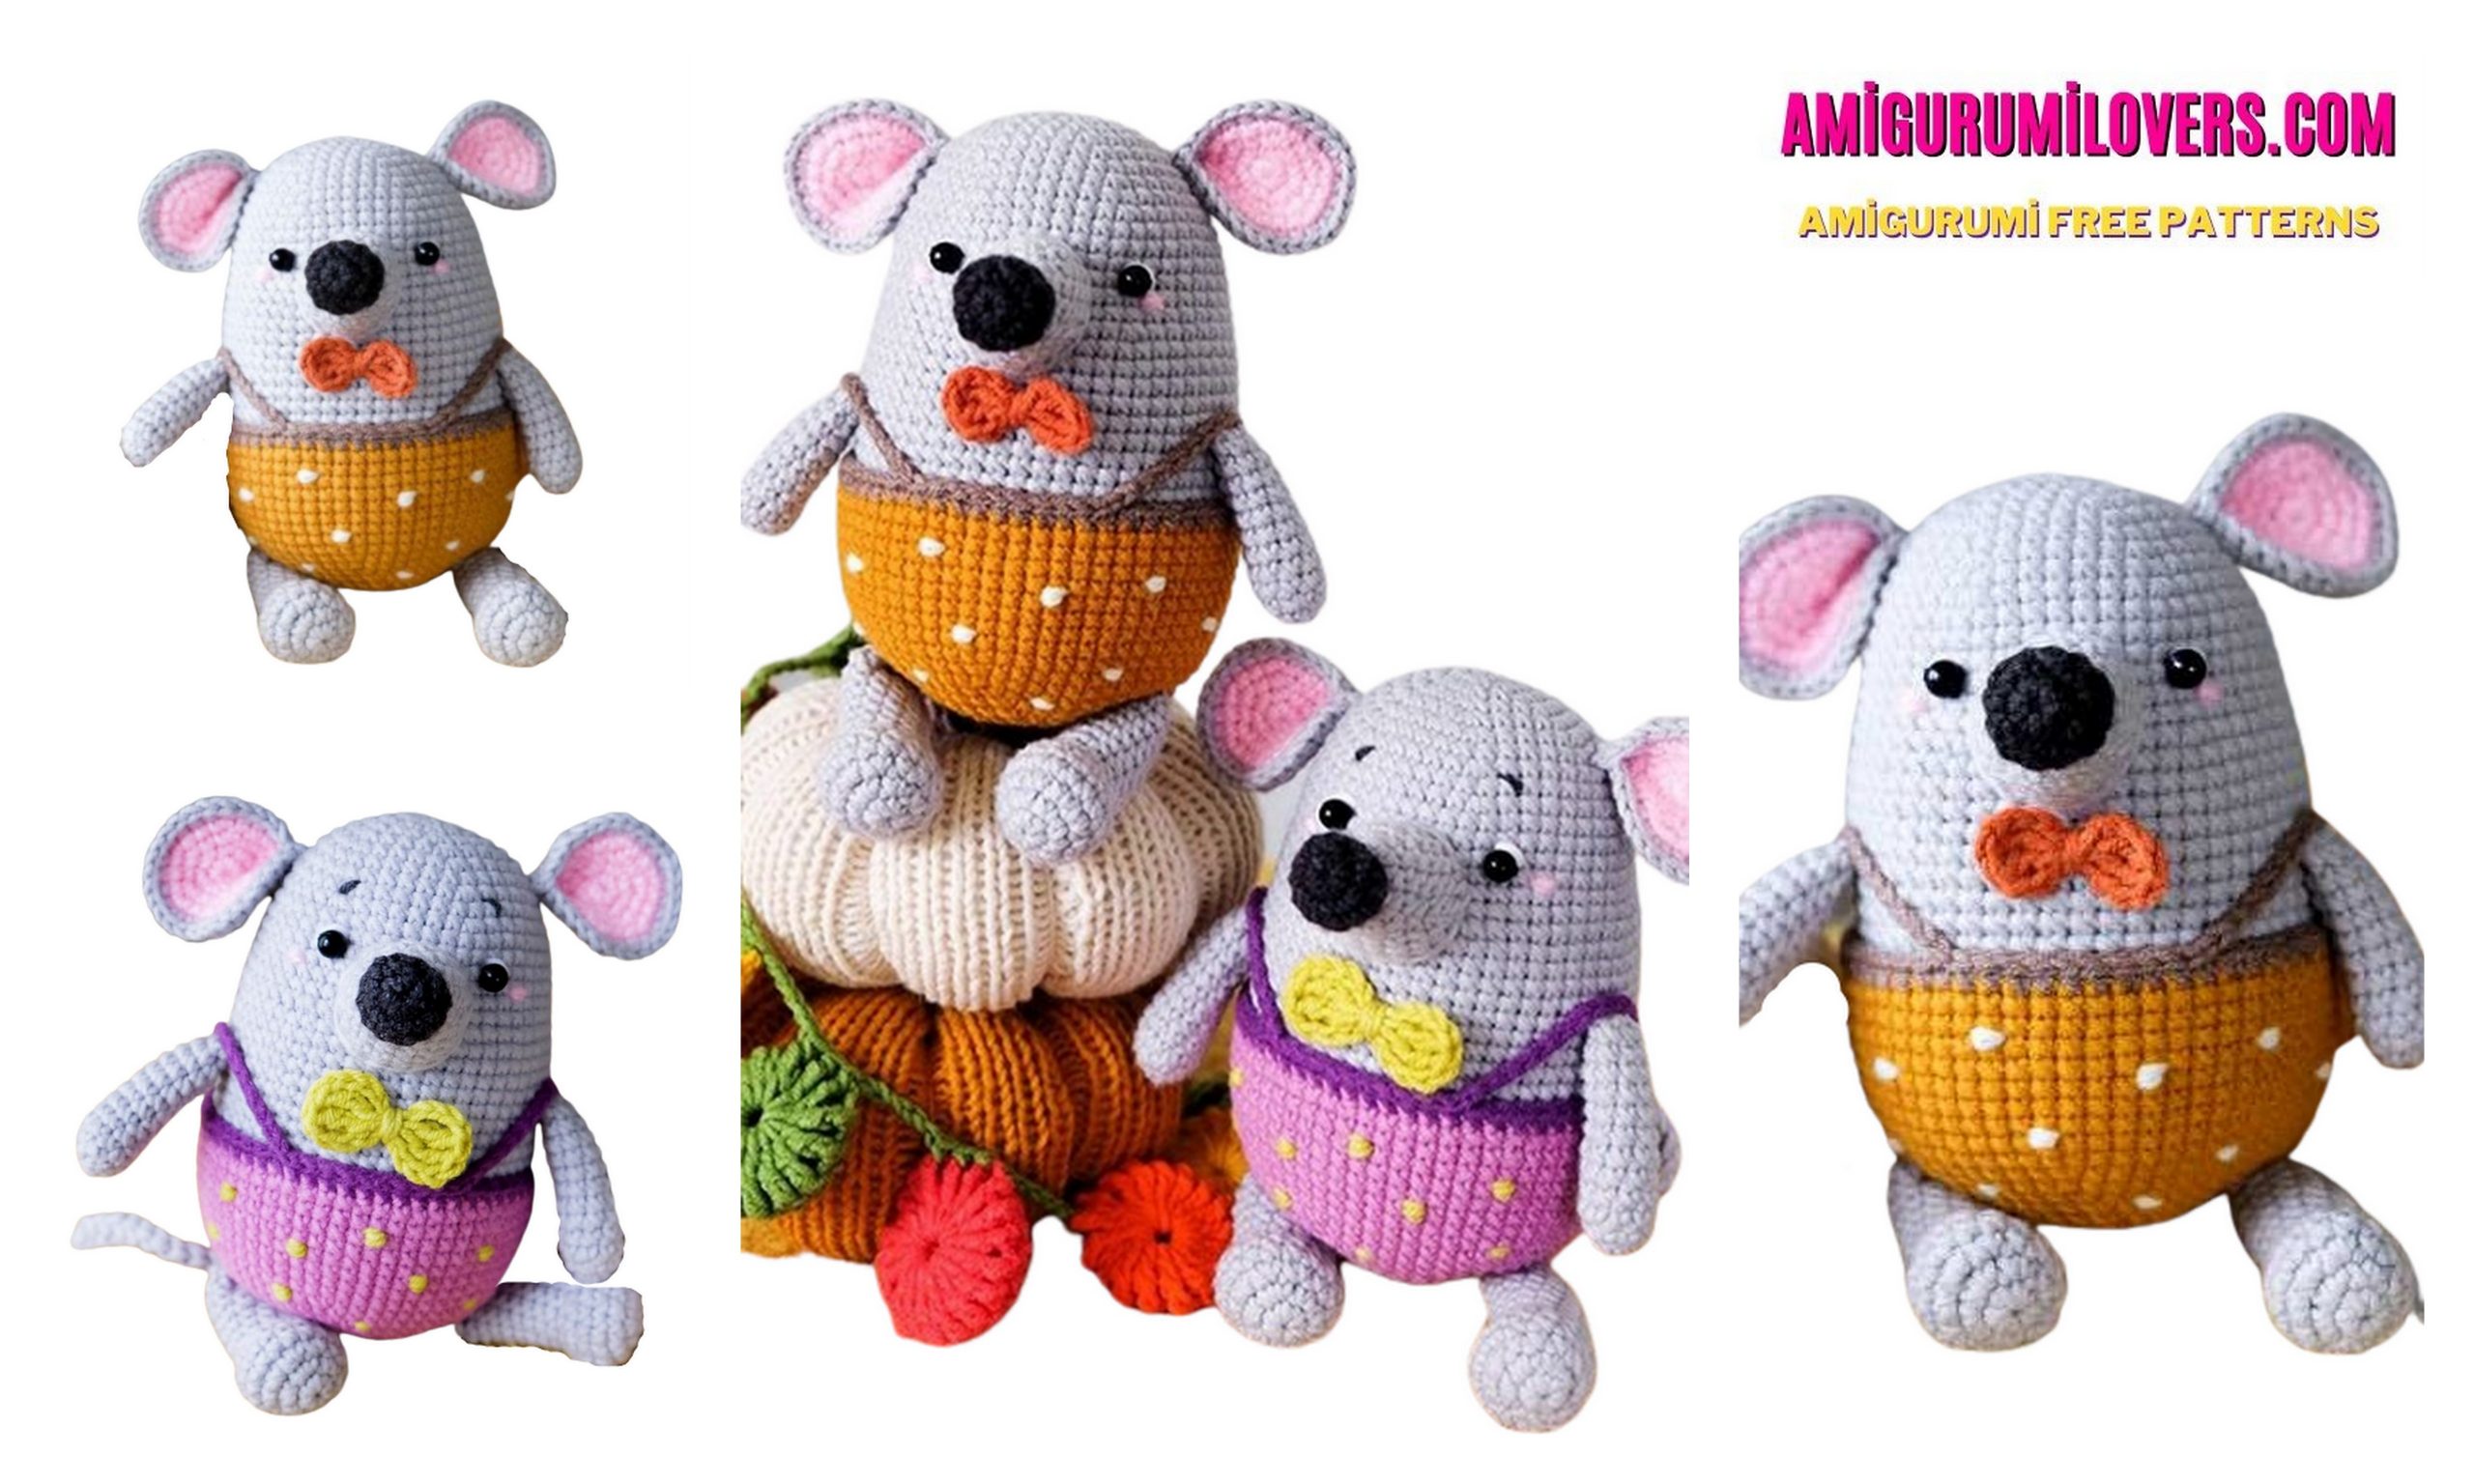
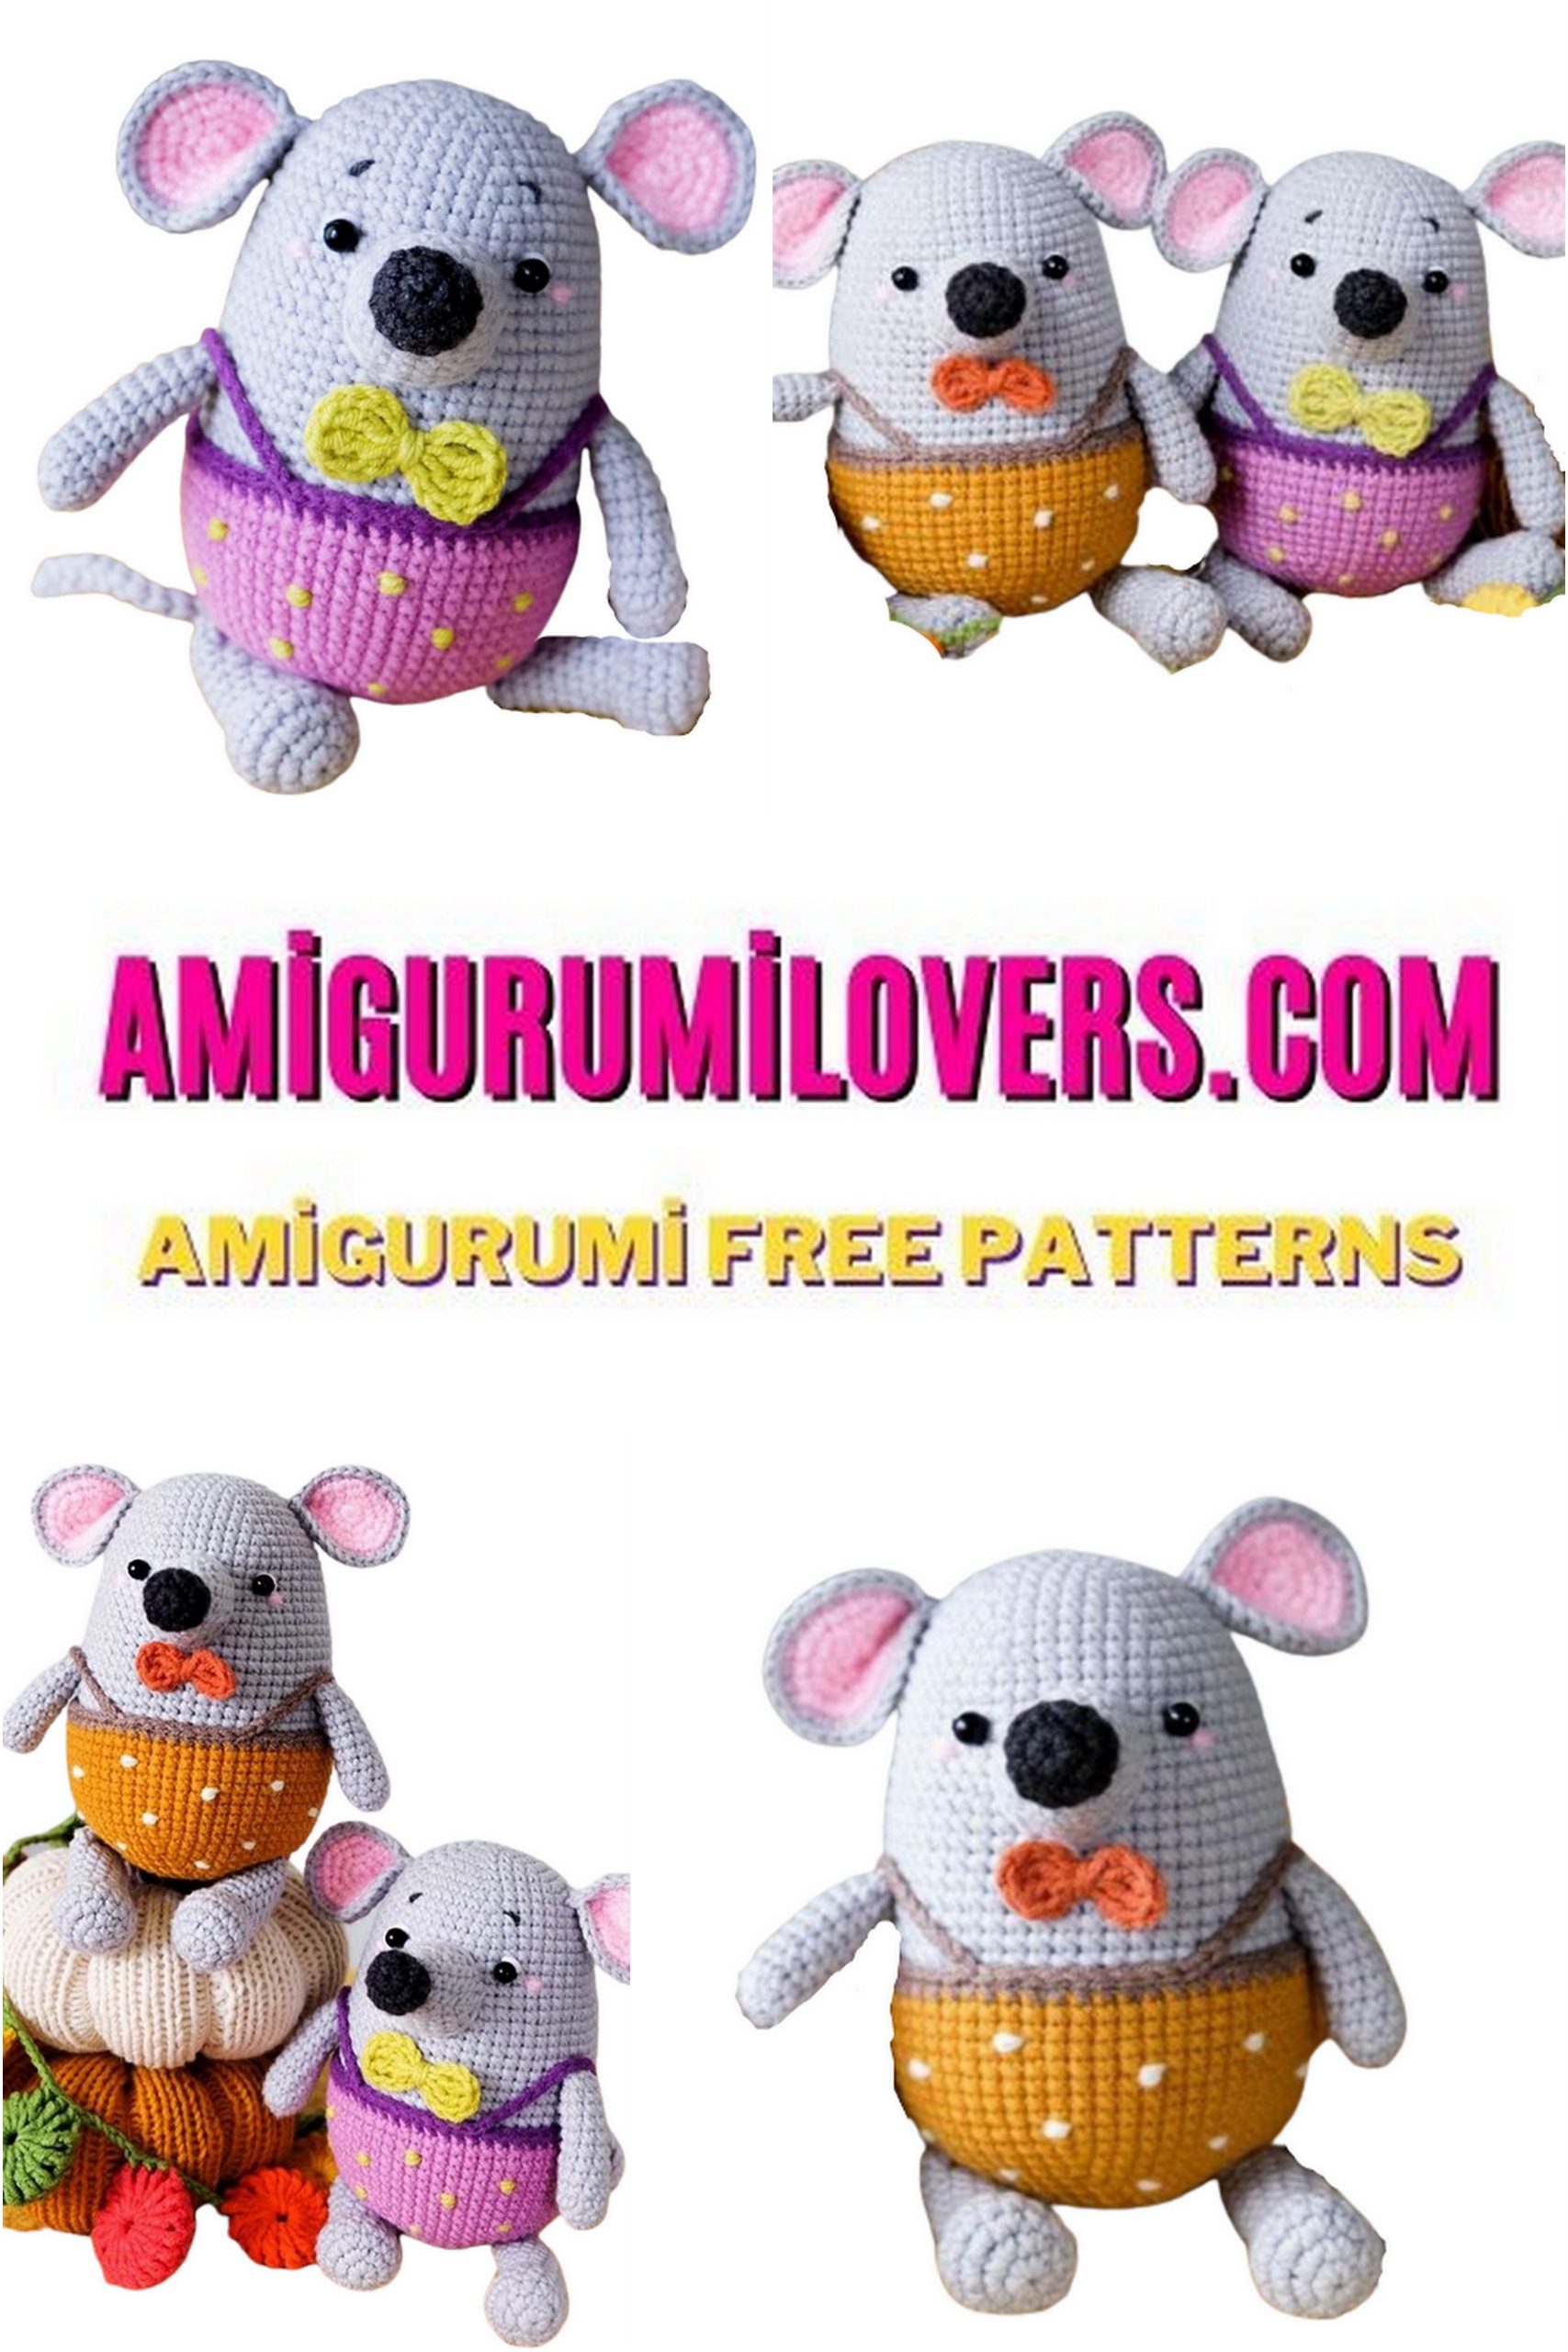
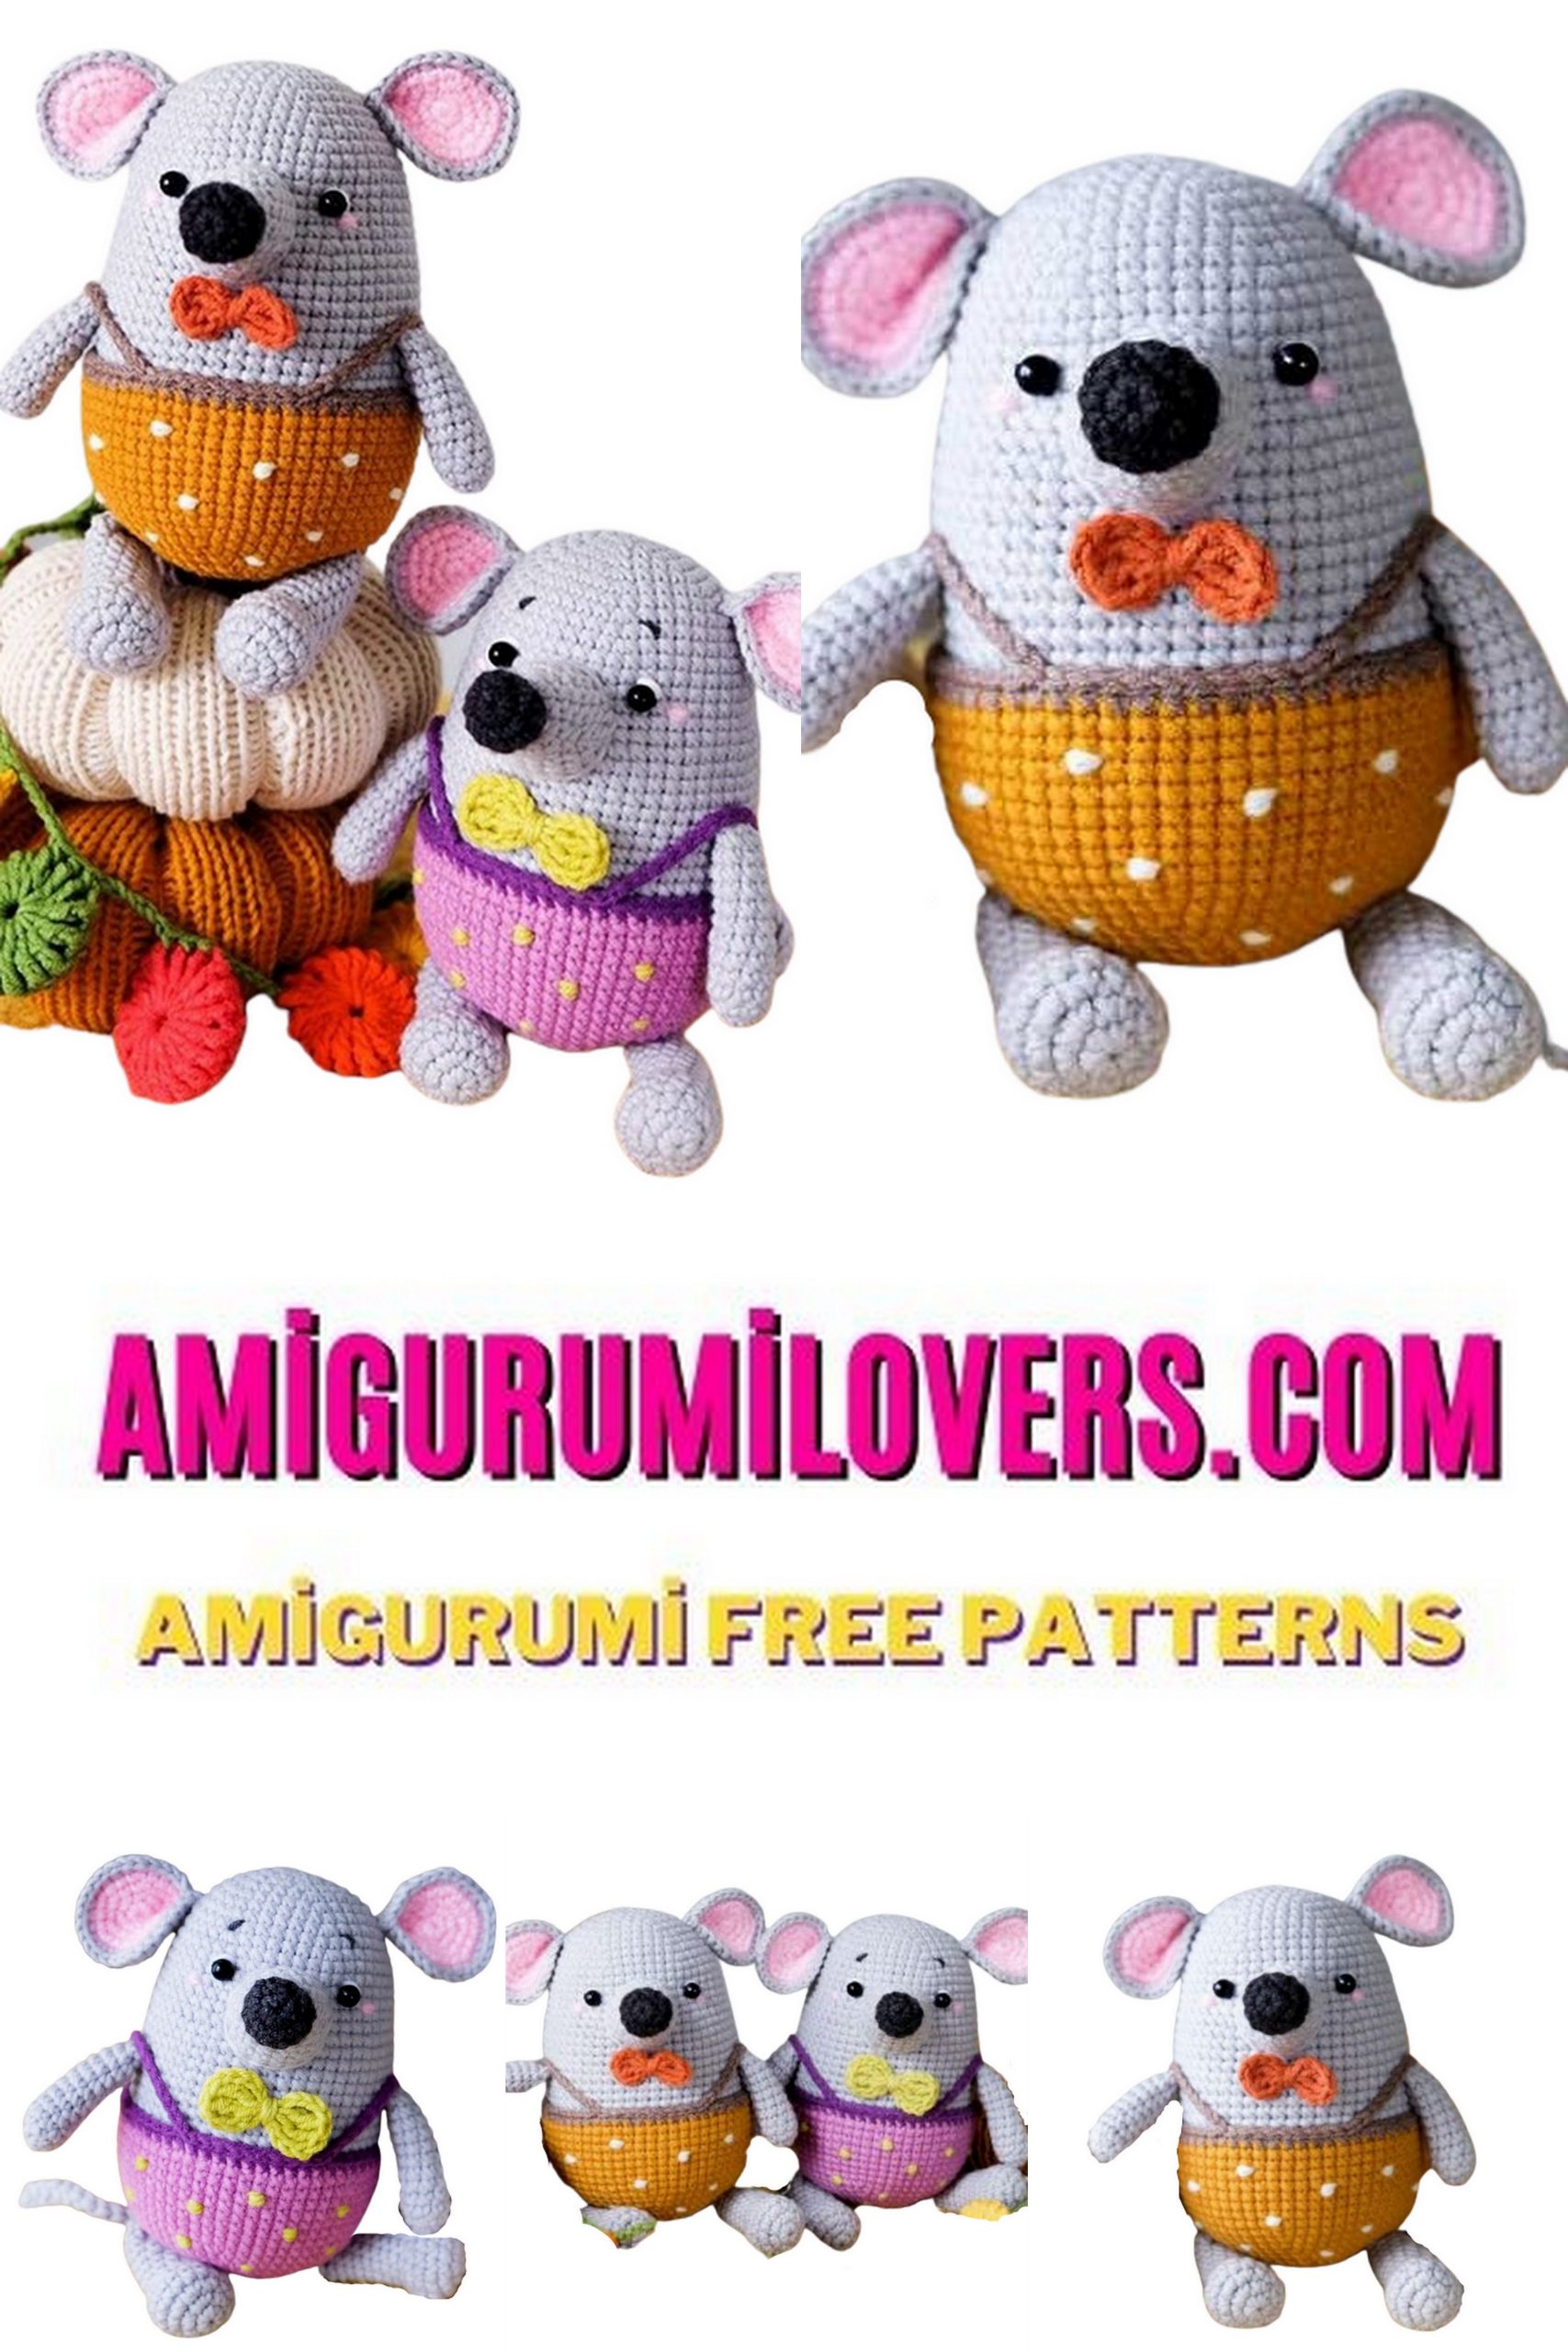
Free Cute Mouse Amigurumi Pattern | Craft Your Adorable Crochet Mouse Friend
You may also enjoy exploring our free amigurumi patterns and other popular amigurumi animal patterns available on our website.
Welcome to our crochet corner, where creativity meets comfort in every stitch! If you’re new to the world of amigurumi, you’re in for a delightful journey. Today, we’re excited to share a free amigurumi crochet pattern that will help you craft an adorable crochet mouse friend. This charming little character is perfect for both beginners and more seasoned crafters looking to add a playful project to their repertoire.
Amigurumi, the Japanese art of knitting or crocheting small stuffed animals and creatures, has taken the crafting community by storm. Its appeal lies not only in the whimsical designs but also in the joy of creating something uniquely yours. Our cute mouse amigurumi pattern is designed to spark your imagination while providing instructions that are easy to follow. You’ll be amazed at how quickly your crochet mouse comes to life with just a few simple stitches.
This project is ideal for beginners as it incorporates basic crochet techniques, making it an excellent choice for those looking to hone their skills. With each round you crochet, you’ll gain confidence and experience, empowering you to tackle more complex designs in the future. Plus, there’s something incredibly rewarding about watching your yarn transform into a cuddly creature right before your eyes!
As you craft your crochet mouse, you’ll also find opportunities to personalize your creation. From selecting your yarn colors to adding unique embellishments like tiny accessories, each little mouse can reflect your personal style. The joy of amigurumi lies not just in the finished product, but also in the creative process and the little touches that make your project truly one-of-a-kind.
Whether you’re looking to create a lovely gift for a friend or simply wish to add a cheerful companion to your home, this adorable crochet mouse is sure to bring a smile to anyone who sees it. Grab your yarn and crochet hook, and get ready to embark on this enjoyable crafting adventure. In our detailed pattern, we’ll provide step-by-step instructions and helpful tips to ensure your project is a success.
So, let’s dive into the world of crochet together! Our free cute mouse amigurumi pattern awaits you, ready to guide you in creating a whimsical little friend that will steal hearts and spark joy. We’re thrilled to support you on this creative journey and can’t wait to see the marvelous mouse you’ll craft. Happy crocheting!
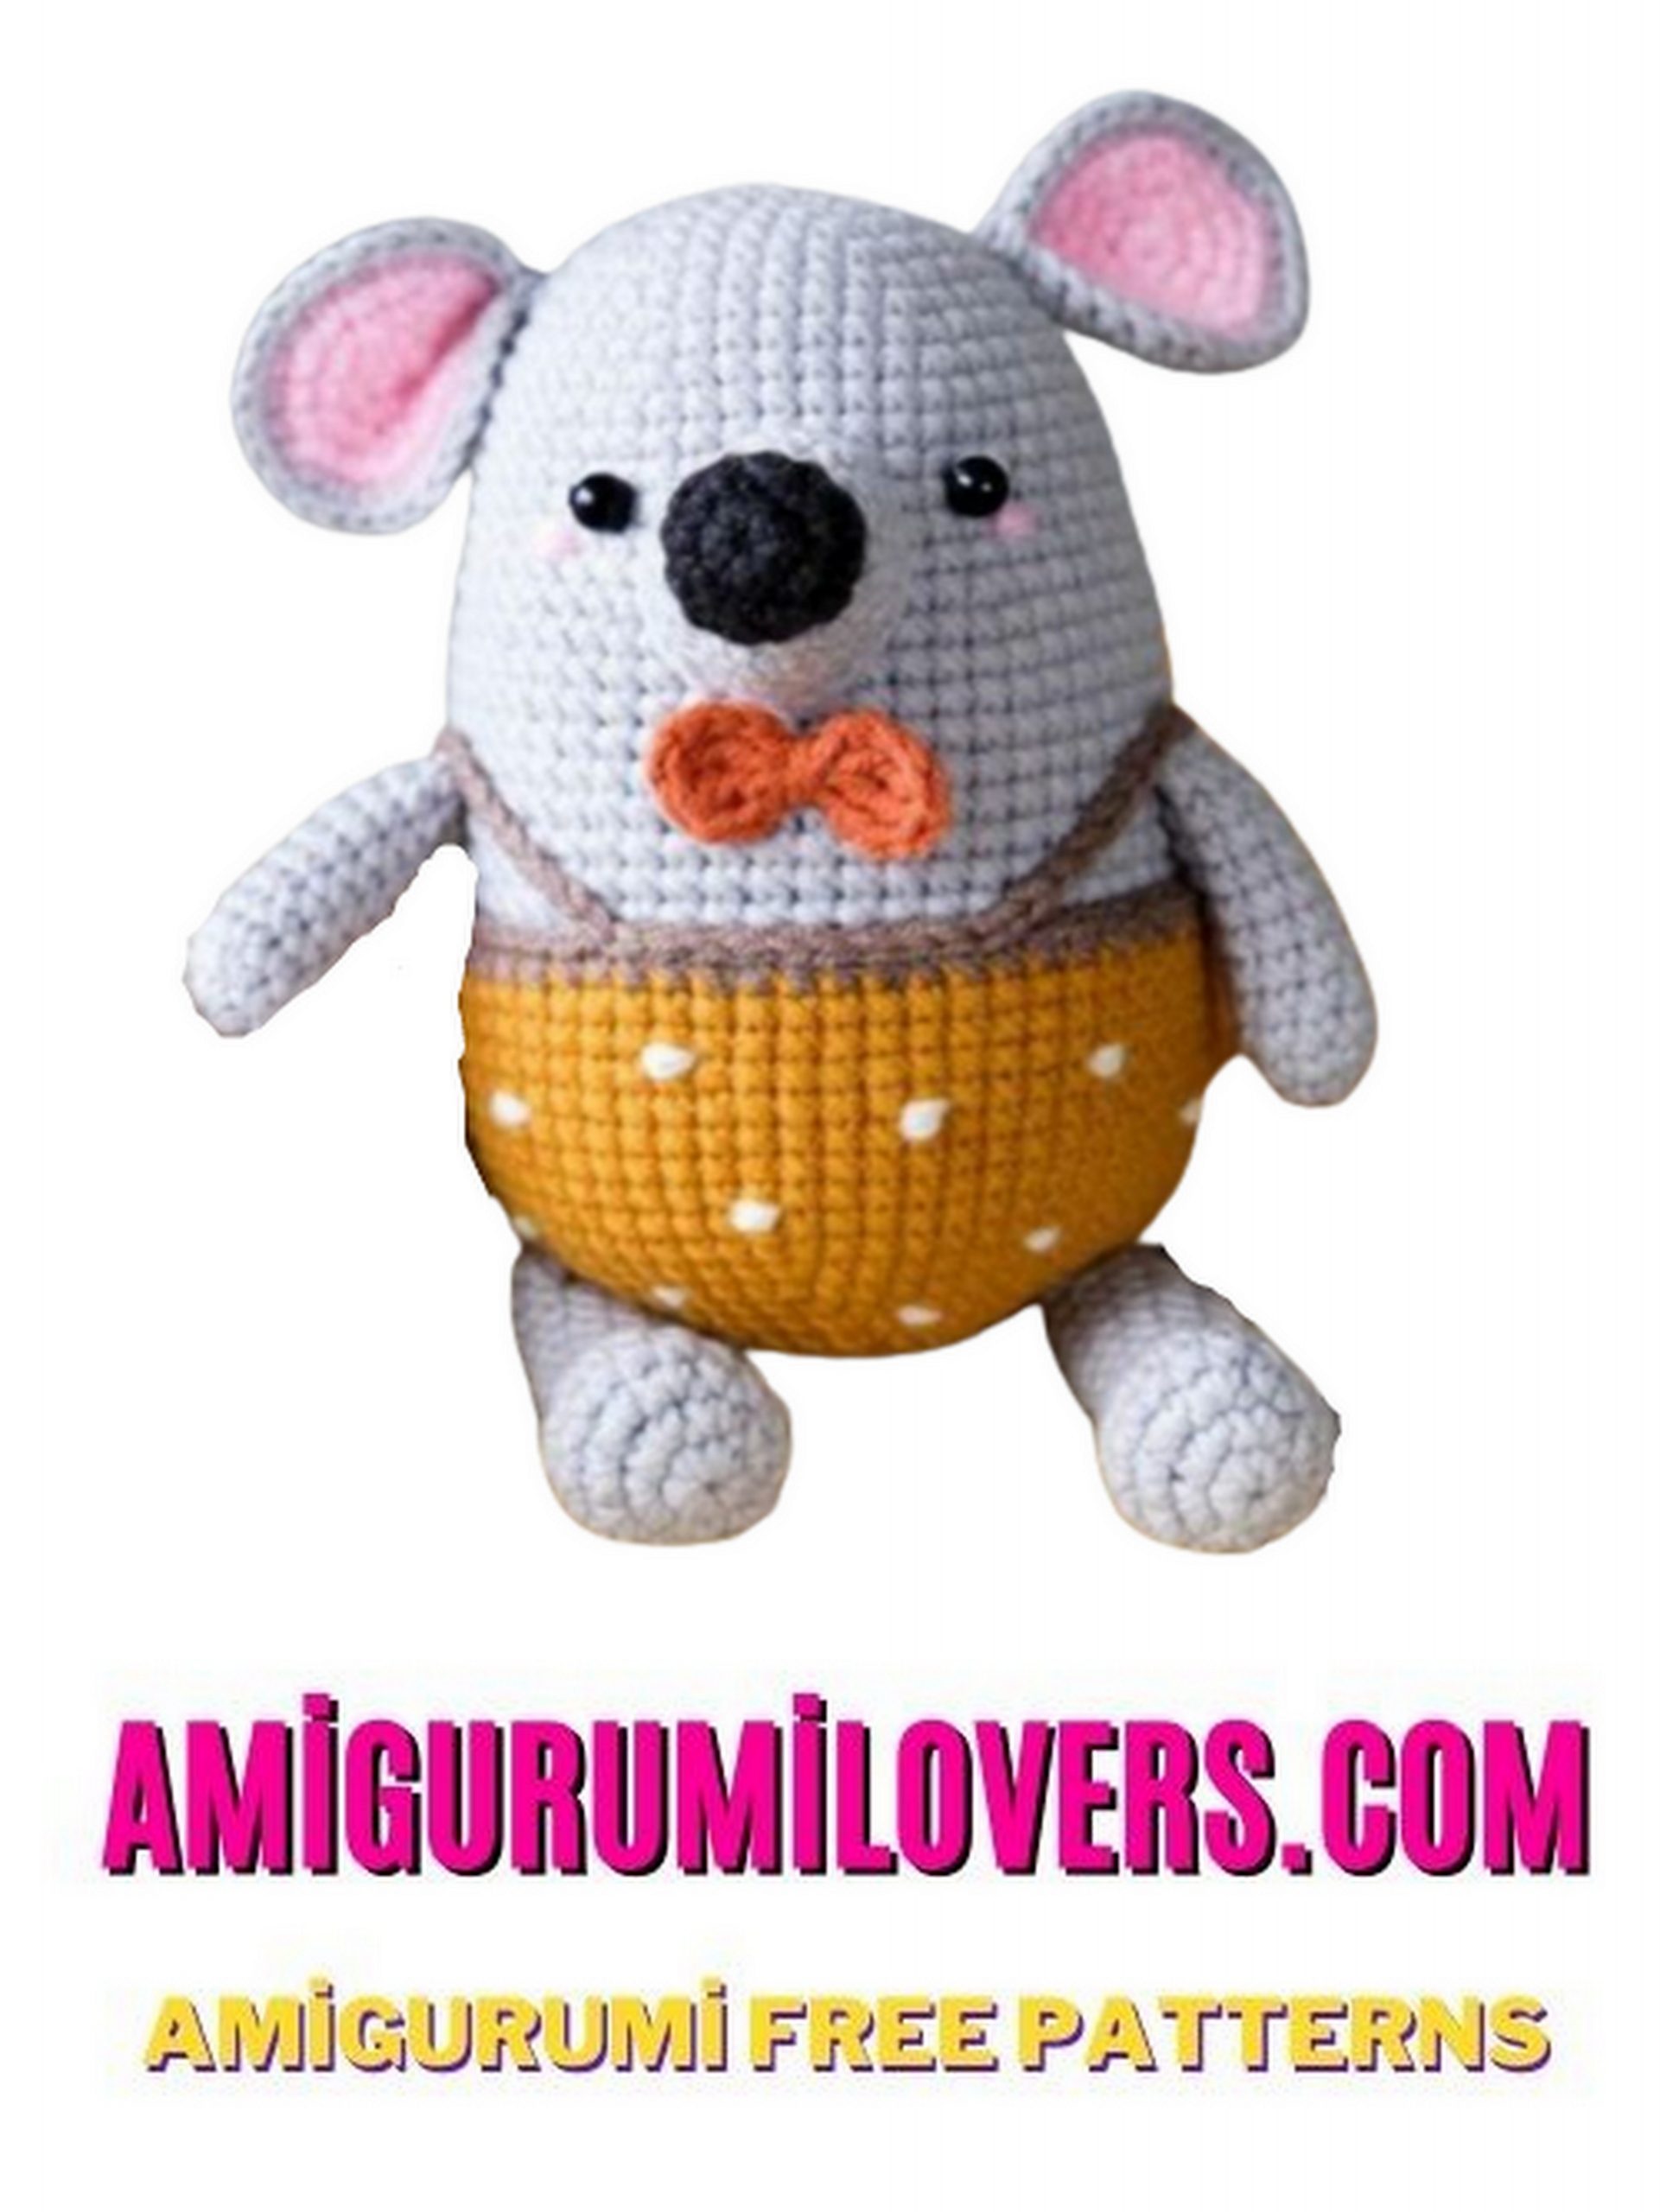
Welcome to the enchanting world of amigurumi! How about crocheting an endearing little friend like the Cute Mouse? The great news is that this guide offers the Cute Mouse Amigurumi free pattern for! Designed with beginners in mind, this pattern provides clear and detailed step-by-step instructions for a delightful crafting journey.
Pattern Highlights:
- Materials List: Discover the materials you’ll need to bring your Cute Mouse to life.
- Basic Techniques: The pattern includes explanations of fundamental amigurumi crochet techniques, making it accessible to newcomers.
- Detailed Instructions: Each step is carefully explained to ensure a smooth crafting process.
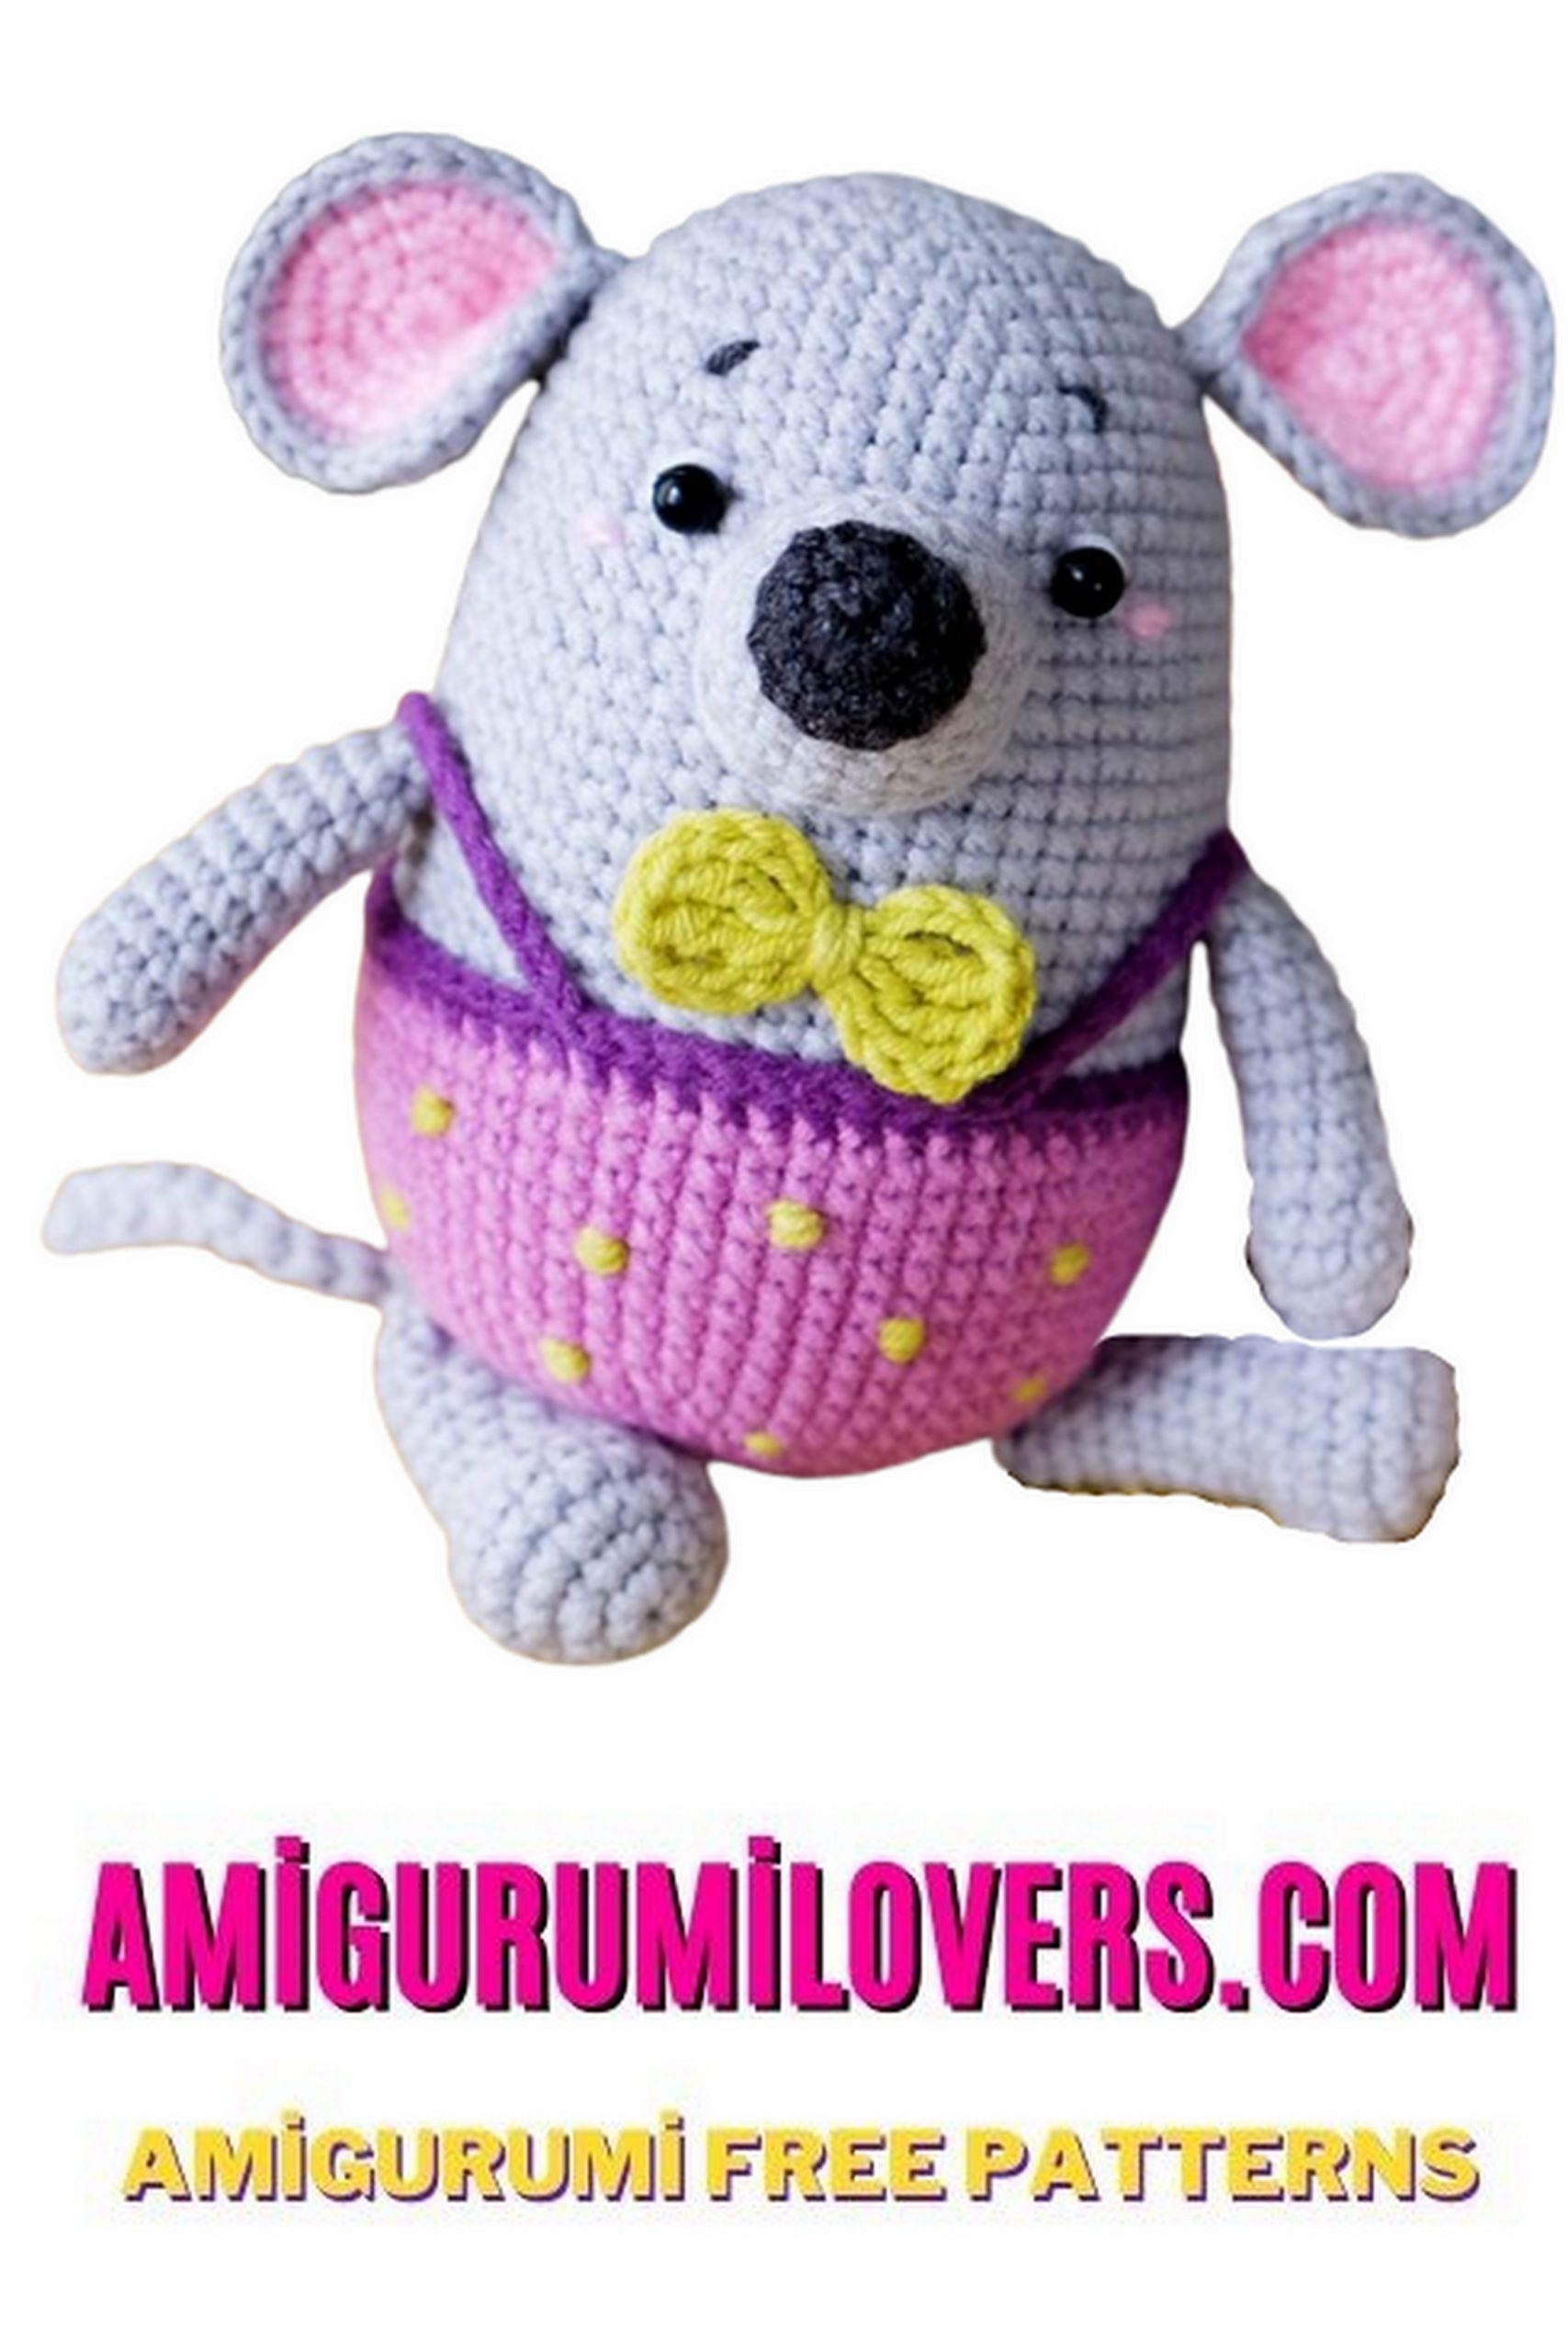
- Irresistible Charm: Your finished Cute Mouse will exude charm and cuteness.
To learn more about the Cute Mouse Amigurumi pattern and embark on your crochet adventure, follow the instructions below. Craft your very own Cute Mouse, and let the world of amigurumi fill your life with joy and creativity!
Materials
1. Yarn. Any will do. I knitted from yarn Alize Cotton Gold and Yarn Art Jeans.
For Nako’s ears, “Mohair Delicate” or “Super Angora” is pink mohair.
2. Hook 2 mm.
3. Filler holofiber.
4. Two black beads with a diameter of 6 mm.
5. A needle with a wide eye.
8. Black thread for sewing beads.
Cannabis, because the pants are caulked))
Abbreviations
Mr = Magic ring
sc = single crochet
inc = Increase
dec = decrease
sl-st = slip-stitch
dc =double crochet
Pattern: @mycrochetwonders
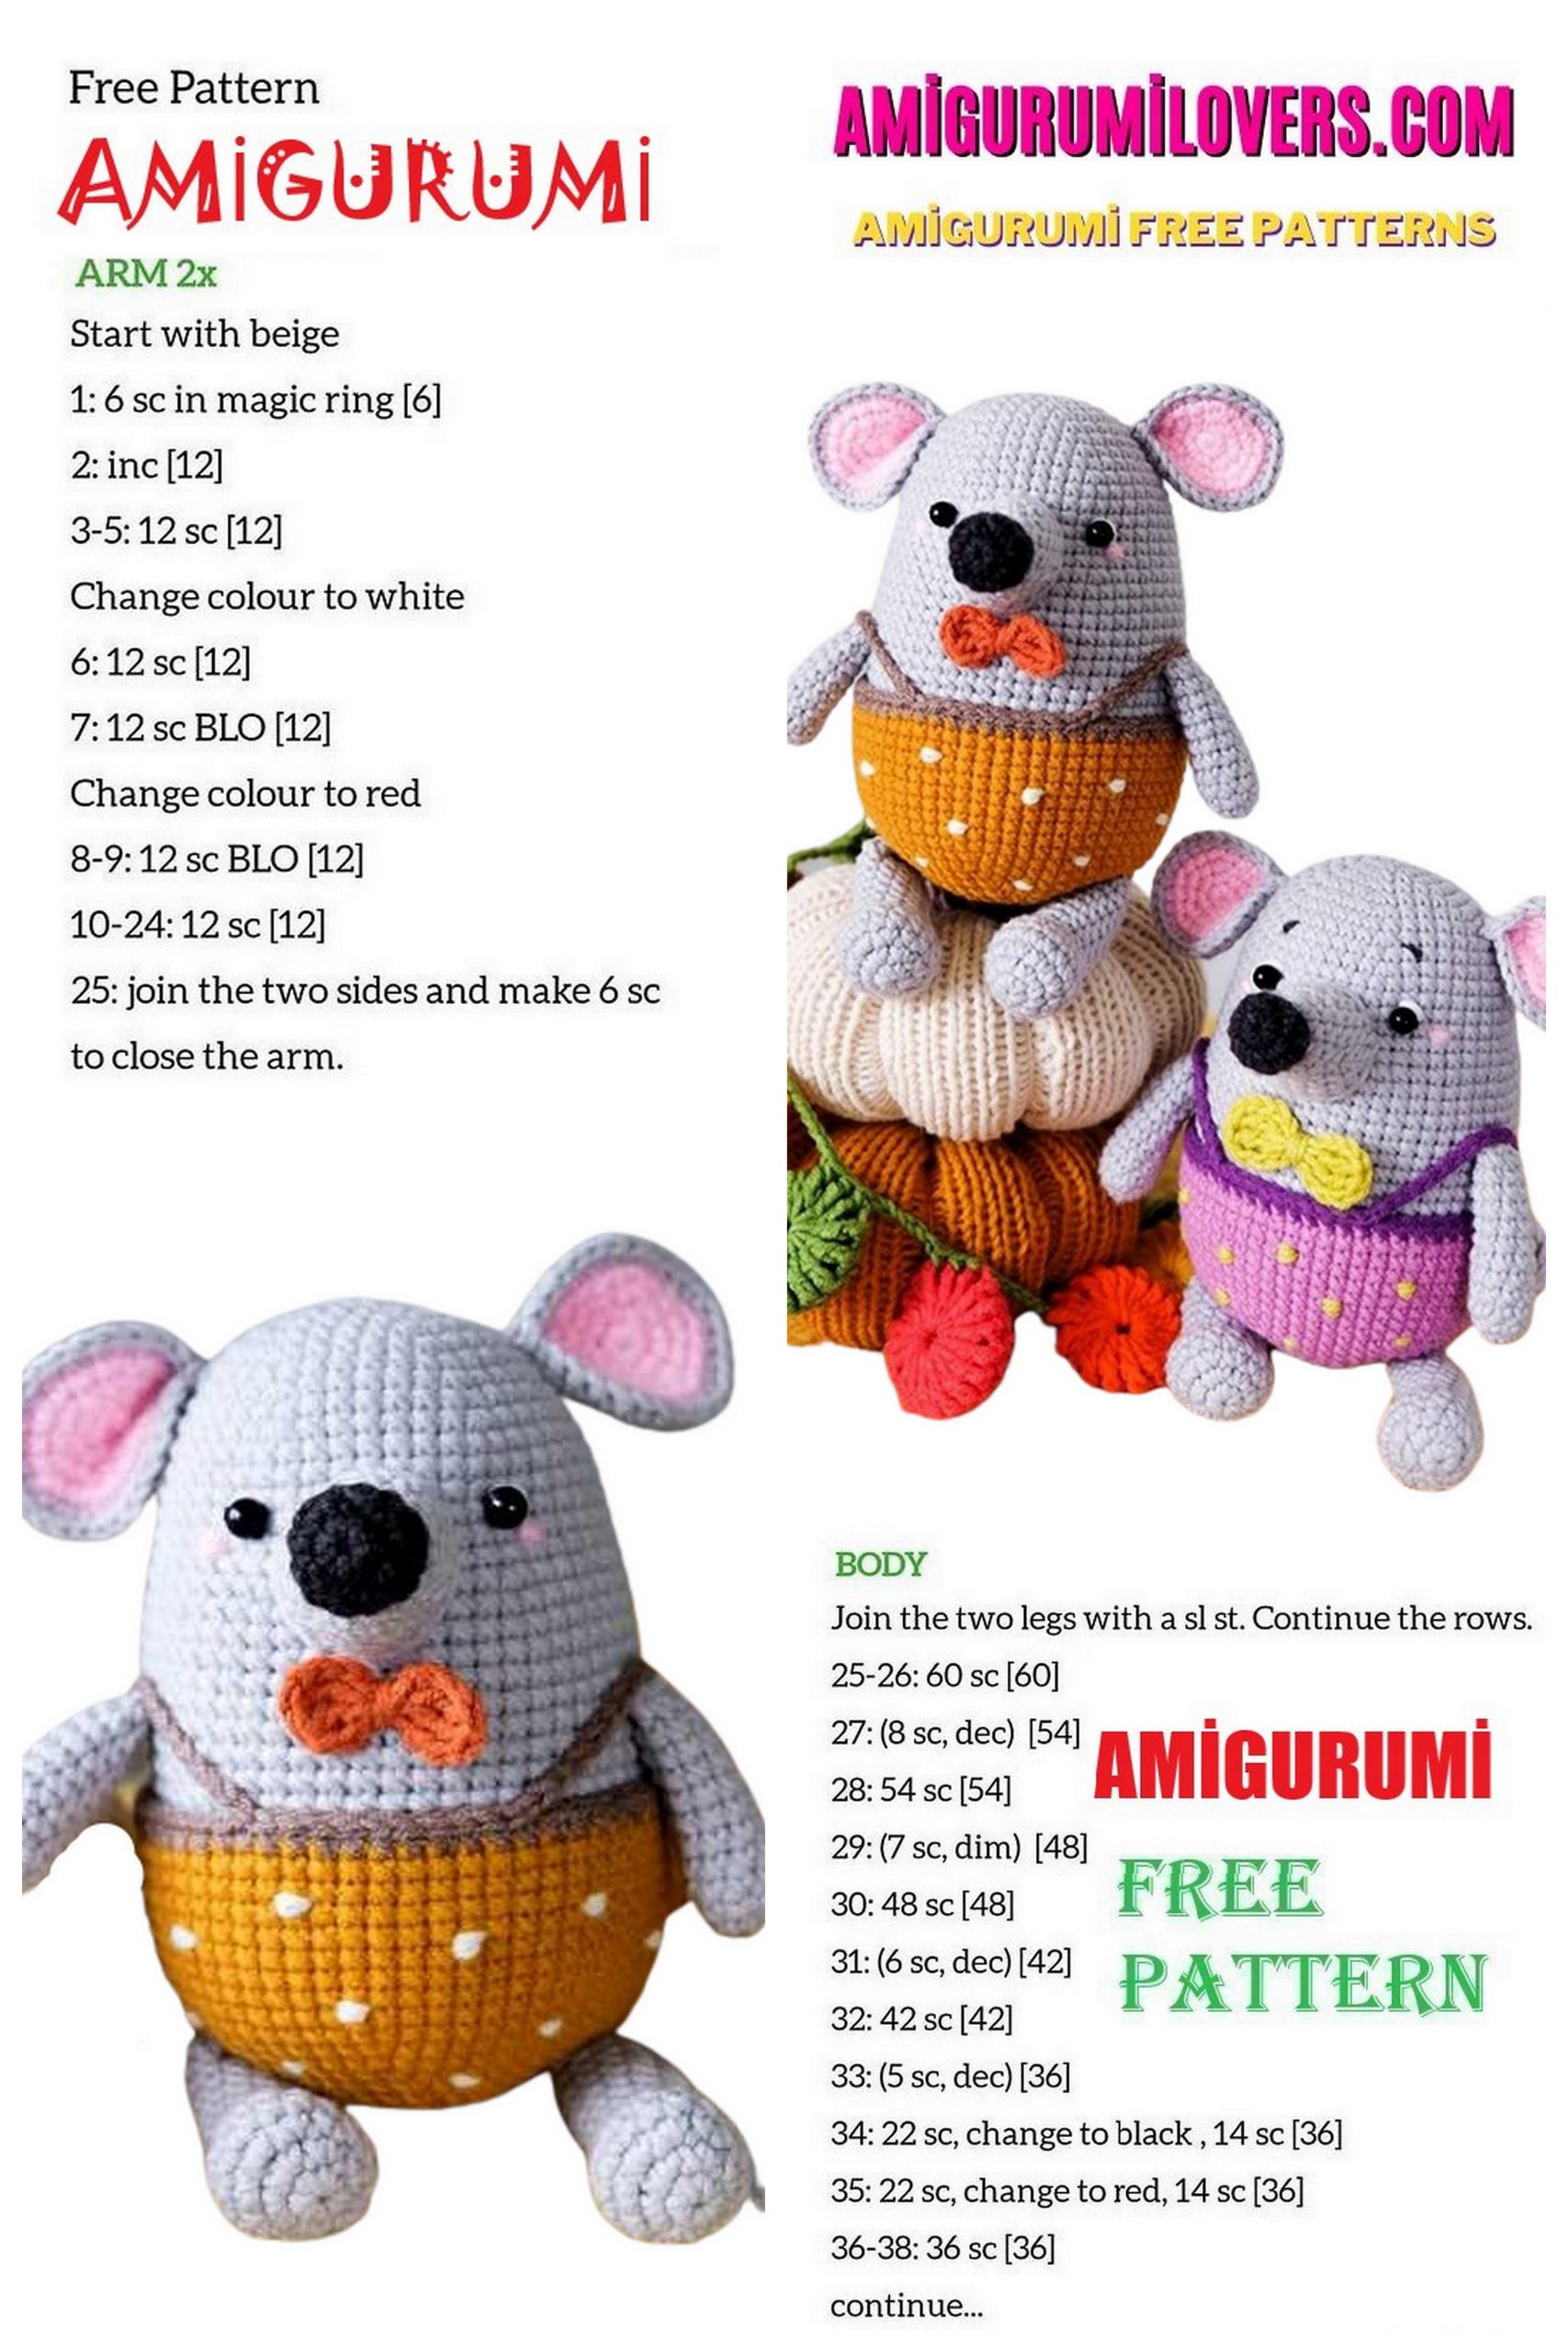
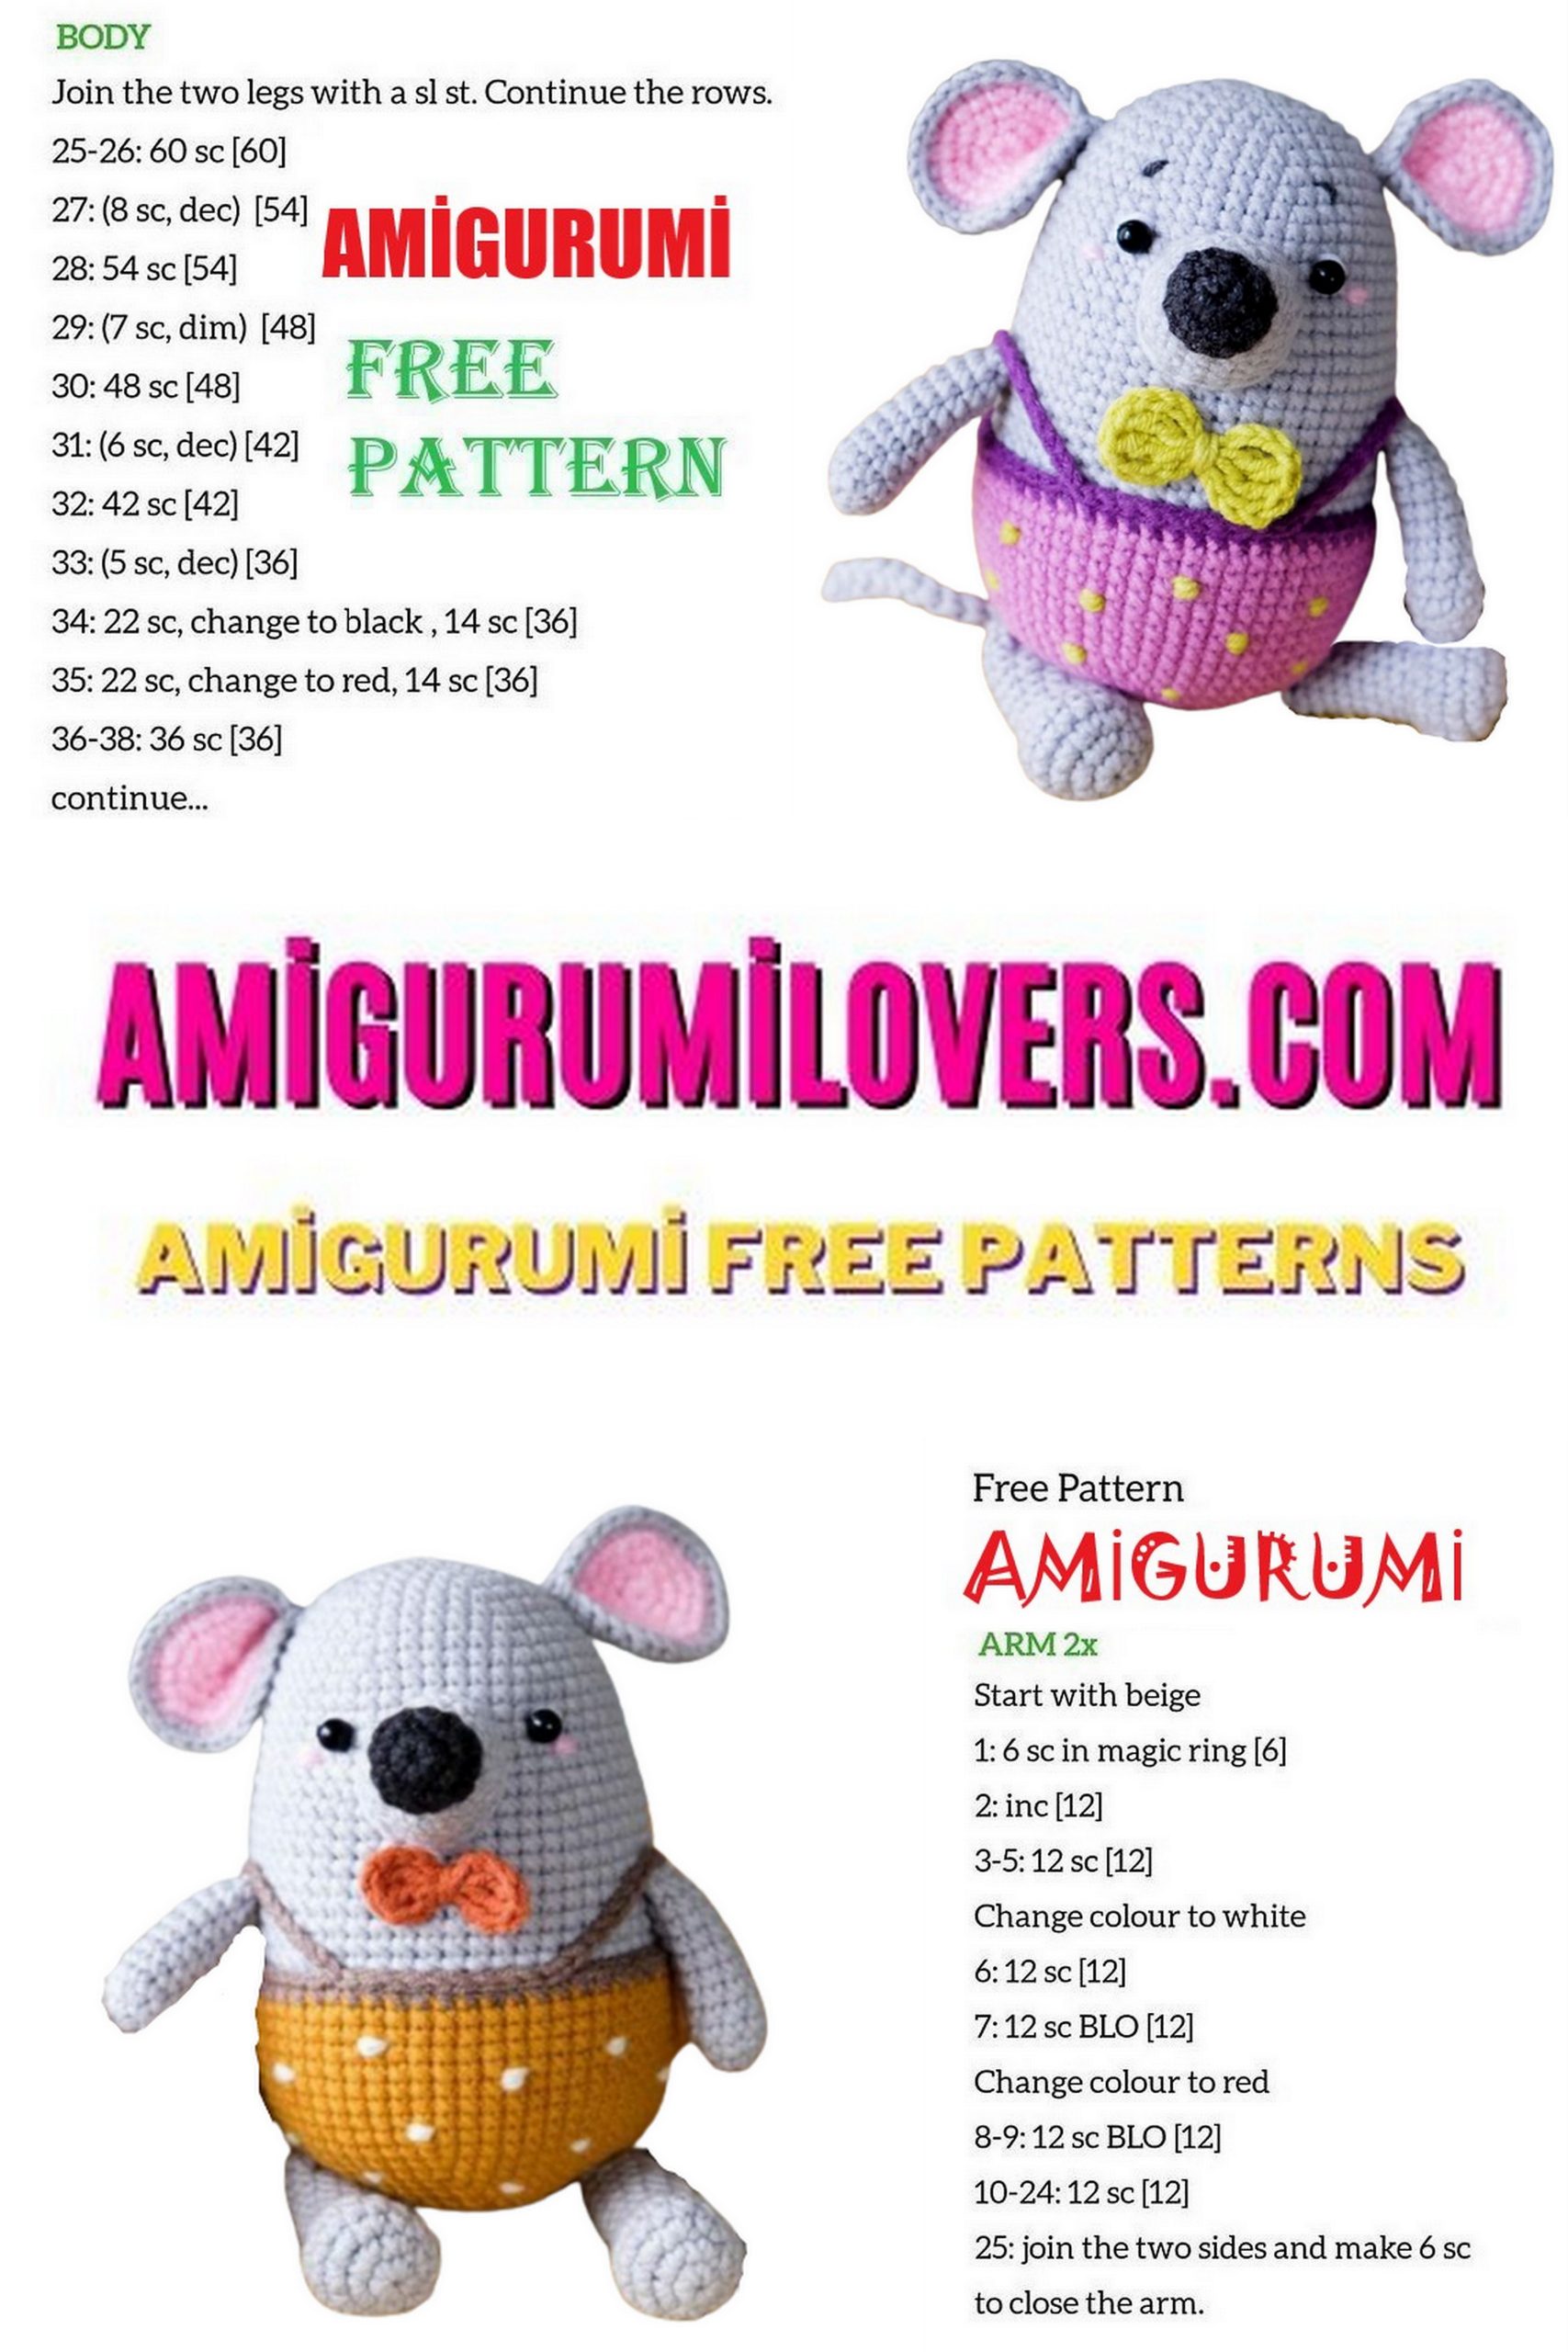
Head, torso (one piece)
Stuff as you knit
1 row: 6 sc into Magic ring
2 row: 6 inc (12)
3 row: (1 sc, inc) x 6 (18)
4 row: (2 sc, inc) x 6 (24)
5 row: (3 sc, inc) x 6 (30)
6 row: (4 sc, inc) x 6 (36)
7 row: sc in each p. (36)
8 row: (5 sc, inc) x 6 (42)
9 row: sc in each paragraph (42)
10 row: (6 sc, inc) x 6 (48)
11-16 row: 6 rows – sc in each p. (48)
17 row: (7 sc, inc) x 6 (54)
18-34 row: 17 rows – sc in each p. (54)
35 row: (7 sc, dec) x 6 (48)
36 row: sc in each p. (48)
37 row: (6 sc, dec) x 6 (42)
38 row: (5 sc, dec) x 6 (36)
39 row: (4 sc, dec) x 6 (30)
40 row: (3 sc, dec) x 6 (24)
41 row: (2 sc, dec) x 6 (18)
42 row: (1 sc, dec) x 6 (12)
43 row: 6 dec.
Close the hole by tightening the hinges.
Feet: (2 pcs.)
1 row: 6 sc into Magic ring
2 row: 6 inc (12)
3 row: 4 sc, 4 inc, 4 sc (16)
4-5 row: 2 rows – sc in each p. (16)
6 row: 4 sc, 4 dec, 4 sc (12)
7-15 row: 7 rows – sc in each p. (12)
Put the filler.
Tie another 2-3 sc, fold the leg in half and
sew the edges of the 5th sc.
The seam is parallel to the foot.
Hide the tip of the thread inside.
Handles: (2 pcs.)
1 row: 6 sc into Magic ring
2 row: (1 sc, inc) x 3 (9)
3-10 row: 8 rows – sc in each p. (9)
11 row: (1 sc, dec) x 3 (6)
Put the filler. Fold the handle in half and
sew the edges 2 sc.
Leave the thread for sewing.
Nose:
In black
1 row: 6 sc into Magic ring
2 row: 6 inc (12)
3 row: sc in each p. (12)
4 row: (2 sc, dec) x 3 (9)
5 row: (1 sc, dec) x 3 (6)
Further grayed out.
6 row: (1 sc, inc) x 3 (9)
7 row: (2 sc, inc) x 3 (12)
8 row: sc in each p. (12)
9 row: (3 sc, inc) x 3 (15)
10 row: (4 sc, inc) x 3 (18)
11 row: sc in each p. (18)
12 row: (5 sc, inc) x 3 (21)
Put the filler. Leave the thread for sewing.
Ears:
Two details of pink color:
1 row: 6 sc into Magic ring
2 row: 6 inc (12)
3 row: (1 sc, inc) x 6 (18)
4 row: (2 sc, inc) x 6 (24)
Fasten and cut the thread.
Two details of gray color:
1 row: 6 sc into Magic ring
2 row: 6 inc (12)
3 row: (1 sc, inc) x 6 (18)
4 row: (2 sc, inc) x 6 (24)
Attach the pink part to the front and knit
next row, capturing the loops of both parts.
5 row: (3 sc, inc) x 6 (30)
Fold the eyelet in half and sew two loops of sc.
Leave the thread for sewing.
Panties:
1 row: 6 sc into Magic ring
2 rows: 6 inc (12)
3 row: (1 sc, inc) x 6 (18)
4 row: (2 sc, inc) x 6 (24)
5 row: (3 sc, inc) x 6 (30)
6 row: (4 sc, inc) x 6 (36)
7 row: (5 sc, inc) x 6 (42)
8 row: 6 sc, inc, 5 sc tying a leg (the foot looks to the left), 1 sc, inc, (6 sc, inc) x 2,
5 sc tying a leg (the foot is looking to the right), 1 sc, inc, 6 sc, inc. (48)
9 row: (7 sc, inc) x 6 (54)
10 row: sc in each p. (54)
11 row: (8 sc, inc) x 6 (60)
12-20 row: 9 rows – sc in each p. (60)
Change color
21 row: sc in each p. (60)
Leave the thread for sewing.
Tail:
Knit in two threads!
Dial a chain of 21-25 ch Next, on a chain of 20-24 sl-st.
Leave a single thread for sewing.
The bow tie:
Amigurumi ring 3 ch, 2 DC, sl-st, 3 ch, 2 DC, sl-st.
Pull off the ring, leave the thread for sewing.
Gather all the details and sew to the torso. Sew eyes, embroider cheeks.
Straps. Dial 17-20 ch Next, without tearing the threads, tie 10-11 sl-st into loops
the central part of the panties and, without tearing the threads, dial another 17-20 ch
Embroider the cannabis on your pants – three stitches for each cannabis.
Before you leave, make sure to check out more free amigurumi crochet patterns and discover new ideas for your next project.
You can also browse our full amigurumi pattern archive for hundreds of beginner-friendly designs.