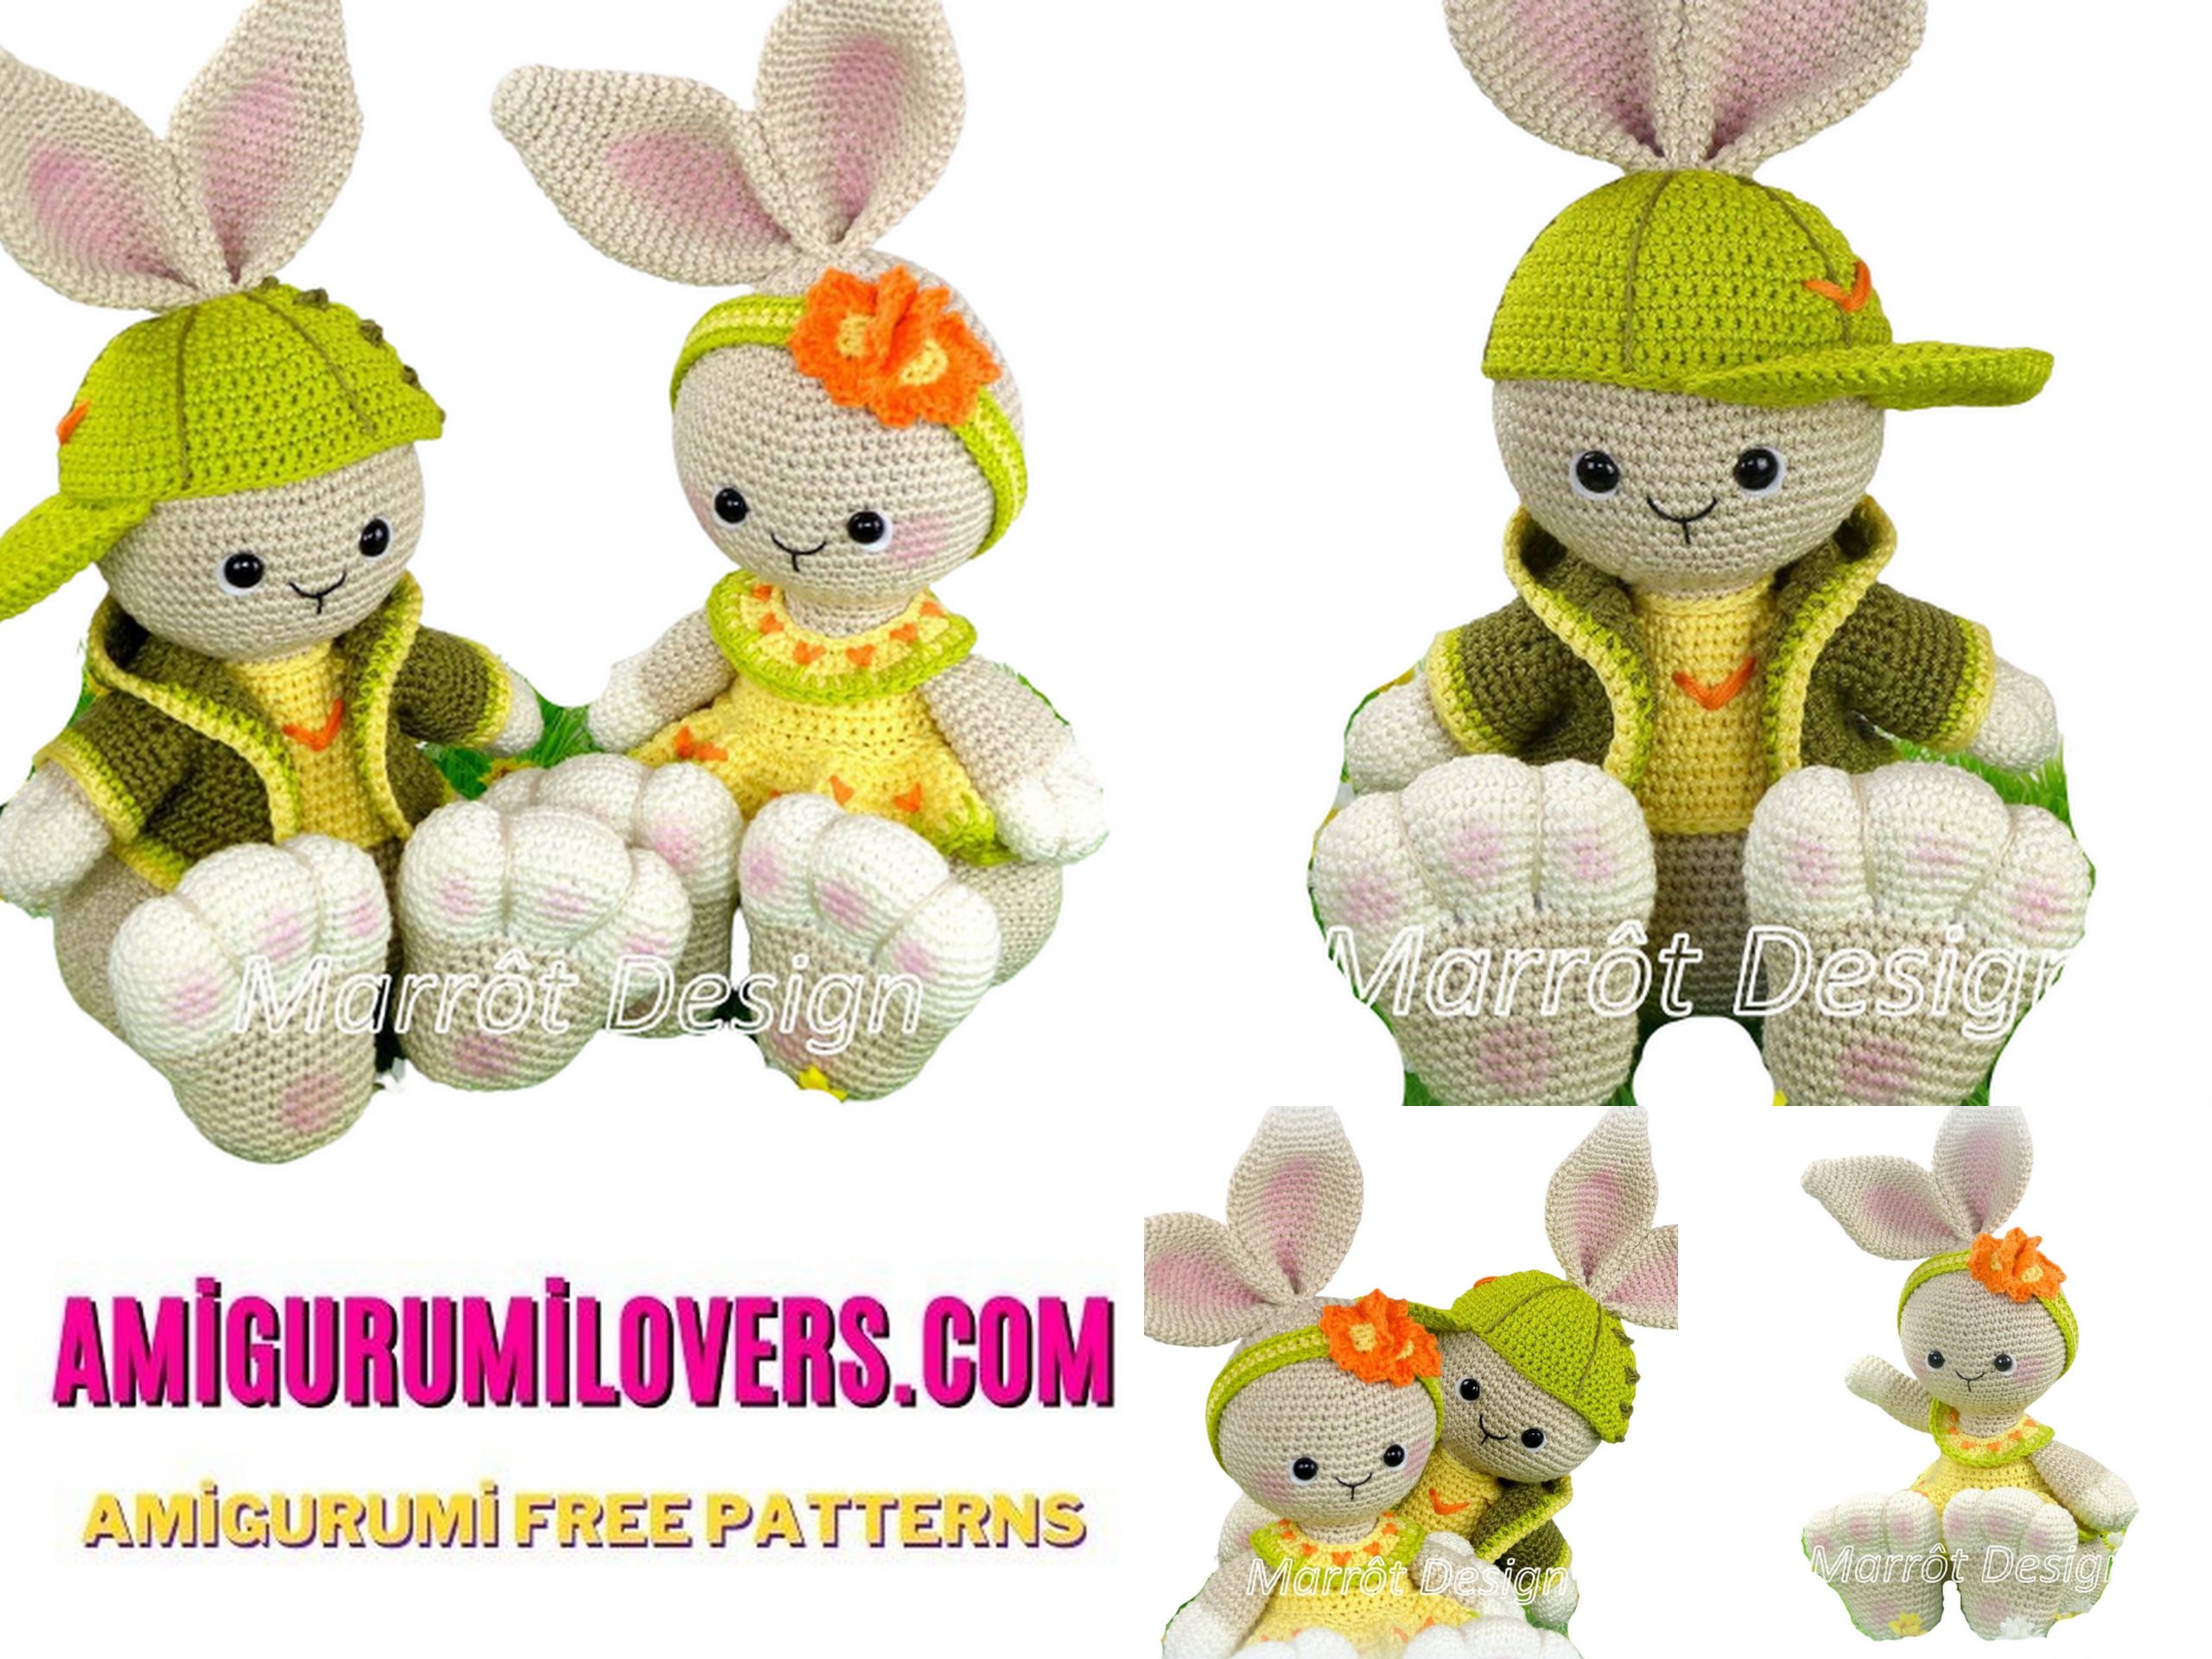
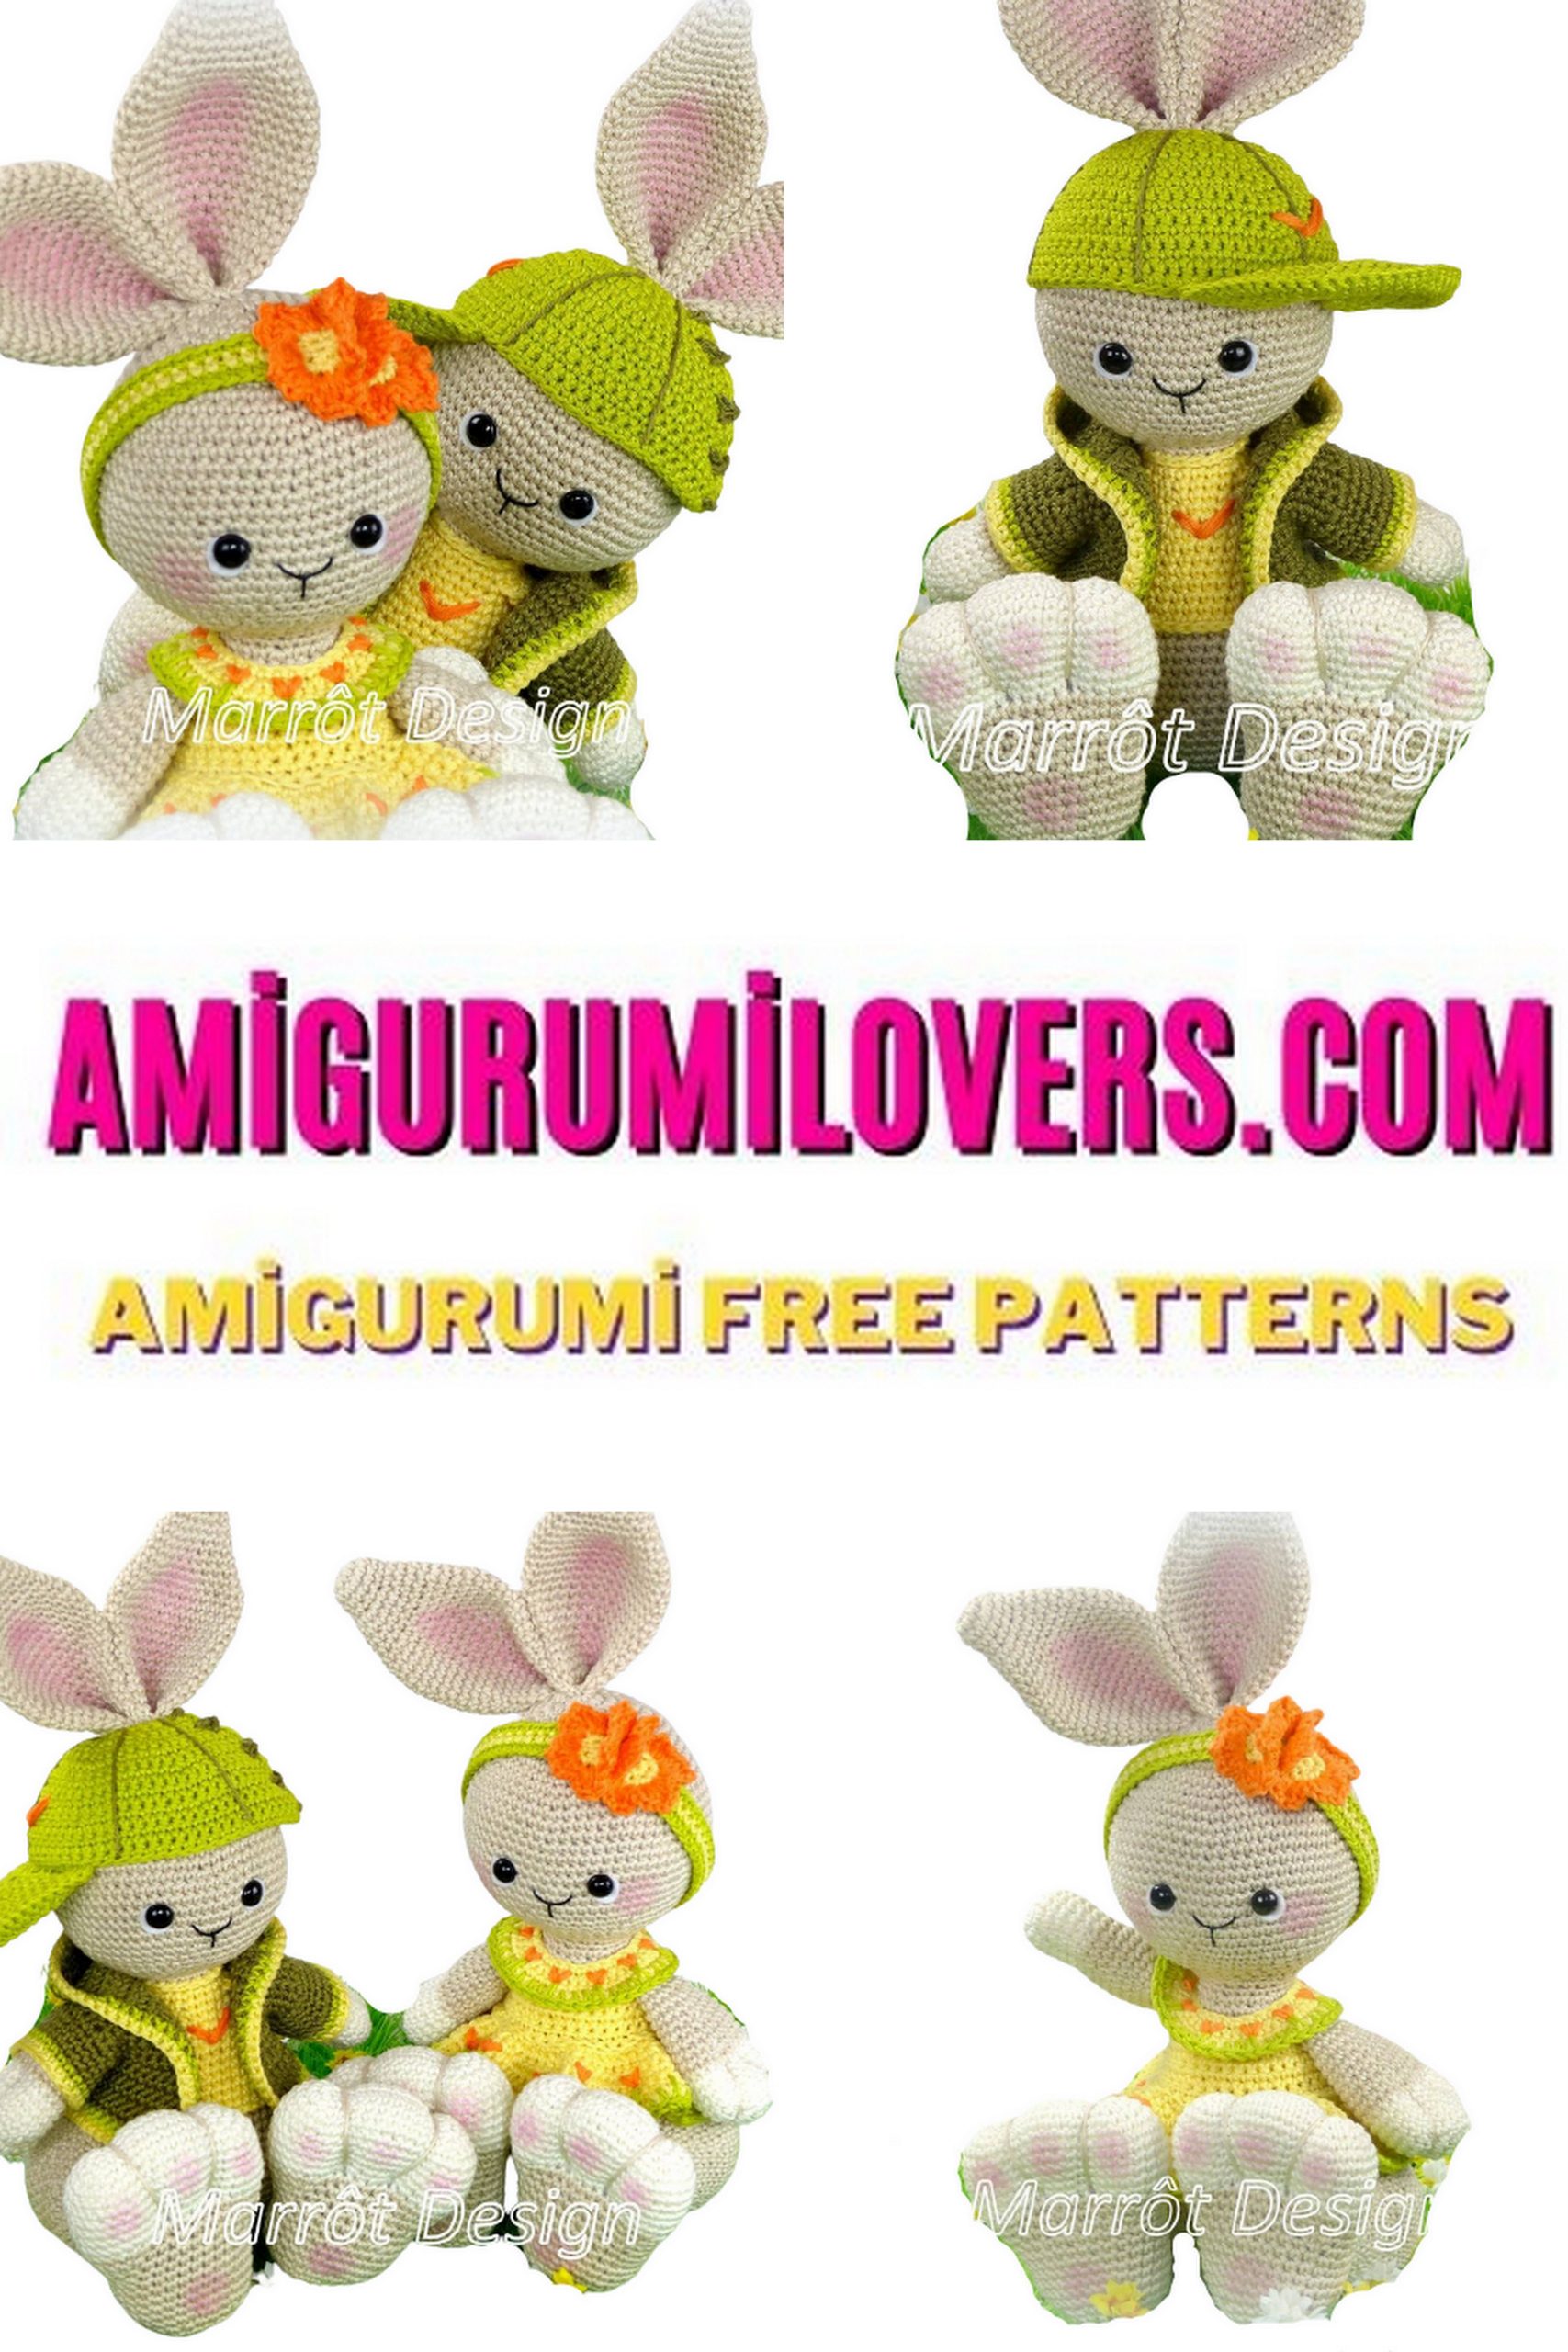
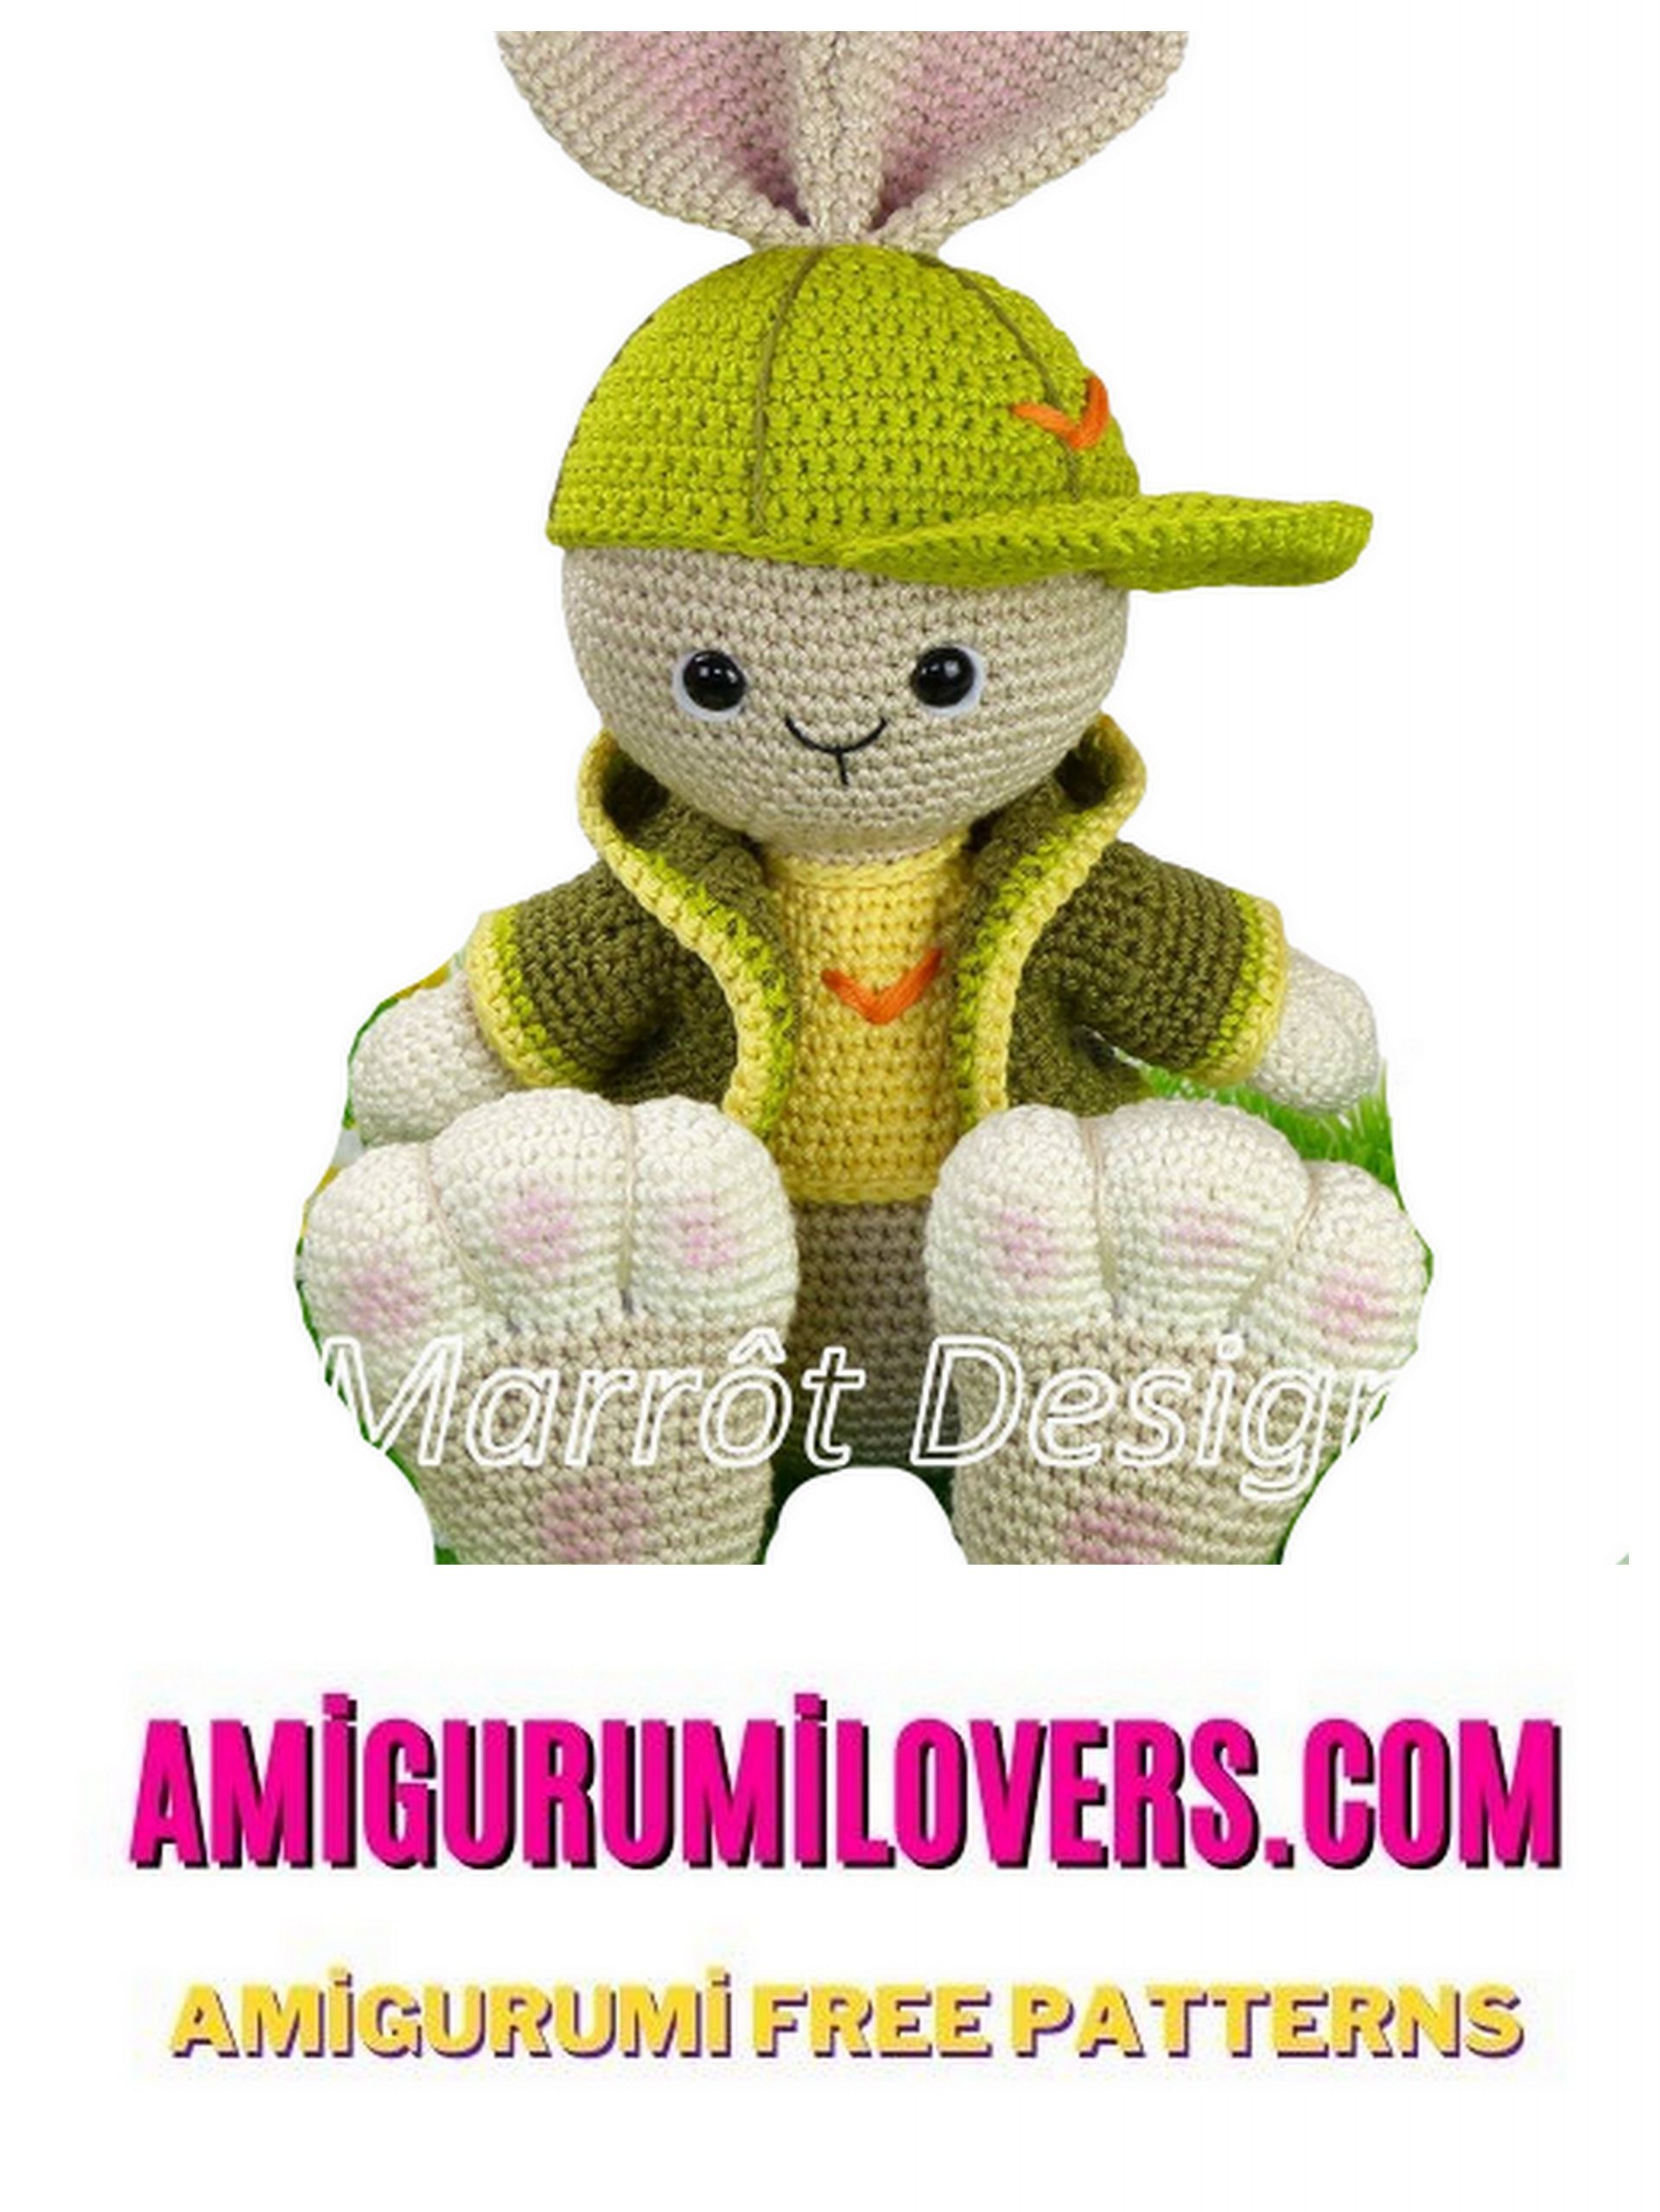
Free Bunny With Hat Amigurumi Pattern | Craft Your Adorable Crochet Bunny Friend
You may also enjoy exploring our free amigurumi patterns and other popular amigurumi animal patterns available on our website.
Are you ready to dive into the delightful world of crochet amigurumi? If you’re searching for a charming project that combines creativity and fun, then you’re in the right place! Today, we’re excited to share a free amigurumi crochet pattern for an adorable bunny wearing a cozy hat. Not only is this project simple enough for beginners, but it also provides a wonderful opportunity to practice your crochet skills while creating something truly special.
The art of amigurumi, which comes from the Japanese word for “crocheted or knitted stuffed toy,” has gained immense popularity among crafters of all ages. With just a few basic stitches, you can bring to life your very own plush toy, perfect for gifting or adding a playful touch to your home decor. This bunny project is not only a joy to make, but it also makes for a fantastic companion for children and a charming decoration for any nursery or living space.
In this post, we will guide you through each step of the pattern, ensuring that you feel confident and excited about creating your own bunny friend. Whether you’re a seasoned crocheter or just starting your journey, our easy-to-follow instructions and helpful tips will empower you to complete this adorable amigurumi with ease. You’ll learn the basics of shaping your plush toy, how to securely fasten your pieces together, and even some fun ways to customize your bunny and make it uniquely yours.
As you crochet along, you might find inspiration in the colors and yarn choices available. From pastel shades that evoke a soft, whimsical vibe to vibrant hues that make your bunny stand out, the possibilities are endless. You can also experiment with different types of yarn to enhance the texture of your bunny’s fur or the cozy feel of its hat. Let your creativity shine through as you personalize your crochet project to reflect your style and preferences.
At the heart of this crafting journey is an opportunity to unwind, express your artistic self, and even bond with loved ones through the joy of making something together. Whether you choose to work on this project solo or invite friends or family to join in, crocheting an amigurumi bunny is sure to bring smiles and satisfaction to your crafting experience.
So, gather your materials, find a comfy spot to relax, and get ready to create your own adorable crochet bunny friend. Follow our free pattern below, and let the fun of amigurumi begin! Happy crocheting!
Welcome to the charming world of amigurumi! How about creating an endearing little bunny complete with an adorable hat? The exciting news is that this guide provides the Bunny With Hat Amigurumi pattern for free! Whether you’re just starting your crochet journey or are already a seasoned pro, this pattern is designed to cater to all skill levels, offering clear and detailed step-by-step instructions for a delightful crafting adventure.
Pattern Highlights:
- Materials List: Discover the materials needed to bring your Bunny With Hat to life.
- Basic Techniques: The pattern includes explanations of fundamental amigurumi crochet techniques, ensuring accessibility for beginners.
- Detailed Instructions: Each step is meticulously explained to guarantee a smooth crafting process.
- Charming Bunny: Your finished Bunny With Hat will radiate charm and cuteness, making it a perfect addition to your collection.
To learn more about the Bunny With Hat Amigurumi pattern and embark on your crochet adventure, follow the instructions below. Craft your very own adorable bunny companion with a hat, and let the world of amigurumi fill your life with joy and creativity!
Materials:
2.5mm hook
Eyes 10 mm
Yarn under your hook
Filler
Stitching needle
Abbreviations
sl-st – slip-stitch
ch – chain
sc – single crochet
hdc- half double crochet
inc – increase
dec – decrease
Preparing eyes
Cut the whites of the eyes from felt, insert the eyes,
as shown in the picture.
PATTERN
Head
1 row: 6 sc into magic ring
2 row: 6 increases (12)
3 row: (1 sc, increase) x 6 times (18)
Translation of TOYS from WASHED
4 row: (2 sc, increase) x 6 times (24)
5 row: (3 sc, increase) x 6 times (30)
6 row: (4 sc, increase) x 6 times (36)
7 row: (5 sc, increase) x 6 times (42)
8 row: 42 sc
9 row: (6 sc, increase) x 6 times (48)
10 row: 48 sc
11 row: (7 sc, increase) x 6 times (54)
12 row: 54 sc
13 row: (8 sc, increase) x 6 times (60)
14-15 row: 60 sc
16 row: (9 sc, increase) x 6 times (66)
17-22 row: 66 sc
Between the 19th and 20th rows we insert the eyes, between
There are 9 loops.
23 row: (9 sc, decrease) x 6 times (60)
24 row: (8 sc, decrease) x 6 times (54)
25 row: (7 sc, decrease) x 6 times (48)
26 row: (6 sc, decrease) x 6 times (42)
27 row: (5 sc, decrease) x 6 times (36)
28 row: (4 sc, decrease) x 6 times (30)
29 row: (3 sc, decrease) x 6 times (24)
30 row: (2 sc, decrease) x 6 times (18)
31-32 row: 18 sc
Do not forget to stuff
Do not cut the thread, we will continue to knit the body
Translation of TOYS from WASHED
Change thread color to shirt color
33 row: (2 sc, increase) x 6 times (24) for the rear
p / loop
34-35 row: 24 sc
36 row: (3 sc, increase) x 6 times (30)
37-38 row: 30 sc
39 row: (4 sc, increase) x 6 times (36)
40-41 row: 36 sc
42 row: (5 sc, increase) x 6 times (42)
43-44 row: 42 sc
45 row: (6 sc, increase) x 6 times (48)
46 row: 48 sc
Change the color of the thread on the main and knit for the back
p / loop
47 row: 48 sc
48 row: (7 sc, increase) x 6 times (54)
49-50 row: 54 sc
51 row: (8 sc, increase) x 6 times (60)
52-58 row: 60 sc
59 row: (8 sc, decrease) x 6 times (54)
60 row: (7 sc, decrease) x 6 times (48)
61 row: (6 sc, decrease) x 6 times (42)
62 row: (5 sc, decrease) x 6 times (36)
63 row: (4 sc, decrease) x 6 times (30)
64 row: (3 sc, decrease) x 6 times (24)
65 row: (2 sc, decrease) x 6 times (18)
66 row: (1 sc, decrease) x 6 times (12)
67 row: 6 decreases (6)
Pull the loops, cut the thread and fasten.
Attach the thread to p / loops 33 and 47 of the row and
knit sl-st (we keep the head to ourselves)
Translation of TOYS from WASHED
Lower paws – foot (2 pieces)
We start with white yarn
1 row: a chain of 12 air loops
then in a circle: 1 sc into the second air loop
from the hook, 9 sc, 3 sc in one loop (continue
on the other side of the chain), 9 sc, increase (24)
2 row: increase, 9 sc, three consecutive increases, 9 sc,
two increases in a row (30)
3 row: 1 sc, increase, 9 sc, (1 sc, increase)
repeat 3 times, 9 sc, (1 sc, increase)
repeat 2 times (36)
4 row: 2 sc, increase, 9 sc, (2 sc, increase)
repeat 3 times, 9 sc, (2 sc, increase) repeat
2 times (42)
5-10 row: 42 sc into magic ring each row
Change the thread to the main color
11 row: (12 sc, decrease) x 3 times (39)
12 row: (11 sc, decrease) x 3 times (36)
13 row: (10 sc, decrease) x 3 times (33)
14 row: (9 sc, decrease) x 3 times (30)
15-20 row: 30 sc into magic ring each row
21 row: (3 sc, decrease) x 6 times (24)
22 row: 24 sc
23 row: (2 sc, decrease) x 6 times (18)
24 row: (1 sc, decrease) x 6 times (12)
25 row: 6 decreases (6)
Cut and fasten the thread. Embroider fingers
toned (see picture)
Translation of TOYS from WASHED


Hip (2 parts)
Take the thread of the main color
1 row: 6 sc into magic ring
2 row: 6 increases (12)
3 row: (1 sc, increase) x 6 times (18)
4 row: (2 sc, increase) x 6 times (24)
5 row: (3 sc, increase) x 6 times (30)
6 row: (4 sc, increase) x 6 times (36)
7 row: (5 sc, increase) x 6 times (42)
8-13 row: 42 sc
14 row: (5 sc, decrease) x 6 times (36)
15-16 row: 36 sc
17 row: (4 sc, decrease) x 6 times (30)
18-19 row: 30 sc
20 row: (3 sc, decrease) x 6 times (24)
21-22 row: 24 sc
23 row: (2 sc, decrease) x 6 times (18)
24-27 row: 18 sc
Leave the thread for sewing.
Fill as shown.
Sew to the foot, sew to the body.
Ears (2 parts)
1 row: 6 sc into magic ring
2 row: 6 increases (12)
3-5 row: 12 sc
6 row: (1 sc, increase) x 6 times (18)
7-9 row: 18 sc
10 row: (2 sc, increase) x 6 times (24)
Translation of TOYS from WASHED
11 row: 24 sc
12 row: (3 sc, increase) x 6 times (30)
13-20 row: 30 sc
21 row: (3 sc, decrease) x 6 times (24)
22-26: 24 sc
Fold in half, do not fill, knit
12 sc on both sides. Leave a thread for
sewing on. Sew on the inside
ears, sew.
Front legs (2 parts)
Fill not tightly, but 1 cm before graduation
we do not fill knitting at all. We knit a white thread
colors
1 row: 6 sc into magic ring
2 row: 6 increases (12)
3 row: (1 sc, increase) x 6 times (18)
4 row: (2 sc, increase) x 6 times (24)
5-9 row: 24 sc
Change the thread color to the main one.
10-11 row: 24 sc
12 row: (6 sc, decrease) x 3 times (21)
13-14 row: 21 sc
15 row: (5 sc, decrease) x 3 times (18)
16-17 row: 18 sc
18 row: (4 sc, decrease) x 3 times (15)
Change thread color to shirt color thread
19-20 row: 15 sc
Translation of TOYS from WASHED
Fold the foot in half and knit 7
sc on both sides.
We make finger tighteners.
Leave the thread for sewing.
For the tail, make a pompom with a diameter of 6 cm and
sew between 55 and 56 rows.
Blouse
We collect a chain of 52 air loops, 1
lifting air loop
At the end of each row do not forget to do 1 ch
lifting.
1 row: 52 sc, lifting loop
Change the thread color
2 row: 52 sc
Change the thread color on the main
3-8 row: 52 sc
We knit 10 rows of 10 sc
6 loops skipped
Next 10 rows of 20 sc
Again skip 6 loops
And again 10 rows of 10 sc
Translation of TOYS from WASHED
We connect along the shoulder line 5 loops on the back and
shelf, on both sides, leaving 5 loops for
goal.
Knit a sleeve
At the bottom of the sleeve, type around 27 sc and knit along
circle 5 rows.
Change the color of the thread and knit 6 row as well 27 sc
Again, change the color of the thread and knit the same 7 row
Knit a hood
We type 24 sc (5 on the shelf + 2 sc on the seam + 10 on
backrest + 2 sc at the seam + 5 on the shelf)
We knit 19 rows.
We connect the hood with 12 loops
We knit along the edge first in one color, then
to others.
Cap
Translation of TOYS from WASHED
We will knit in rotary rows, do not forget
make a lifting loop
1 row: we knit a chain of 18 ch
2 row: starting from the second loop we knit 18 sc
3 row: (2 sc, increase) x 6 times (24)
4 row: (3 sc, increase) x 6 times (30)
5 row: (4 sc, increase) x 6 times (36)
6 row: (5 sc, increase) x 6 times (42)
7 row: (6 sc, increase) x 6 times (48)
8 row: 48 sc
9 row: (7 sc, increase) x 6 times (54)
10-12 row: 54 sc
13 row: (8 sc, increase) x 6 times (60)
14-17 row: 60 sc
Visor
We knit in rotary rows, do not forget about
lifting loop
1 row: 6 sc into magic ring, 1 runway
2 row: 6 increases (12)
3 row: (1 sc, increase) x 6 times (18)
4 row: 18 sc
5 row: (2 sc, increase) x 6 times (24)
Translation of TOYS from WASHED
6 row: 24 sc
7 row: (3 sc, increase) x 6 times (30)
8 row: 30 sc
9 row: (4 sc, increase) x 6 times (36)
10 row: we knit 36 ??sc, do not rotate, but
continue to knit 20 sc on the inside edge
visor.
Sew the visor in the middle of the cap.
Sew the cap right on the head.
Then embroider stitches.
Translation of TOYS from WASHED
BUNNY READY!
Before you leave, make sure to check out more free amigurumi crochet patterns and discover new ideas for your next project.
You can also browse our full amigurumi pattern archive for hundreds of beginner-friendly designs.